You know what people always ask me? It’s usually about island seating or pantry organization. But the other day, a client called me in a panic from her newly renovated master bath. She’d spent a fortune on gorgeous tile and a stunning vanity, but the whole room just felt… flat. And it hit me. We spend all this time making sure the kitchen is perfect for guests and family, but we forget the spaces where we actually start and end our day. Her mistake? A sad, builder-grade plate mirror was just stuck to the wall, an afterthought.
Listen, the kitchen might be the heart of the home, but the bathroom is your personal sanctuary. And the mirror is its soul. It’s not just for checking for spinach in your teeth. It sets the tone, bounces light, and can make a tiny powder room feel like a jewel box. So let’s talk about what actually matters when picking one, and ignore all the noise.
Planning Your Perfect Reflection (Part 1)
Before you even think about scrolling through websites, you have to do the prep work. It’s like mise en place for design—get your ingredients in order, and the final dish will be perfect. This first part is all about understanding your space and what you truly need from it.
1. Assess Your Bathroom’s Available Wall Space and Layout
First things first: measure. I know, it’s boring, but it’s everything. I once saw a client fall in love with a huge, ornate mirror that looked incredible online. When it arrived, it was so wide that you couldn’t fully open the door to the medicine cabinet next to it. They had to choose between the mirror and their storage. Don’t be that person.
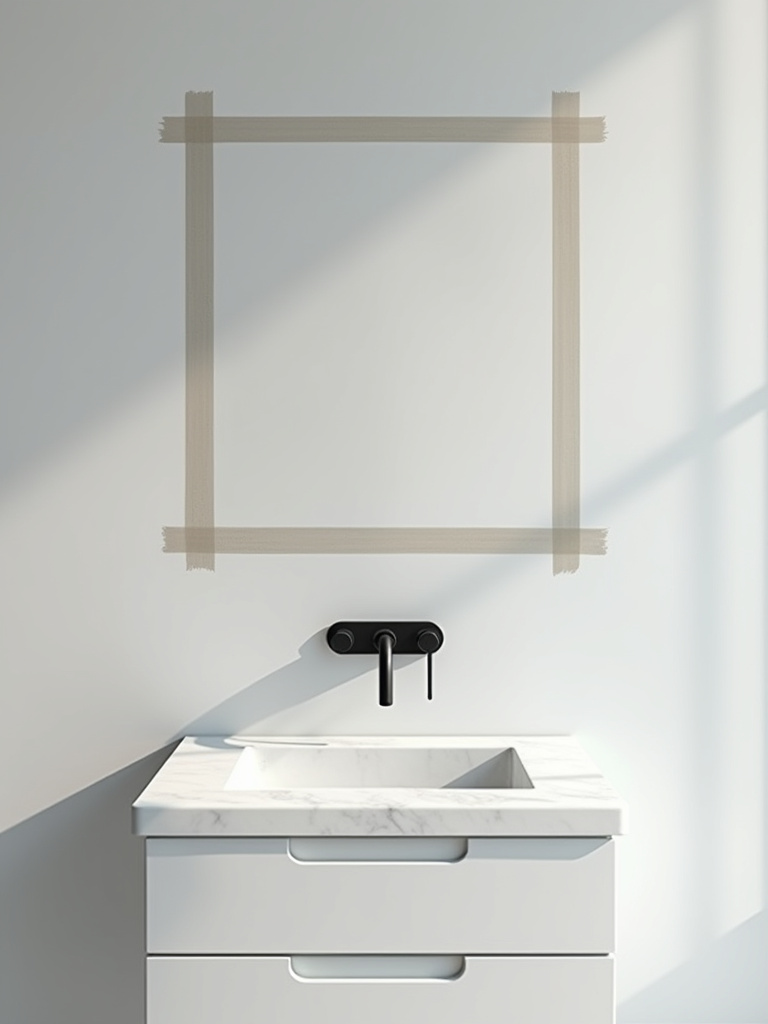
The real shortcut here is to use painter’s tape. Once you have the measurements for your vanity, tape out the mirror shape on the wall. A good rule of thumb is to have the mirror be about 2-4 inches narrower than the vanity below it. This gives it a little breathing room and looks intentional, not like a mistake. Seeing that blue tape outline for a few days will tell you instantly if the scale feels right.
Once you know the footprint you’re working with, we can start to get creative.
2. Define Your Primary Mirror Function: Grooming, Decor, or Both
Okay, real talk. Is this the master bath mirror where you’ll be tweezing eyebrows and doing detailed makeup, or is this the powder room mirror that just needs to look fabulous for guests? If it’s for serious grooming, you need to prioritize function. That means great lighting (we’ll get to that) and a clear, simple surface. All the rustic barnwood frames in the world won’t help you if they cast weird shadows while you’re trying to put on eyeliner.
If the mirror is purely decorative, you can go wild. An antique find with a foxed, moody surface can be absolutely stunning as a statement piece in a hallway or guest bath. But trying to use that same mirror to shave every morning would be a nightmare. Be honest about how you’ll use it. Most of the time, we need a balance, but leaning one way or the other will narrow down your choices beautifully.
With that decision made, you can start thinking about how it fits into the room’s overall story.
3. Consider the Room’s Overall Aesthetic and Design Theme
A mirror doesn’t exist in a vacuum. The frame has to speak the same language as your faucet, your light fixtures, and your cabinet pulls. Think of it like plating a dish—every element on the plate should feel like it belongs. A sleek, matte black faucet with a fussy, ornate gold mirror? It’s visual chaos. But that same matte black faucet with a simple, thin-framed black round mirror? Chef’s kiss.
Look at the lines in your bathroom. Are they sharp and modern, or soft and traditional? Let that guide your mirror’s shape. Are your metals brushed brass? Then find a frame to match or a complementary metal. The biggest mistake people make is buying a mirror they love on its own, without considering its context. It’s the fastest way to make an expensive room look cheap and disjointed.
Now, let’s make sure it’s actually comfortable to use.
4. Determine Optimal Mirror Height and Width for Comfort
This one is simple ergonomics, but everyone gets it wrong. You, your partner, your kids—everyone who uses the mirror should be able to see themselves without stooping over or standing on their tiptoes. The pro secret is to hang the mirror so its center is right at the average eye level for the adults in the house. For most people, that’s around 60-65 inches from the floor.

Again, painter’s tape is your best friend. Mark out the top and bottom of your potential mirror. Stand in front of it. Have your partner do the same. Can you both comfortably see your whole face and shoulders? Is the bottom high enough to clear the faucet? Don’t just eyeball it from the doorway. Your daily comfort is what makes a design successful, not just how it looks on Instagram.
Now that we have the fundamentals down, let’s layer in some of the more technical, but crucial, details.
Planning Your Perfect Reflection (Part 2)
Okay, we’ve covered the basics of size, style, and placement. Now we’re getting into the nitty-gritty that separates a “nice” bathroom from a truly functional and beautiful one. This is about light and money—two things you can’t ignore.
5. Evaluate Existing Lighting for Mirror Placement Strategies
You can buy the most gorgeous mirror in the world, but if your lighting is bad, you will look like a zombie every morning. The worst offender is a single light fixture directly overhead. It casts all sorts of strange, unflattering shadows down your face. I call it the “haunted house” effect, and it’s terrible for putting on makeup or just trying to feel good about yourself.
The goal is to have light hitting your face evenly from the front. If you already have sconces on either side of where the mirror will go, you’re golden. If not, placing the mirror itself is your chance to fix it. Some mirrors have built-in lighting, which is a fantastic solution. But if not, pay attention to where the light you do have is coming from. A mirror that reflects a window will double your natural light, but a mirror reflecting a dark, cluttered corner will only make the room feel smaller.
And now for the big one: the budget.
6. Factor in Budget Ranges for Different Mirror Styles and Features
Let’s be practical. Mirrors can range from $50 for a basic big-box store model to thousands for a custom, tech-integrated smart mirror. Setting a budget isn’t about being cheap; it’s about being smart. Figure out what you can realistically spend, and then you can focus your search. A beautiful $150 mirror that fits your budget is a win. A “dream” $800 mirror that puts you in debt is a source of stress.
Here’s where you can save: frameless mirrors are almost always more affordable. And a simple DIY frame can make a cheap mirror look custom-designed. Here’s where you might want to spend: integrated lighting or an anti-fog feature. Those are daily quality-of-life upgrades that you will appreciate every single morning. The key is to decide on your priorities before you start shopping, so you don’t get distracted by shiny objects.
With a solid plan in place, it’s time for the fun part—actually picking one out.
Selecting and Installing Your Ideal Mirror (Part 1)
This is where all that planning pays off. You know your size, your function, your style, and your budget. Now you can confidently choose the piece that will truly complete your space.
7. Choose the Optimal Mirror Shape to Complement Fixtures
We touched on this, but let’s dive in. If your vanity has a lot of square, sharp lines, a rectangular mirror will feel cohesive and modern. But if you want to soften that look, introducing a round or oval mirror is a brilliant design move. It adds a bit of gentle contrast that keeps the room from feeling too severe or boxy.
Conversely, if you have a pedestal sink and lots of curved, traditional fixtures, a soft-edged or arched mirror will feel right at home. It’s all about creating balance. Think about it: a round mirror over a square sink creates a lovely tension, while a rectangular mirror over that same square sink creates a very clean, unified look. Neither is wrong! It just depends on the feeling you’re going for—serene and matched, or dynamic and interesting.
Next, let’s talk frames.
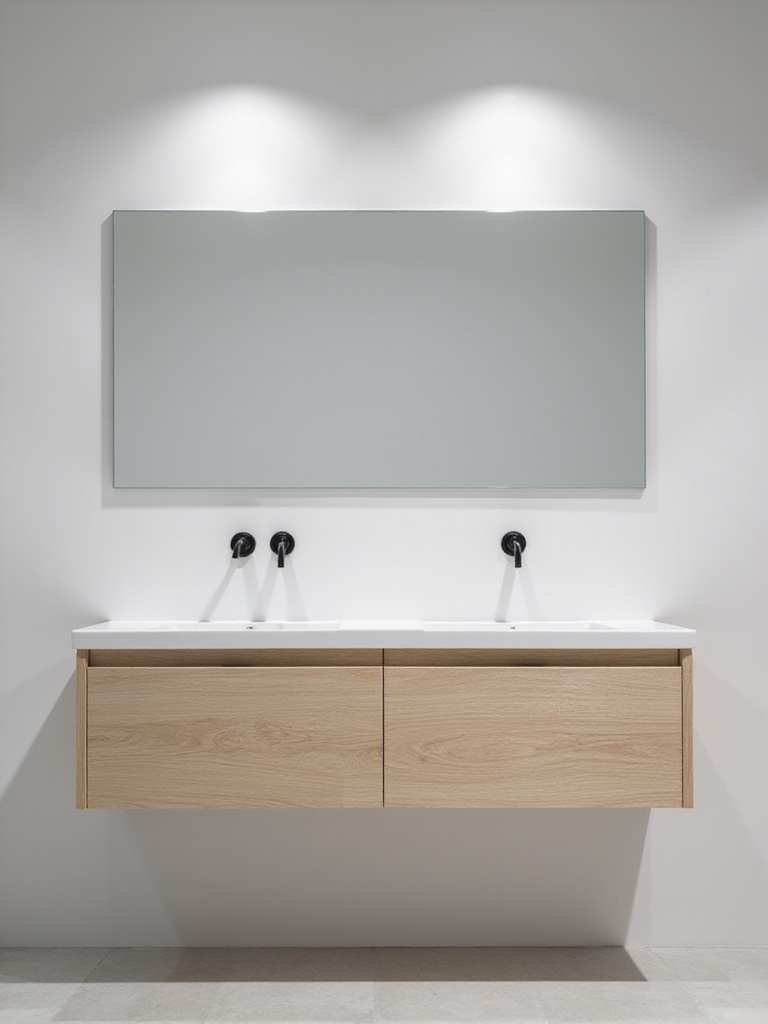
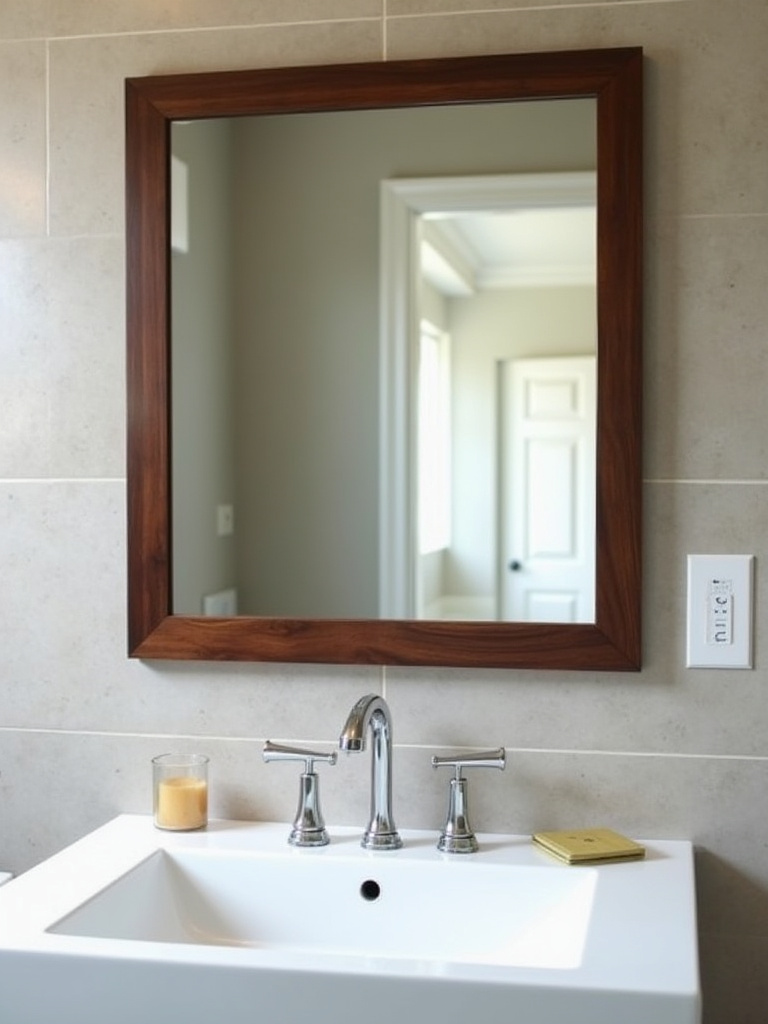
8. Select Frame Styles That Match Your Vanity or Cabinetry
This is your chance to tie the whole room together. A frame is an opportunity. If your cabinet pulls and faucet are brushed nickel, a mirror with a brushed nickel frame will make the entire vanity setup look like a custom, coordinated set. It’s a simple trick that has an enormous impact.
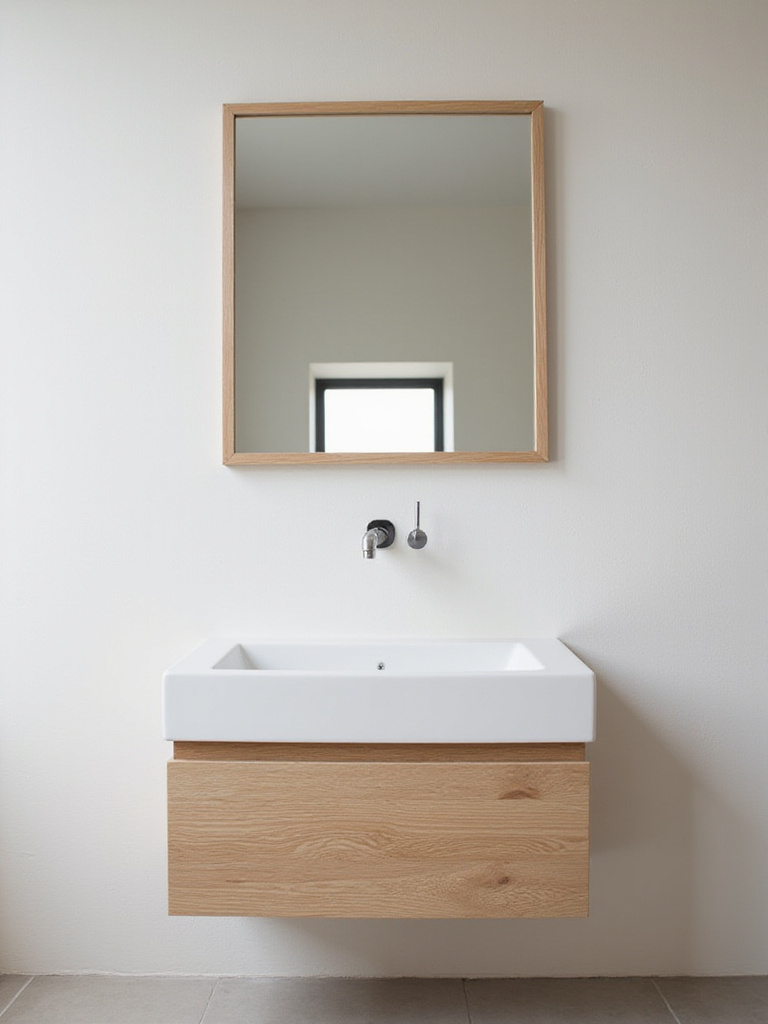
I had a client who was redoing a bathroom with a beautiful warm oak vanity. We found a mirror with a thin, warm brass frame. The combination was spectacular. The warmth of the wood brought out the gold tones in the brass, and the whole area just glowed. A cheap, plastic-framed mirror would have completely ruined that effect. Don’t let the frame be an afterthought; it’s the finishing touch that makes the whole dish sing.
Or… you could have no frame at all.
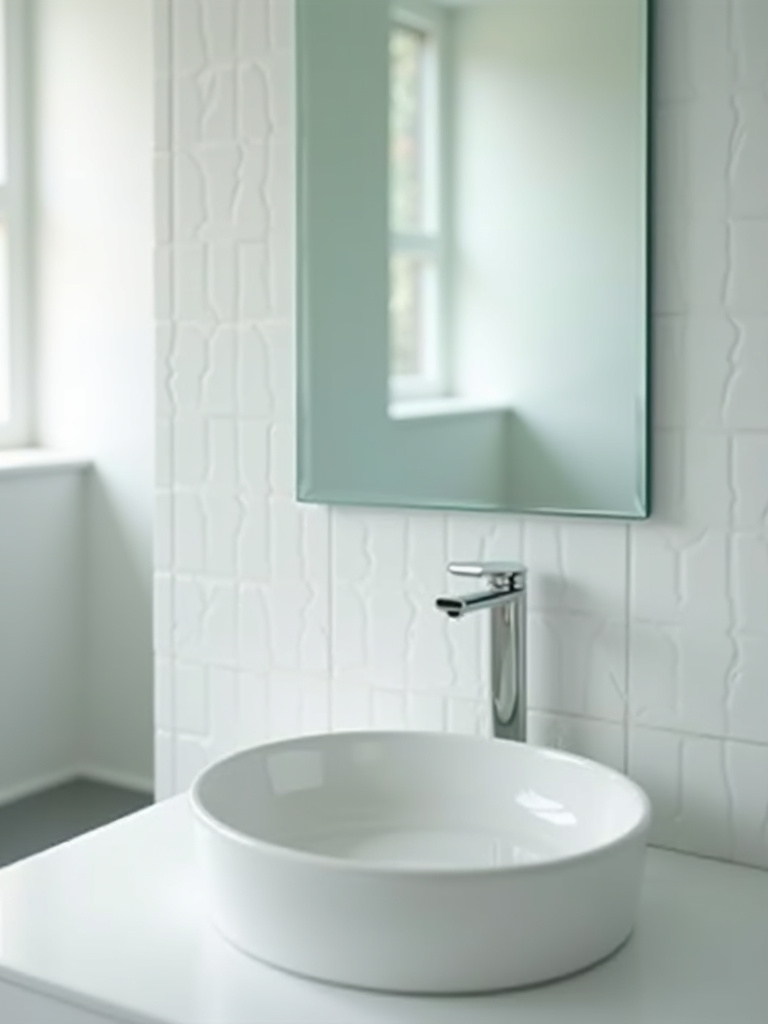
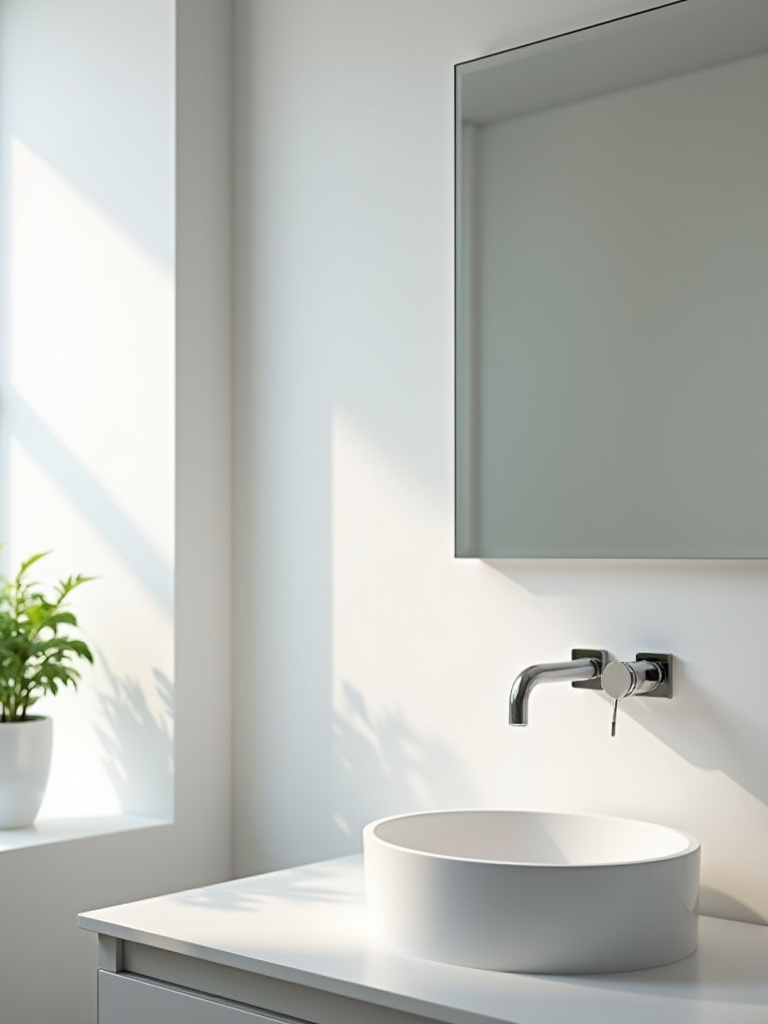
9. Explore Frameless Designs for a Minimalist, Seamless Look
If you’re ever stuck or your bathroom already has a lot going on—like a bold patterned tile—a frameless mirror is your best friend. It’s the little black dress of bathroom design. It never goes out of style, it works with everything, and it lets the other elements in the room take center stage.
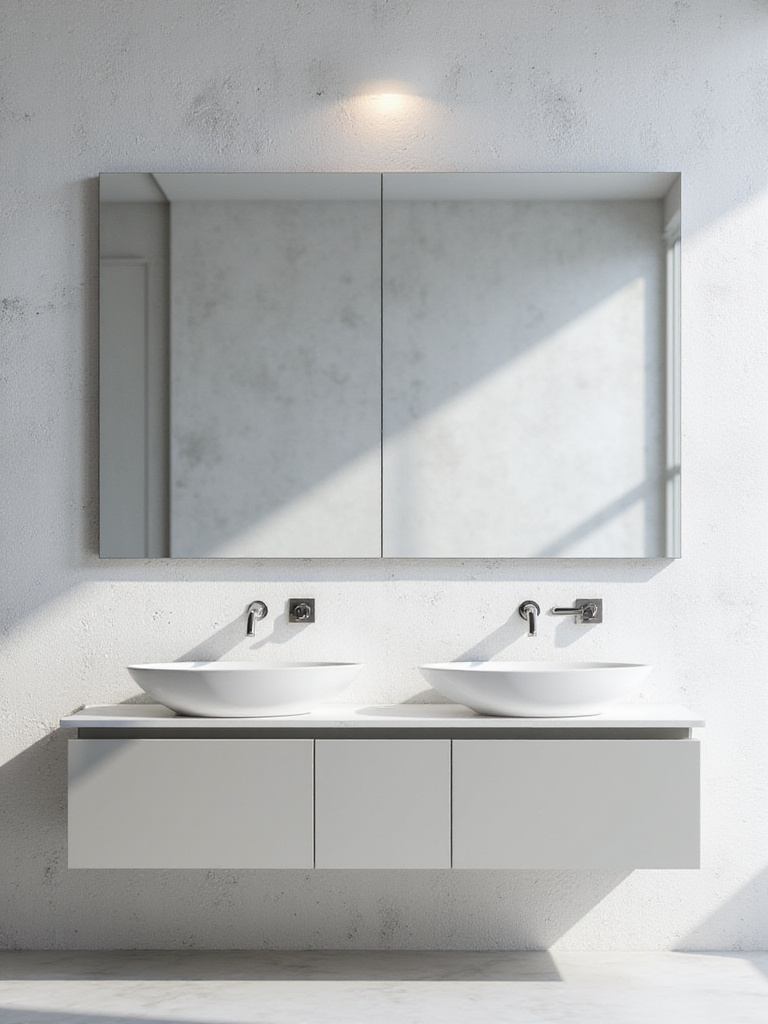
Frameless mirrors are fantastic for making a small bathroom feel bigger. Without a chunky frame creating a visual border, the reflection seems to just float, which tricks the eye into seeing more space. Plus, they are incredibly easy to clean. No dusty corners or crevices to worry about. For a truly high-end look, go for one with a beveled edge. That little angled cut around the perimeter catches the light beautifully and adds a subtle touch of elegance.
Now for a classic that does double duty.
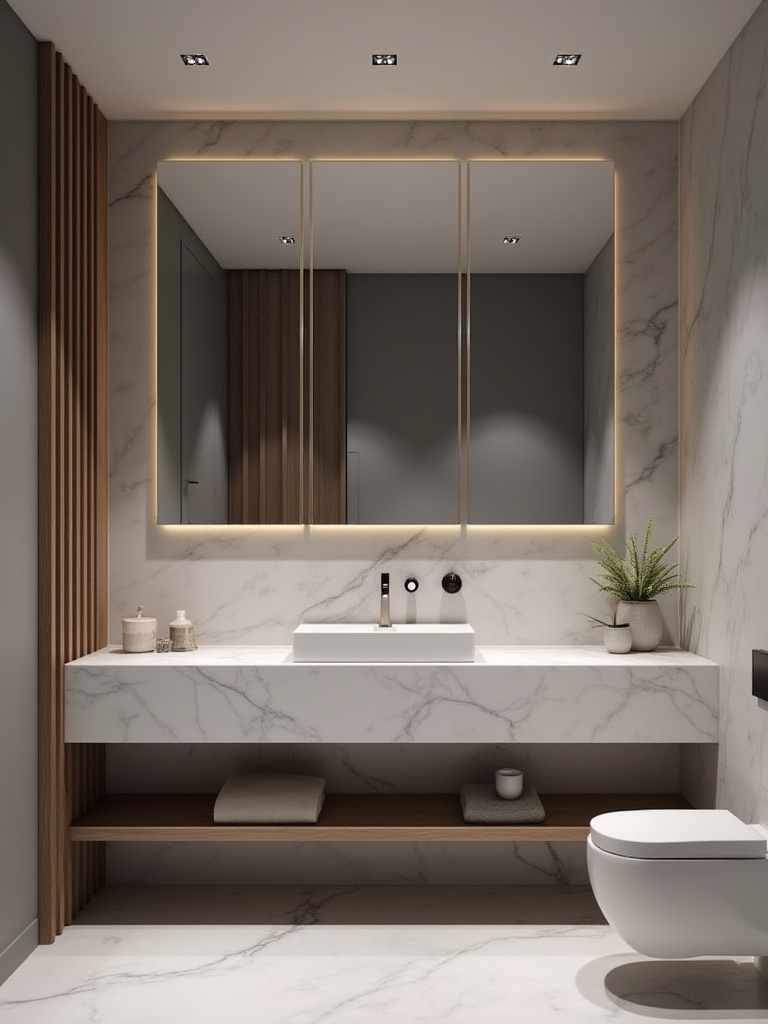
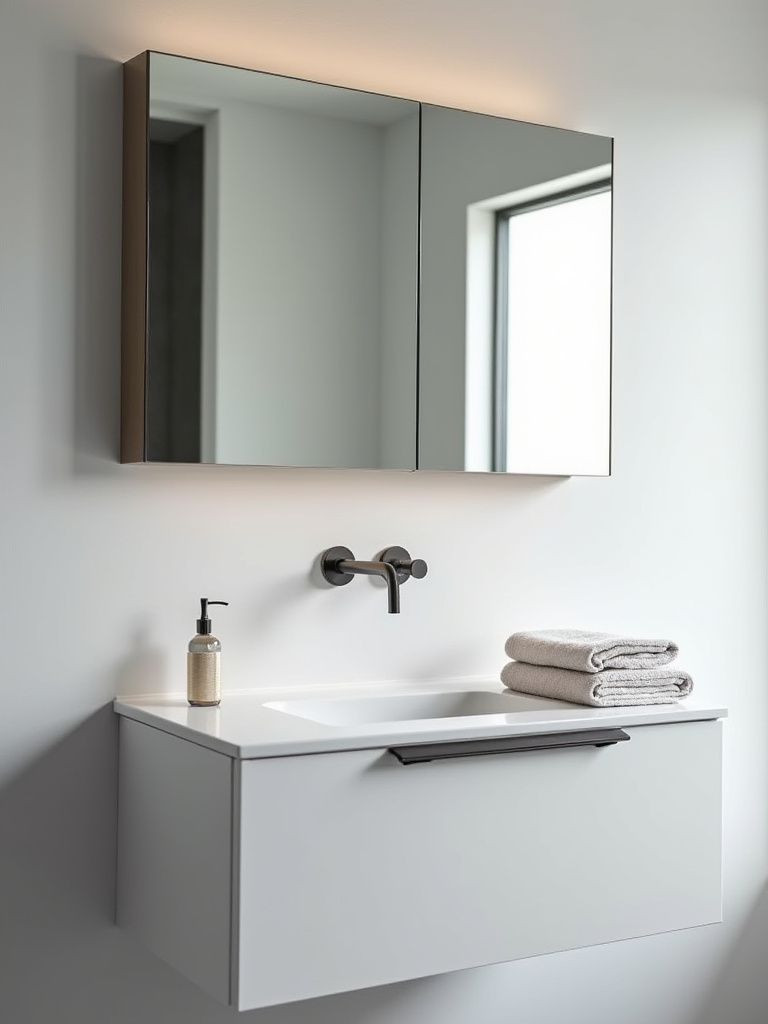
10. Incorporate Mirrored Medicine Cabinets for Hidden Storage
I’m a huge believer in functional design, and nothing is more functional than a mirrored medicine cabinet. It’s the original bathroom multitasker! If you have a small bathroom with limited counter space, getting all those lotions and potions hidden away behind the mirror is a game-changer. It instantly makes the room feel cleaner and more serene.
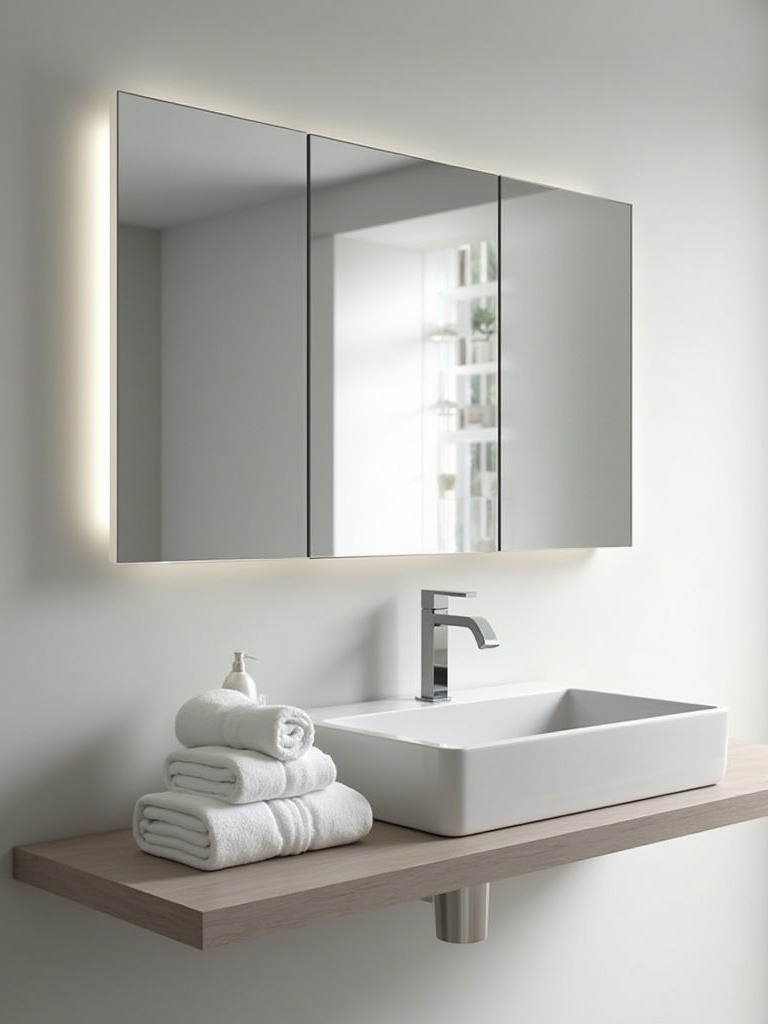
They’ve come a long way from the rusty metal boxes of our childhoods. You can now get recessed models that sit flush with the wall for a completely seamless look, or surface-mount versions with beautiful frames, integrated lighting, and even outlets inside for charging your toothbrush. It’s one of the smartest ways to add storage without sacrificing an inch of floor space.
Once you’ve found the perfect mirror, making sure it stays on the wall is, well, pretty important.
Selecting and Installing Your Ideal Mirror (Part 2)
This is the part that makes people nervous, but it doesn’t have to be complicated. Getting the installation right and using your mirror strategically will make all the difference in the final look.
11. Understand Proper Wall Mounting Techniques for Secure Installation
Please, I beg of you, do not hang a heavy mirror with a single nail designed for a picture frame. I once had to help a friend patch a huge hole in his drywall—and buy a new mirror—because of this exact mistake. The humidity in a bathroom can weaken drywall over time, and gravity is relentless. A falling mirror isn’t just a mess; it’s genuinely dangerous.
The shortcut everyone needs to know: use a stud finder. Whenever possible, drive your screws directly into the wooden studs behind the drywall. That’s the most secure anchor you can get. If there are no studs where you need to hang it, use heavy-duty wall anchors (like toggle bolts) that are rated for at least twice the weight of your mirror. It might seem like overkill, but it’s the only way to have true peace of mind.
Properly mounted, your mirror can do more than just hang there—it can work for you.
12. Position Your Mirror Strategically to Amplify Natural Light
This is my favorite designer trick. If you have a window in your bathroom, placing your mirror on the opposite wall will essentially create a second window. It will capture all that beautiful natural light and bounce it right back into the room, making the space feel infinitely brighter and more open. It’s the oldest trick in the book for a reason—it works every time.
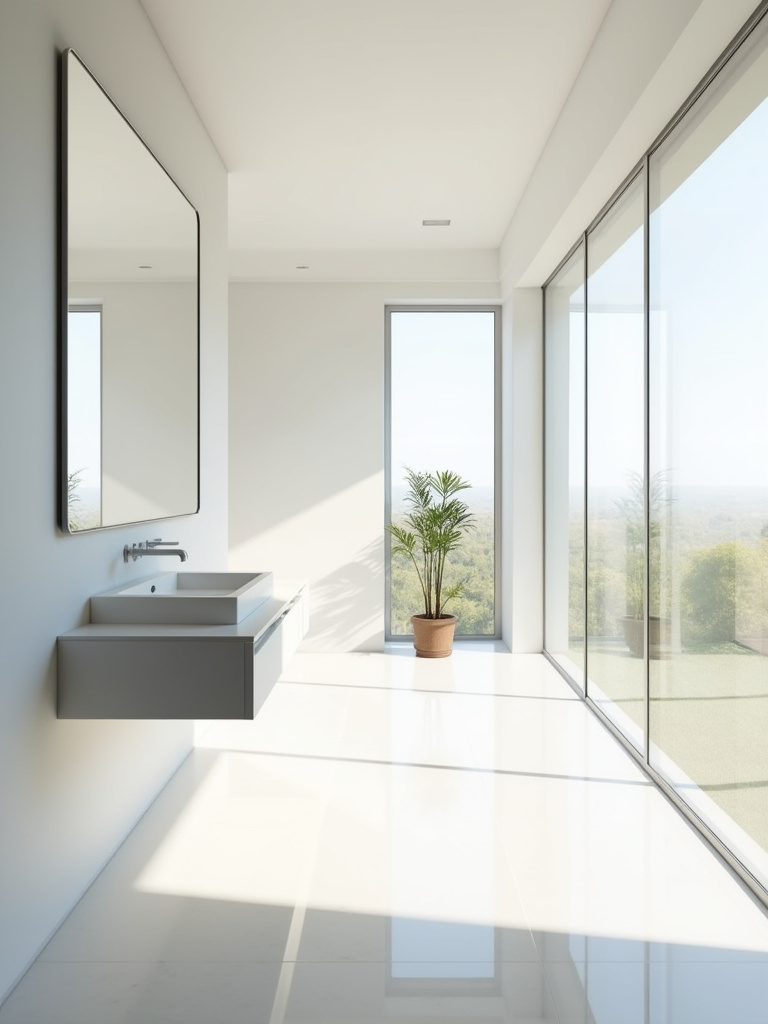
I did this in my own small powder room. It’s windowless, but it’s across the hall from a big, sunny window in the living room. By hanging a large mirror on the back wall, it now pulls in all that light from the hallway, and what was once a dark little cave now feels bright and airy. Think about what your mirror will reflect. Aim for a window, a beautiful light fixture, or a piece of art—not the toilet.
Okay, let’s move on to the really fun stuff—the upgrades that make your mirror a centerpiece.
Enhancing Your Mirror’s Function and Style (Part 1)
This is where modern technology and clever design come together. Today’s mirrors can do so much more than just reflect. They can light up, clear themselves, and even tell you the weather. It’s about adding little touches of luxury that make your daily routine so much better.
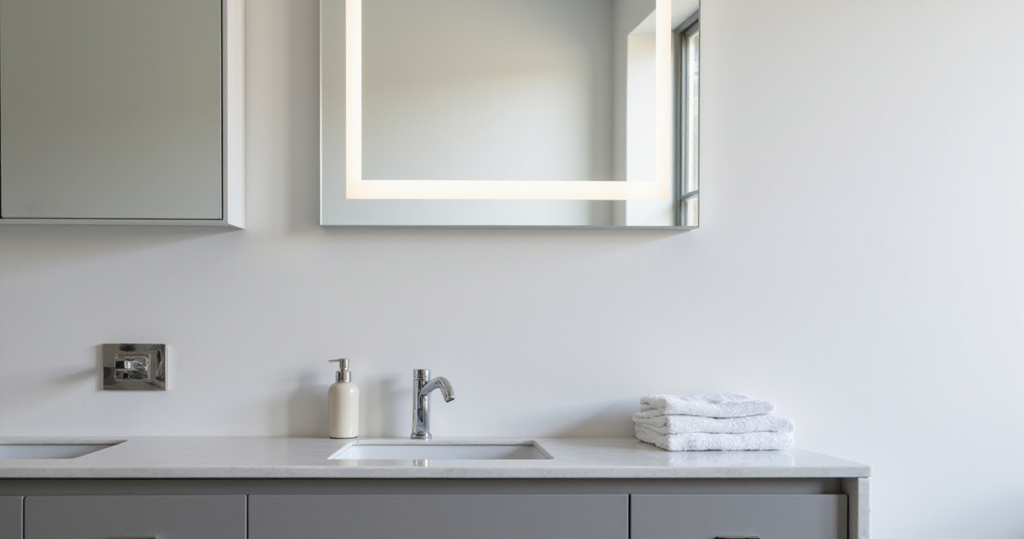
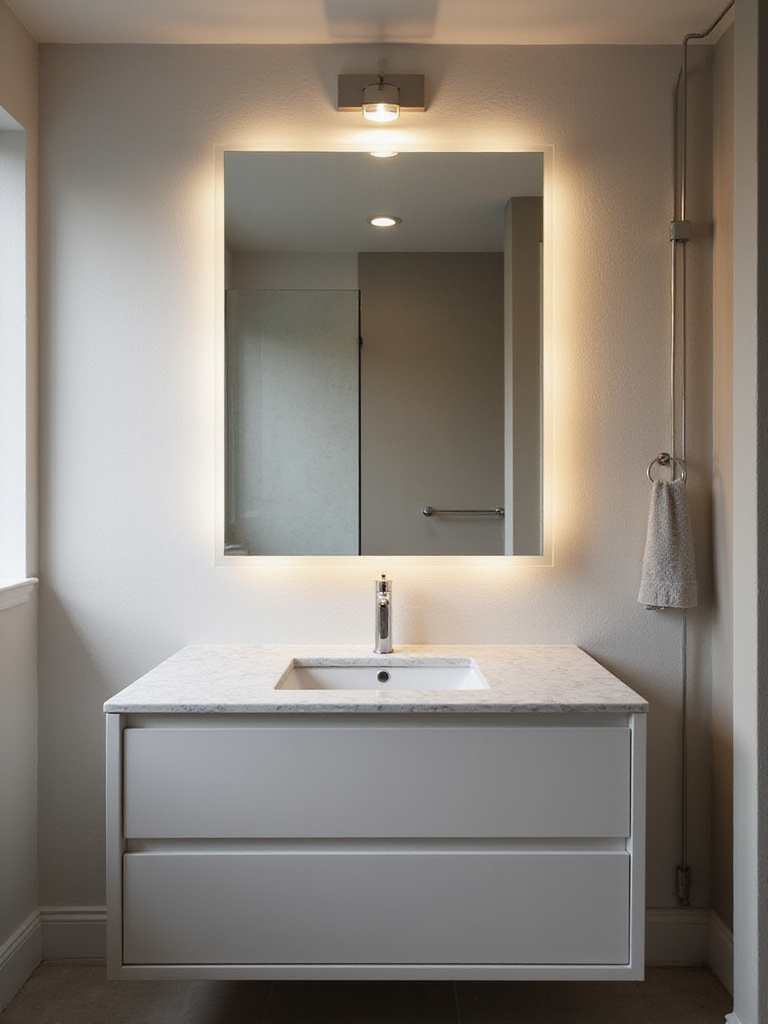
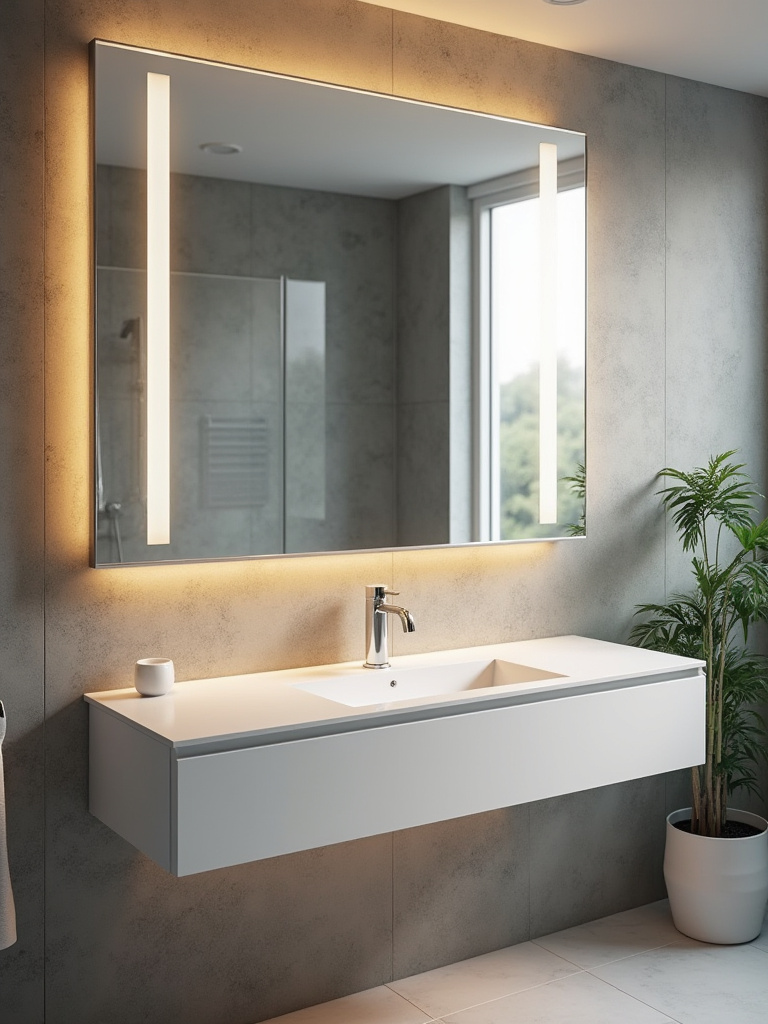
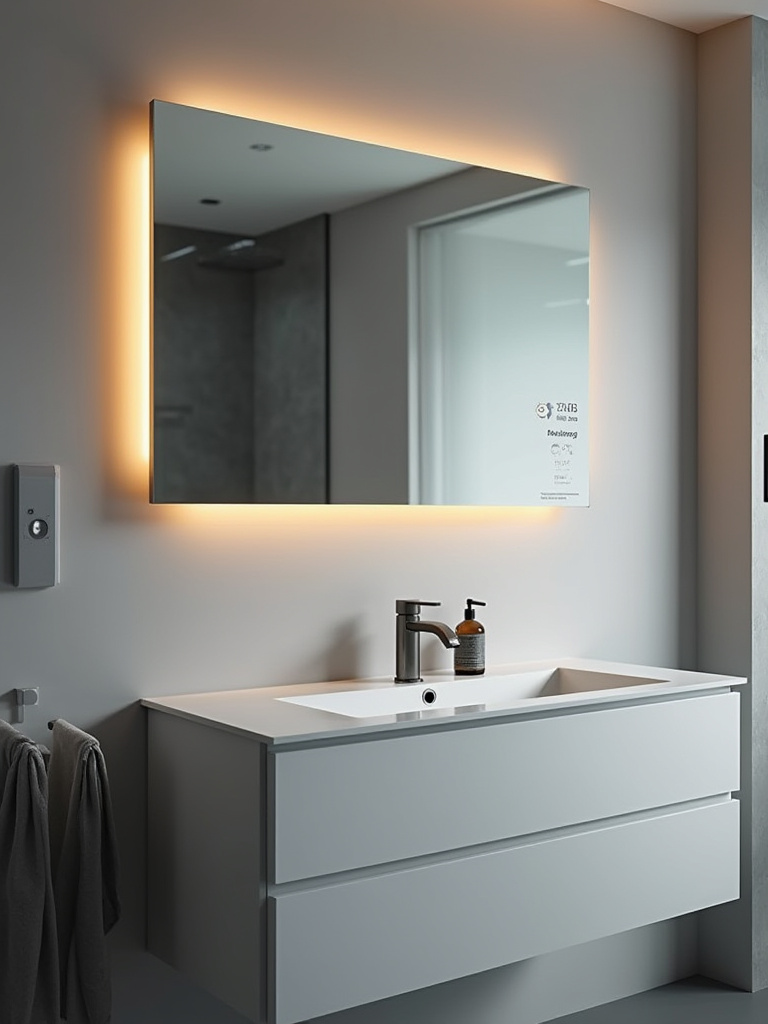
13. Integrate Backlit LED Mirrors for Soft, Even Illumination
If you want that glamorous, hotel-spa feeling in your own bathroom, a backlit mirror is the answer. The light comes from behind the glass, casting a soft, even glow all around the edges. There are no harsh shadows, no glare—just beautiful, flattering light that makes everyone look like a movie star.
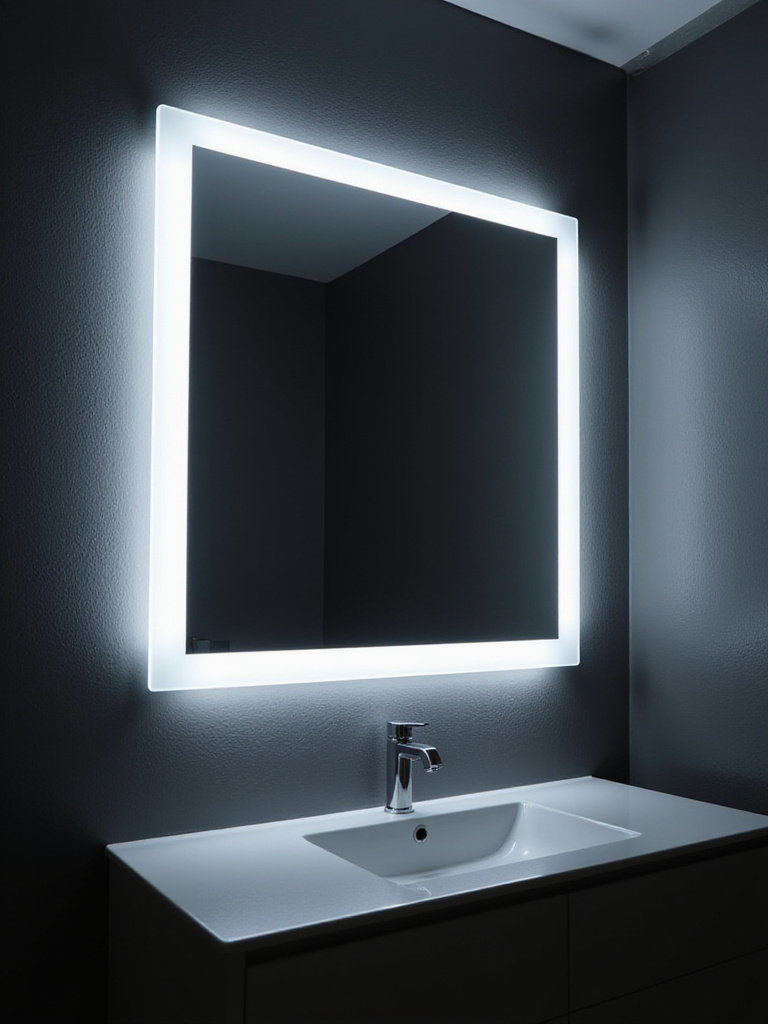
It’s the absolute best kind of lighting for grooming because it illuminates your face from all sides. I’ve had so many clients install one and then call me saying their makeup has never looked better. It’s because for the first time, they can actually see what they’re doing without fighting weird shadows from an overhead light. It’s a functional upgrade that feels incredibly luxurious.
But that’s not the only way to get great light.
14. Add Wall-Mounted Sconces or Pendants for Task Lighting
If a backlit mirror isn’t in the budget or doesn’t fit your style, the classic solution is a pair of sconces. The key is to place one on each side of the mirror, right around eye level. This creates what designers call “cross-illumination,” lighting both sides of your face evenly. It’s the gold standard for task lighting at a vanity.
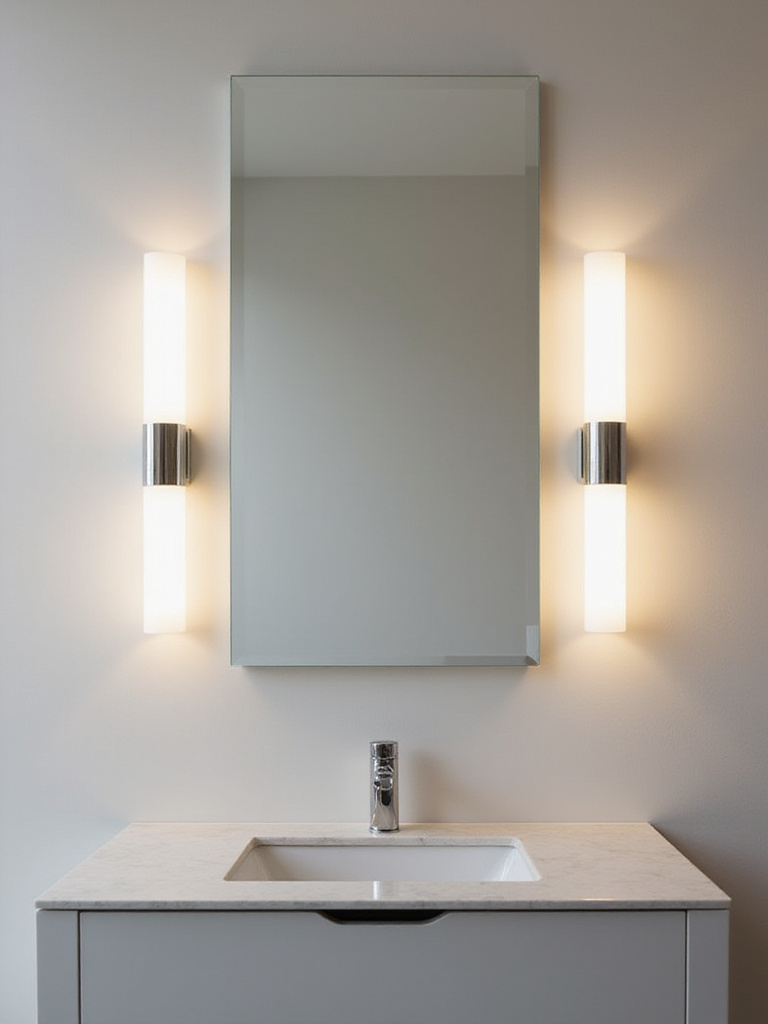
My pet peeve is seeing a beautiful bathroom with a single, lonely light fixture above the mirror. As we’ve discussed, it’s a shadow-casting nightmare. Adding sconces is a relatively simple job for an electrician, but it makes a world of difference in how the bathroom functions. Plus, the sconces themselves become a beautiful decorative element.
Now for a feature you’ll wonder how you ever lived without.
15. Install Anti-Fog Heating Elements for Crystal-Clear Reflections
You know the drill. You step out of a nice, hot shower, and the mirror is completely fogged over. You wipe it with your hand, leaving streaks everywhere. Well, there’s a solution, and it is pure magic. It’s a thin heating pad, called a demister, that sticks to the back of your mirror. You wire it to your light switch, and it gently warms the glass so condensation can’t even form.
This is one of those small upgrades that delivers a huge daily payoff. Every single time you get out of the shower, your mirror is perfectly clear and ready to use. I recommend this to every single one of my clients. It feels like a five-star hotel feature, but it’s a surprisingly affordable and easy addition to any bathroom renovation.
And speaking of five-star features…
16. Opt for Smart Mirrors with Integrated Tech Displays
Okay, this is next-level. Smart mirrors have a portion of the glass that doubles as a screen. While you’re brushing your teeth, you can see the weather forecast, your calendar for the day, the morning headlines, or even control the music playing through the built-in speakers. Some can even analyze your skin.
Is it a necessity? Absolutely not. Is it an incredible piece of tech that can streamline your morning and make you feel like you’re living in the future? Yes. If you’re a tech lover or just someone who wants to maximize every minute of their morning, it’s an amazing tool. It turns the time you spend getting ready into productive time, and that’s something a lot of busy families can appreciate.
Let’s switch gears from high-tech to high-style.
Enhancing Your Mirror’s Function and Style (Part 2)
This is all about thinking beyond the single rectangle. Your mirror can be a major design statement, an art installation, or a clever textural element. It’s time to get creative.
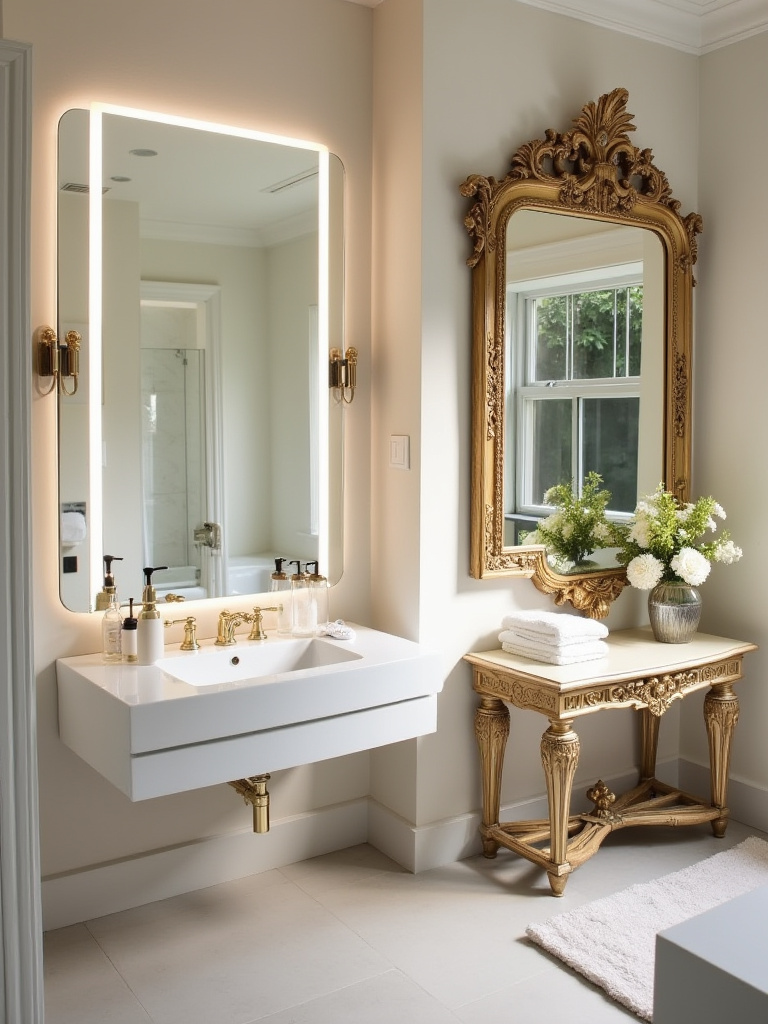
17. Use Multiple Smaller Mirrors for a Decorative Gallery Effect
Who says you have to have just one mirror? I love creating a gallery wall of smaller, mismatched mirrors over a long vanity or on a feature wall. It adds so much personality and character to a space. You can hunt for vintage frames at flea markets or buy a coordinated set—either way, the result is unique and completely custom.
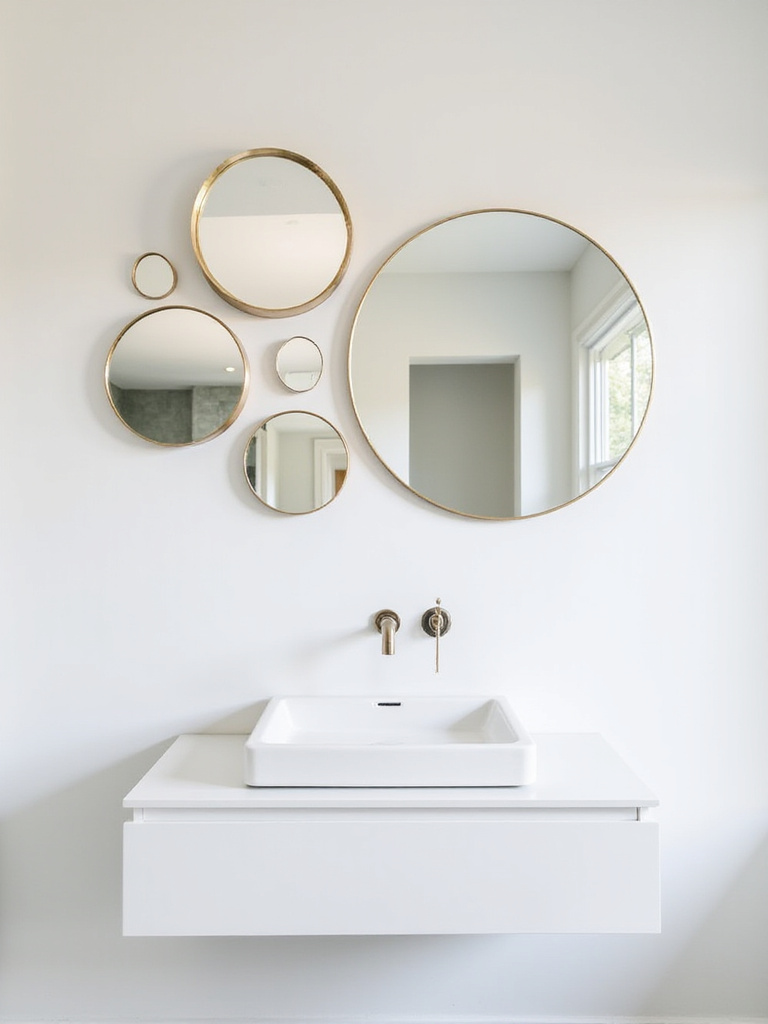
The trick is to lay them all out on the floor first to get the spacing just right. Find a common thread to tie them together—maybe they’re all gold-framed, or all round, or all have an antique feel. This approach is perfect for a powder room or any space where you want to make a big, artistic statement. It turns the wall into a piece of art that just happens to be reflective.
Here’s another way to turn your wall into art.
18. Layer Mirrors Over Wallpaper or Textured Walls for Depth
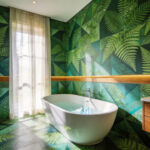
If you’ve fallen in love with a bold, beautiful wallpaper, don’t be afraid to use it in the bathroom! A lot of people worry about covering it up, but hanging a mirror directly on top of it is one of the most sophisticated design moves you can make. The pattern peeking out from behind the mirror creates an incredible sense of depth and luxury.

This works just as well over textured walls like shiplap or beadboard. The contrast between the smooth, reflective surface of the mirror and the texture of the wall behind it is simply stunning. It adds a rich, layered feel that you just can’t get from a plain painted wall. It’s a sign of a really confident, well-thought-out design.
Now, let’s talk about keeping your beautiful mirror looking great for the long haul.
Optimizing Longevity and Aesthetic Impact (Part 1)
You’ve invested time and money into finding the perfect mirror; now let’s make sure it lasts. A little bit of care and a few smart choices will keep it looking brand new for years.
19. Implement Regular Cleaning Routines Using Gentle Solutions
Stop using harsh, ammonia-based glass cleaners on your mirrors! Over time, those chemicals can seep in around the edges and damage the silver backing, causing those ugly black spots you see on old mirrors. The secret weapon for a streak-free shine is so much simpler: a spray bottle with a 50/50 mix of white vinegar and distilled water.
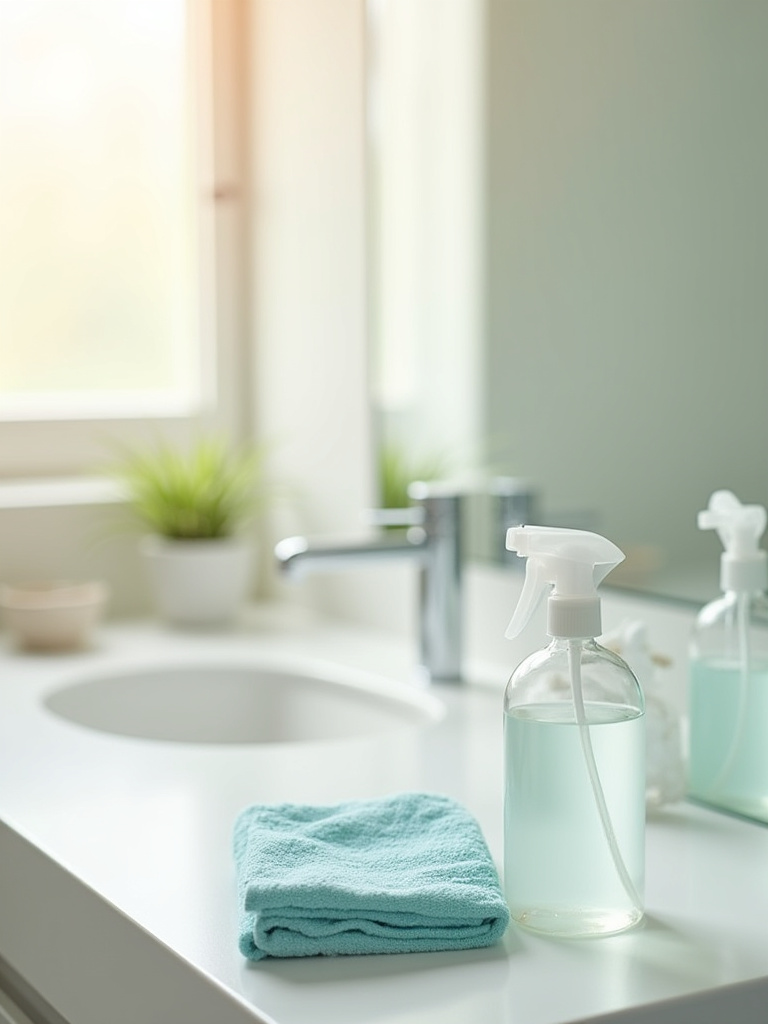
The pro tip is to never spray the cleaner directly onto the mirror. Spray it onto your microfiber cloth instead. This prevents any liquid from dripping down and getting behind the frame or under the edge. Then, use a second, completely dry microfiber cloth to buff it dry. It’s the two-cloth method, and it works perfectly every time.
But what if the damage is already starting?
20. Protect Mirror Edges from Moisture Damage and Black Spots
The edges of a mirror are its weak spot, especially in a steamy bathroom. That’s where moisture creeps in and causes that blackening effect, called desilvering. If you’re installing a new mirror, ask the installer to run a tiny, clear bead of silicone sealant around the edges. It’s an invisible barrier that will add years to the life of your mirror.
The other huge factor is ventilation. Use your exhaust fan! Run it during your shower and for about 15-20 minutes afterward. Getting all that moist air out of the room is the single best thing you can do to protect not just your mirror, but your paint, cabinetry, and everything else in your bathroom. It’s a simple habit with a massive payoff.
Next up, a little-known feature that’s a huge problem-solver.
21. Utilize Tilting Mirrors for Versatile Viewing Angles and Style
A tilting, or pivot, mirror is an absolute game-changer in a family bathroom. It’s mounted on two pivots, so you can easily adjust the angle. This means a tall adult and a small child can use the same mirror comfortably just by giving it a little tilt. No more kids standing on unsafe stools to see their reflection!
This feature is also brilliant for dealing with glare. If you have an overhead light that creates a bright spot right in your eyes, you can simply tilt the mirror down slightly to angle the reflection away. They often have a very classic, slightly industrial look that can add a lot of style to a bathroom, proving that functional can also be beautiful.
And if you really want to make a statement…
22. Incorporate Full-Length Mirrors for Expansive Views and Scale
Why stop at the vanity? Adding a full-length mirror to a bathroom is a power move. It instantly makes the space feel larger and brighter, and it’s incredibly practical for checking your outfit from head to toe before you run out the door. It turns a wall that might otherwise be empty into a useful and expansive feature.
You can hang one on the back of the door to save space, or make a whole wall a mirror for a truly dramatic, spa-like effect. I especially love this in smaller, narrow bathrooms. It completely opens up the visual space and tricks the eye into seeing a much grander room. Just make sure it’s reflecting something lovely, like a piece of art or a window.
Finally, a couple of clever ideas for adding that last layer of polish.
Optimizing Longevity and Aesthetic Impact (Part 2)
We’re at the finish line! These last two ideas are all about adding those final, personal touches that take your bathroom from well-designed to uniquely yours.
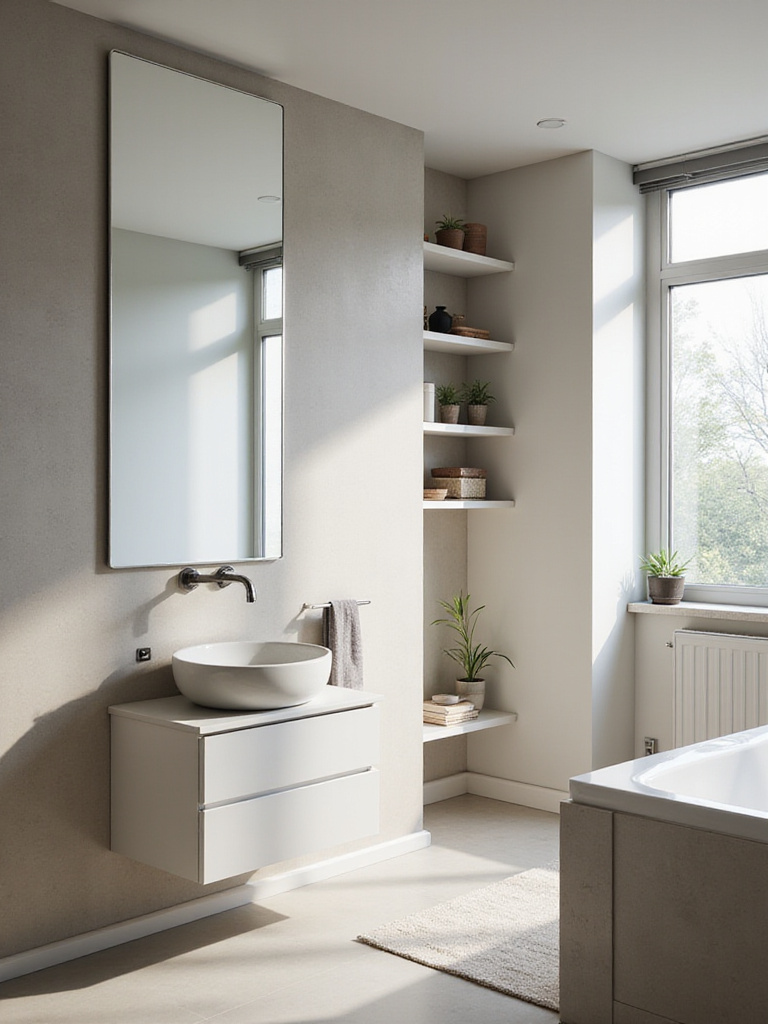
23. Decorate Around Mirrors with Complementary Art or Shelving
Think of the wall around your mirror as valuable real estate. Don’t just leave it empty! Adding a couple of small floating shelves next to your mirror gives you a perfect spot for a beautiful candle, a small plant, or pretty containers for cotton balls and Q-tips. It’s functional storage that doubles as decor.
You can also hang small pieces of art to create a beautiful vignette. Two small, framed botanical prints flanking a mirror can look incredibly chic and intentional. It extends the visual footprint of the mirror, making the whole vanity area feel more substantial and thoughtfully designed. This is your chance to inject your own personality into the space.
And for the most budget-friendly tip of all…
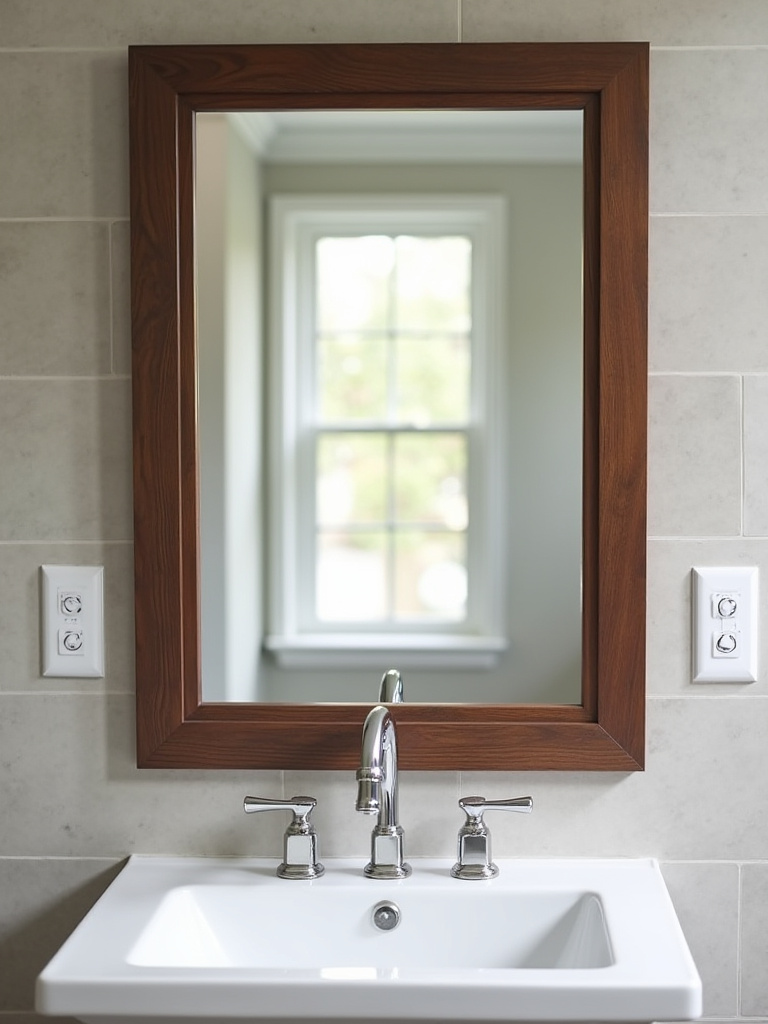
24. Update Existing Mirrors with DIY Frame Enhancements for a Fresh Look
If you have a perfectly good but boring builder-grade mirror, you do not have to replace it! You can give it a major glow-up for less than $50 and a weekend afternoon. There are companies that sell custom frame kits that stick right on top of your existing mirror, or you can do it yourself with simple wood trim from the hardware store.
Just measure carefully, cut your trim pieces at a 45-degree angle (a miter box makes this easy), paint or stain them to match your vanity, and attach them with a strong, mirror-safe adhesive. It is astonishing what a difference a frame makes. It instantly makes the mirror look more expensive and custom, and it’s a project anyone can tackle.
Conclusion
See? A mirror is so much more than just glass. It’s a workhorse that can brighten, enlarge, and beautify your bathroom. It’s the finishing touch that ties everything together, like the perfect flaky sea salt on a finished dish. Whether you go for a high-tech smart mirror or simply add a DIY frame to the one you already have, giving it some thought will completely transform how you feel in that space.
So take another look at your bathroom. What could your mirror be doing for you? Pick one of these ideas and try it. I promise you, you’ll be amazed at the difference it makes when your sanctuary finally, truly reflects you.