Hey there, DIY dreamers! Ever looked at your bathroom sink and thought, “Ugh, you need a makeover”? Well, grab your paintbrush and put on your creative cap, because we’re about to turn that tired old sink into a showstopper – without breaking the bank or your back!
In this article, we’re diving into five easy-peasy bathroom sink makeovers that you can tackle in a single weekend. From giving your sink a fresh coat of paint to jazzing it up with a statement mirror, we’ve got the tips, tricks, and terrible puns to make your sink the star of the bathroom show. So, are you ready to make waves with your new bathroom look? Let’s dive in and get those creative juices flowing faster than a leaky faucet!
Refresh with Paint: Sink Refinishing for a Brand New Look
Ready to give your bathroom sink a facelift without breaking the bank? Let’s dive into the world of sink refinishing – a budget-friendly way to breathe new life into your bathroom!
Choosing the Right Paint
When it comes to sink refinishing, not all paints are created equal. You’ll want to opt for epoxy paint, the superhero of sink makeovers. It’s durable, water-resistant, and gives you that high-gloss finish that’ll make your sink shine brighter than a disco ball at Studio 54. Trust me, your sink will thank you for it!
Step-by-Step Refinishing Process
- Clean and Prep: Start by giving your sink a thorough scrub-down. We’re talking squeaky clean, folks! Remove any caulk or sealant around the edges.
- Sand it Down: Time to get your hands dirty (or dusty). Sand the entire surface to create a smooth canvas for your paint. It’s like exfoliating for your sink!
- Mask and Protect: Use painter’s tape to protect areas you don’t want painted. This isn’t the time for abstract expressionism – we’re going for precision here.
- Prime Time: Apply a bonding primer specifically designed for bathroom surfaces. This is the secret sauce that’ll make your paint stick like glue.
- Paint Party: Now for the fun part! Apply your epoxy paint in thin, even coats. Remember, patience is a virtue – let each coat dry completely before adding the next.
- Cure and Celebrate: Allow your newly painted sink to cure for at least 48 hours. I know, I know – it’s like waiting for paint to dry, but trust me, it’s worth it for a long-lasting finish.
Pro tip: Want to add some pizzazz? Try using metallic epoxy paint for a luxe look that’ll have your guests thinking you splurged on a designer sink!
Before you start, gather your materials:
- Epoxy paint
- Bonding primer
- Sandpaper (fine grit)
- Painter’s tape
- Paintbrushes or foam rollers
- Cleaning supplies
Remember, proper preparation is key to a successful sink refinishing project. It’s like baking – follow the recipe, and you’ll end up with a delicious result (in this case, a beautiful sink)!
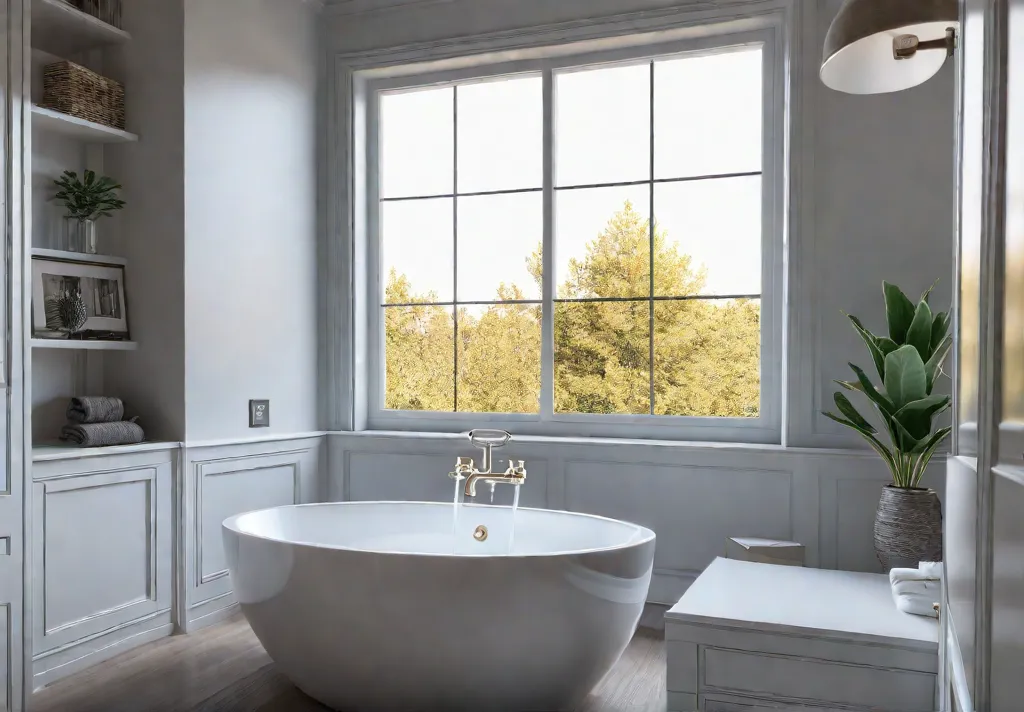
I once refinished my bathroom sink, transforming it from a sad, chipped mess to a gleaming white beauty. It was so satisfying that I found myself making excuses to use the bathroom just to admire my handiwork. Don’t judge – I’m sure you’ll do the same!
With a little elbow grease and some paint magic, you can give your bathroom sink a whole new lease on life. It’s amazing how such a simple change can make such a big impact on your bathroom’s overall look.
Now that we’ve covered how to give your sink a fresh coat of paint, let’s move on to another quick and easy upgrade. In our next section, “Instant Upgrade: Replacing Your Bathroom Faucet,” we’ll explore how swapping out your old faucet can turn the taps on a whole new look for your bathroom. Get ready to make waves with this simple yet impactful change!
Instant Upgrade: Replacing Your Bathroom Faucet
Ready to turn your bathroom sink from drab to fab? Let’s dive into the world of faucet replacement – a DIY project that’s sure to make a splash without drowning your wallet or your weekend!
Choosing the Right Faucet Style
Before we roll up our sleeves, let’s talk style. Your faucet is like the jewelry of your bathroom sink – it needs to complement the overall look. Here are some popular options to consider:
- Traditional: Perfect for that timeless, classic bathroom vibe
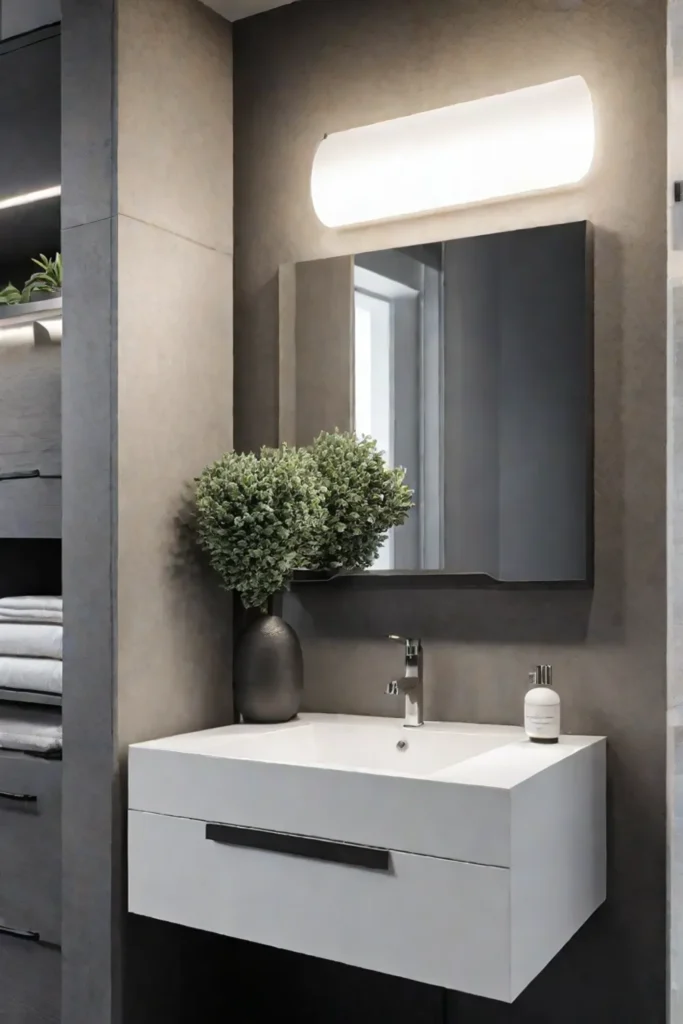
- Modern: Sleek and minimalist for the contemporary space
- Transitional: A happy medium that works in almost any setting
- Vintage: Ideal for adding character to older homes

Pro tip: Don’t forget to consider the finish! Chrome, brushed nickel, oil-rubbed bronze, or even matte black can dramatically change the look of your space.
Step-by-Step Faucet Installation
Now, let’s get down to the nitty-gritty. Here’s your step-by-step guide to faucet replacement:
- Gather your tools: Adjustable wrench, pliers, and a basin wrench
- Turn off the water supply (unless you’re going for the indoor waterpark look)
- Remove the old faucet (say your goodbyes)
- Clean the sink surface (because who doesn’t love a fresh start?)
- Install the new faucet according to the manufacturer instructions
- Connect the water lines
- Turn the water back on and check for leaks
Remember, a leaky faucet isn’t just annoying – it can waste gallons of water per day. So, make sure everything’s tight and right!
Faucet Features to Consider
Modern faucets aren’t just pretty faces; they come with some nifty features:
- Touchless activation (for the germaphobes among us)
- Temperature control (no more scalding surprises)
- Water-saving technology (Mother Earth will thank you)
Troubleshooting Tips
Hit a snag? Don’t throw in the towel just yet! Here are some common issues and quick fixes:
- Leaky connections: Tighten them up or replace the washers
- Low water pressure: Check for debris in the aerator
- Wobbly faucet: Ensure the mounting nuts are tight
Remember, folks – if all else fails, there’s no shame in calling a pro. Sometimes, knowing when to wave the white flag is the smartest DIY move of all!
Now that we’ve turned on the tap of faucet knowledge, let’s flow into our next exciting bathroom makeover project. Get ready to give your vanity a glow-up that’ll make you do a double-take every time you brush your teeth!
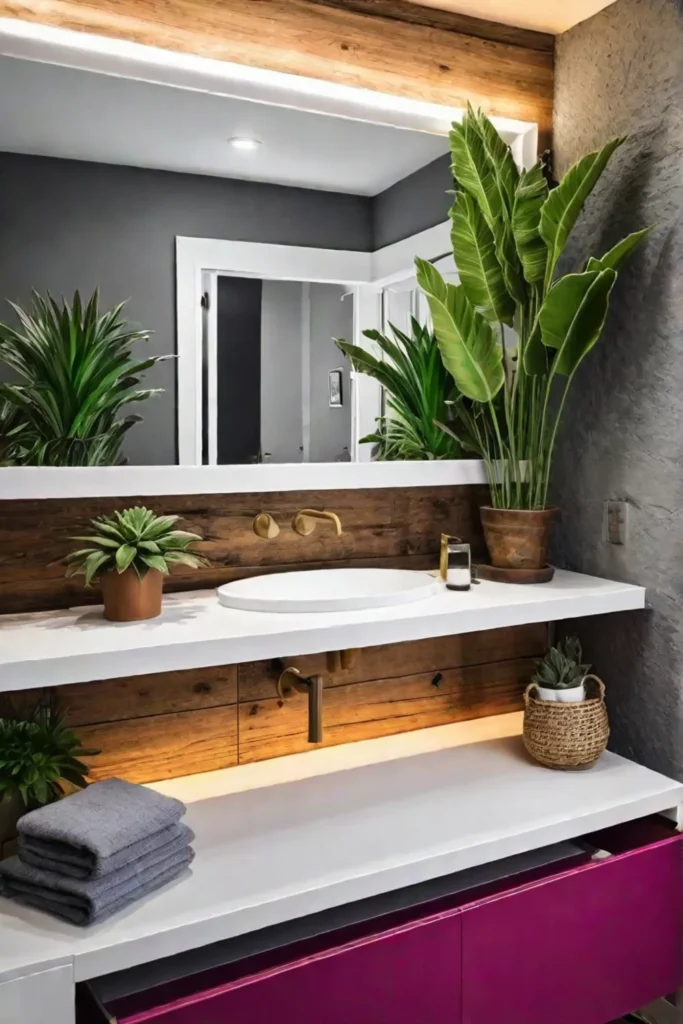
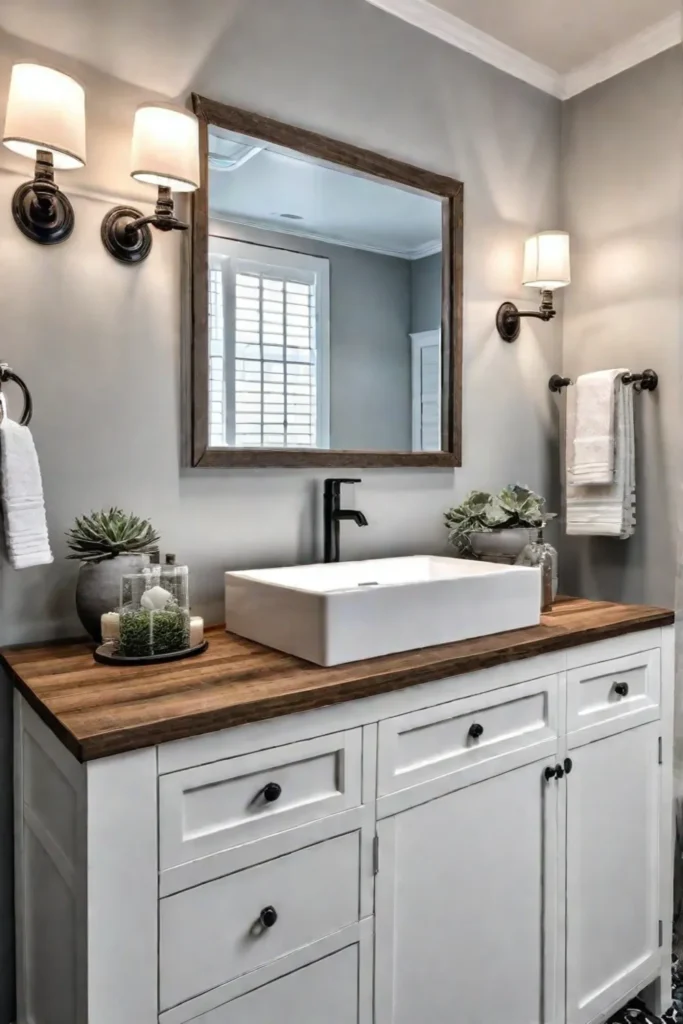
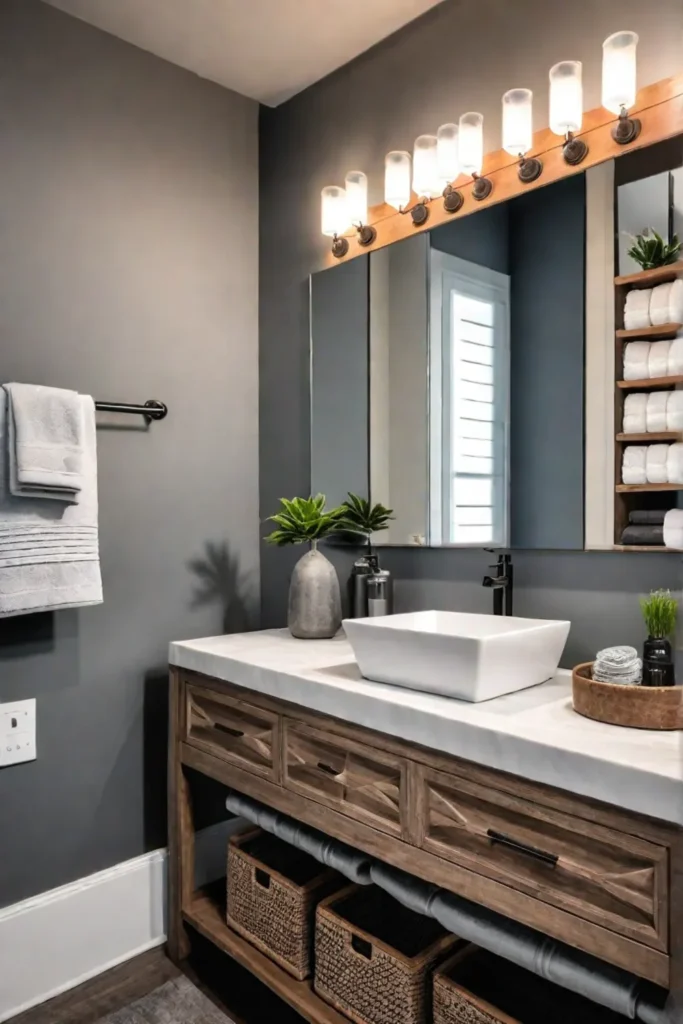
Vanity Flair: Upcycling Your Bathroom Vanity
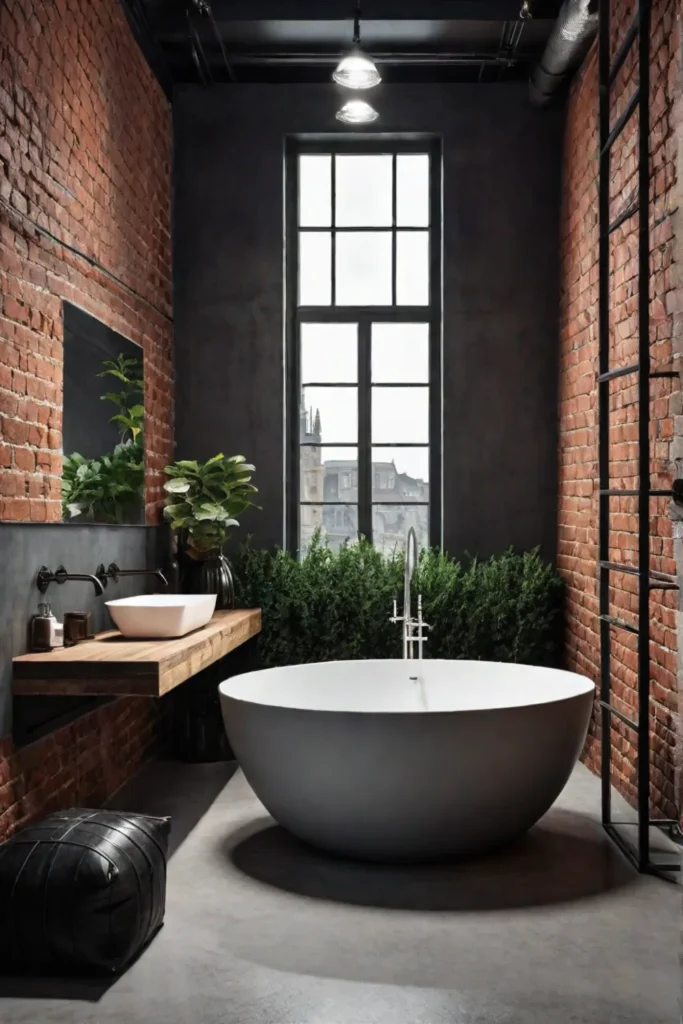
Ready to give your bathroom sink area a makeover that’ll make your wallet and Mother Nature smile? Let’s dive into the wonderful world of vanity upcycling! Trust me, folks, this is where the magic happens – transforming old, forgotten pieces into stunning focal points that’ll have your guests green with envy (and your conscience feeling pretty darn good, too).
Creative Upcycling Ideas
- Dresser Turned Diva: Got an old dresser collecting dust? With a little TLC, it can become the bathroom vanity of your dreams. Remove a few drawers, cut a hole for the sink, and voila! You’ve got yourself a one-of-a-kind vanity with built-in storage.
- Console Table Conversion: That neglected console table in your hallway? It’s just begging for a new life in the bathroom. A quick coat of water-resistant paint and some plumbing magic, and you’ve got a chic, open-concept vanity that screams “high-end boutique hotel.”
- Sewing Machine Stunner: For my fellow vintage lovers, an antique sewing machine base can make for a jaw-dropping vanity. Top it with a sleek countertop, and you’ve got yourself a conversation piece that’s both functional and fabulous.
Essential Upcycling Supplies
Before you embark on your vanity voyage, make sure you’ve got these must-haves in your DIY arsenal:
- Water-resistant paint or sealant
- Sandpaper (various grits)
- Wood filler
- New hardware (knobs, pulls, hinges)
- Plumbing supplies (if needed)
- A healthy dose of imagination!
Pro Tips for Perfect Upcycling
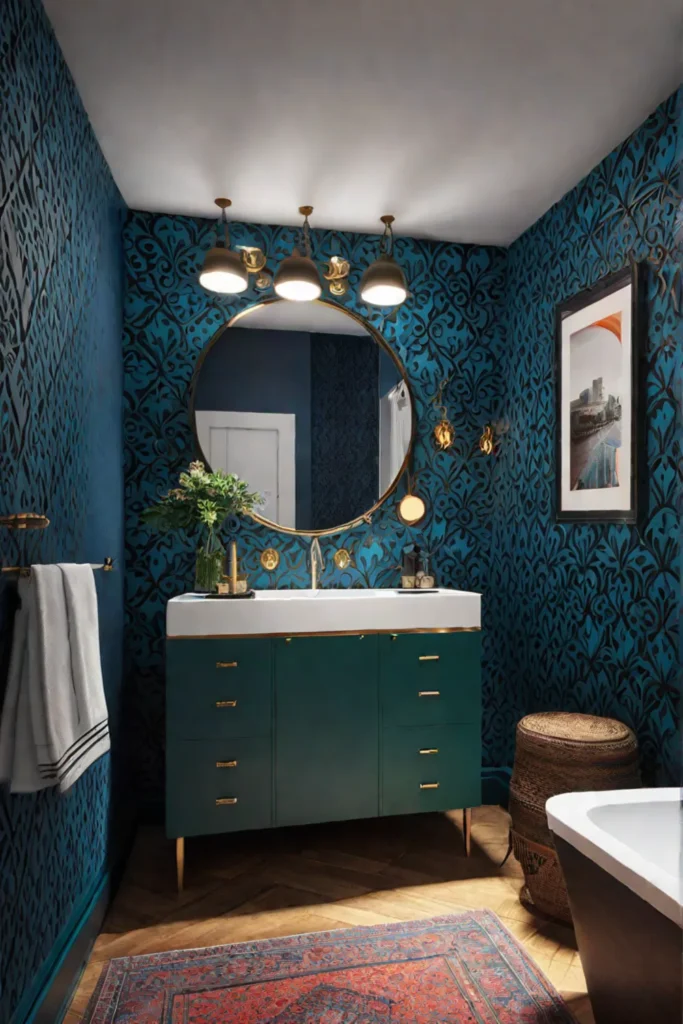
- Bold is Beautiful: Don’t be afraid to go big with color! A vibrant blue or rich emerald green can turn a ho-hum piece into a show-stopping vanity.
- Hardware Heaven: Swapping out old knobs and pulls is like giving your vanity a facelift. Hit up flea markets or online marketplaces for unique, vintage-inspired pieces that’ll add character.
- Seal the Deal: Always use a water-resistant sealant or paint to protect your upcycled vanity from bathroom humidity. Trust me, future you will thank you for this extra step!
Where to Find Your Diamond in the Rough
Looking for the perfect piece to upcycle? Here are my go-to treasure troves:
- Thrift stores and secondhand shops
- Facebook Marketplace or Craigslist
- Estate sales and garage sales
- Your attic or basement (you never know what gems you might rediscover!)
Remember, folks, one person’s trash is another person’s fabulous bathroom vanity. With a little elbow grease and a splash of creativity, you can create a personalized, eco-friendly focal point that’ll make your bathroom sing.
As we wrap up our vanity voyage, let’s turn our attention to another key player in your bathroom’s supporting cast. Get ready to reflect on some brilliant ideas as we dive into “Mirror, Mirror: Enhancing Your Sink Area with a Statement Mirror.” Trust me, you’ll want to see what’s coming next!
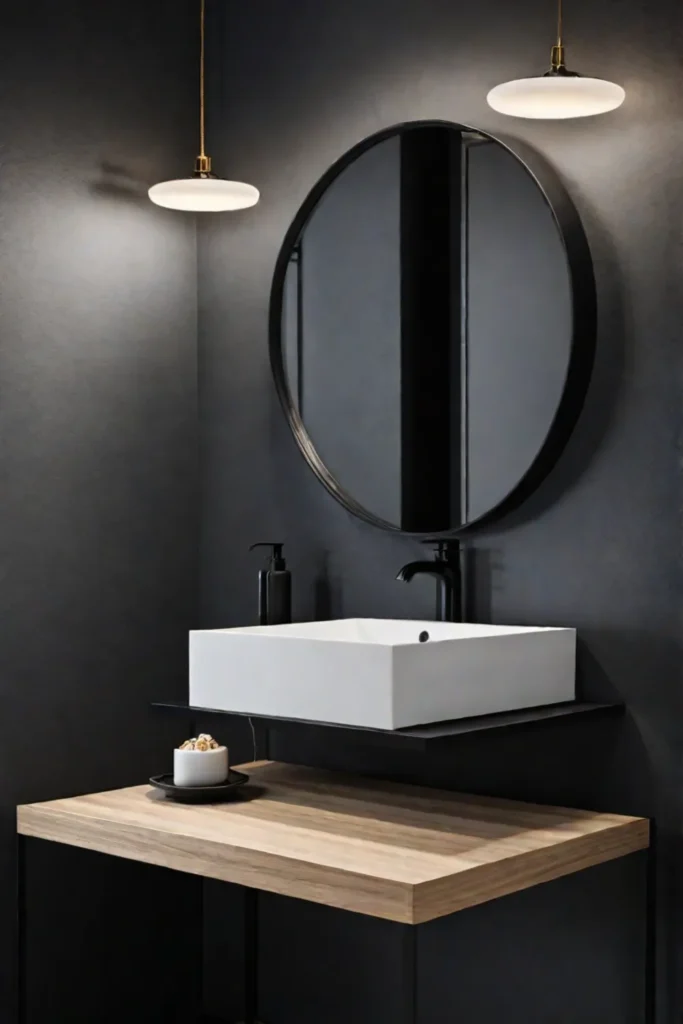
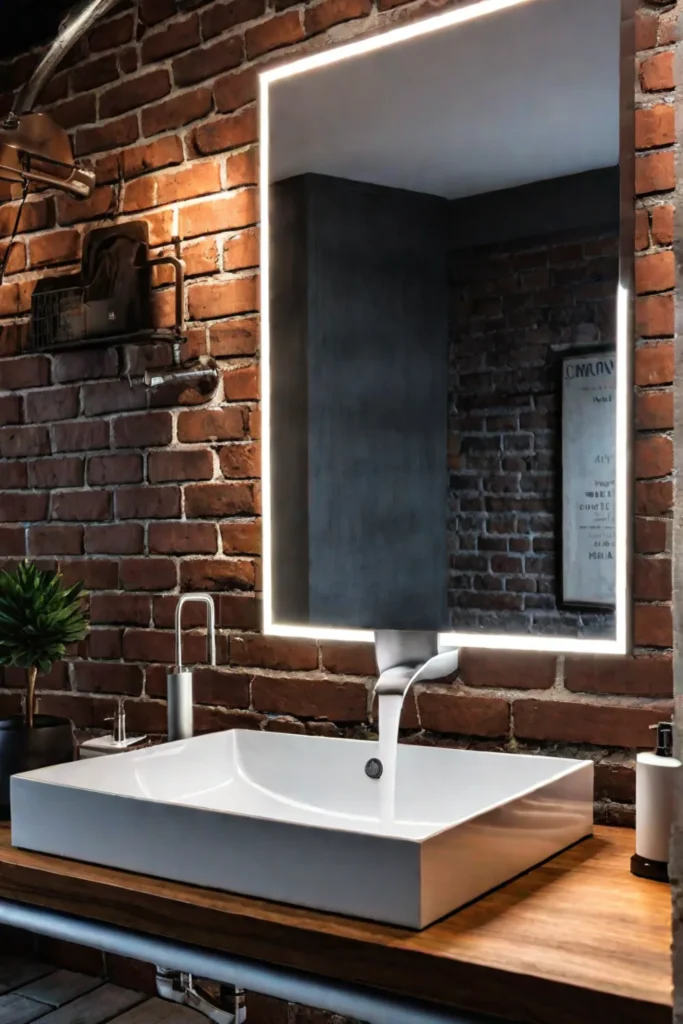
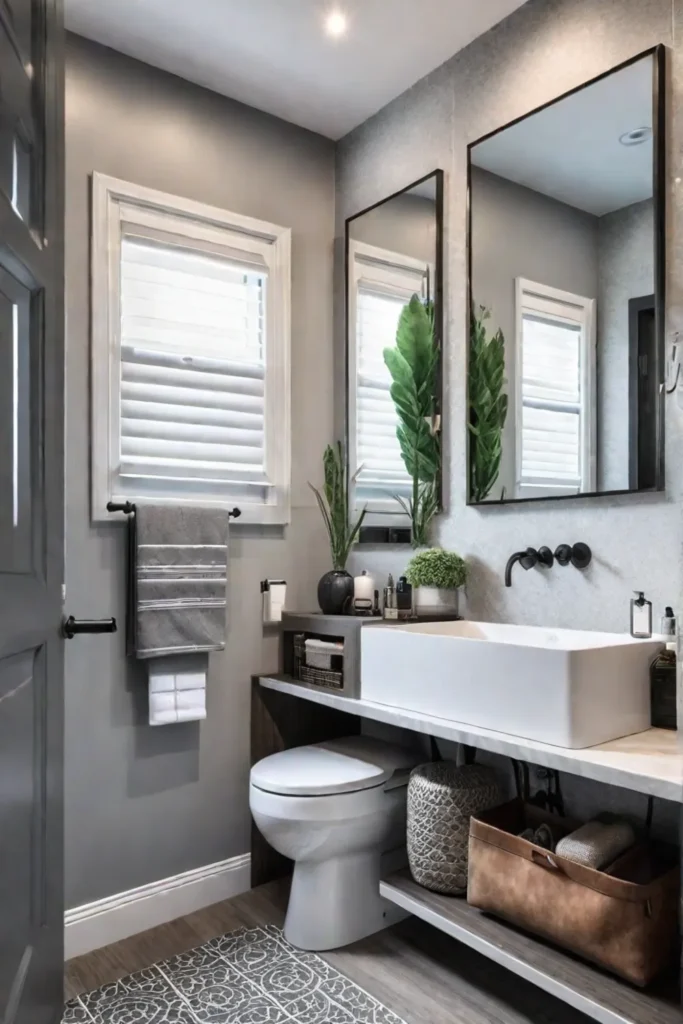
Mirror, Mirror: Enhancing Your Sink Area with a Statement Mirror
Who’s the fairest of them all? Well, it could be your bathroom sink area if you play your cards right! Let’s face it, folks: a well-chosen mirror can be the crown jewel of your bathroom makeover. It’s not just about checking for spinach in your teeth anymore; we’re talking about transforming your entire space with one simple change. So, let’s dive into the world of reflective wonders and see how we can make your sink area shine!
Selecting the Perfect Mirror Shape and Size
First things first: size matters, but shape is the real game-changer. Here’s a quick rundown of mirror shapes and their bathroom-style soulmates:
- Round mirrors: Perfect for softening angular bathrooms and adding a touch of elegance.
- Rectangular mirrors: The classic choice that works with almost any style.
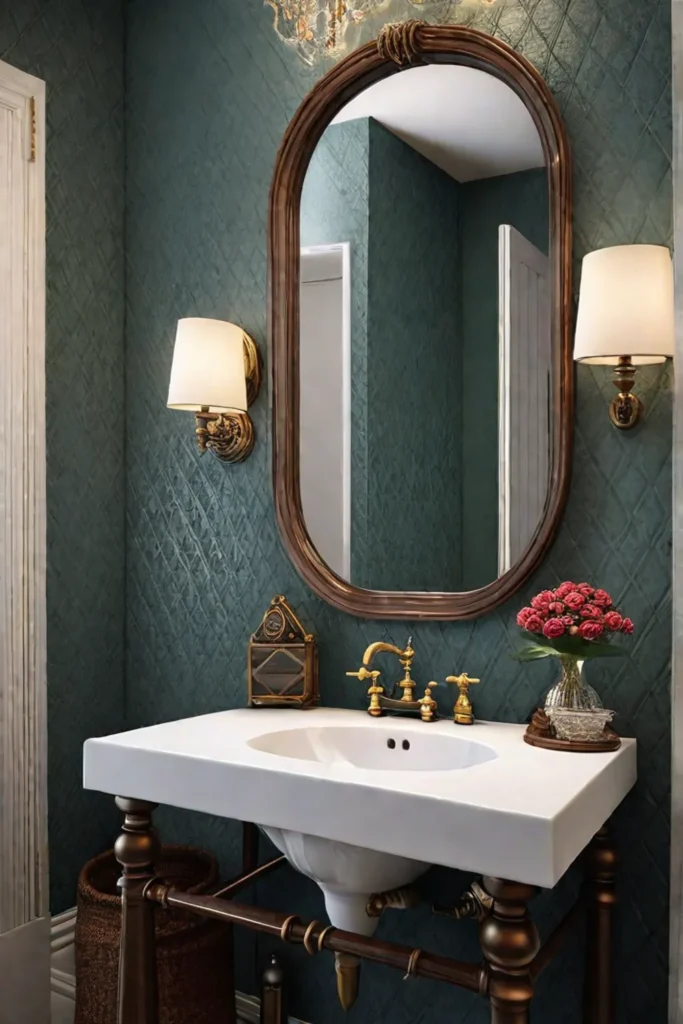
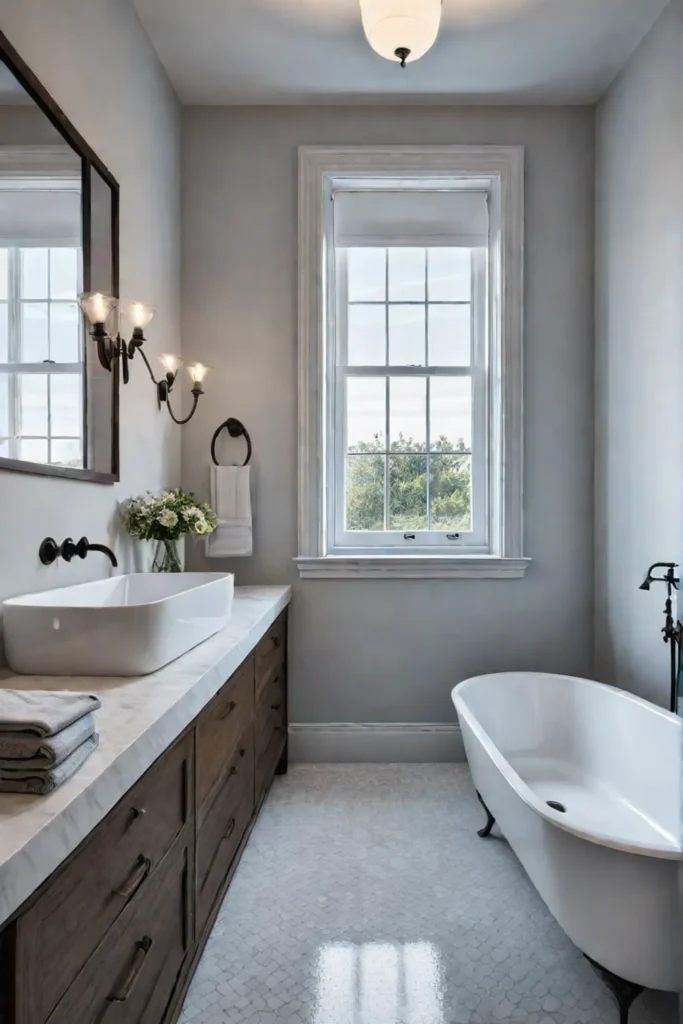
- Oval mirrors: Bring a vintage vibe and work wonders in traditional bathrooms.
- Asymmetrical mirrors: For the bold and beautiful, these add a modern, artistic flair.
Now, when it comes to size, think big! A larger mirror can make your bathroom feel like it’s had a growth spurt overnight. But remember, we’re not trying to create a house of mirrors here. Aim for a mirror that’s about 70-80% of your vanity width for that ‘just right’ look.
Creative Mirror Hanging Techniques
Hanging a mirror might seem as simple as, well, hanging a mirror. But trust me, there’s more to it than meets the eye (pun intended). Here are some tips to nail that perfect placement:
- Center stage: Hang your mirror centered above the sink for a classic, balanced look.
- Off-center chic: For a quirky twist, try hanging your mirror slightly off-center.
- Double trouble: If you have a double vanity, consider two matching mirrors for symmetry.
- The tilt: Tilting your mirror slightly forward can add depth and interest to your space.
Pro tip: Always hang your mirror at eye level. Unless you’re going for that ‘fun house’ vibe, in which case, by all means, hang it wherever your heart desires!
Reflecting on Style
Your mirror choice can speak volumes about your style. Are you a vintage vixen? Hunt down an antique mirror with an ornate frame to add some old-world charm. More of a minimalist maven? A sleek, frameless mirror might be just the ticket.
And here’s a little secret: mirrors aren’t just for walls anymore. Consider a mirrored cabinet for extra storage or a full-length mirror on the back of your bathroom door. It’s like killing two birds with one stone, except no birds are harmed, and the stone is a mirror. Win-win!
Remember, the right mirror can make your bathroom look bigger, brighter, and more beautiful. It’s like a magic wand for your space, minus the “bibbidi-bobbidi-boo.” So go ahead, reflect on your options, and choose a mirror that makes your sink are the fairest of them all!
As we wrap up our mirror musings, let’s turn our attention to the finishing touches that will truly make your sink area shine. In our next section, “Accessorize and Organize: Completing Your Sink Makeover,” we’ll explore how to add those final flourishes that will take your bathroom from “meh” to “marvelous.” Get ready to declutter, beautify, and personalize your space like never before!
Accessorize and Organize: Completing Your Sink Makeover
Alright, DIY enthusiasts, we’ve made it to the final stretch of our bathroom sink makeover journey! Now that you’ve given your sink a fresh new look, it’s time to put the cherry on top – or should I say, the soap dispenser on the counter? Let’s dive into the world of accessories and organization to make your sink area shine brighter than a freshly polished faucet!
Stylish Storage Solutions
Who says storage can’t be sexy? Certainly not this home decor devotee! Here are some creative ways to keep your sink area tidy without sacrificing style:
- Tray chic: Corral your daily essentials on a stylish tray. It’s like giving your soap and lotion their little red carpet!
- Mason jar magic: Repurpose mason jars as toothbrush holders or cotton swab containers. It’s a farmhouse meets function!
- Ladder love: A small ladder shelf can add vertical storage and a touch of rustic charm.
- Magnetic attraction: Install a magnetic strip for metal grooming tools. It’s like a magic trick for your tweezers and nail clippers!
Remember, folks, a clutter-free counter is the key to a serene bathroom experience. Trust me, your future self will thank you when you’re not playing “Find the floss” at 6 AM!

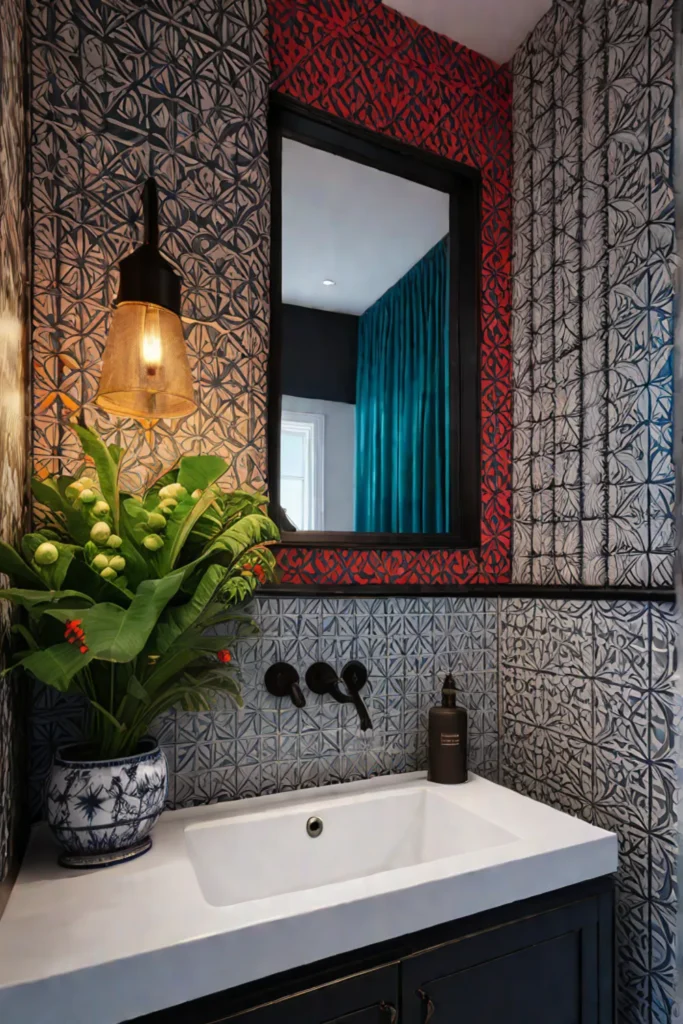
Adding Personality with Accessories
Now, let’s talk about infusing your sink area with some personality. After all, your bathroom should be as unique as you are!
- Pump up the color: Choose a soap dispenser in a bold hue that complements your new sink setup.
- Textile triumph: Swap out those tired old hand towels for some fresh, vibrant ones. It’s like a mini spa makeover!
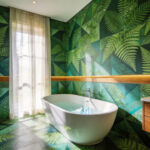
- Plant power: Add a small potted plant or succulent for a touch of nature. (Bonus: it’ll love the humidity!)
- Art attack: Hang a quirky print or photo above the sink for an instant mood-lifter.
Pro tip: When selecting accessories, think about creating a cohesive color scheme or theme. It’ll tie everything together faster than you can say “interior designer extraordinaire”!
Where to Find Unique Bathroom Bling
Now, I know what you’re thinking: “Riley, where can I find these fabulous accessories?” Well, my decor-loving friends, here are some of my favorite haunts:
- Etsy (www.etsy.com): A treasure trove of handmade and vintage finds.
- World Market (www.worldmarket.com): For globally-inspired pieces with personality.
- Target (www.target.com): Budget-friendly options that don’t skimp on style.
- Local thrift stores: You never know what gems you might uncover!
Remember, the best accessories are the ones that make you smile every time you wash your hands. So don’t be afraid to let your personality shine through!
By adding these finishing touches, you’re not just completing a makeover – you’re creating a space that’s uniquely yours. A well-accessorized and organized sink area doesn’t just look good; it feels good too. It’s like a little oasis of calm in your daily routine.
As we wrap up our sink makeover journey, let’s take a moment to reflect on all we’ve accomplished. From choosing the perfect paint color to selecting that just-right soap dispenser, you’ve transformed your bathroom sink from drab to fab. But don’t put away those DIY tools just yet! In our conclusion, we’ll recap our makeover adventure and explore how these simple changes can inspire even bigger home transformations. Get ready to ride the wave of DIY enthusiasm!
Wrapping Up
Well, folks, we’ve come to the end of our sink-sational journey (sorry, I couldn’t resist one last pun!). From breathing new life into your sink with a fresh coat of paint to adding those perfect finishing touches, you’ve now got all the tools you need to transform your bathroom sink from drab to fab. Remember, a little creativity and elbow grease can go a long way in creating a space that’s uniquely you.
So, what are you waiting for? This weekend, why not roll up your sleeves and give one of these makeovers a try? You might just surprise yourself with your DIY prowess. And who knows? This could be the start of a whole home transformation adventure. After all, if you can make over a sink, imagine what you could do with the rest of your house! Now go forth and create the bathroom of your dreams – I’ll be rooting for you from the sidelines, armed with more home decor puns than you can shake a showerhead at!