
Picture this: You’re standing in your dream kitchen. It’s gorgeous. It’s got that waterfall countertop you pinned a hundred times and the perfect shade of green on the cabinets. Now, fast forward ten years. You’re trying to prep dinner while helping your kid with their homework at the island. Fast forward another ten. Your parents have come to stay for a while, and your dad, who uses a walker now, can’t quite maneuver around that beautiful island. Fast forward again. It’s you, and maybe your grip isn’t what it used to be, and those trendy little cabinet knobs are a real pain to open.
The dream kitchen just became a daily frustration. This is where everyone gets it wrong. They design for the “now,” for the photo shoot. I believe in designing for life. All of it. The messy, beautiful, unpredictable, and glorious arc of it. That’s the core of universal design—creating spaces that work for anyone, at any age, with any ability. It’s not a niche, clinical thing. It’s just good design. It’s forward-thinking. It’s creating a kitchen that will love you back for decades to come.
So, you want to remodel your kitchen? Great. Let’s do it right. Let’s build something beautiful that actually works for the real lives of the people in it.
Strategic Planning & Layout Optimization for Success
Before you even think about picking out a backsplash, we need to talk about the bones of the project. This is the stuff that isn’t glamorous but will make or break your kitchen for the next 20 years. Get this right, and everything else falls into place. Skip it, and you’re just putting lipstick on a pig.
1. Define Your Remodel Budget Clearly for Realistic Scope
People always ask me, “How much is this going to cost?” And honestly, that’s the wrong first question. The right question is, “What is the smartest way to invest in my home’s future?” A budget isn’t a barrier; it’s a tool for making smart choices. Yes, you need a number. But don’t just focus on the visible stuff like fancy appliances. The real value is in the things you can’t see.

Here’s the deal: Spending an extra grand now to widen a doorway while the walls are open will save you ten grand—and a world of dust and disruption—later. Budgeting for things like full-extension drawers instead of standard cabinets might seem like a splurge, but for anyone with a bad back (or anyone who will ever have a bad back), it’s a total game-changer. So yes, get your quotes. Get three, at least. But don’t just look at the bottom line. Ask them to price out these “forever” features. That 15-20% contingency fund the original article mentions? Absolutely non-negotiable. That’s what lets you say “yes” to fixing the ancient wiring you uncover, ensuring your home is not just beautiful, but safe.
The shortcut I wish I’d known earlier is to see your budget as a reflection of your priorities. If your priority is a home that supports you for the long haul, you’ll allocate funds to a smart layout and accessible features first, and trendy finishes second.
2. Optimize Kitchen Layout with the Efficient work triangle Rule
Can we please talk about why the “work triangle” is so outdated? It was invented in the 1940s for a single person—almost always a woman—working alone in a small, closed-off kitchen. That’s not how we live anymore. Our kitchens are social hubs. There are kids doing homework, friends helping chop vegetables, and multiple people trying to get to the fridge at the same time.
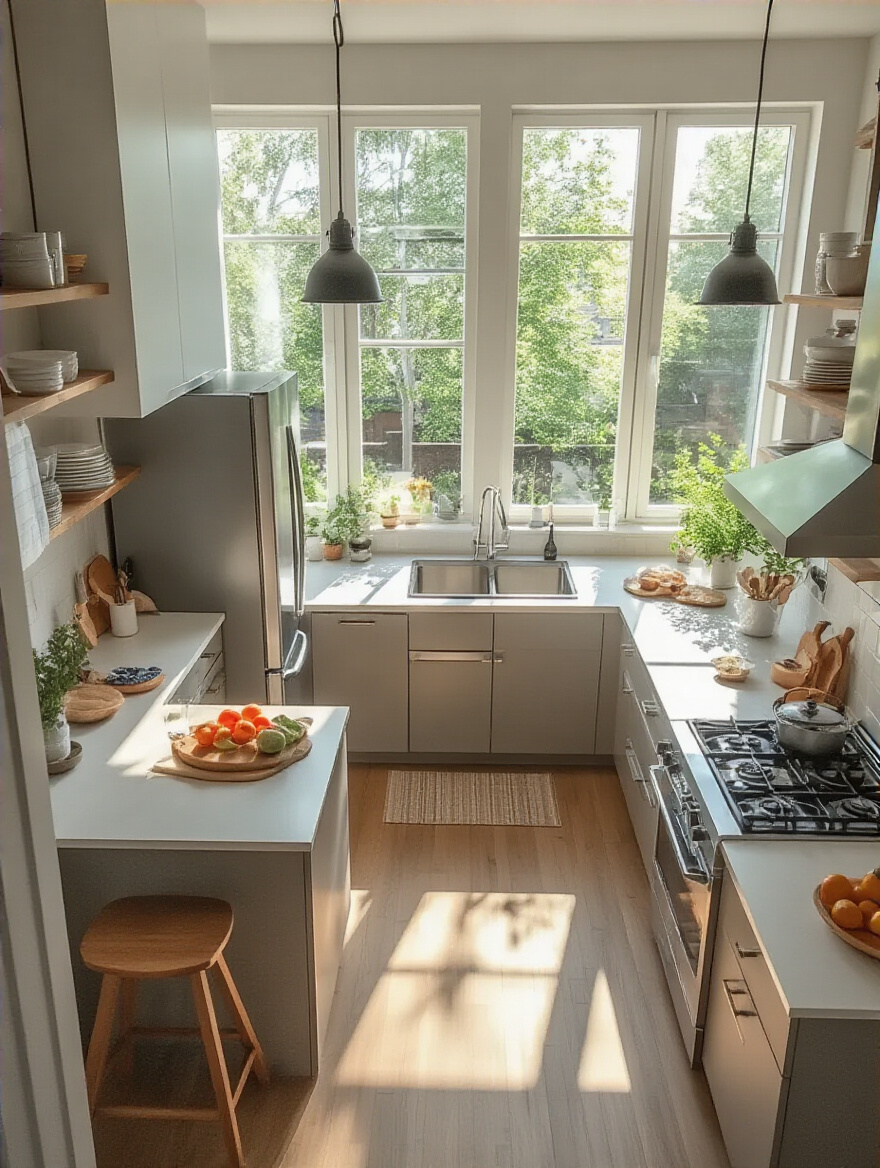
So, let’s ditch the rigid triangle and talk about “work zones” instead. You have a zone for prepping (sink, trash, counter space). A zone for cooking (stovetop, oven, landing space for hot pans). And a zone for storage (pantry, fridge). The key is to arrange these zones so that people can work in them without tripping over each other. Think wider pathways—at least 42 inches, and 48 inches is even better. That gives enough space for two people to pass by each other, or for someone using a walker or wheelchair to navigate with ease. A client of mine with two young kids specifically designed their U-shaped kitchen with a 5-foot clearance. It felt huge at first, but she later told me it was the single best decision they made. It became a safe space where the kids could be “helping” at one end while she was actually getting dinner made at the other, no collisions involved.
This isn’t about just being efficient; it’s about being inclusive and creating a space that actually fosters connection instead of causing traffic jams.
3. Evaluate Structural Needs Before Demolition for Safety
This part is non-negotiable, and the original article is spot on. Never, ever, take down a wall without having a professional tell you if it’s holding your house up. It sounds obvious, but you would be shocked. I once got a call from a panicked homeowner who had started demolition themselves to “save money” and ended up with a frighteningly large crack zigzagging across their living room ceiling. The emergency fix cost them double what a planned structural beam would have.
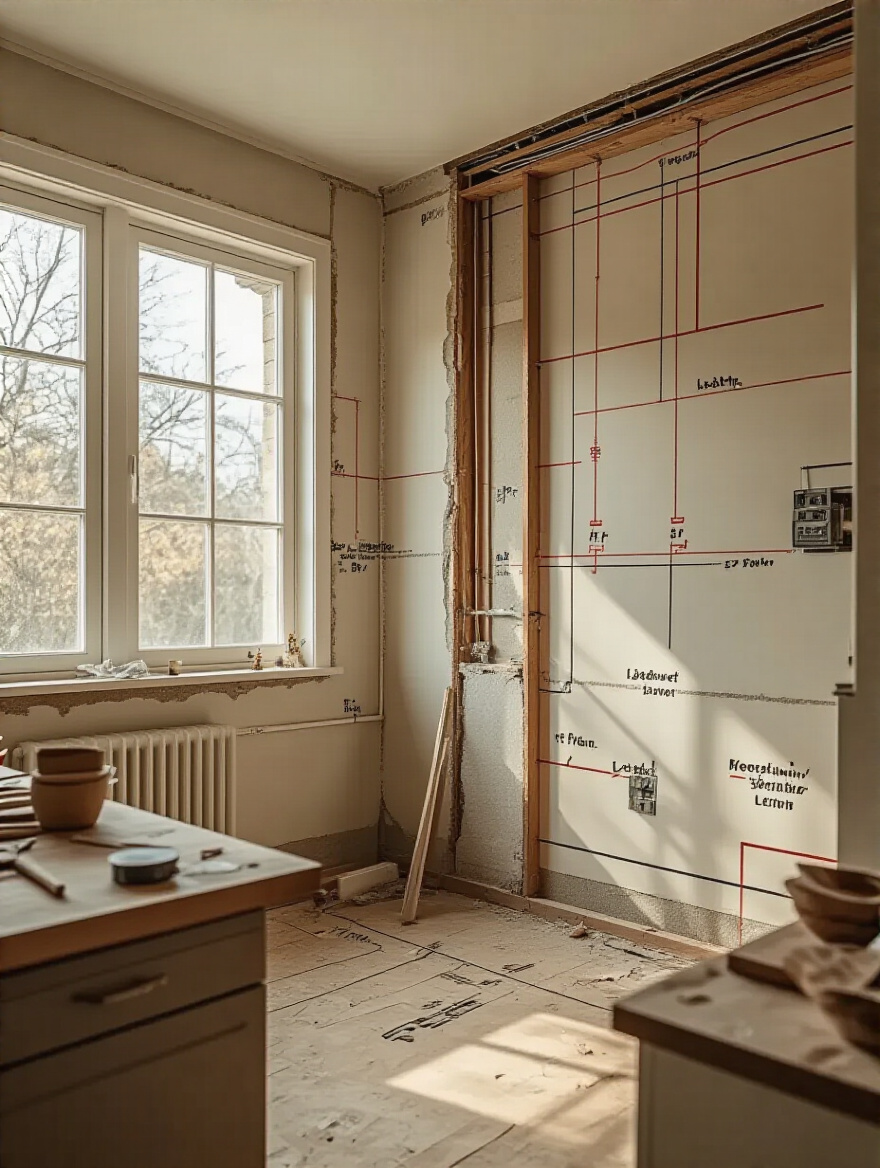
But let’s add a layer to this. While those walls are open and the pros are there, that is your golden opportunity. Thinking of opening up a doorway to the dining room? Make it at least 36 inches wide. It will feel more gracious now and will allow for wheelchair access later. Notice a little step-down into the kitchen? This is the moment to talk to your contractor about leveling the floor to create a seamless, zero-threshold entry. These changes are a fraction of the cost when they’re part of a bigger project. It’s the smartest money you will spend.
Once you know what’s safe and possible, you can start dreaming about how it will all look and feel.
4. Create a Comprehensive Vision Board for Cohesive Design
I love vision boards, but I think most people use them wrong. They become a collection of pretty pictures without any thought to how the space will actually be used. Your vision board needs to be about a feeling and a function, not just a look. So, alongside that picture of the perfect marble countertop, I want you to pin a picture of a lever-handled faucet because they are easier for aging hands to operate than a knob you have to twist.

Instead of just pinning “cool cabinet hardware,” think about who will be opening those cabinets. Are they D-shaped pulls that are easy for anyone to grab, or tiny, dainty knobs that will frustrate your kids and your parents? Your vision board should answer questions like:
- How does light play in this room? Do we need matte finishes to reduce glare for someone with low vision?
- Where does the mess live? Is there a designated spot for the mail, keys, and charging phones so they don’t colonize the counters?
- How does it feel to move through the space?
I had a client who was adamant about a certain tile pattern. On the vision board, it looked amazing. But when we got a sample, we realized the high-gloss finish created a ton of glare and showed every single smudge. We found a similar pattern in a matte finish, and it achieved the aesthetic she wanted while being infinitely more practical for her busy family. Your vision board is your North Star, so make sure it’s pointing toward a life, not just a look.
From the big vision, we zoom into one of the most fundamental layout decisions you’ll make.
5. Decide on Open Concept Versus Defined Kitchen Spaces Early
Everyone thinks they want an open-concept kitchen, until they’re trying to have a conversation in the living room while someone is running the blender and the dishwasher at the same time. The noise and the smells—they go everywhere. For someone with sensory sensitivities, an open-concept space can be a nightmare of overstimulation.
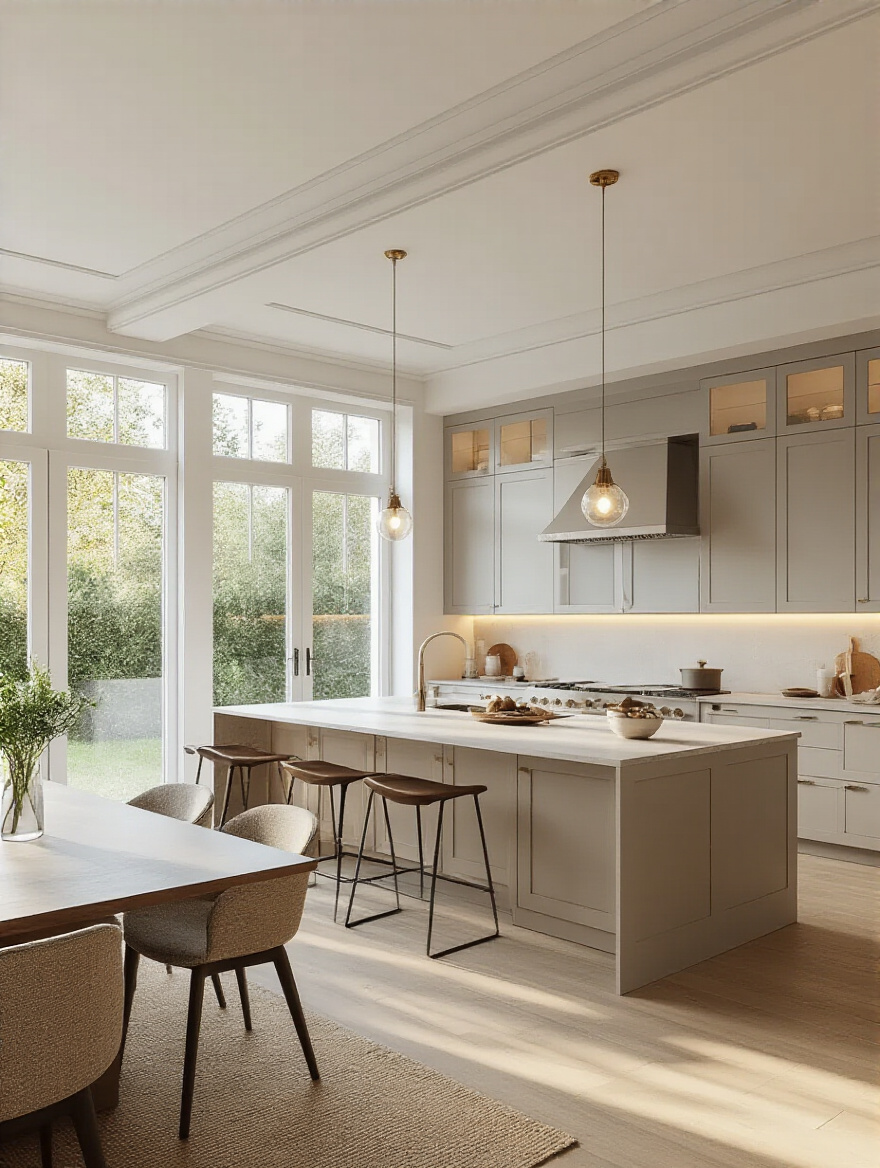
On the other hand, a totally separate kitchen can feel isolating. So, the question isn’t just “open or closed?” It’s “how do we get the best of both worlds?” This is where a “broken-plan” or semi-open layout can be a beautiful compromise. Think about using a half-wall, a wide interior doorway, or even a piece of furniture like a bookshelf to create a sense of separation without completely closing things off. You get the sightlines to keep an eye on the kids and the easy flow for entertaining, but you also get some containment for noise and cooking mess. It also gives you more wall space for art and storage.
One of my favorite projects involved removing a wall between the kitchen and dining room but leaving a large cased opening. We then installed a beautiful pocket door. Most of the time, it stays open, creating that airy, connected feel. But when they’re hosting a dinner party and want to hide the kitchen chaos, they can just slide it closed. It’s all about creating flexible, adaptable spaces.
And speaking of adaptability, let’s talk about the workhorses of your kitchen.
6. Plan for Future Appliance Upgrades within Current Layout
This is one of my biggest pet peeves. People will spend a fortune on custom cabinetry built to the exact millimeter of their current, ten-year-old refrigerator. What happens in five years when that fridge dies and the new models are all two inches wider? You’re stuck. Either you buy a smaller fridge, or you rip out brand new cabinets. It’s madness.
Planning for the future is so simple. It’s about designing with standard sizes in mind—30 or 36 inches for a range, 24 for a dishwasher, 36 for a fridge. And think about placement from a human perspective. That microwave over the range? It’s a burn and spill hazard for shorter people, kids, and anyone with mobility issues. A much better, more inclusive solution is to place it in a base cabinet or on an open shelf below the countertop. The same goes for wall ovens. Installing them at a height where the racks are easy to access without excessive bending or reaching is just common sense.
I had a client who was planning for her parents to eventually move in. When we designed her kitchen, we installed her wall oven at a lower-than-standard height and made sure it had a side-swing door, not a pull-down one. Her mom, who used a wheelchair, could safely use the oven for the first time in years. That’s the power of thinking ahead. It’s not just about future appliances; it’s about future people.
Elevating Aesthetics & Functionality Through Key Elements
Okay, the foundation is set. Now we get to choose the elements that you will see and touch every single day. This is where we fuse that solid, functional plan with materials that are beautiful, durable, and a joy to live with.
7. Choose Durable, Low-Maintenance Countertop Materials Wisely
When you’re choosing a countertop, of course you want something beautiful. But you also want something that won’t make you crazy. Quartz is a workhorse for a reason: it’s non-porous, so it doesn’t stain easily and you never have to seal it. But let’s go a step further. Have you ever noticed how a bright overhead light reflects off a polished countertop? That glare can be really uncomfortable, especially for people with low vision.
Opting for a matte or honed finish instead of a high-polish one can make a huge difference in visual comfort. It gives the surface a soft, almost velvety look that’s incredibly sophisticated and hides fingerprints way better. Another simple trick is to choose a countertop material with a contrasting edge or to ensure the counter color contrasts with your flooring. This subtle difference provides a clear visual cue that helps prevent bumps and falls—a tiny detail that makes a space safer for everyone. And please, for the love of all that is good, choose a rounded “eased” or “bullnose” edge instead of a sharp, squared-off one. Your hips (and the heads of any toddlers running around) will thank you.
From the surfaces you work on, let’s move to the storage that surrounds you.
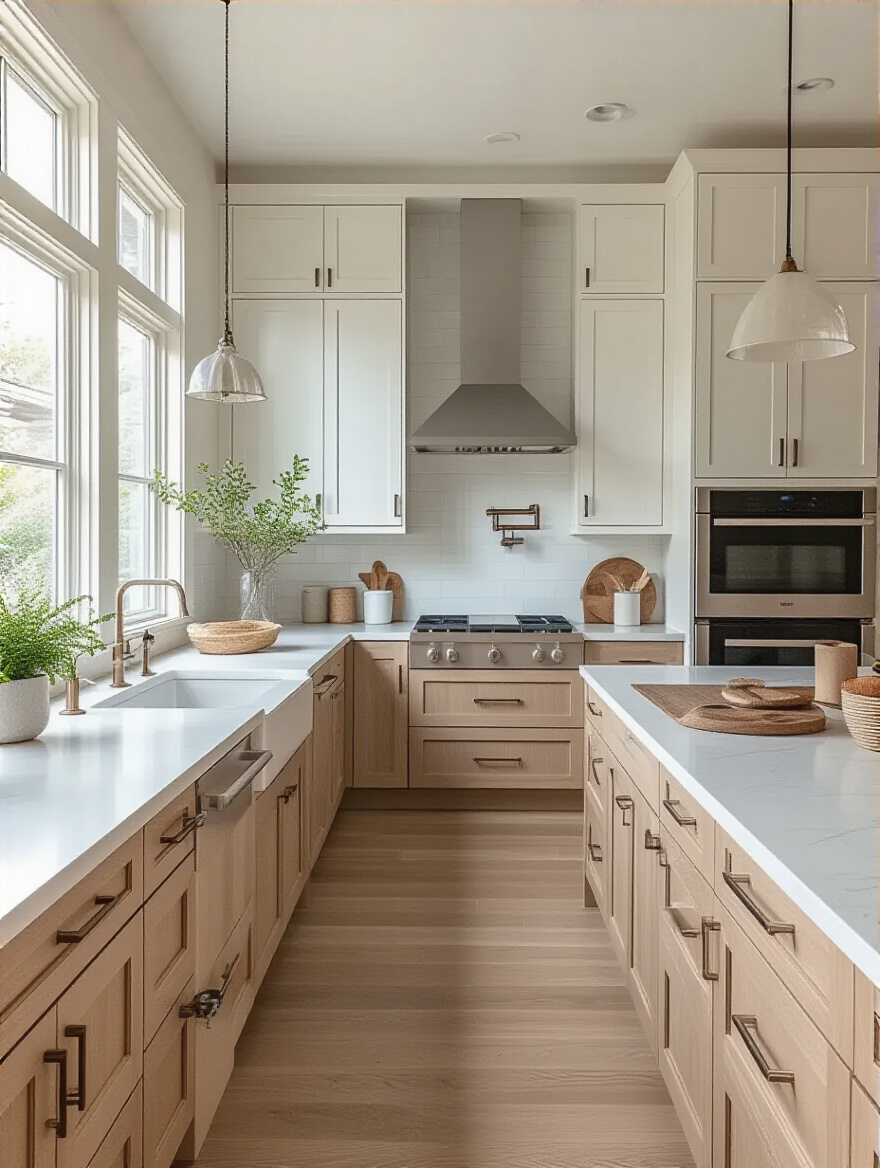
8. Select Cabinetry Style and Finish for Desired Ambiance
Cabinets are the biggest visual element in your kitchen, but their importance goes way beyond looks. The single most important decision you can make here is to choose drawers over doors in your base cabinets. Full-extension drawers bring the entire contents of the cabinet out to you. No more getting on your hands and knees with a flashlight to find that one pot lid hiding in the back. This isn’t just a luxury; for someone with back pain, arthritis, or mobility challenges, it’s the difference between an independent kitchen and an unusable one.
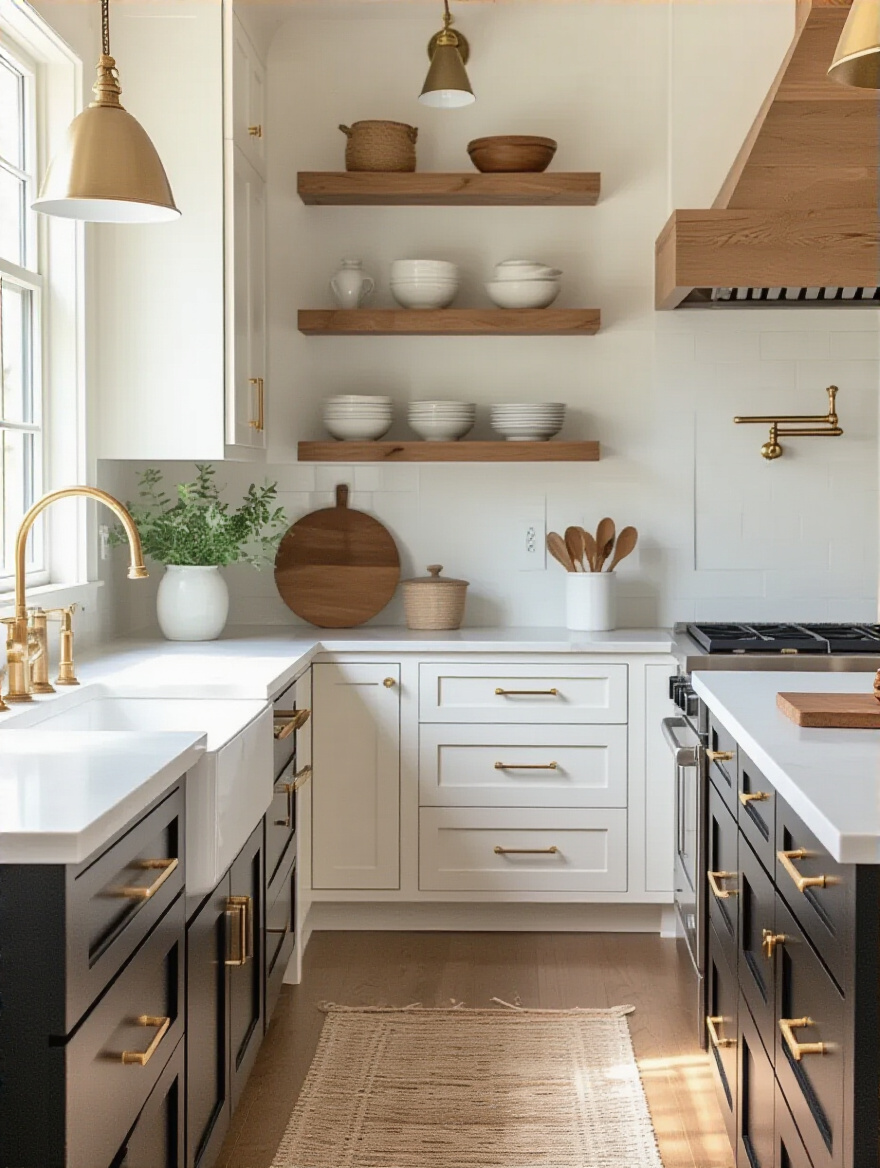
For the cabinet fronts, the hardware is what I call “functional jewelry.” Those tiny little knobs that are so on-trend right now? They’re incredibly difficult to use if you have arthritis or limited hand strength. Opt for C-shaped or D-shaped pulls that are at least 4-5 inches long. They’re easy for anyone to grab—a child, an adult with groceries in one hand, or an elder. It’s such a simple switch that makes a world of difference in daily use. A Shaker-style cabinet is timeless and versatile, but paired with beautiful, easy-to-use hardware, it becomes a masterclass in inclusive design.
Once your cabinets are in place, you need to be able to see what you’re doing.
9. Install Layered Lighting for Optimal Task and Ambient Illumination
If there is one thing you should not skimp on, it’s lighting. A single, sad ceiling fixture in the middle of the kitchen is a recipe for disaster. It casts shadows exactly where you need to see most—on your countertops where you’re chopping. Good lighting is the single most effective, and surprisingly affordable, safety feature you can install. It prevents falls, reduces eye strain, and makes your kitchen feel brighter and bigger.
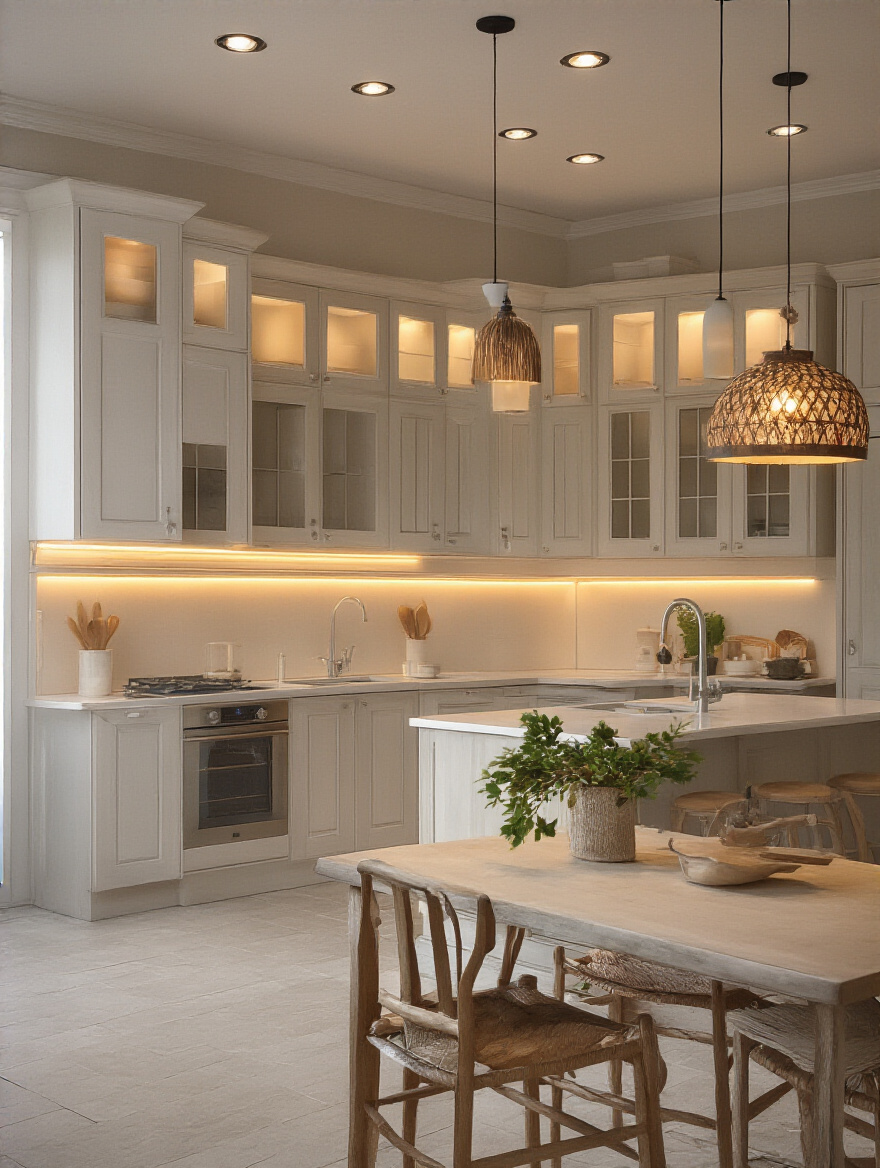
You need layers. Start with good ambient (overall) light from recessed cans or flush-mounts. But the magic is in the task lighting. Under-cabinet LED strips are non-negotiable. They illuminate your entire work surface, eliminating shadows and making prep work safer and easier. Add a beautiful pendant or two over the island for focused light and a bit of personality. And put everything—everything!—on a dimmer. This allows you to crank up the light when you’re cooking and then soften it for a relaxed dinner. It’s not just about mood; it’s about accommodating different needs and sensitivities throughout the day.
And don’t forget what’s underfoot, because that’s just as important for safety.
10. Pick Resilient Flooring that Matches Kitchen Traffic and Style
That super-shiny, high-gloss floor might look stunning in a magazine, but in a real kitchen, it’s a hazard. It creates glare and becomes dangerously slick the second it gets wet. Resilience in a kitchen floor isn’t just about durability against dropped pots; it’s about how it supports you.
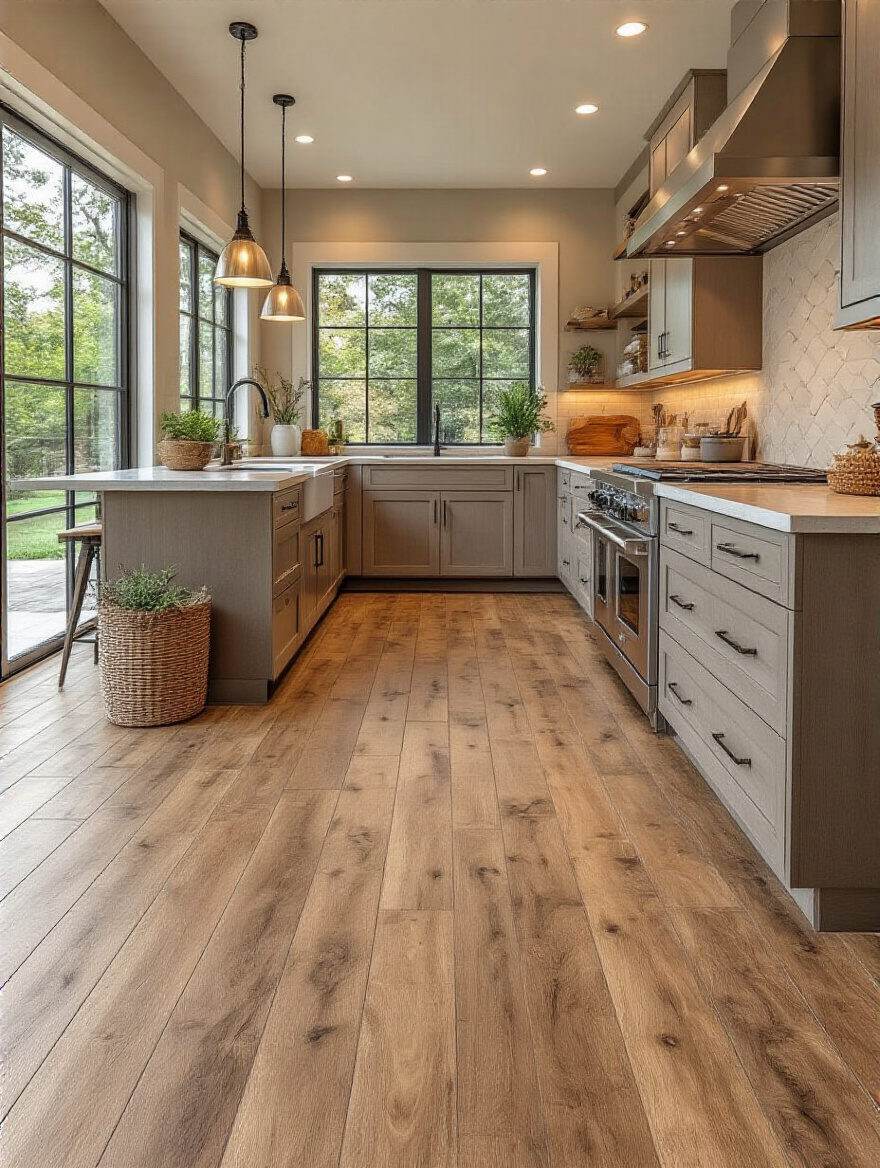
Look for materials with a matte finish and a bit of texture to provide good grip. Luxury vinyl plank (LVP) is a fantastic option because it’s durable, waterproof, and much softer underfoot than tile, which is more forgiving on your joints if you’re standing for a long time. Cork is another incredible choice for its natural cushion and warmth. Whatever you choose, aim for a seamless transition from the kitchen to the adjoining rooms. Eliminating thresholds gets rid of one of the most common tripping hazards in any home. It creates a smooth, continuous path that’s safer for everyone, from a toddler learning to walk to an older adult using a cane.
With a safe foundation beneath your feet, let’s choose the machines that will do the heavy lifting.
11. Invest in Energy-Efficient Appliances for Long-Term Savings
The ENERGY STAR label is a great starting point for saving money and resources, and the original article is right about that. But let’s also talk about human energy. A well-chosen appliance can make daily life so much easier. When you’re appliance shopping, look beyond the stainless steel finish and consider the ergonomics.
Here’s my universal design checklist for appliances:
- Ovens: Look for side-swing or French doors instead of the traditional pull-down door. They allow you to get closer to the oven cavity without reaching over a hot surface.
- Cooktops: Induction is the safest technology out there. It heats the pan, not the surface, so the risk of burns is dramatically lower. The flat surface is also super easy to clean.
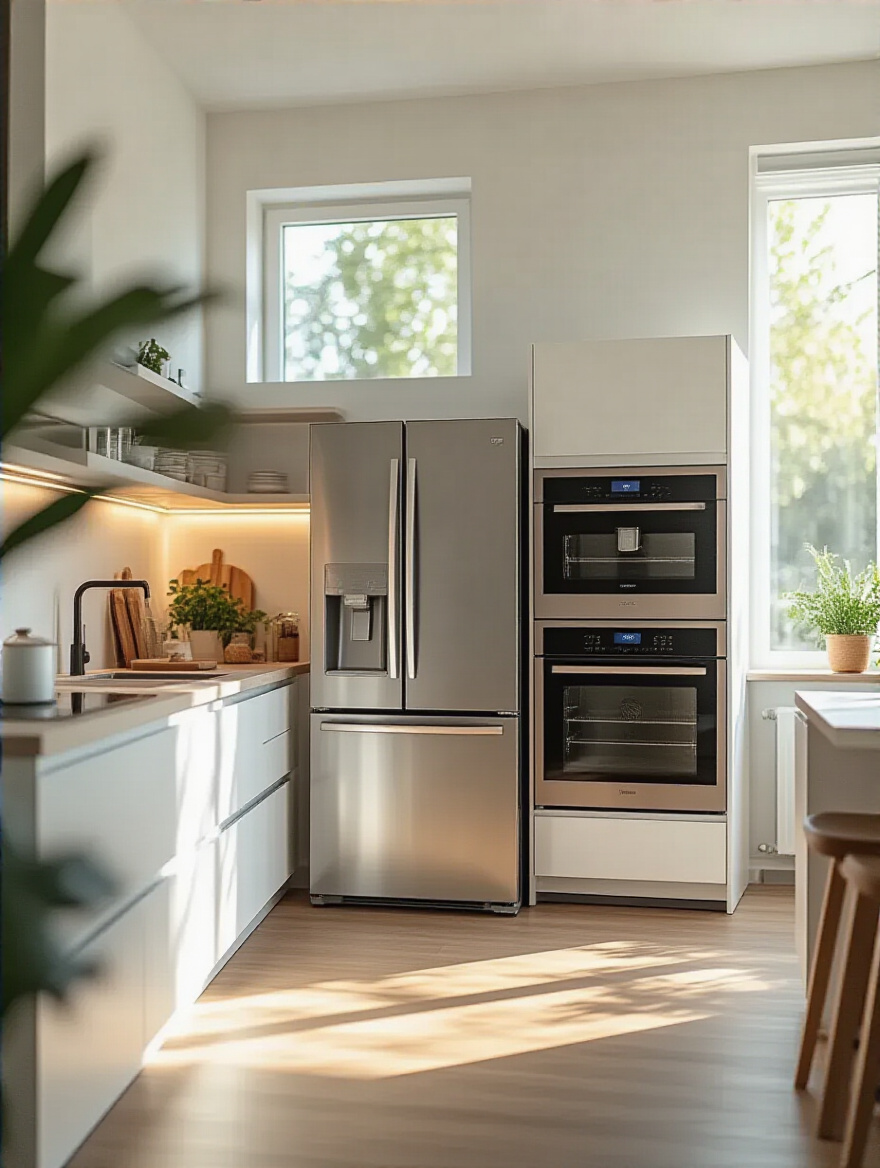
- Refrigerators: A French door model with a bottom freezer drawer is the most accessible layout. The most frequently accessed items are at a comfortable mid-level, and the freezer drawer is easier to access than a deep top-freezer.
- Dishwashers: Consider a model with racks that can be raised and lowered, or even dishwasher drawers, which can be installed at a higher level to reduce bending.
Choosing an appliance should be about how it fits into the flow of your life, not just how it fits into a hole in your cabinetry.
Now, let’s connect that to the technology that can make it all work even more smoothly.
12. Integrate Smart Technology for Enhanced Kitchen Convenience
Smart tech often gets dismissed as a gimmick, but for so many people, it’s a profound accessibility tool. Imagine you have limited mobility or are in a wheelchair. Being able to turn on the lights, preheat the oven, or start the coffee maker with your voice isn’t just cool, it’s empowering.
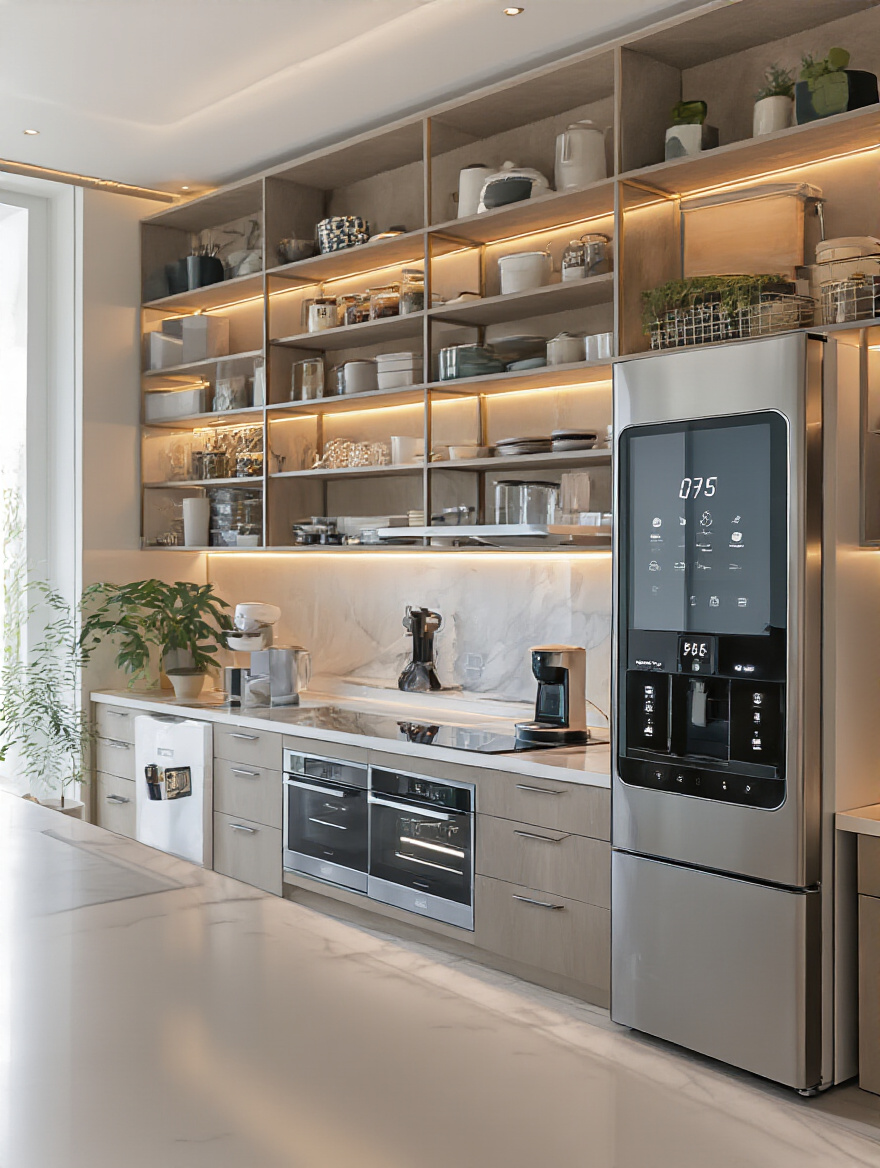
Think bigger than just smart speakers. A smart faucet can be turned on and off with a wave of the hand, which is amazing for anyone with arthritis and a hygienic game-changer for everyone. A smart refrigerator with interior cameras can show you what you’re out of while you’re at the grocery store, which is a lifesaver for anyone with memory challenges. Smart lighting can be programmed to gradually brighten in the morning and dim in the evening, supporting our natural circadian rhythms. The best smart technology isn’t about being flashy; it’s about removing barriers and making daily tasks more intuitive and less physically demanding.
This spirit of removing barriers applies perfectly to one of the kitchen’s most-used fixtures.
13. Select a Functional and Stylish Sink and Faucet Combination
The sink and faucet are the true workhorses of the kitchen. You use them constantly, so they need to be both beautiful and ridiculously easy to operate. Please, I beg you, move away from faucets with two separate, twisty knobs. A single-lever handle that you can nudge with your elbow when your hands are covered in chicken goo is a much better choice. A touchless or voice-activated faucet is even better.
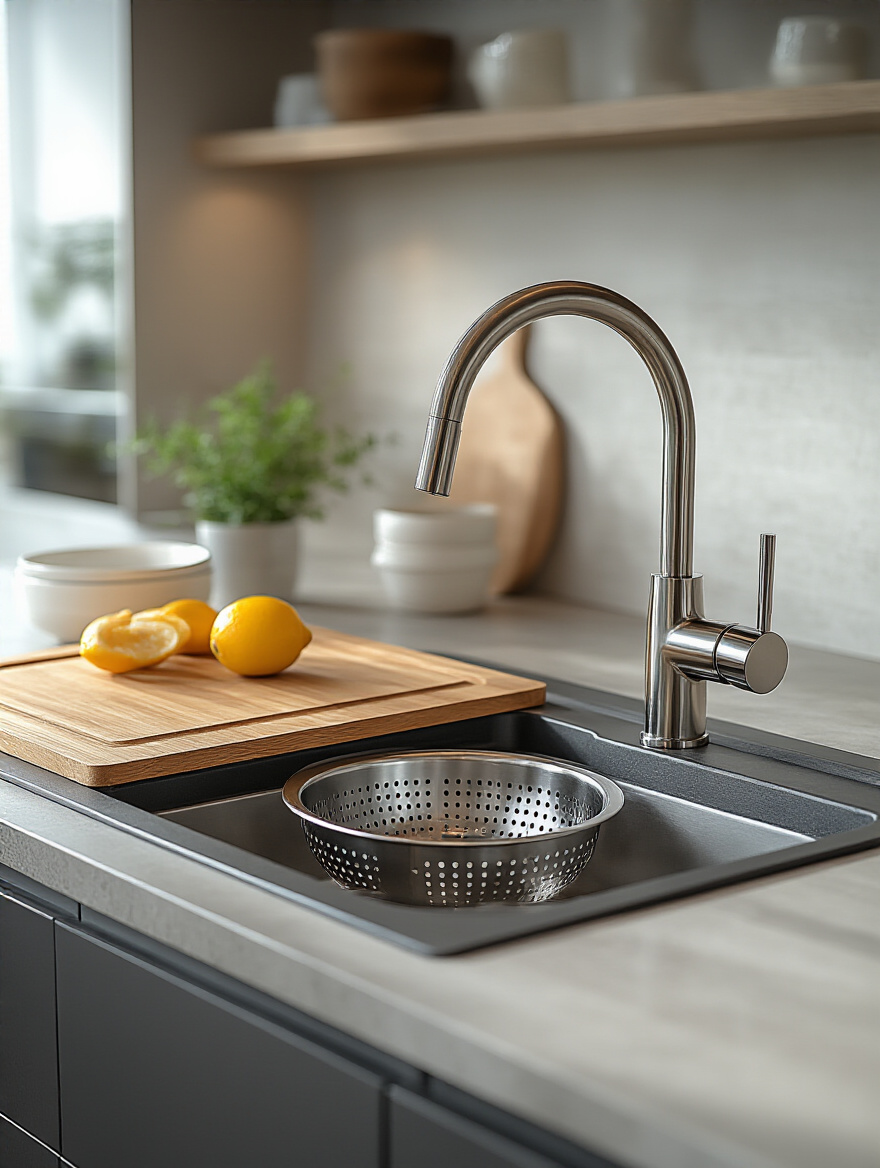
For the sink itself, think about depth. An extra-deep sink might seem luxurious, but it can be a real back-breaker to reach into. A slightly shallower sink (around 8-9 inches deep) is often more ergonomic. A large, single basin gives you more flexibility for washing big pots and pans than a divided double bowl. And pairing it with a pull-down sprayer is essential. It lets you bring the water to where you need it, making cleanup a breeze for everyone. This is a place to invest in quality. A good faucet and sink will bring you quiet joy every single day; a bad one will be a constant, low-grade annoyance.
Smart Upgrades, storage solutions & Finishing Touches
We’ve covered the big stuff. Now for the details—the clever upgrades and thoughtful touches that elevate a kitchen from merely functional to truly exceptional. This is where we solve the little daily annoyances and inject personality and joy into the space.
14. Incorporate Clever Storage Solutions to Declutter Countertops
My guiding principle for storage is simple: bring the storage to the person, not the person to the storage. Cluttered countertops are not just ugly; they’re a sign that your storage isn’t working for you. The solution is to make your storage so accessible and intuitive that putting things away is easier than leaving them out.
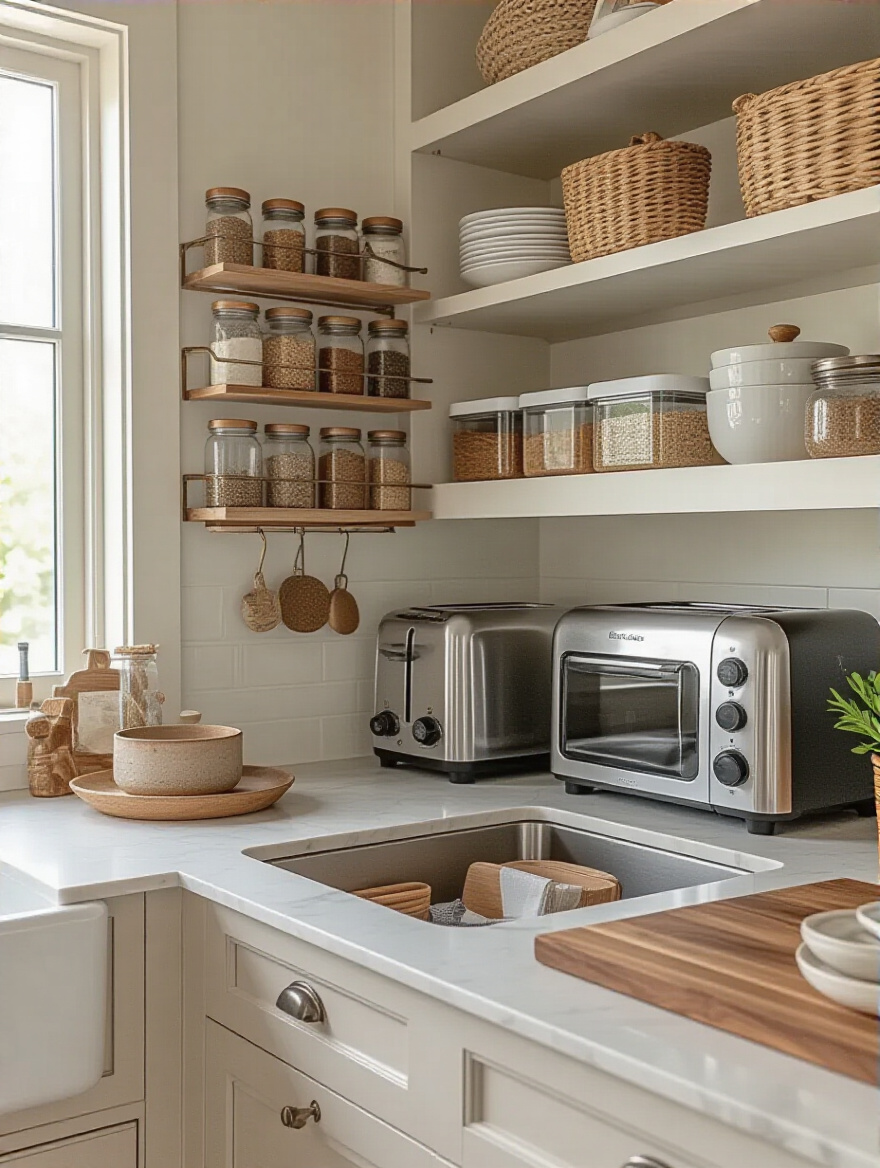
Forget deep, dark lower cabinets. As I mentioned, pull-out drawers are your best friend. For upper cabinets, consider pull-down shelving systems that bring the contents of a high shelf down to counter level with a simple pull. These are life-changing for people who are shorter or use a wheelchair. An “appliance garage” with a retractable door is a brilliant way to hide the toaster and coffee maker while keeping them plugged in and ready to go. You get clear, usable counter space in an instant. This isn’t about being a minimalist; it’s about creating systems that make your life easier.
This philosophy of effortless function is especially true for the kitchen’s new command center.
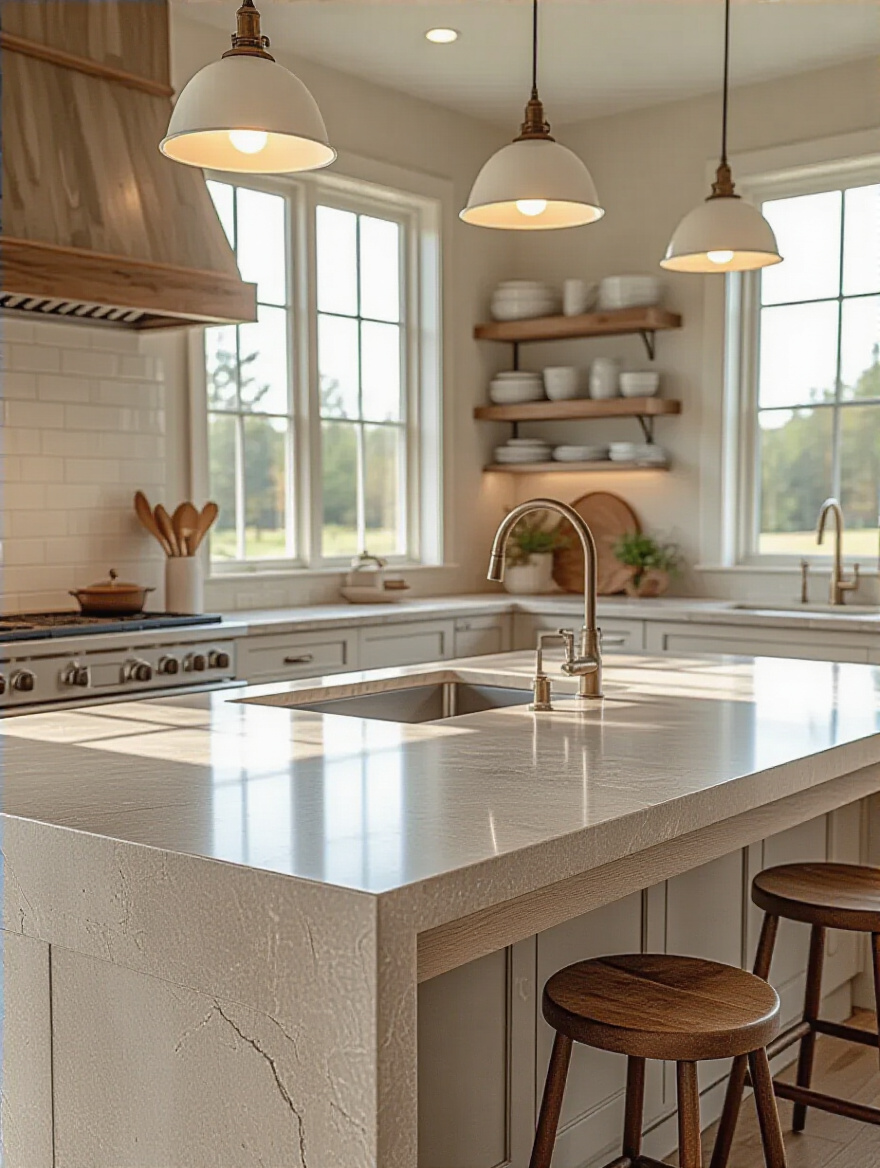
15. Design a Multi-Functional Kitchen Island with Ample Seating
The kitchen island is the modern-day hearth, the place where everyone gathers. But a standard, one-level island can be surprisingly exclusionary. A 36-inch high counter-height island is great for prep work, but it’s not comfortable for a child to sit at, and it’s impossible for someone in a wheelchair to use as a workspace.
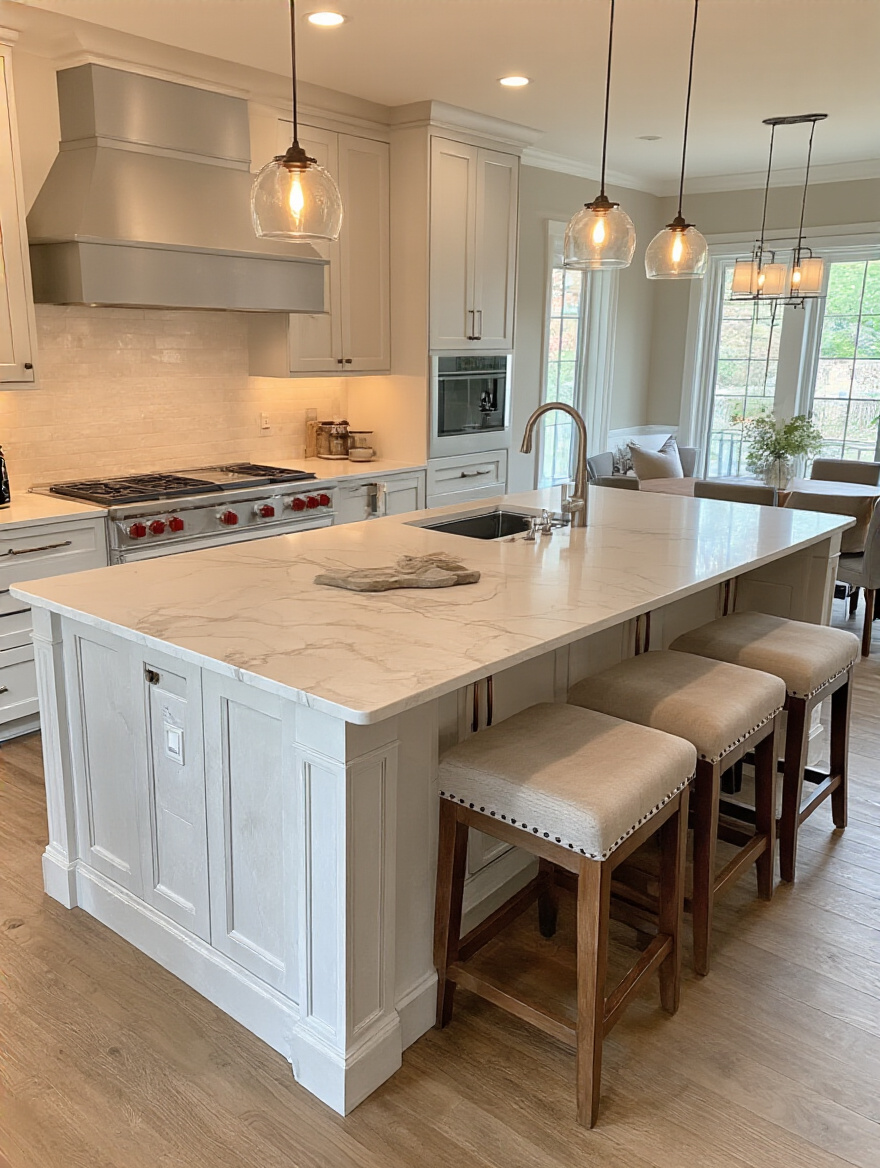
The most inclusive and dynamic solution is a multi-level island. Have a main section at standard counter height (36 inches) for prep, and then a connected section at table height (30 inches). This lower surface is perfect for kids to do homework, for someone to sit and chop vegetables comfortably, or for a wheelchair user to roll right up to. It creates a much more versatile and welcoming social hub. And remember those clearances! A beautiful island that creates a bottleneck is a failure of design. Ensure you have wide, clear paths all the way around it.
As you finalize your island, you’ll want to think about the backdrop that ties everything together.
16. Add a Stylish Backsplash for Easy Cleaning and Appeal
A backsplash is a fantastic place to add personality, but it’s also a work surface. The BS everyone falls for is intricate mosaic tile with a million grout lines. It looks great for about a week, and then it becomes a permanently grimy nightmare to clean. For ease of cleaning, nothing beats a solid slab of material—like running your countertop material right up the wall—or large-format tiles with minimal grout.
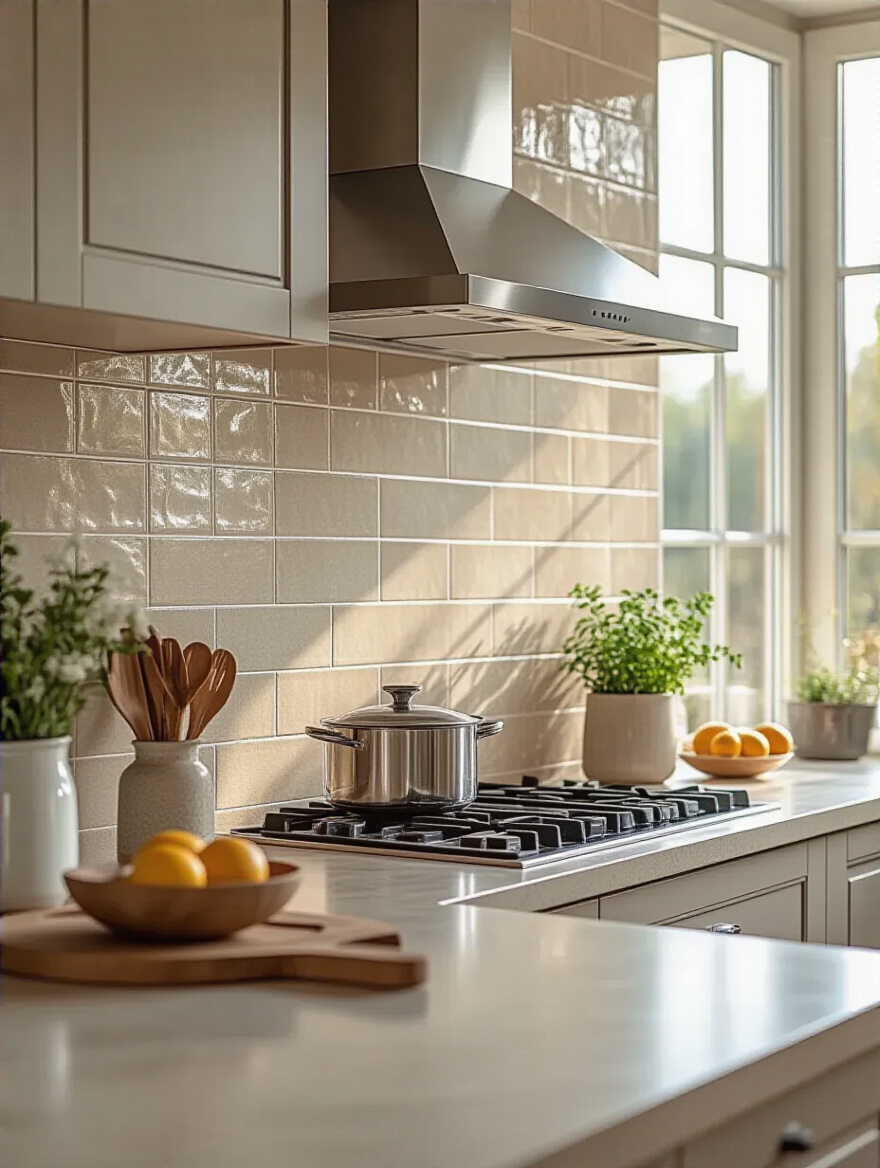
From a universal design perspective, the backsplash also offers a crucial opportunity for visual contrast. A backsplash that contrasts with the countertop helps to clearly define the workspace, which is a huge benefit for anyone with low vision. It doesn’t have to be a loud color; even a subtle difference in tone or texture can do the trick. And if you’ve installed under-cabinet lighting (which you absolutely should), it will beautifully highlight this feature and make your whole kitchen feel more intentional and functional.
This same organized approach should extend into your main storage area.
17. Maximize Pantry Organization with Custom Shelving and Drawers
A deep, dark pantry is where good food goes to die. If you can’t see it, you won’t use it, and you’ll end up with three half-used boxes of expired crackers. The principles for a good pantry are the same as for good cabinets: bring the contents to you.
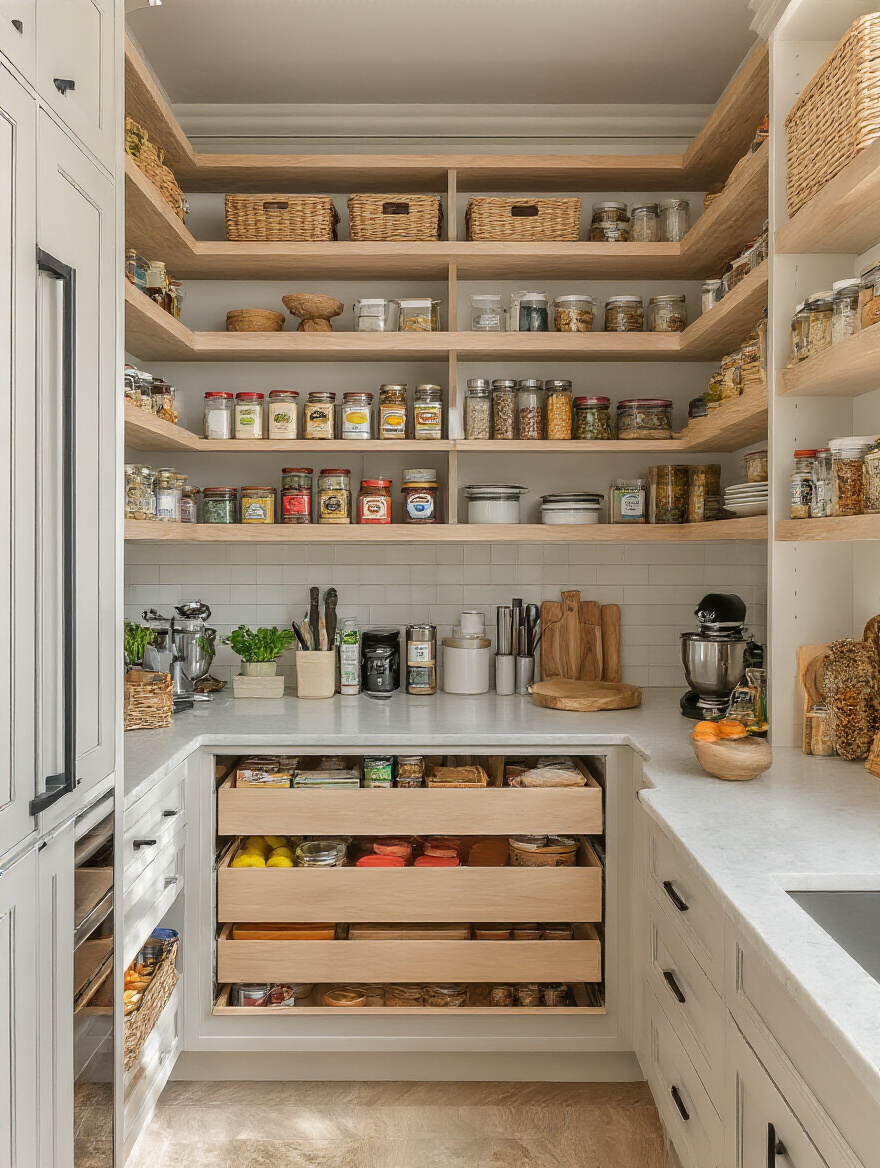
Pull-out drawers and shelves are essential. Adjustable shelving allows you to customize the space to what you actually buy, instead of trying to cram a giant cereal box into a too-short shelf. Good lighting is critical—use motion-activated LED strips so the light comes on the second you open the door. I love designing shallow-depth pantries (around 12-16 inches deep). Things can’t get lost at the back, and everything is visible at a glance. It might seem like you’re losing space, but you actually gain so much usable, organized storage. It’s about efficiency, not just raw square footage.
With your main storage sorted, think about creating mini-hubs for daily rituals.
18. Consider Beverage Stations or Niche Zones for Specialization
I love this idea. Creating a dedicated coffee or beverage station is one of the best ways to improve traffic flow in a busy kitchen. It consolidates all the related items—the machine, mugs, sugar, milk—into one spot, keeping that activity out of the primary cooking and prep zones.
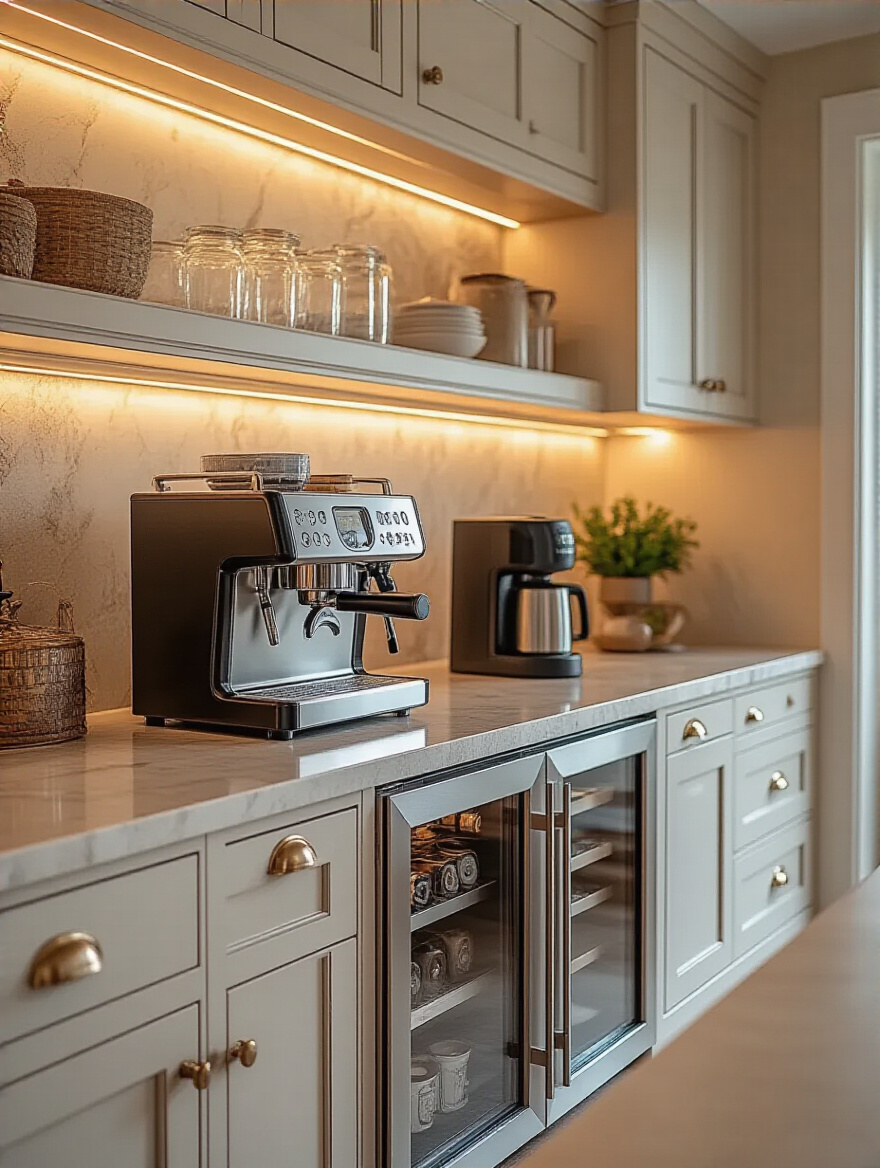
This is another perfect opportunity to incorporate different counter heights. A beverage station with a counter that’s slightly lower than the main kitchen counters can be a more comfortable, ergonomic spot to work at. You can tuck a small fridge underneath for cream and drinks, freeing up space in your main refrigerator. We did this for a client, and they built it into an alcove with pocket doors. It became their “morning ritual” spot. In the morning, the doors are open and it’s a bustling coffee bar. The rest of the day, the doors are closed and the kitchen looks clean and uncluttered. It’s a small detail that has a huge impact on daily quality of life.
Finally, let’s make sure this amazing, functional, beautiful kitchen is a smart investment for your future.
19. Boost Resale Value with Timeless, Universally Appealing Finishes
Here’s the biggest secret that real estate agents won’t tell you: “universally appealing” doesn’t just mean “beige.” The most universally appealing kitchen is one that the widest range of people can see themselves living in and using happily. A kitchen with zero-threshold entries, wider pathways, easy-to-use hardware, and thoughtful lighting is attractive to everyone—from a young family with toddlers to an older couple planning to age in place.
These features don’t scream “accessible”; they whisper “quality” and “thoughtful design.” When a potential buyer walks into a space that feels easy, comfortable, and safe, it has a powerful emotional appeal that goes far beyond the color of the cabinets. You’re not just selling a kitchen; you’re selling a better, easier life. And that is the best return on investment you can possibly get. You’ve created a home that will be a joy for you today and a valuable, desirable asset for whoever comes next.
Your Home, For Your Life
So, there you have it. A kitchen remodel is a massive undertaking, but it’s also one of the most rewarding. It’s a chance to create a space that truly supports the life you want to live.
The takeaway is this: good design isn’t about following trends. It’s about thoughtful problem-solving. It’s about anticipating needs and creating flexible, beautiful spaces that adapt as our lives change. It’s about understanding that a home that is safe and comfortable for a person with a disability is also safer and more comfortable for a toddler, a teenager, a pregnant parent, and a grandparent. It is, simply, better for everyone.
Don’t just build a new kitchen. Craft the heart of your home—a place that will welcome everyone, support you through every stage of life, and bring you joy for years and years to come.


