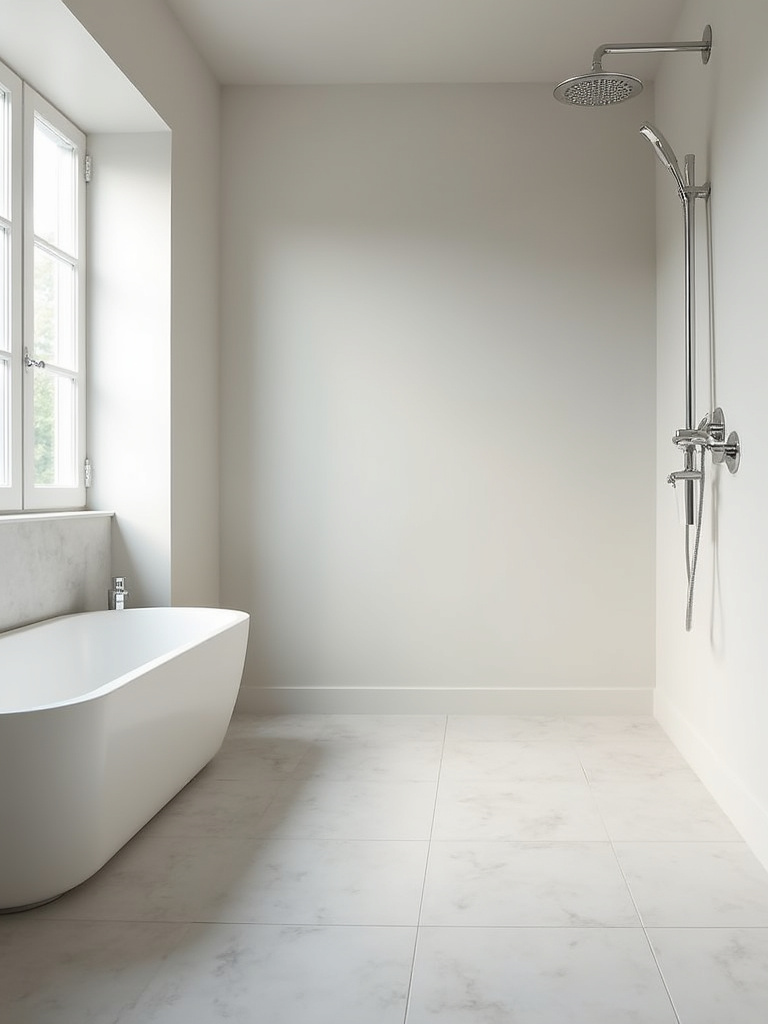
Picture this: You’re standing barefoot in your bathroom. It’s 6 AM on a Tuesday. What’s under your feet? Is it a cracked, grimy tile that sends a shiver up your spine? Or is it something warm, solid, and seamless that makes you feel grounded before the day even begins? That first physical contact of the day sets a powerful subconscious tone. That moment of realization—when you understand your floor isn’t just a surface but the very foundation of your daily ritual—is exactly what separates an intentionally designed space that serves you from a room that’s just an accidental collection of parts.
Choosing your bathroom floor feels overwhelming because everyone’s selling you a product, not a feeling. They’re talking about wear layers and water absorption rates, which matters, but it’s noise. The real story is about how this one decision impacts your mood, your stress levels, and even your perception of clean. I’m going to cut through that noise for you. Forget the corporate speak. Here’s what you actually need to know to create a space that feels as good as it looks.
Essential Pre-Installation Considerations for Bathroom Floors (Part 1)
Before you even think about looking at pretty tile samples, we need to talk about the boring stuff. I know, I know. But trust me, getting this foundation right is the difference between a floor you love for 20 years and a floor you have to rip out in two because of a mysterious, musty smell. This is the part everyone rushes, and it’s where all the expensive mistakes happen.
1. Evaluate Subfloor Condition for Stability and Moisture
Let’s be real: your subfloor is the unsung hero of your bathroom. Everyone obsesses over the tile, but the subfloor is doing all the heavy lifting. Ignoring it is like spending a fortune on a designer handbag and then filling it with leaky pens and loose gravel. It’s the source of 90% of all catastrophic floor failures. A bad subfloor will crack your expensive tile, make your vinyl planks buckle, and grow mold you can’t even see until it’s too late.
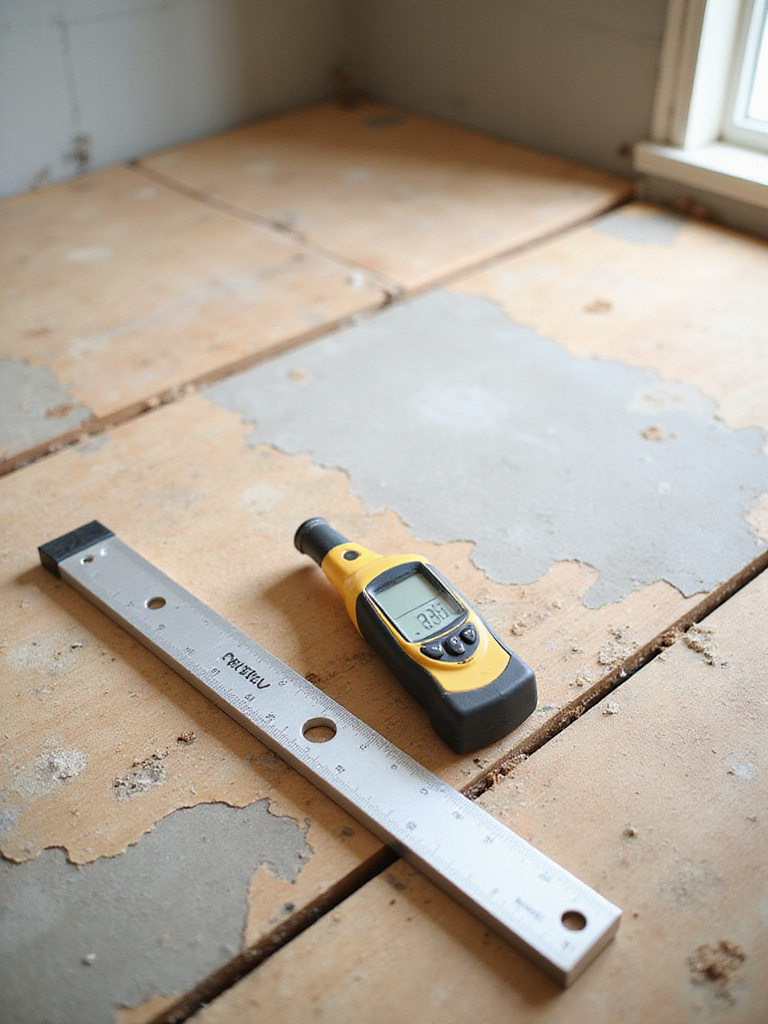
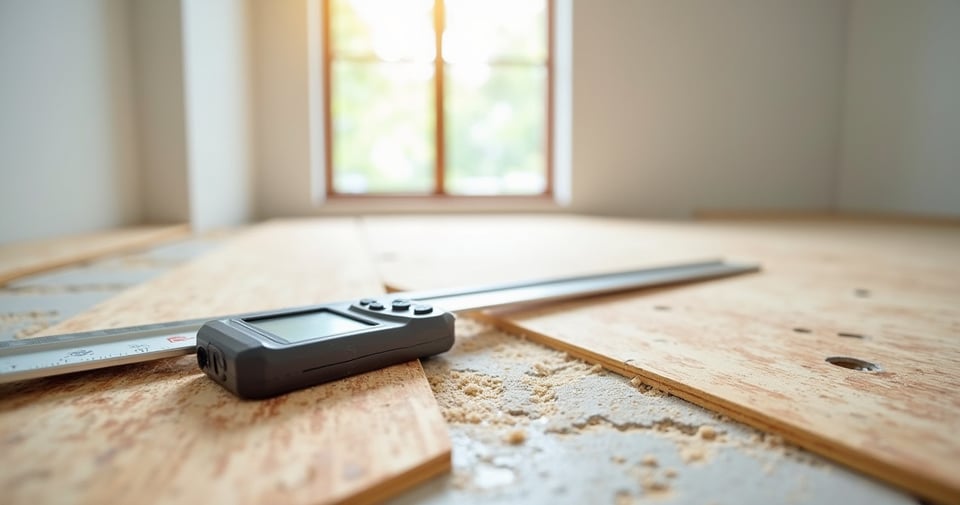
So, here’s the shortcut: walk your bathroom floor like you’re a detective. Feel for any soft, spongy spots, especially around the toilet and tub. If it squeaks or moves, that’s a red flag. Then, grab a long, straight board or a level. If you can slide a quarter under it anywhere, your floor isn’t flat enough. This isn’t just noise; this is the one thing that will absolutely ruin your project if you get it wrong. Investing in a $50 moisture meter is the smartest money you’ll spend. Don’t guess if it’s dry—know.
This first step is so critical because it sets the stage for everything that follows. It’s the boring but essential groundwork that ensures all your beautiful, creative choices will last. Now, let’s talk about the air in the room.
2. Assess Bathroom Humidity Levels and Ventilation Needs
You know that friend who always seems to have drama following them? In your house, that friend is humidity. It’s an invisible force that can silently destroy your beautiful new floor from the inside out. People think “waterproof flooring” is a magic bullet, but it’s not. That term is marketing BS. Your flooring planks might be waterproof, but the seams aren’t, and the space underneath it sure as hell isn’t. Trapped moisture is a mold party waiting to happen.
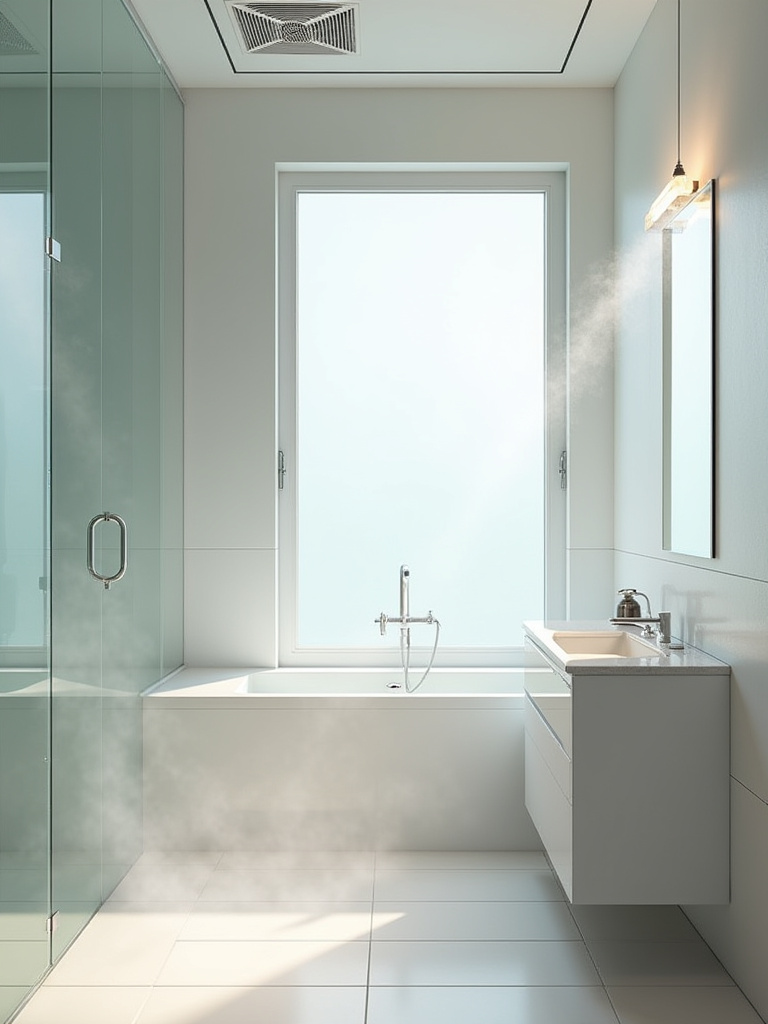
Before you buy a single thing, pay attention to what happens after a hot shower. Do the mirrors and windows stay fogged up for more than 15 minutes? Does it smell vaguely…damp? That’s your bathroom screaming for better ventilation. A dinky, noisy fan that came with the house isn’t cutting it. It needs to be powerful enough for the room’s size and you need to actually run it—for at least 20-30 minutes after you get out of the shower. Upgrading your fan isn’t an upsell; it’s insurance for your entire renovation.
Once you’ve got a handle on the invisible forces of water—both below the floor and in the air—we can start planning for the more obvious threats.
3. Determine Waterproofing Requirements for High-Splash Zones
Okay, here’s a confession: early in my career, I let a contractor convince me that “good tile and grout” was enough waterproofing for a shower wall. Fast forward two years, and the client called me in a panic. The wall behind the tile was mush. A gut-wrenching, $8,000 mistake. Here’s the absolute truth: tile and grout are not waterproof. They are water-resistant, at best. Water will get through. It’s your job to decide where it goes.
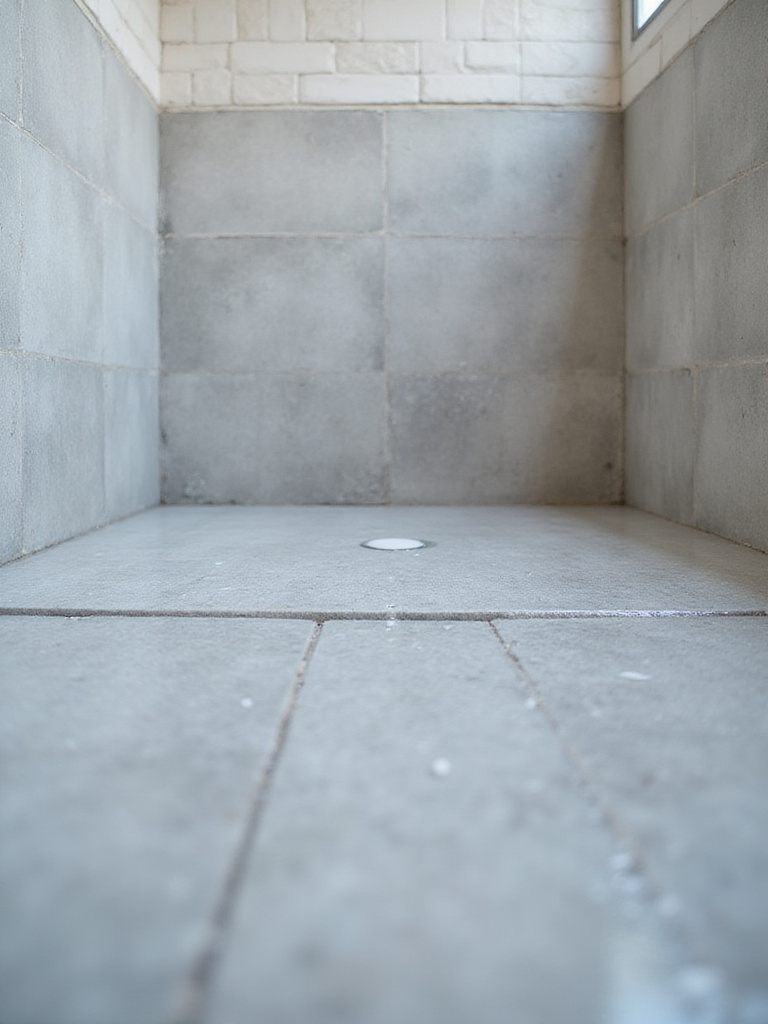
Think of proper waterproofing as building a little swimming pool liner inside your shower and around your tub. You’re creating a seamless, impervious membrane behind the pretty stuff that directs all that inevitable moisture straight to the drain. This isn’t just a “pro tip”; in many places, it’s code. Skipping this to save a few hundred bucks is the definition of stepping over a dollar to pick up a dime. Focus on a continuous system—whether it’s a liquid-applied membrane like RedGard or a sheet membrane like Schluter-KERDI—and make sure it covers every wall in the shower and the entire shower floor.
With a solid, waterproof foundation, you can finally start thinking about the money. Don’t worry, we can make smart choices here that don’t compromise the integrity we’ve just established.
4. Calculate Budgetary Constraints and Cost Per Square Foot
People always ask me where they should save money on a bathroom remodel. The answer is simple: NOT on the stuff you can’t see. Don’t cheap out on the subfloor prep, the waterproofing, or the licensed installer. The place you can get clever is with the material cost itself. But first, you need a reality check. The price on the sticker is never the final price.
Here’s the shortcut you need: when you calculate your cost, don’t just look at the price per square foot of the tile. That’s a rookie mistake. You need to add 15% for cuts and waste (non-negotiable). Then you need to add the cost of thinset, grout, sealer, waterproofing membranes, and demolition. AND THEN, you add 20% on top of that total for a contingency fund. I know it sounds like a lot, but something always goes wrong. Always. Having that fund is the difference between a minor inconvenience and a full-blown financial crisis mid-project. It allows you to solve problems without compromising on quality.
Essential Pre-Installation Considerations for Bathroom Floors (Part 2)
We’ve covered the structural must-haves—the bones of the project that protect your investment. Now we can get into the part that ties your home together. This is where we stop thinking about just the bathroom and start thinking about the house as a whole organism.
5. Consider Existing Home Style and Aesthetic Continuity
Have you ever walked into a house and one room just feels…off? Like it doesn’t belong with the rest of the home? That’s usually what happens when someone renovates a bathroom in a vacuum. A hyper-modern bathroom in a cozy, traditional farmhouse feels jarring. It breaks the narrative of the home and, believe it or not, can actually lower its perceived value. Cohesion is calming; it’s a subtle signal to your brain that everything is in its right place.
The shortcut here is to not start in the bathroom. Start in the hallway outside the bathroom. What does that floor look like? What color are those walls? What style is the hardware on the doors? Take a picture. That’s your starting point. You don’t need to match everything perfectly, but your new bathroom floor should feel like a natural extension of that space. It should be a continuation of the conversation, not a sudden change of subject. Choose a material or color that echoes something just outside the door. This one simple act creates a feeling of intentional, high-end design without costing an extra dime.
With that principle of harmony in mind, we can now confidently dive into the exciting world of materials, starting with the undisputed champion of the bathroom.
Choosing and Preparing the Best Flooring Materials (Part 1)
Alright, this is the fun part—choosing the material that you’ll see and feel every single day. The options can be paralyzing, so I’m going to break down the big players and tell you what really matters for each one. We’re not just picking a color; we’re choosing a partner for your lifestyle.
6. Opt for Porcelain or Ceramic Tiles for Superior Water Resistance
If your bathroom floor were a superhero, porcelain tile would be Superman. It’s ridiculously strong, and its superpower is that it’s “impervious” to water, absorbing less than 0.5%. That’s not marketing fluff; it’s an industry classification. This gives you a profound, subconscious peace of mind. You simply don’t have to worry about splashes, puddles, or humidity. It’s the ultimate ‘set it and forget it’ choice for a room designed for washing away the day’s stress.

The key to unlocking porcelain’s power, however, is the system you install it with. Don’t just slap it on the subfloor. As we talked about, it must go over a properly waterproofed underlayment (like a cement board with a membrane). And here’s the insider tip: use epoxy or urethane grout instead of the standard cement-based kind. It costs more, but it’s chemically bulletproof—it resists stains and cracking and doesn’t need to be sealed annually. This combination creates a truly bomb-proof floor that will outlive us all.
But maybe the classic tile look isn’t for you. If you crave the warmth of wood without the high-maintenance relationship, there’s a fantastic modern alternative.
7. Investigate Luxury Vinyl Plank (LVP) for Durable, Stylish Options
Let’s clear the air: this is not your grandma’s sad, peeling linoleum. Modern Luxury Vinyl Plank is a design chameleon and a workhorse. The high-definition printing is now so good that it’s nearly impossible to distinguish it from real wood or stone without touching it. It’s warmer and softer underfoot than tile, which is a huge sensory win on a cold morning. For busy families, it’s a lifesaver—its commercial-grade wear layer shrugs off scratches, dents, and, of course, water.
But here’s the BS everyone falls for: not all LVP is created equal. The most critical things to look for are a rigid core (labeled SPC for stone-plastic composite or WPC for wood-plastic composite) and a thick wear layer (go for 20 mil or higher, don’t settle for 12). The rigid core prevents warping and buckling, and the wear layer is what actually protects the printed design. I had a client who bought cheap LVP from a big box store, and within three years, the “wood grain” had literally worn away in front of the vanity. Don’t make that mistake.
While LVP is a brilliant problem-solver, there are still situations where the authentic allure of real wood is the only thing that will do.
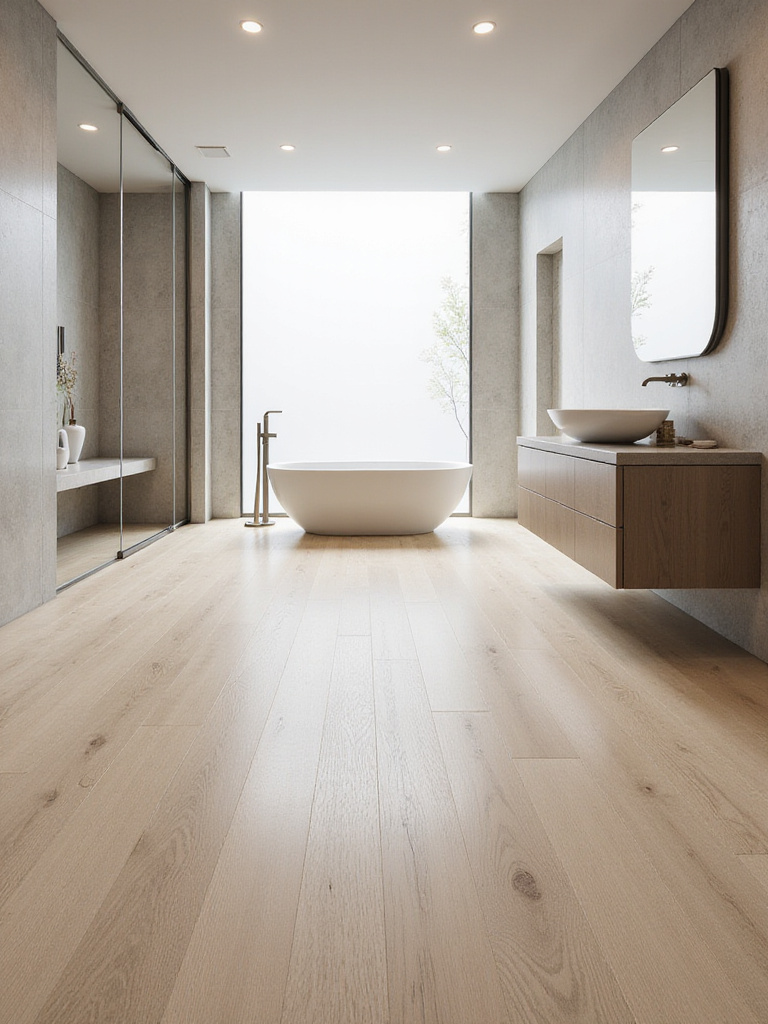
8. Understand Engineered Wood’s Suitability in Low-Moisture Areas
I know what you’re thinking: “Wood? In a bathroom? Taylor, have you lost your mind?” And for a full bath with a shower, you’re right—it’s a catastrophic idea. But for a powder room or a half-bath that only has a sink and a toilet, engineered wood can be a showstopper. It adds a layer of organic warmth and sophistication that no other material can replicate. It connects the space to the natural world and feels incredible underfoot.
The trick is that it’s a high-maintenance relationship you have to commit to. Excellent ventilation is non-negotiable. Any spills must be wiped up immediately. You have to be a little precious with it. But its construction, with layers of wood bonded together in opposite directions, makes it far more dimensionally stable than solid hardwood, so it’s less likely to warp with minor humidity shifts. If you’re willing to baby it a bit, it can elevate a simple powder room into a truly elegant space.
Now, if you want that organic, high-end feel but with a lot more muscle, it’s time to talk about the heavyweight champion of luxury.
9. Explore Natural Stone Options for High-End Aesthetic Appeal
There is nothing quite like natural stone. Marble, travertine, slate—each piece is a unique work of art forged by the earth over millions of years. It has a depth and character that manufactured products are still trying to replicate. Using it is a statement. It tells a story of permanence, luxury, and connection to the planet. It’s an emotional choice that can transform a bathroom into a personal spa.

However, stone is a diva. It’s porous, so it stains easily and requires regular sealing to protect it. It’s heavy, so your subfloor has to be structurally reinforced to handle the load. And it can be dangerously slippery when polished and wet. The secret is to choose a honed or tumbled finish, which has a more matte, grippy texture without sacrificing the beauty. I once saw a client install polished marble in a family bathroom, and they spent the next five years in a low-grade panic every time their kids took a bath. Don’t do that to yourself. Choose the right finish for the context.
Choosing and Preparing the Best Flooring Materials (Part 2)
We’ve talked materials, but there’s one more element that can completely transform your sensory experience of the space, turning your functional floor into a source of daily delight.
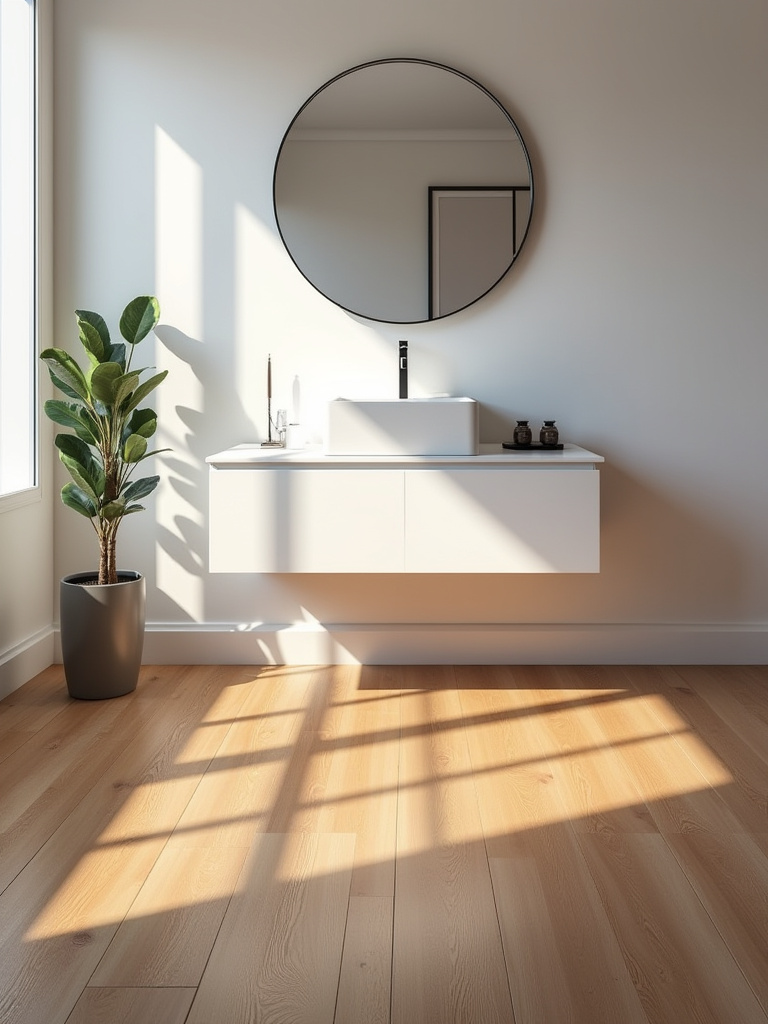
10. Factor in Radiant Heat Systems for Added Comfort
This isn’t just a luxury; it’s a game-changer for your quality of life. Radiant heat turns your entire floor into a gentle, silent radiator. The warmth it provides is different from forced air—it’s a pervasive, comforting heat that warms you and the objects in the room directly. Stepping out of the shower onto a heated tile floor on a freezing winter morning is a small moment of joy that fundamentally alters the start of your day. It’s a feeling of being cared for.

From a practical standpoint, it’s also incredibly efficient. Since the heat is right where you are, you can often keep your home’s main thermostat a few degrees lower, which saves energy. And because it doesn’t blow air around, it’s a healthier choice for people with allergies. The mistake people make is seeing it as a frivolous add-on. I see it as an investment in your daily wellbeing. If it’s in the budget, it provides a return on that investment every single day.
Now that we have the functional and sensory elements handled, let’s get into the design details that will make your space truly sing.
Elevating Your Bathroom’s Look with Strategic Flooring Design (Part 1)
This is where your inner artist gets to play. The floor is the largest single surface in your bathroom, making it a powerful canvas. The choices you make here can manipulate the perception of space, guide the eye, and express your personal style in a bold way.
11. Select Grout Colors to Enhance Tile Patterns or Blend Seamlessly
Grout is the most underestimated design tool in the entire bathroom. People see it as just the boring stuff that fills the gaps, but it’s so much more. Think of grout as the punctuation for your floor. Choosing a dark grout with a light tile creates a bold, graphic pattern that shouts, “Look at my beautiful shape!” It adds energy, rhythm, and a modern or industrial edge. It turns your floor into a deliberate design feature.
Conversely, matching your grout color as closely as possible to your tile makes the grout lines visually disappear. This creates a serene, seamless, monolithic surface that whispers, “There is nothing to see here but a calm, expansive space.” This trick is pure magic for small bathrooms, as it eliminates the grid-like pattern that can make a room feel chopped up and even smaller. What story do you want your floor to tell? The answer lies in the grout.
Beyond the color, the very shape and layout of your tiles offer another layer of design expression.
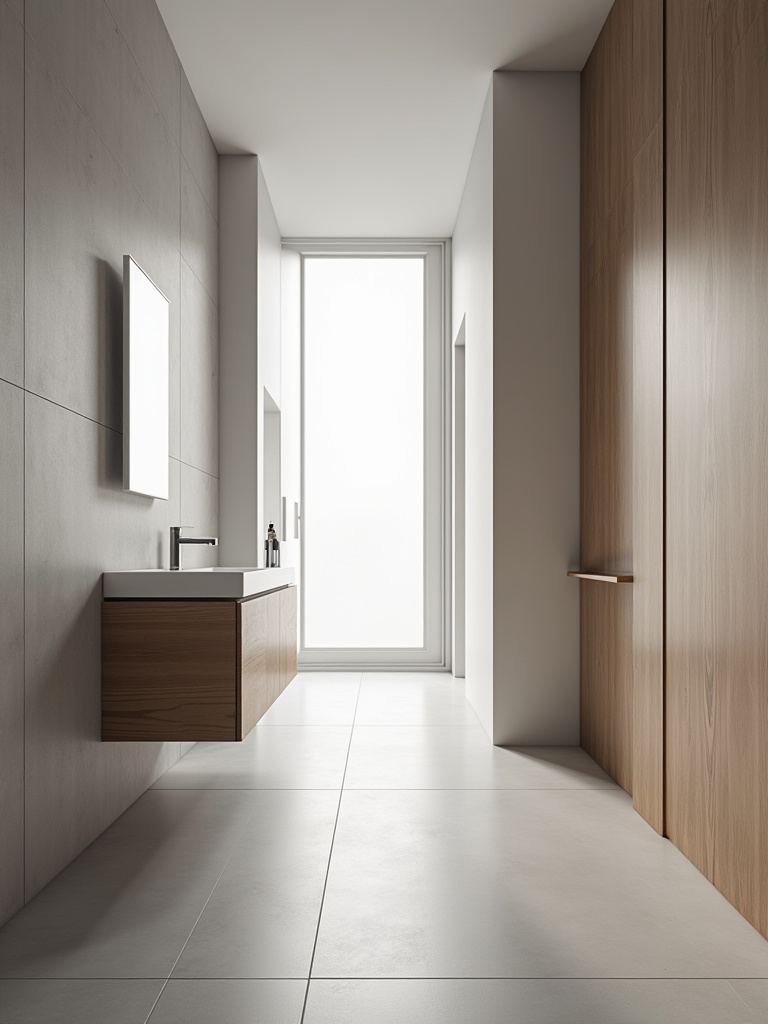
12. Use Large Format Tiles to Create a Seamless, Expansive Feel
The single best thing you can do for a small or medium-sized bathroom is to use large format tiles—think 24×24 inches or even bigger. The psychology is simple: fewer grout lines equals less visual clutter. Our brains read a surface with minimal interruption as being larger and more serene than it actually is. It’s a powerful illusion that lends an immediate sense of luxury and calm.
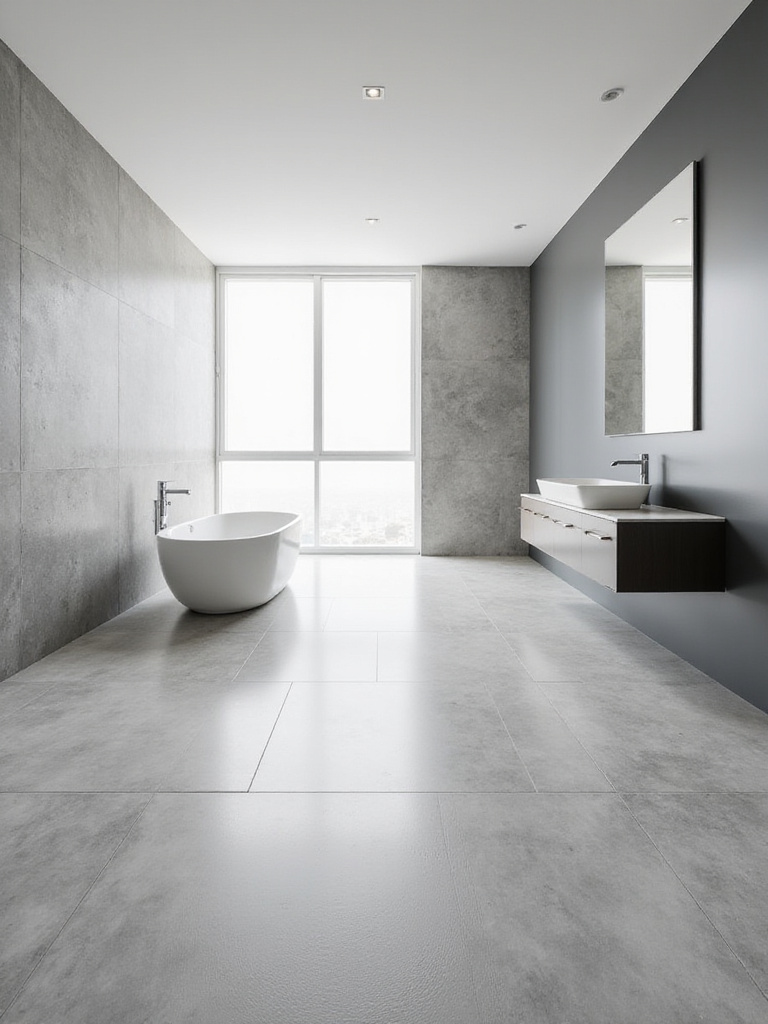
The catch is that large tiles are divas. They demand a perfectly flat subfloor. Any little dip or hump in your subfloor will be magnified, causing the edge of one tile to be higher than its neighbor (a trip hazard called “lippage”). This is a job for a pro, and they must use a tile leveling system (those little plastic clips and wedges) to ensure a perfectly flat finish. Don’t let anyone tell you they can eyeball it. They can’t.
If you want to take that sense of visual interest a step further, you can play with classic patterns that have been around for centuries for a reason.
13. Experiment with Herringbone or Chevron Patterns for Visual Interest
Laying rectangular tiles in a herringbone or chevron pattern is like putting on a great piece of jewelry—it instantly elevates the entire look. These patterns create a sense of movement and energy that draws the eye into and through the space. They feel dynamic and custom, adding a layer of architectural detail that makes a room feel more considered and expensive.
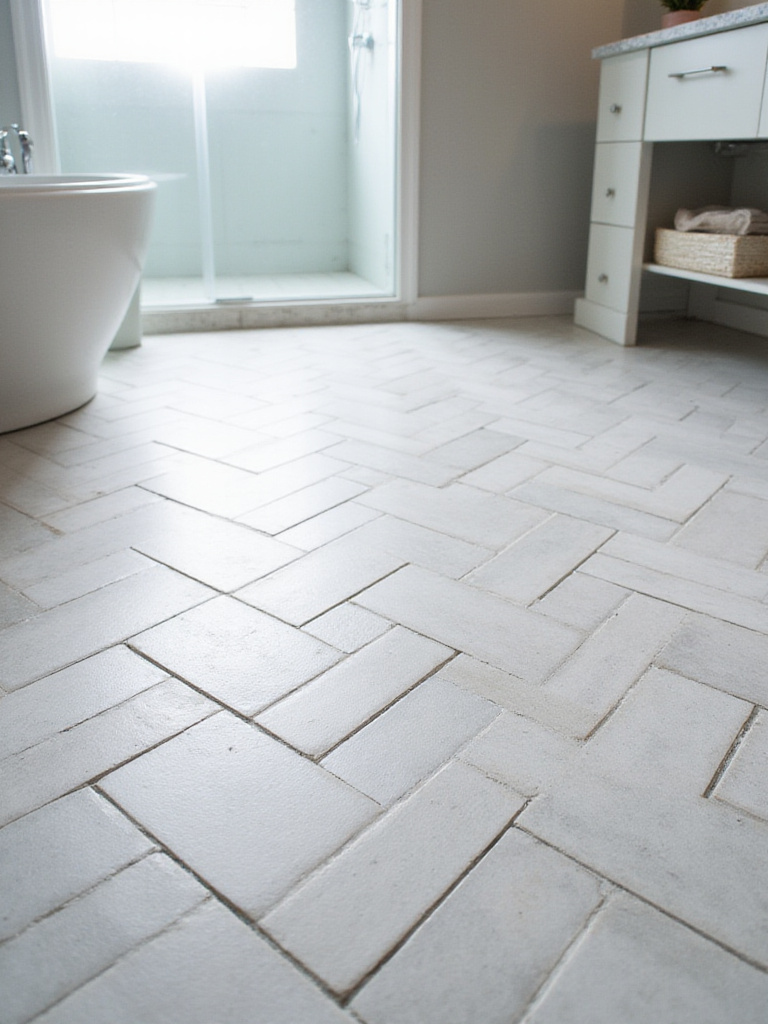
But be warned: this is not a beginner DIY project. The number of complex angle cuts required means you’ll have more waste and it will take a skilled installer significantly longer. Always order at least 20% extra material, not the standard 10-15%. The biggest mistake I see is people trying to use this pattern with a very busy, heavily patterned tile. It’s visual chaos. A dynamic pattern needs a simple, solid-colored tile to truly shine. Let the pattern be the star of the show.
While visual texture is exciting, let’s not forget about the importance of physical texture, especially in a wet environment.
14. Integrate Textured Tiles for Slip Resistance and Sensory Appeal
Safety is a form of love. Choosing a floor with a good texture is how you take care of yourself and your family in the bathroom. The CDC says over 80% of falls in the home happen in the bathroom, and a slippery floor is the main culprit. But slip-resistance doesn’t have to look industrial or ugly. Many gorgeous tiles now come with subtle textures—like the feel of sand, brushed stone, or even fabric—that provide excellent grip without sacrificing style.
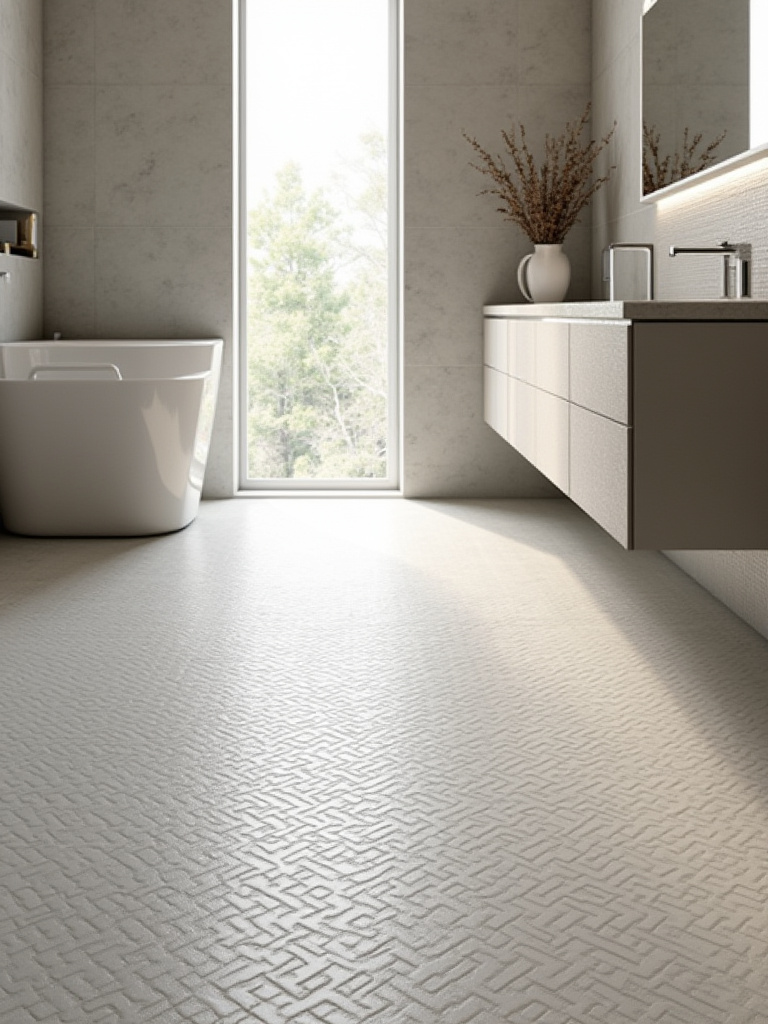
This is also a huge opportunity to engage another sense: touch. A floor with a gentle texture underfoot provides a subtle sensory experience that connects you to your environment. A pebbled shower floor, for instance, gives you a mini foot massage every morning. Look for a tile’s DCOF (Dynamic Coefficient of Friction) rating on its spec sheet. For a bathroom floor, you never want anything less than 0.42. It’s a boring number, but it could literally save you from a broken hip.
Elevating Your Bathroom’s Look with Strategic Flooring Design (Part 2)
We’ve explored patterns and textures. Now, let’s pull the lens back and talk about the most powerful design tool of all: color, and how your floor fits into the room’s entire color story.
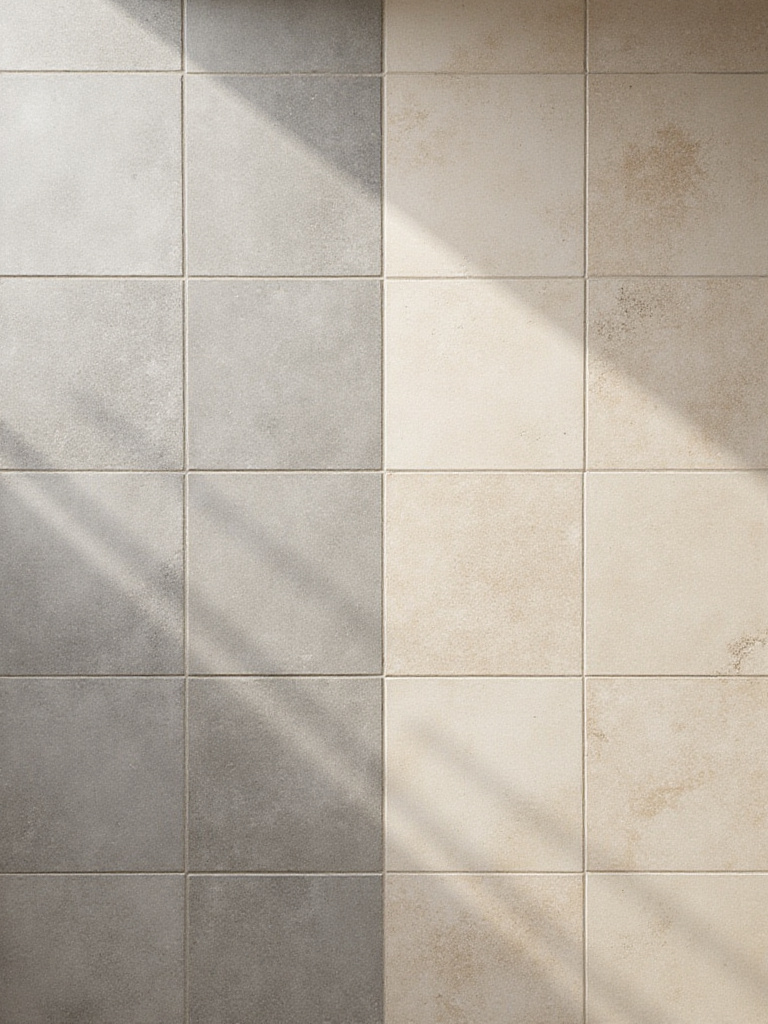
15. Harmonize Flooring Color with Wall Paint and Fixtures
The most successful rooms are the ones where every element feels like it’s in conversation with the others. Your floor, walls, and fixtures are the main characters in this story. The goal is to create a harmonious color palette where everything belongs. This creates a deep sense of visual calm and makes the space feel cohesive and whole.
Here’s the shortcut designers use: identify the undertones. Is your “gray” floor a cool, blue-gray or a warm, greenish-gray? Hold your paint swatches right next to your floor sample in the bathroom’s actual light. A color can look completely different under the fluorescent lights of a store. I once had a client choose a beautiful greige floor and a creamy beige paint. In the store, they looked great. In her home, the floor looked purple and the walls looked yellow. They were fighting. The simplest rule is to keep cool undertones with other cools, and warm undertones with other warms. This will create that effortless, professional look every time.
Now that your bathroom is a work of art, let’s talk about how to keep it that way for the long haul.
Maximizing Longevity and Functionality Through Smart Choices
You’ve invested time, money, and emotional energy into creating this beautiful space. Don’t let it fall apart because of neglect. A little bit of smart, consistent care is all it takes to protect your investment and keep your floor looking brand new for decades.
16. Implement Regular Cleaning Routines Specific to Your Flooring Material
This sounds obvious, but you’d be shocked how many people ruin their floors with the wrong cleaner. Using an acidic cleaner (like vinegar) on natural stone like marble will literally dissolve and etch the surface. Using an abrasive scrub brush on LVP can scratch the wear layer and dull the finish. The number one rule is to use the right tool for the job.
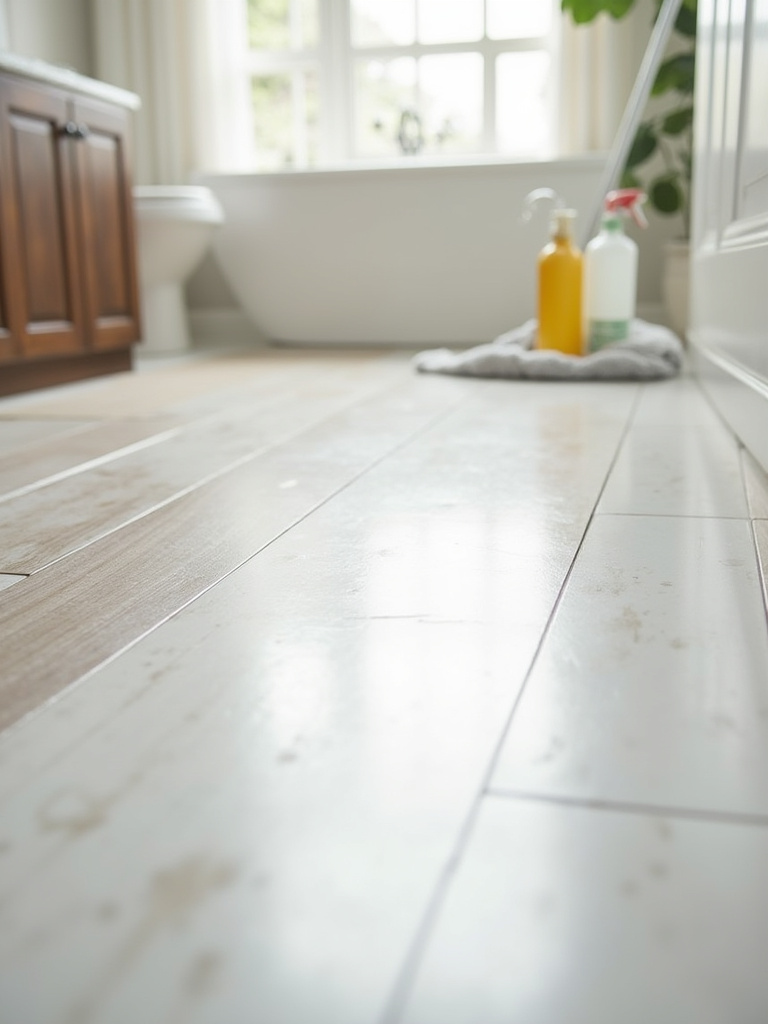
Most of the time, a pH-neutral cleaner is your best friend. For tile, vinyl, and stone, that’s all you need for weekly mopping. But the real secret isn’t about deep cleaning; it’s about daily prevention. Keeping a small, soft-bristled brush or a microfiber cloth handy to quickly wipe up spills or toothpaste splatters prevents them from setting and becoming a major chore later. Consistency beats intensity every single time.
This regular maintenance is key, but there’s one specific task that’s non-negotiable for tile floors.
17. Re-Seal Grout Lines Annually to Prevent Moisture Infiltration
I know, it sounds like a tedious chore. But remember how we established that cement grout is porous? Over time, water and soap scum break down the original sealer. Resealing your grout once a year is like putting a fresh coat of waterproof mascara on—it creates an invisible shield that prevents all the gunk from seeping in and turning your pristine grout lines into a dingy, mildew-y mess.
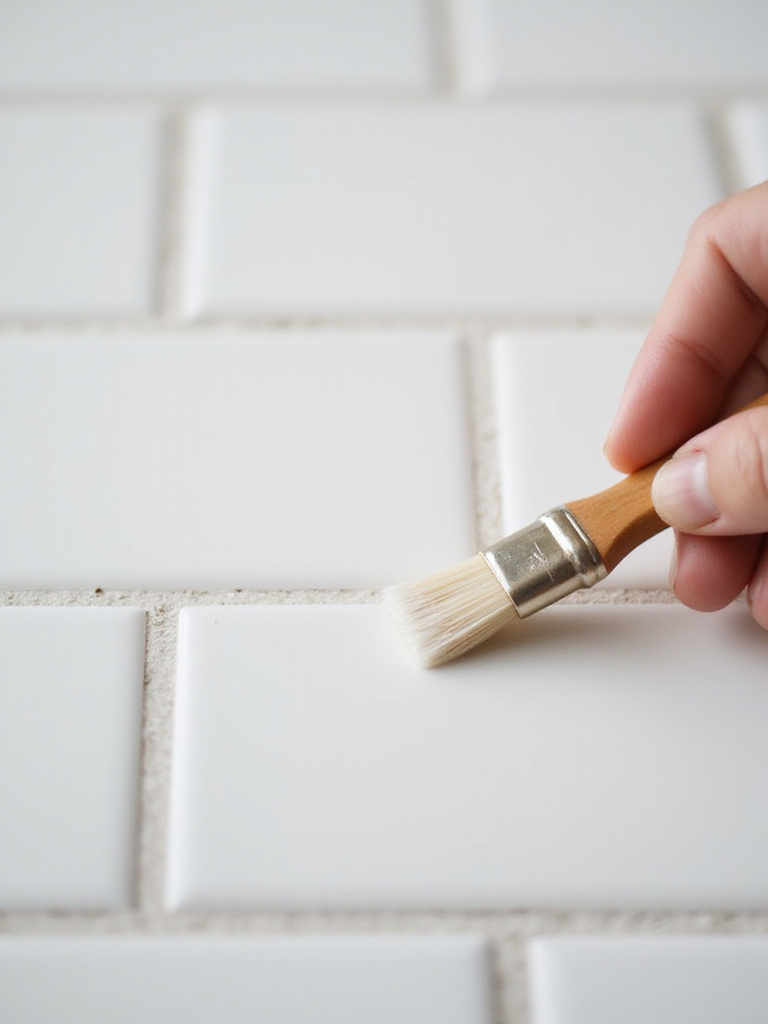
This 30-minute task saves you hours of future scrubbing and can prevent catastrophic water damage from seeping into your subfloor. Here’s a quick test: sprinkle a few drops of water on your grout. If it beads up, you’re good. If it soaks in and darkens the grout, it’s time to reseal. Think of it as an annual check-up for your floor’s health.
Just as important as long-term prevention is responding quickly when small problems pop up.
18. Address Minor Damage Promptly to Prevent Worsening Issues
A tiny chip in a tile or a small crack in the grout might seem like a minor cosmetic issue, but in a bathroom, it’s a broken dam. It’s a tiny invitation for water to get where it doesn’t belong. And water is relentless. What starts as a pinhole can lead to a soft subfloor, loose tiles, and a massive repair bill down the line.
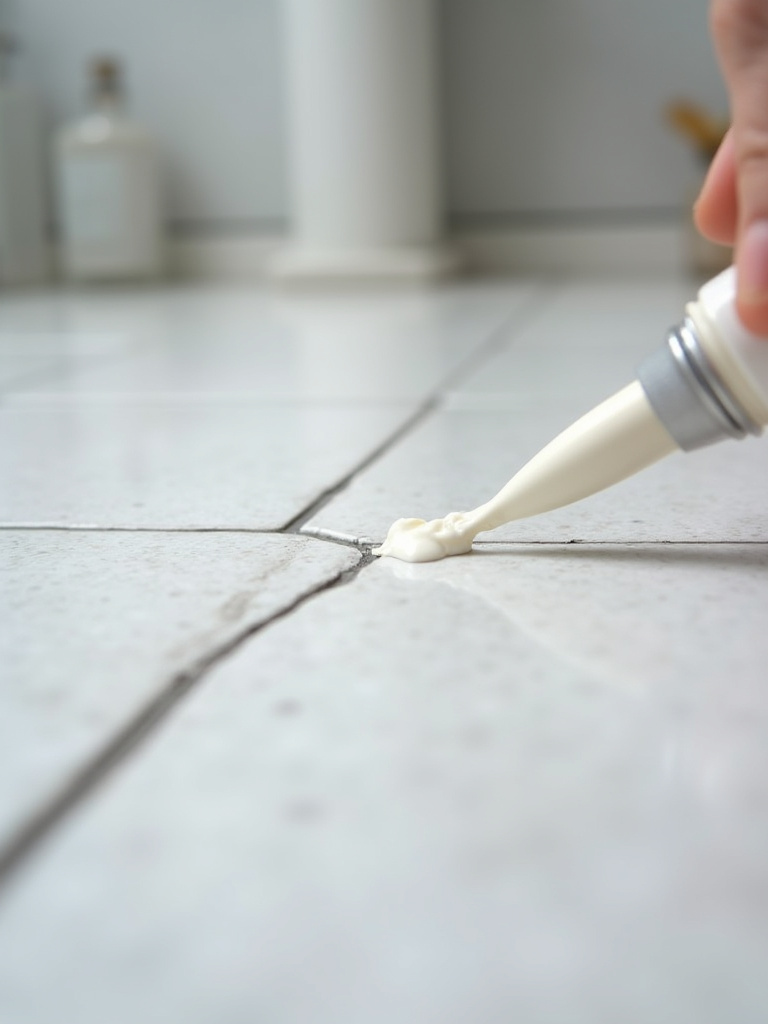
My advice is to keep a “floor first-aid kit” under your sink. This should include a small amount of leftover grout, some color-matched caulk, and a tube of tile repair epoxy. When you see a small issue, don’t put it on a to-do list for later. Take 15 minutes and fix it that weekend. Being proactive about these tiny repairs is the most cost-effective way to maintain the integrity and beauty of your floor for the long haul.
Finally, let’s talk about a choice that feels good on every level—for your home, your health, and the planet.
19. Consider Eco-Friendly or Recycled Flooring Alternatives for Sustainability
Choosing a floor isn’t just a design decision; it’s a statement about your values. Materials like cork, bamboo, and tiles made from recycled glass offer a beautiful and compelling alternative to traditional options. Cork, for example, is harvested from the bark of the tree, which grows back, making it incredibly renewable. It’s also naturally antimicrobial and feels warm and soft underfoot.
The psychological benefit here is real. Knowing you made a conscious choice to use a material that is healthier for the planet and emits fewer VOCs (Volatile Organic Compounds) into your home can contribute to a deeper sense of wellbeing in your space. It’s about creating a home that not only looks good but also aligns with your desire to live more consciously. It completes the picture, turning your bathroom into a true sanctuary.
Conclusion
So, there you have it. We’ve journeyed from the unseen subfloor to the boldest design statements. The common thread is intention. The right bathroom floor isn’t just about what’s durable or trendy; it’s about making a series of deliberate choices that support how you want to feel in your most private space—grounded, serene, energized, or cared for.
You now have the framework to look past the product labels and ask the right questions. You understand that the “boring” stuff is what makes the beautiful stuff last, and that small details like grout color have a huge psychological impact. Don’t let this just be inspiration. Pick one idea that resonated with you and take the first step. Grab a sample. Schedule a consultation. Your journey to a bathroom that truly serves you starts from the ground up, and you’re more than ready to begin.


