You know what people always ask me when we start talking about bathroom renovations? They don’t ask about tile patterns or paint colors first. They ask, “What should I do about the sink?” And it’s such a great question because, honestly, the sink is where so many designs go wrong. People see it as just a bowl for water, but it’s so much more. It’s the central hub of your daily routine.
It’s where you teach your kid to brush their teeth, where you get ready for a big day, and where you wash away the stress of a long one. A well-designed sink area can make your life easier, safer, and just… better. And the secret isn’t about spending a ton of money. It’s about thinking ahead. It’s about creating a space that works for you today, for a visiting grandparent next month, and for your own future self twenty years from now. That’s what we call universal design—and it’s just good design, period.
Foundations & Functional Planning: Setting Your Sink Stage
Before we even get to the fun stuff like materials and fixtures, we have to talk about the groundwork. Getting this part right is the difference between a bathroom that looks good on Instagram and one that actually works for your life. It’s all about the unglamorous-but-critical stuff: measurements, flow, and function.
1. Figure Out Your Sink’s Best Size by Looking at Your Whole Bathroom
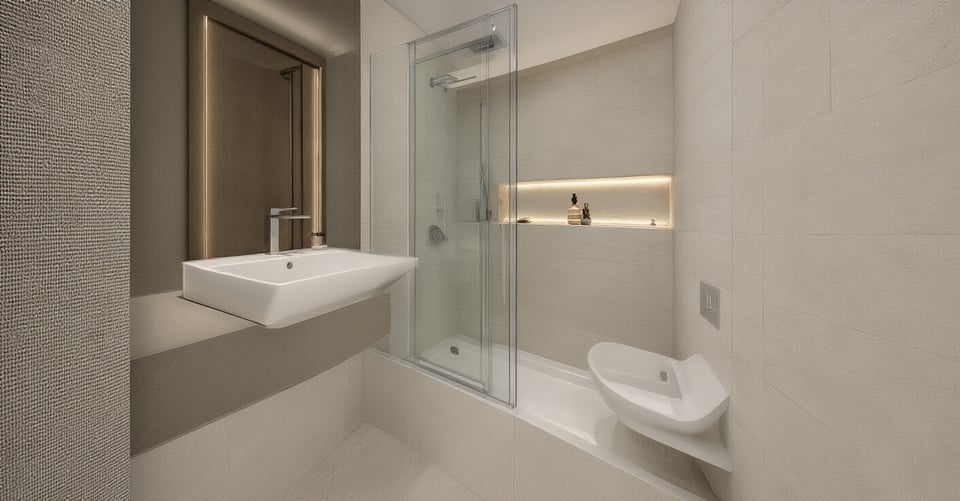
The biggest mistake I see is people falling in love with a giant, beautiful sink and then trying to shoehorn it into a space that can’t handle it. You end up with no counter space, no elbow room, and a traffic jam every morning. The right-sized sink should feel generous but not greedy. It needs to leave enough room for you to move, for doors to swing, and for you to not feel like you’re wedged into a corner just to wash your hands.
Think about real-life use. You need what designers call “clearances.” At least 21 inches of clear floor space in front of the sink is a good starting point. This isn’t just about codes; it’s about not banging your hip on the vanity every time you walk by. It’s for a parent standing next to a child at the sink, or for someone using a walker to navigate the room comfortably. So before you shop, get out the measuring tape and some painter’s tape. Mark out the footprint of the vanity you think you want, and live with it for a day. You’ll know pretty quickly if it’s a bad fit.
Once you know how your sink fits in the room, it’s time to think about how its style will fit with everything else.
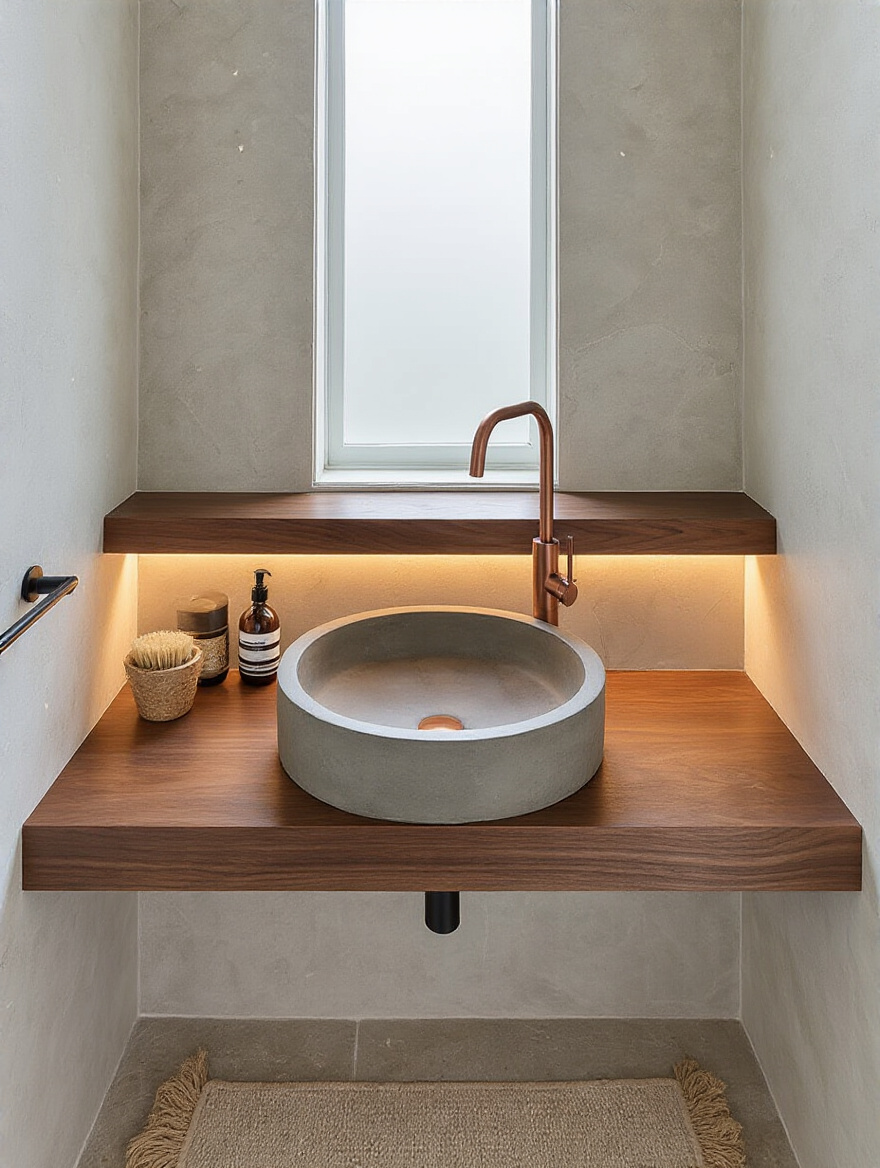
2. Pick a Sink Style That Matches Your Bathroom’s Vibe
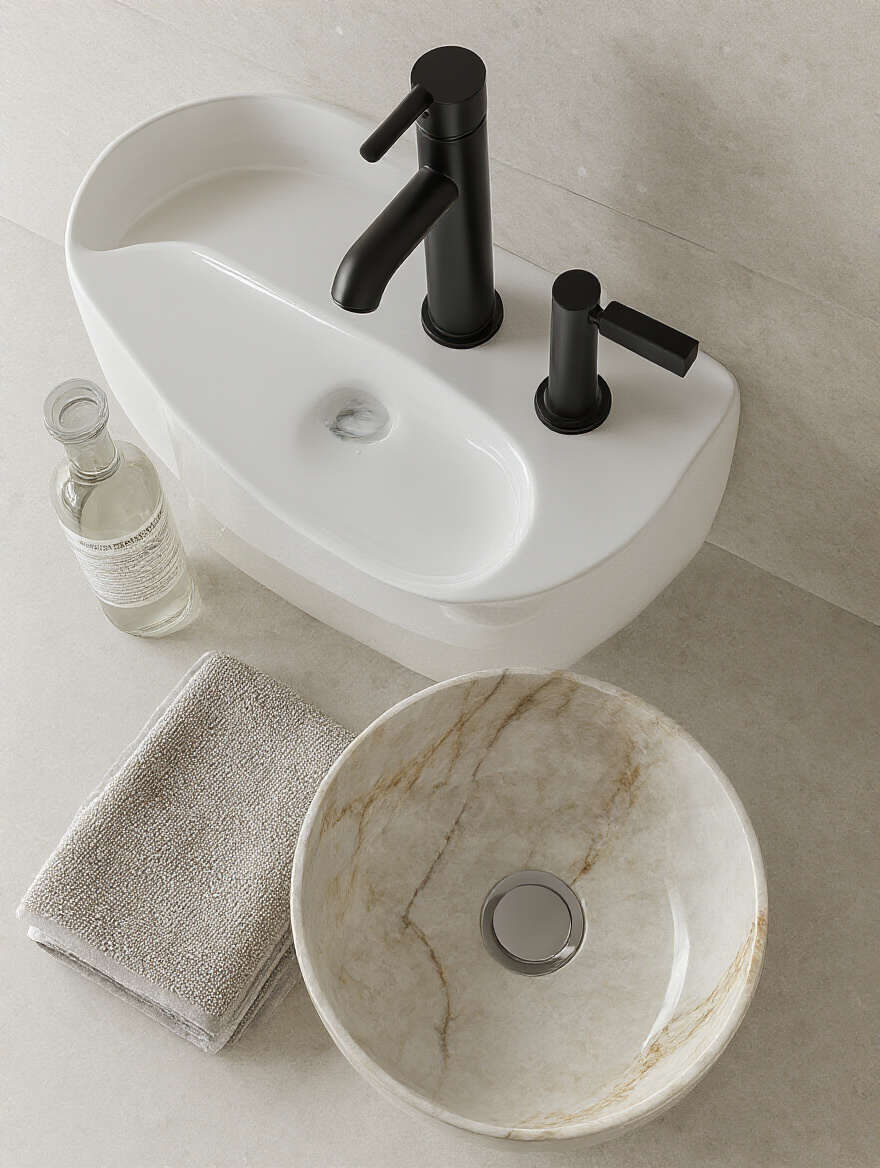
Okay, style matters. You want to love the look of your space. But for me, “style” is also about how a design feels to use. A super modern, sharp-cornered vessel sink might look incredible in a magazine, but if you have a toddler who’s prone to bumping into things, those sharp edges are a hazard waiting to happen. Good design shouldn’t make you nervous.
So as you’re browsing, think about your life. A deep, wide farmhouse-style sink can be amazing for soaking things or washing a small pet, and it instantly creates a warm, welcoming vibe. A sleek, integrated sink that’s molded right into the countertop is the champion of easy cleaning—no seams means no gunk buildup, which is a huge win for hygiene and saving time. A pedestal sink can look classic and save floor space, but just remember you’re giving up every inch of storage. The key is to find a style that not only looks right but feels right for your family.
Next up, we need to talk about one of the most practical and complained-about aspects of any sink: splashing.
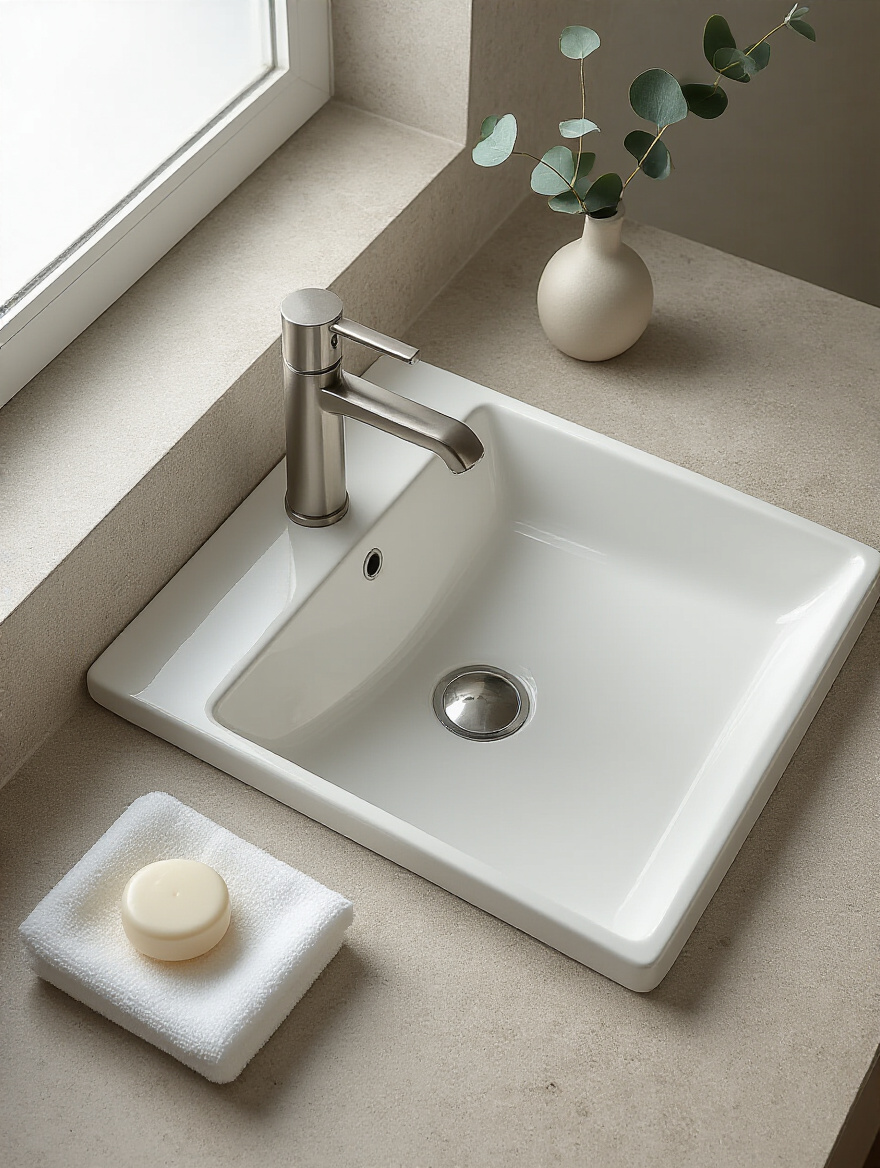
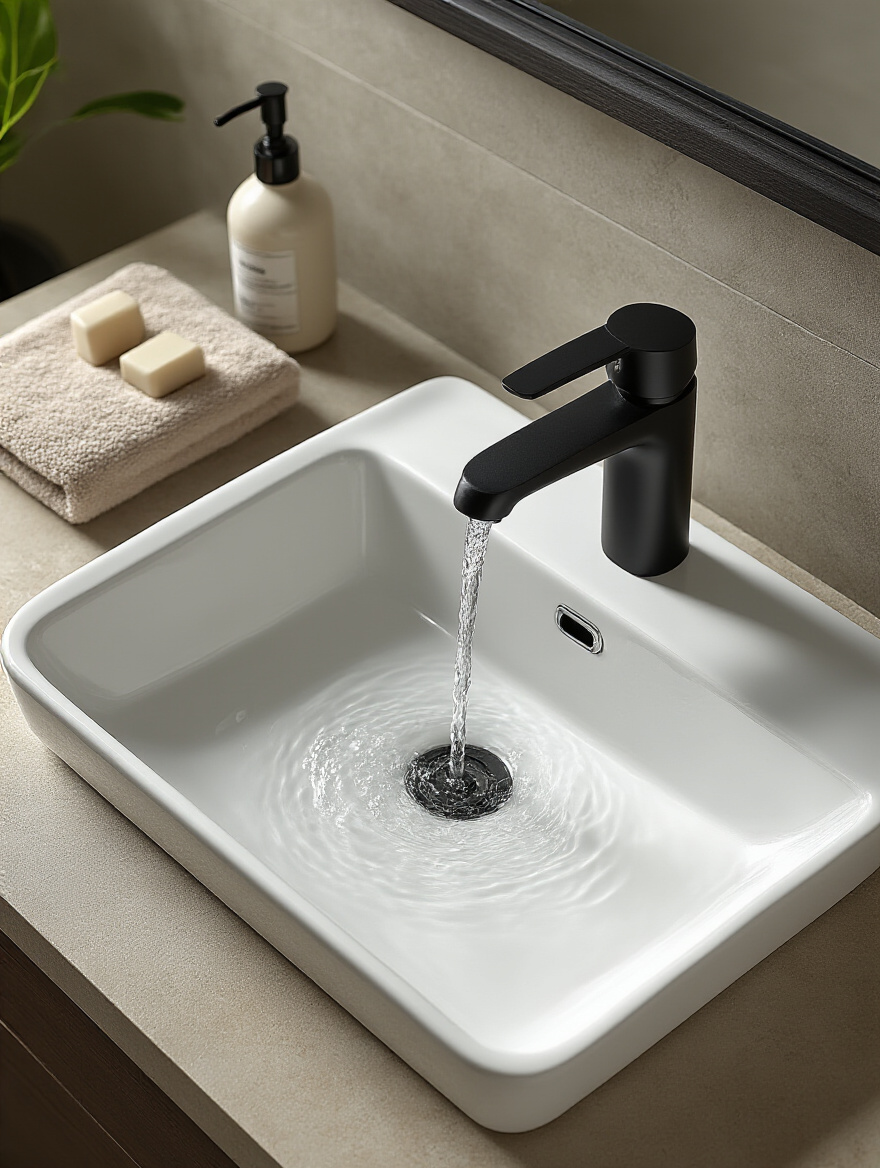
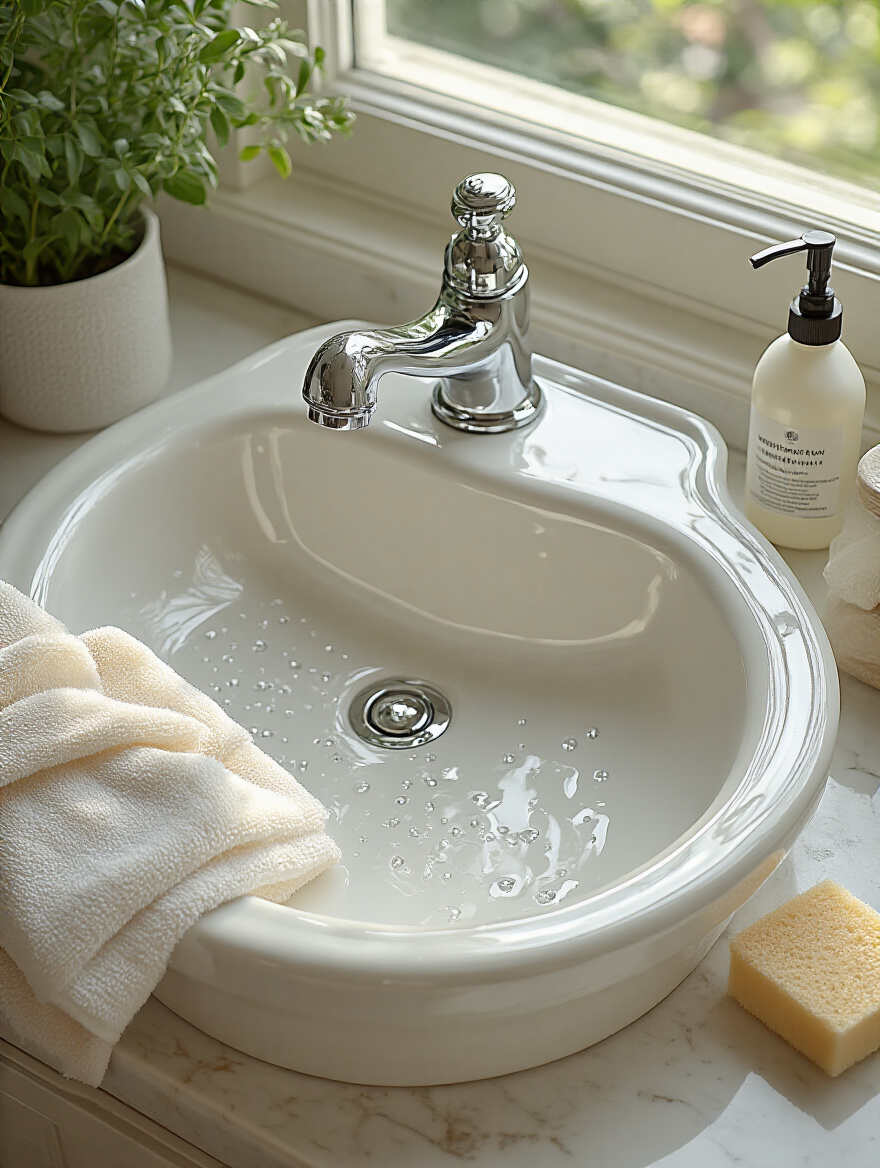
3. Choose the Right Basin Depth to Stop Splashing in its Tracks
There is nothing more annoying than a sink that soaks your shirt every time you wash your face. This isn’t just a pet peeve; it’s a design flaw. The problem usually comes from a bad marriage between a shallow basin and a high-pressure faucet. The water hits the bottom and splashes everywhere. The sweet spot for most bathroom sinks is a depth of around 6 to 8 inches from the bottom of the bowl to the overflow hole. This gives the water a place to go without launching an attack on your countertops.
But it’s also a balancing act. If you have small kids or if someone in your home uses a wheelchair, a basin that’s too deep can be hard to use comfortably. They can’t reach the bottom or the faucet controls easily. This is where universal design thinking comes in. Sometimes a slightly shallower basin (around 5-6 inches) paired with a faucet that has a gentle, aerated flow is the perfect compromise—it prevents splashing while still being accessible to everyone.
Now that we’ve contained the water, let’s talk about reclaiming the space all around it.
4. Make Sure You Have Enough Counter Space for Your Daily Stuff
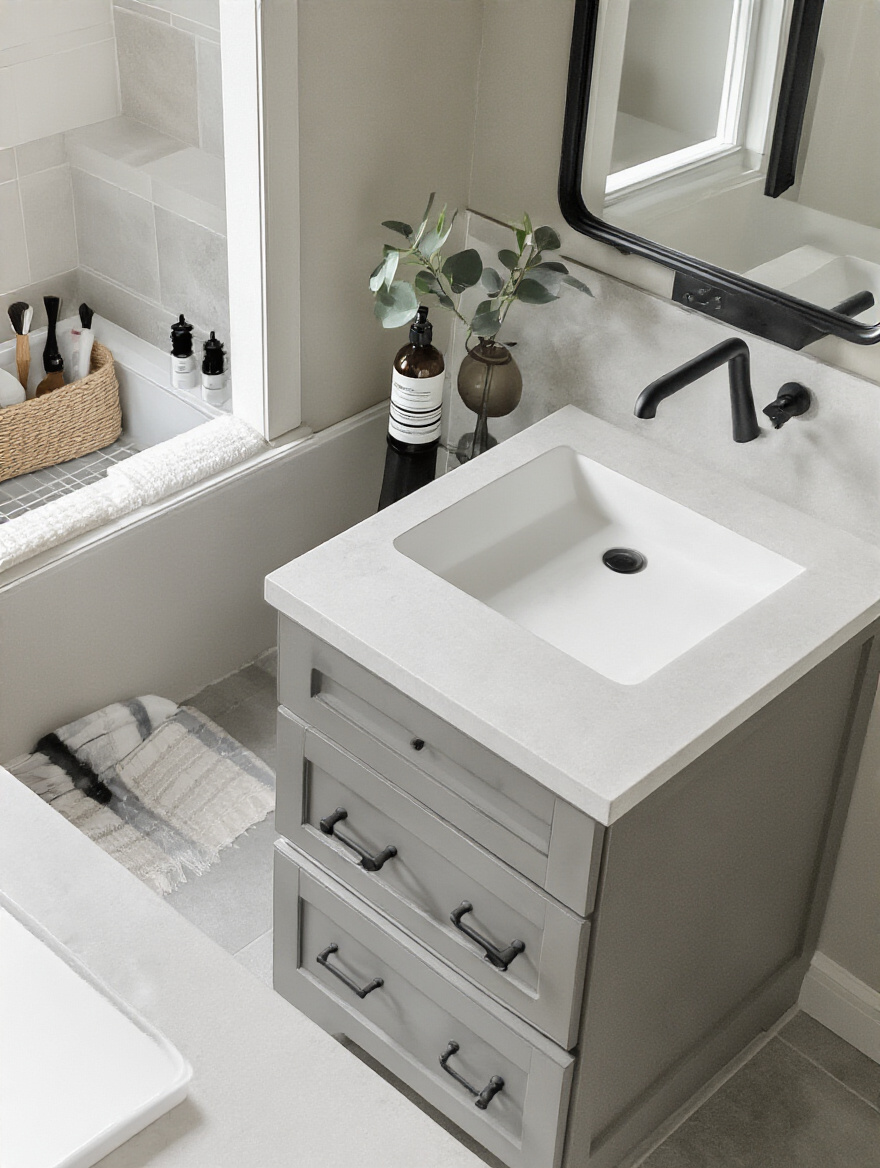
Counter space—or the “landing zone,” as I call it—is some of the most valuable real estate in your entire home. It’s where you put your glasses, your medications, your hot curling iron, your toothbrush. A bathroom without enough of it is a bathroom that will always feel cluttered and chaotic. Sacrificing all your counter space for a massive double sink is a classic blunder. You end up with nowhere to put anything, and your stuff just lives on the floor or the toilet tank.
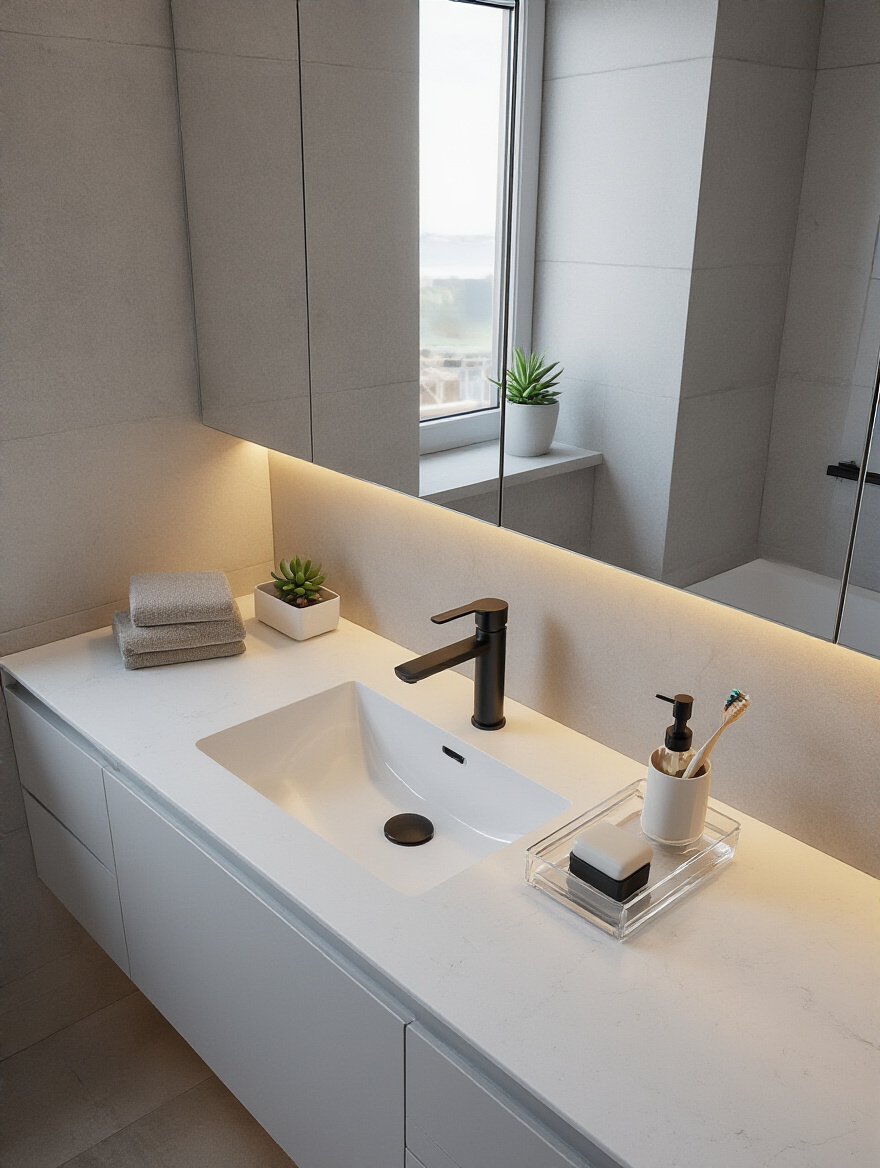
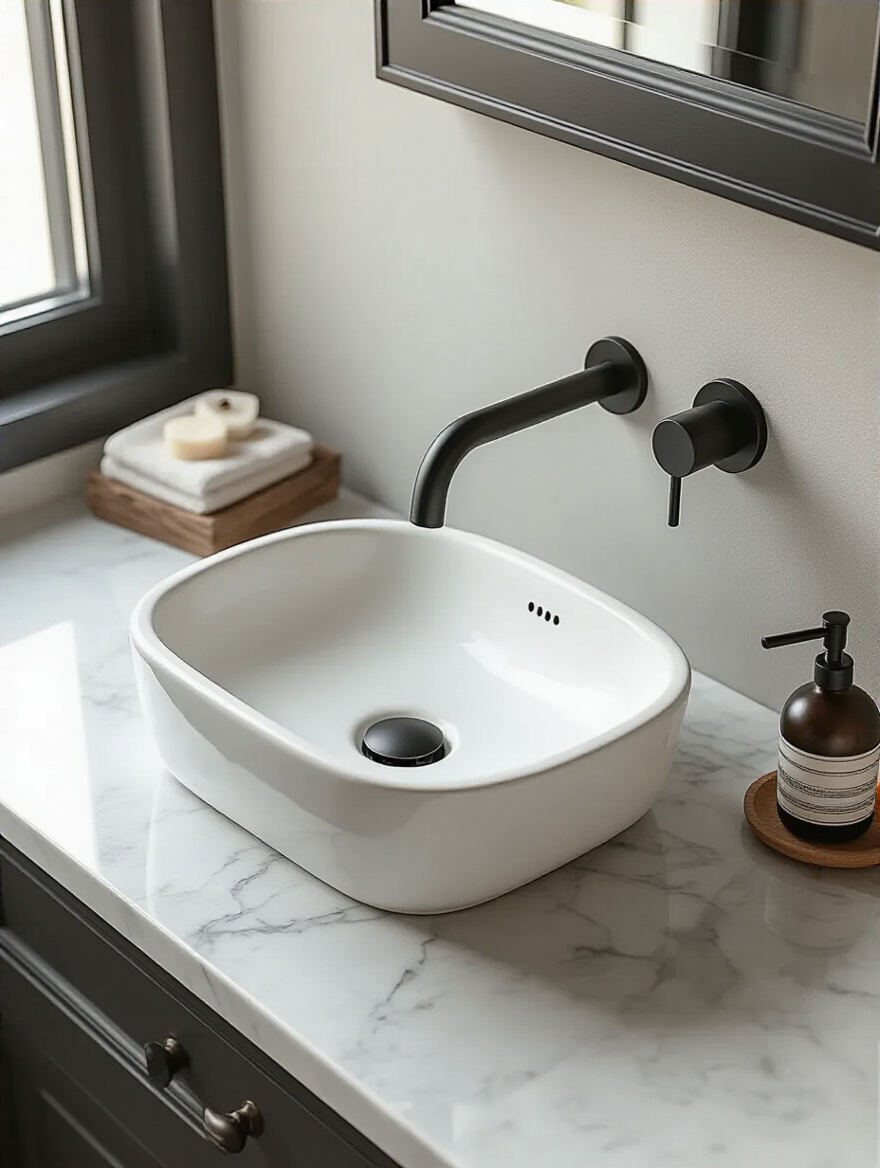
The trick is to be realistic about your needs and clever with your design. An undermount sink is a great way to maximize your counter because you can just wipe spills and clutter right into the basin. A wall-mounted faucet frees up the entire surface behind the sink. I once worked with a family who was getting ready to care for an aging parent, and we made sure to design a wide, clear landing zone right next to the sink for organizing daily medications and supplies. It wasn’t just a design choice; it was a way to support their role as caregivers and make a stressful task a little bit easier.
Thinking about the counter and sink together naturally leads to the next question: how will it all be installed?
5. Consider How the Sink is Installed for Looks and Stability
The way your sink is installed affects everything from how easy it is to clean to whether it can accommodate someone in a wheelchair. The most common types are drop-in, undermount, vessel, and wall-mount. A drop-in is the easiest to install, but that lip around the edge is a notorious crumb and gunk collector. It’s a small thing that becomes a daily annoyance.
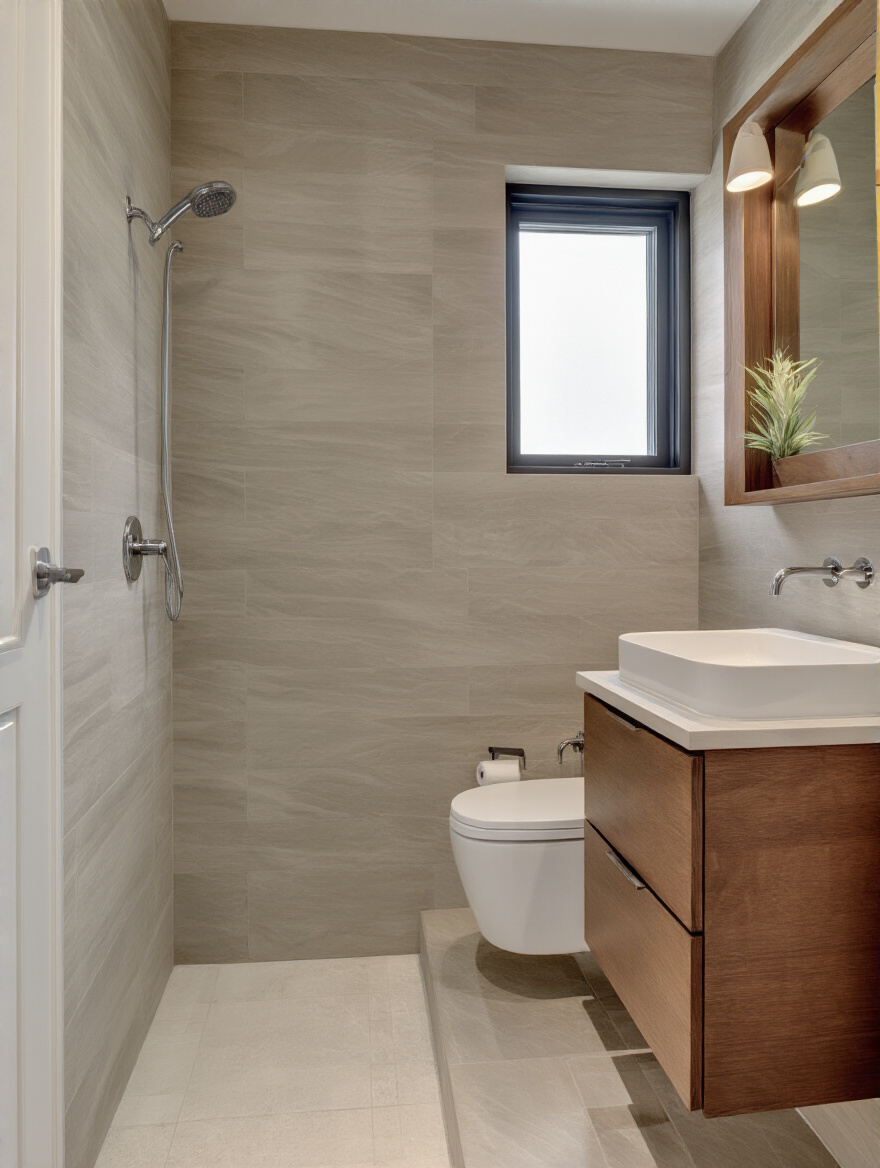
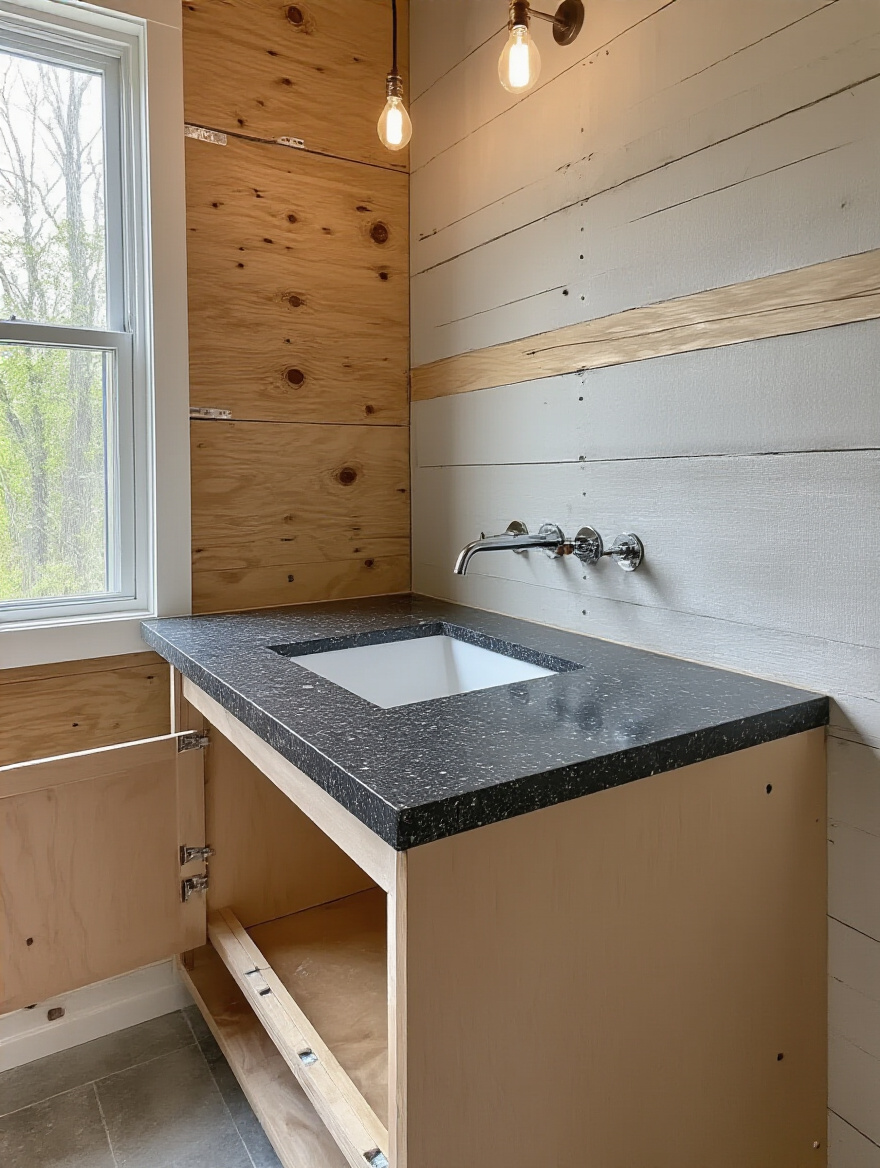
An undermount sink, which sits below the countertop, is my go-to for most projects. It creates a clean, seamless look and makes wiping the counter a breeze—a huge plus for hygiene and for anyone who has trouble with fine motor skills. For accessibility, nothing beats a wall-mount sink. It opens up the floor space underneath completely, providing critical knee clearance for wheelchair users. Just make sure the wall is properly reinforced with blocking before the drywall goes up to support the weight. Don’t let anyone tell you they can just use toggle bolts. That’s how you end up with a sink on the floor.
Now that we’ve planned the space, let’s talk about what the sink is actually made of.
Material Matters & Durability: Investing in Lasting Quality
Okay, let’s talk about materials. This isn’t just about choosing a color. The material of your sink determines how it will stand up to dropped toothpaste tubes, spilled makeup, hot curling irons, and years of daily cleaning. A cheap, flimsy material might save you a few bucks upfront, but you’ll pay for it later in chips, stains, and the sheer hassle of having to replace it. This is where you invest in peace of mind.
6. Pick a Tough Material That Will Last for Years
When I talk about durability, I’m really talking about future-proofing your home. You don’t want to go through the disruption and expense of a bathroom renovation more often than you have to, especially if you have a busy family or are planning to age in place. Materials like vitreous china (your classic, glossy porcelain) and fireclay are workhorses. They are incredibly tough, resistant to staining and scratching, and last for decades.
Solid surface materials (like Corian) are another fantastic option. They’re non-porous, and because the color goes all the way through, minor scratches can actually be buffed out. I love this for families because it’s so forgiving. A beautiful natural stone like marble looks luxurious, but I always give clients a gentle warning: it’s porous and can stain and etch easily. If you’re not committed to sealing it regularly and wiping up spills immediately, it can start to look tired and worn pretty quickly. Being honest about your tolerance for maintenance is key here.
Durability is one thing, but how easy a sink is to keep clean is a whole different ballgame.
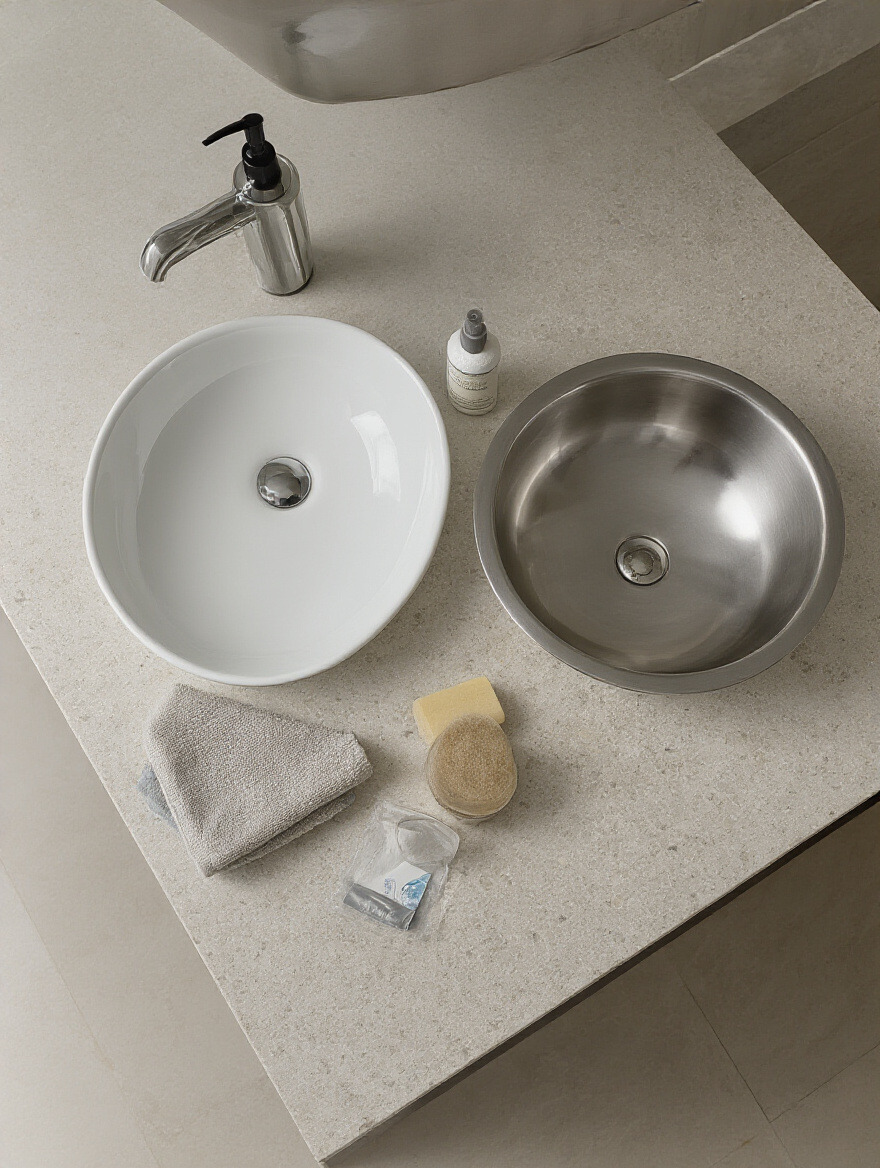
7. Go for Non-Porous Surfaces for Easy Cleaning and Better Hygiene
A sink surface that is non-porous is just a fancy way of saying it doesn’t have tiny microscopic holes where germs and grime can hide. This is a big deal. Materials like porcelain, solid surface, and stainless steel are inherently non-porous, which means bacteria, mold, and mildew have nowhere to take hold. It makes the sink fundamentally easier to clean and keep sanitized, which is a blessing for any household, especially one with young kids or someone with a compromised immune system.
This is why you have to be careful with things like natural stone or even concrete. They look amazing, but they are porous by nature. They rely on a sealer to protect them. If that sealer wears off, the material can absorb everything from makeup to bacteria. If you choose one of these, you’re also choosing a maintenance schedule. A good rule of thumb: if you can leave a drop of water on it and it beads up, the seal is good. If it soaks in and darkens the material, it’s time to re-seal.
Beyond just being easy to clean, you also want a sink that doesn’t look like it’s been through a battle after a few years.
8. Check for Scratch and Stain Resistance to Keep it Looking New
Life is messy. Hair dye gets spilled, nail polish drips, metal belt buckles get dragged across the rim. You want a sink that can handle real life without looking permanently scarred. This is where you have to look past the showroom beauty and ask about performance. Vitreous china and porcelain-enameled cast iron are the champions here. Their hard, glassy finish is incredibly resistant to both scratches and stains. They just wipe clean.
I had a client once who insisted on a trendy, matte-finish composite sink. It looked stunning on day one. But within a year, it was covered in faint scratches and a permanent shadow from where her husband left his shaving cream can. She was so disappointed. A simple tip I give everyone is to request a sample of the material if you can. Take it home. Drip some coffee on it. Run your keys over it (gently!). See how it holds up. It’s better to find out a material is too delicate before it’s permanently installed in your bathroom.
While we’re talking about tough materials, we can’t ignore the fact that some of them are incredibly heavy.
9. Don’t Forget About the Weight of the Material and What’s Holding it Up
This is a huge safety and structural issue that gets overlooked all the time. You fall in love with a gorgeous, solid-stone trough sink or a heavy-duty cast iron basin, but you forget that it might weigh a few hundred pounds. A standard, off-the-shelf vanity cabinet from a big-box store may not be built to support that kind of load over time. The counter can start to sag, the seams can crack, and in a worst-case scenario, the whole thing can fail.
Before you buy a heavy sink or a stone countertop, you need to have a serious talk with your contractor or cabinet maker. The vanity may need to be reinforced with extra framing, steel supports, or plywood gussets to transfer the weight safely to the floor. For a wall-mounted sink, this is non-negotiable—the wall itself must have solid wood blocking installed between the studs to carry the load. Don’t let an installer tell you they’ll “figure it out.” It needs to be planned from the start.
Finally, there’s one last material property that matters more than you’d think: how it handles temperature changes.
10. Consider How Well it Resists Thermal Shock in a Busy Bathroom
“Thermal shock” sounds dramatic, but it’s a real thing. It’s what can happen when a material experiences a rapid, extreme change in temperature—like when you dump a bucket of very hot water into a cold sink. Some materials, especially lower-quality ceramics or certain natural stones, can develop tiny hairline cracks or even fracture completely under that kind of stress.
High-quality fireclay and vitreous china are excellent at resisting thermal shock because of how they are made and fired at incredibly high temperatures. This is one of those invisible quality markers you’re paying for with a reputable brand. It’s about peace of mind. You want to know that your sink can handle the rigors of daily life without you having to worry that you might accidentally break it just by cleaning it.
Now that we’ve covered the sink basin itself, let’s turn to the fixtures that bring it to life.
Faucets & Fixtures: The Heart of Your Sink’s Functionality
If the sink basin is the stage, the faucet is the star performer. It’s the part you interact with most, and it has a huge impact on both how the sink works and how it looks. A bad faucet can make even the most beautiful sink a daily frustration. Choosing the right one is about finding the perfect blend of form, function, and feel.
11. Make Sure Your Faucet Style and Sink Style Work Together
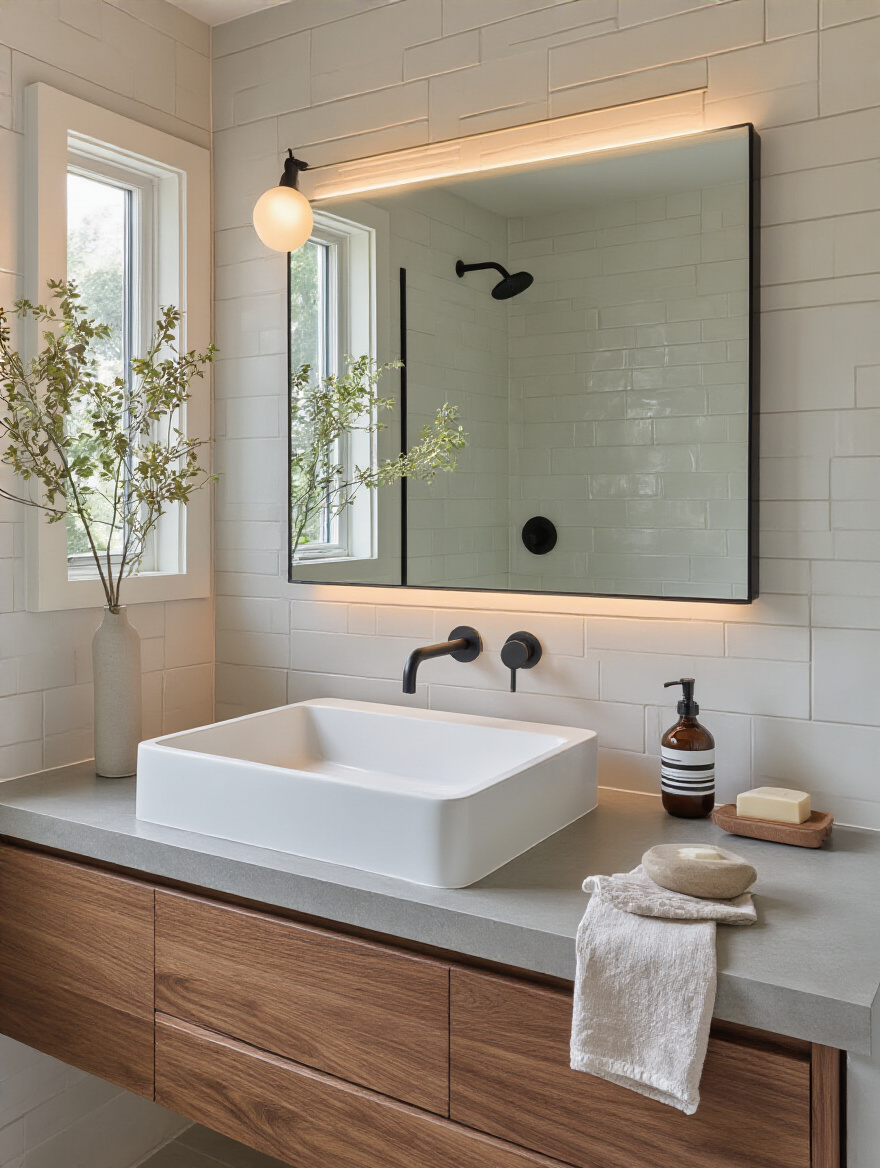
This is the most straightforward part. You want your faucet and sink to look like they belong together. A rustic farmhouse sink will probably look a little silly with an ultra-modern, high-tech faucet. And a sleek, minimalist basin calls for a faucet with equally clean lines. The goal is harmony, not a clash of personalities.
The finish is also a big part of this. Matching the faucet finish to your other hardware—like drawer pulls and towel bars—is an easy way to create a cohesive, pulled-together look. Don’t be afraid to mix metals if that’s your style, but do it intentionally. For example, a matte black faucet can look stunning with brushed brass cabinet pulls, creating a deliberate and sophisticated contrast.
Once you have the style down, the next part is way more important for daily use.
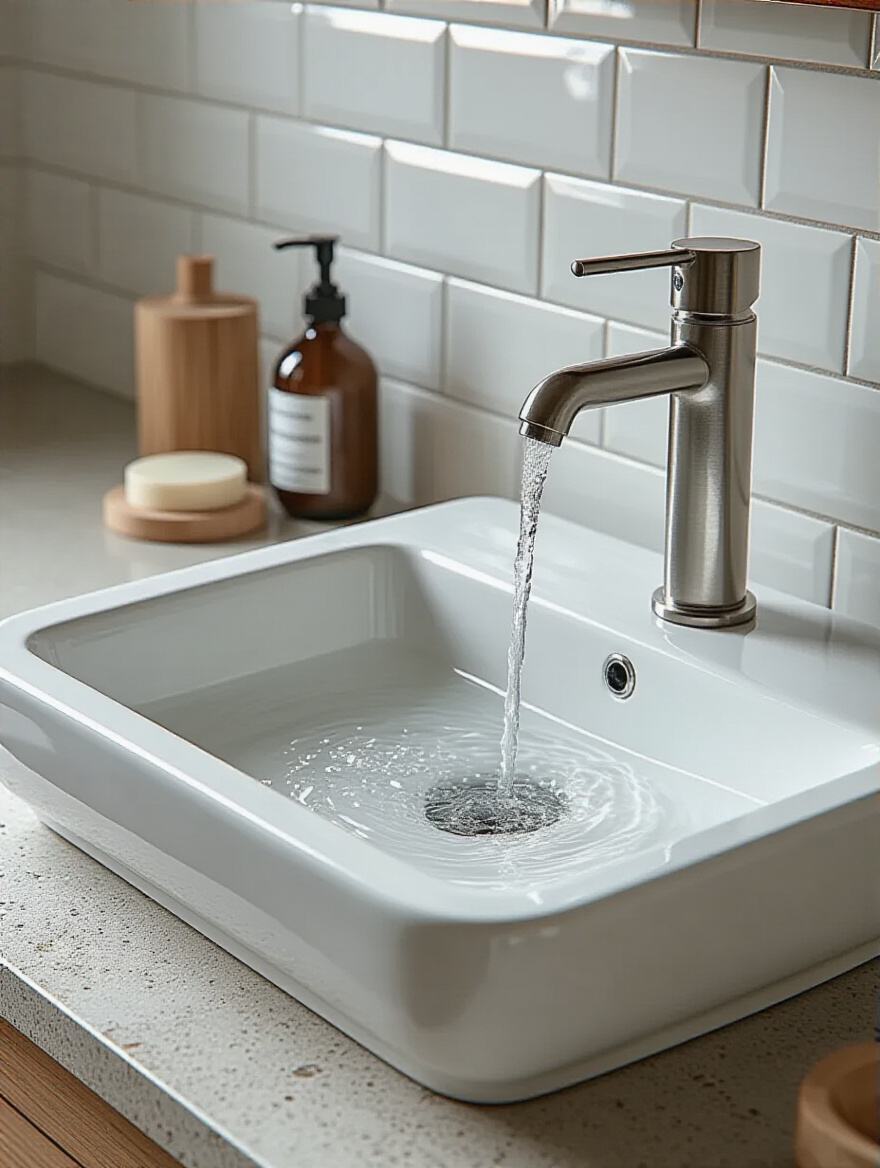
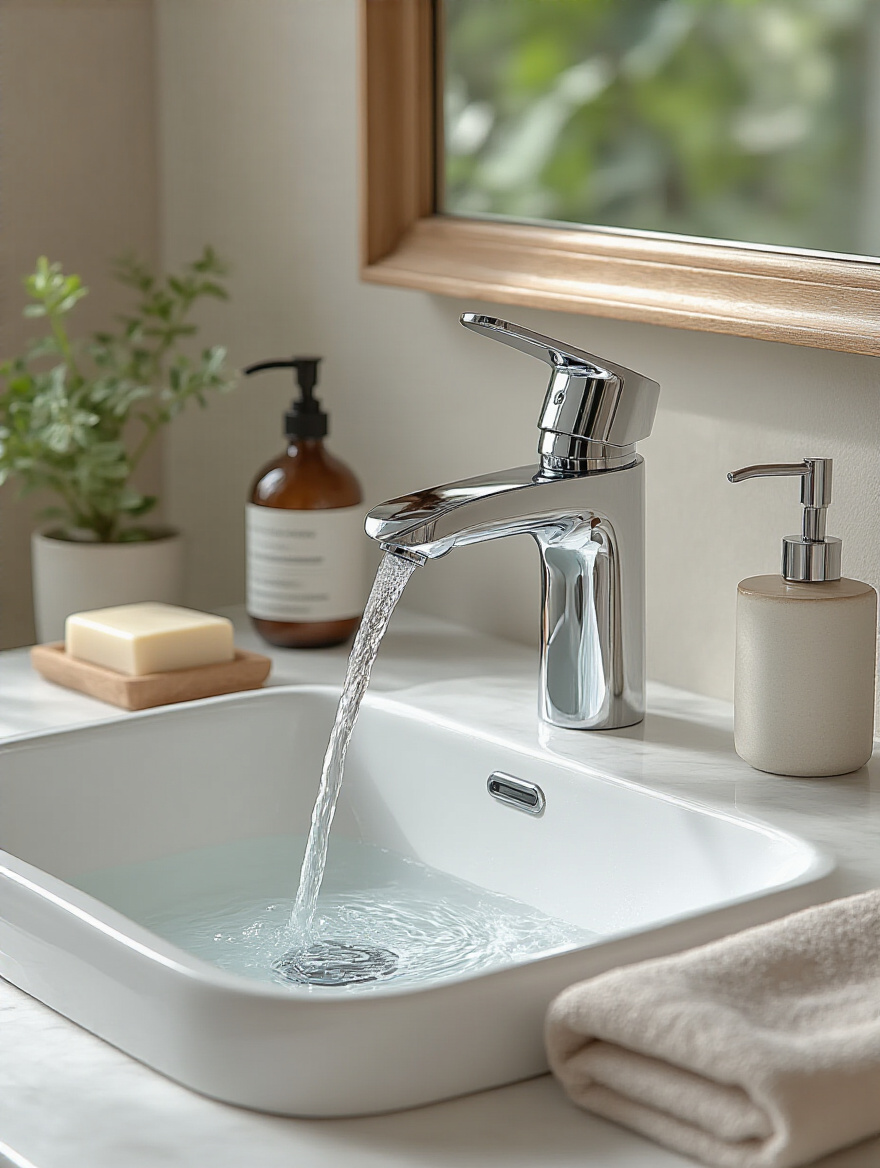
12. Get the Faucet Height and Reach Just Right for Comfortable Use
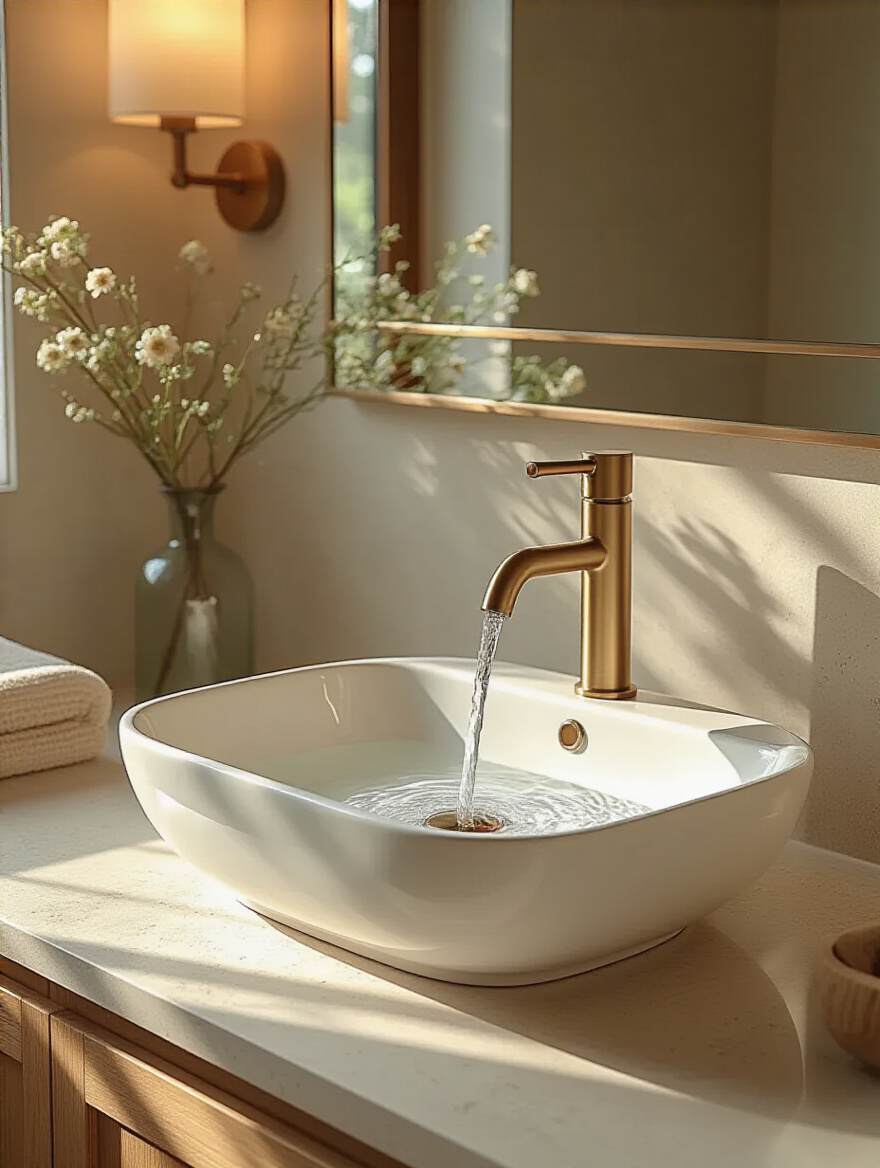
This is probably the single most important decision you’ll make about your faucet, and it’s where I see the most mistakes. A faucet with a spout that’s too short will have you jamming your hands against the back of the basin to get them wet. A spout that’s too long will splash water all over the front of the counter. And for a vessel sink, a faucet that’s too short won’t even clear the rim properly.
The ideal faucet spout should direct the water stream to land right near the drain. The height should give you enough room to comfortably get your hands underneath without being so high that it creates a massive splash. And please, for the love of all that is good, choose lever handles instead of little round knobs. Levers can be operated with an elbow or the back of your hand when your fingers are soapy or messy. They’re infinitely easier for kids, older adults with arthritis, and frankly, everyone else. A pull-down sprayer, once reserved for kitchens, is also an amazing, accessible feature for a bathroom, making it easy to rinse the sink or wash a child’s hair.
With the perfect placement sorted, we need to think about how much water is actually coming out.
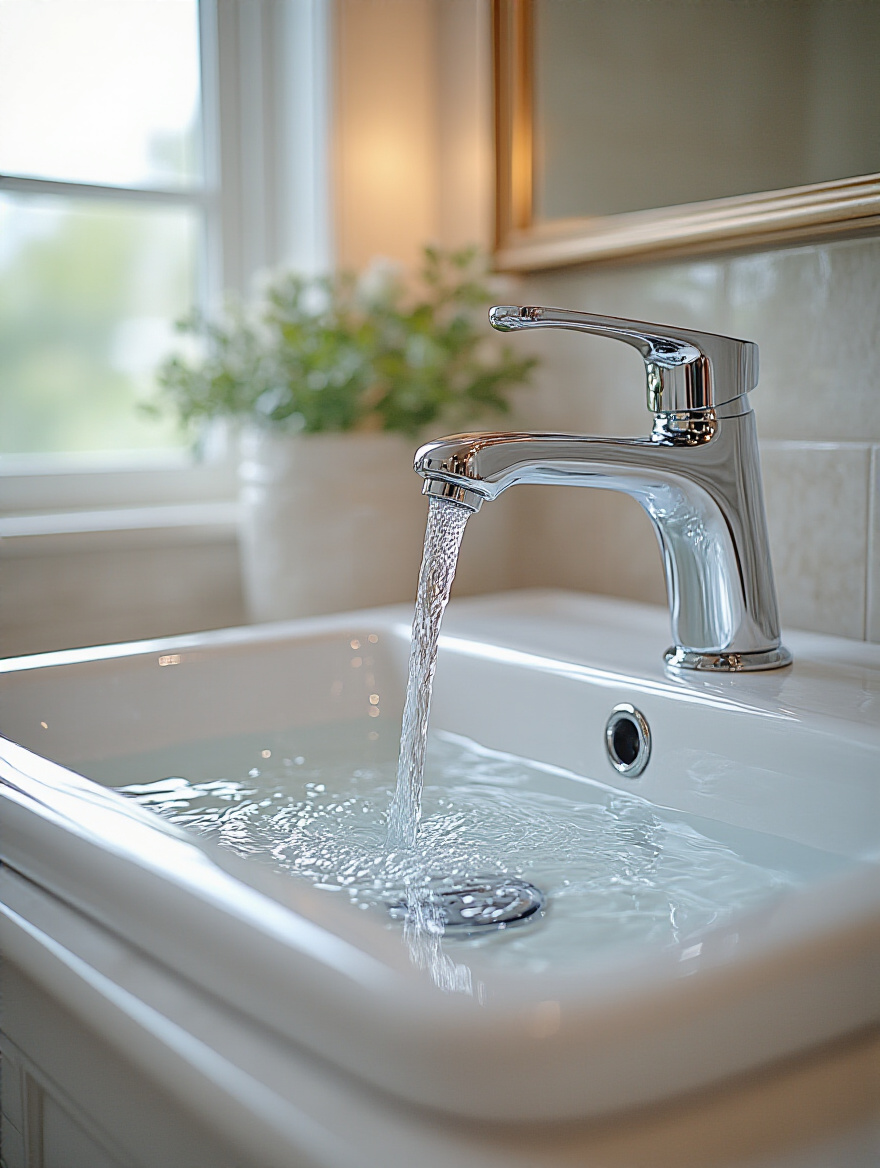
13. Check the Water Flow Rate for Efficiency and Good Performance
The “flow rate,” measured in Gallons Per Minute (GPM), is about finding that Goldilocks zone: enough water pressure to feel effective, but not so much that it’s wasteful and splashy. For years, the standard was 2.2 GPM, which is honestly more like a firehose than you need for washing your hands. Modern faucets that have earned the EPA’s WaterSense label use 1.5 GPM or less, and you will barely notice the difference in performance—but you will notice it on your water bill.
A lower flow rate, combined with a good aerator (the little screen on the tip of the spout), softens the water stream and reduces splashing. This is another one of those simple, invisible features that just makes your bathroom work better. I usually recommend a faucet with a 1.2 GPM flow rate. It’s efficient, comfortable, and helps keep your counter dry. It’s a win-win-win.
While we’re talking details, let’s not forget the part that lets the water out.
14. Coordinate the Drain and its Finish to Complete the Look
It seems like a tiny detail, but a mismatched drain can stick out like a sore thumb. If you’ve invested in a beautiful matte black faucet, don’t just use the standard shiny chrome drain that came with the sink plumbing kit. Spend the extra twenty bucks to get a drain in the exact same finish. It’s one of those small things that makes the whole setup look thoughtful and custom.
But functionality matters here, too. The standard pop-up drains that you operate with a little rod behind the faucet can be finicky and hard to clean. Push-to-seal drains (also called “click-clack” drains) are a great alternative because they’re simple to use and the stopper often lifts right out for easy cleaning. For sinks that don’t need to be filled, a grid drain offers a clean, minimalist look with a fixed, open design. Just think about how you’ll use the sink before you choose.
Now let’s look at a few other add-ons that can make a huge difference in convenience.
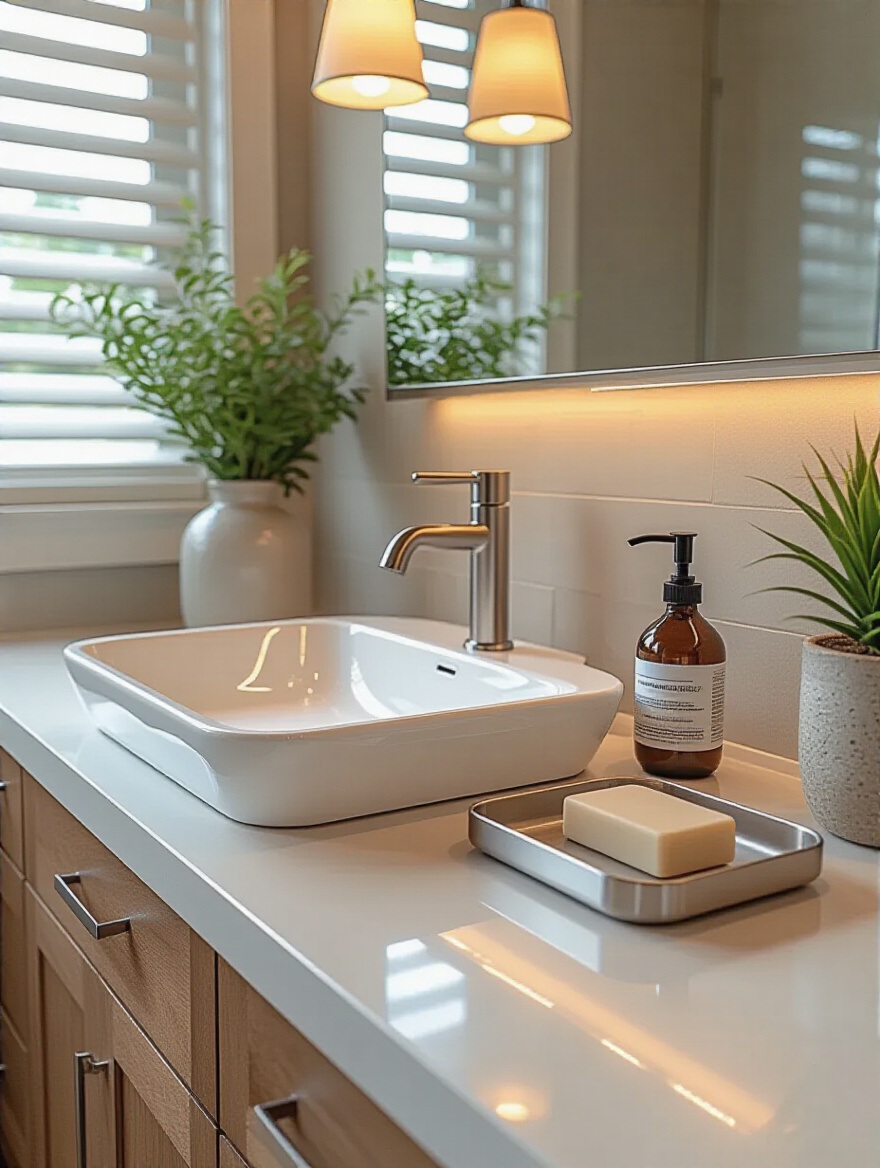
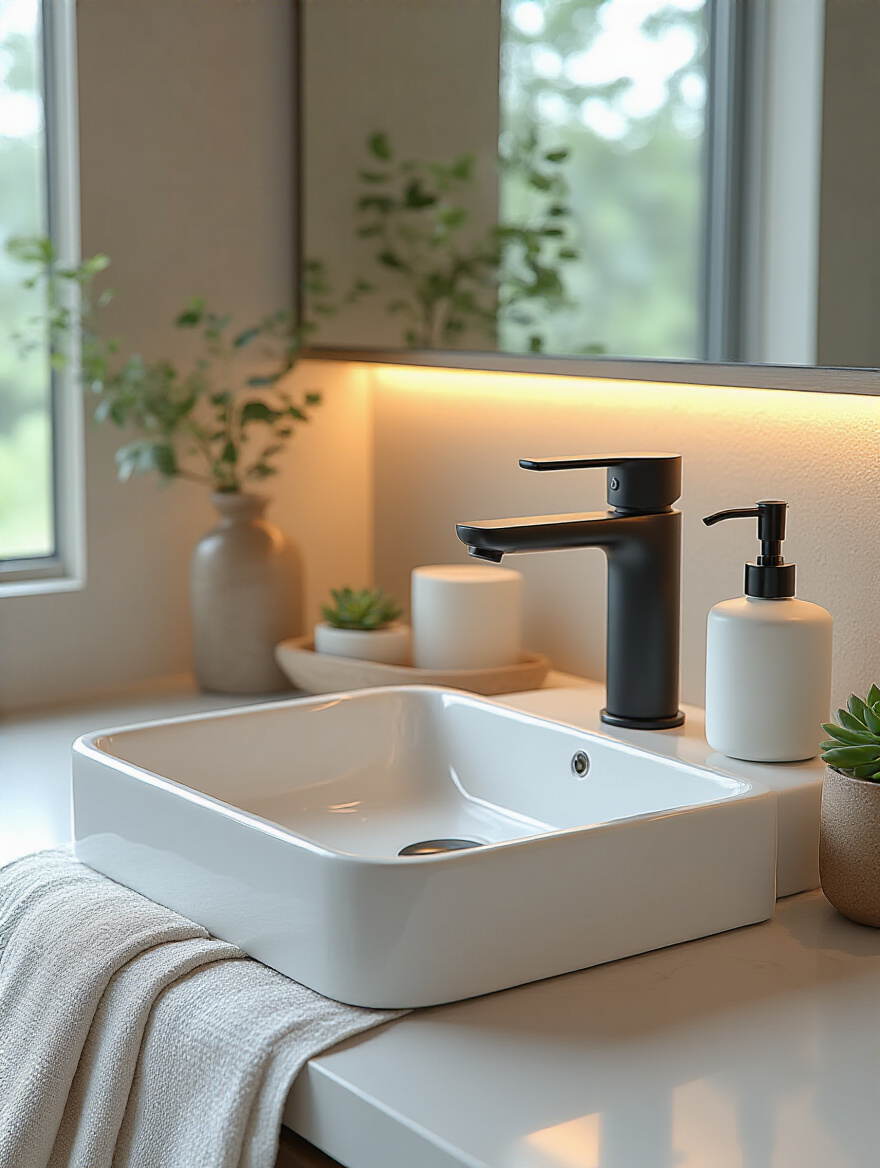
15. Add in Helpful Accessories Like a Built-in Soap Dispenser
One of the best ways to keep that precious landing zone clear is to get the soap bottle off the counter. A built-in soap or lotion dispenser, mounted right into your countertop or wall, is a game-changer. It reduces clutter, eliminates slimy soap dishes, and just makes everything look cleaner and more integrated. It also makes dispensing soap a simple, one-handed operation, which is surprisingly helpful when you’re trying to wrangle a squirmy toddler.
When you’re planning for your sink, think about what else you might want. Are you drilling holes in a stone countertop? This is your one shot to get it right. You can add a dispenser for hot water for tea, or an air switch for a garbage disposal if you have one. Planning for these accessories from the beginning ensures they are placed thoughtfully and look like part of the original design, not a clumsy afterthought.
With the core fixtures handled, we can explore some of the more advanced features that can truly elevate your space.
Advanced Integration & Smart Solutions: Elevating Your Sink Experience
Okay, this is where we get to have some fun. We’ve built the solid foundation, and now we can add the layers of technology and thoughtful design that turn a functional bathroom into a truly great one. These aren’t just gadgets; they’re smart solutions that can enhance safety, improve hygiene, and add a little bit of luxury to your daily routine.
16. Plan for Great Lighting to See What You’re Doing
Relying on a single light fixture in the center of the ceiling is the cardinal sin of bathroom design. It casts harsh shadows on your face, making everything from shaving to putting on makeup a challenge. It’s particularly tough on people with low vision. Good lighting at the vanity isn’t a luxury; it’s a critical safety and function feature.
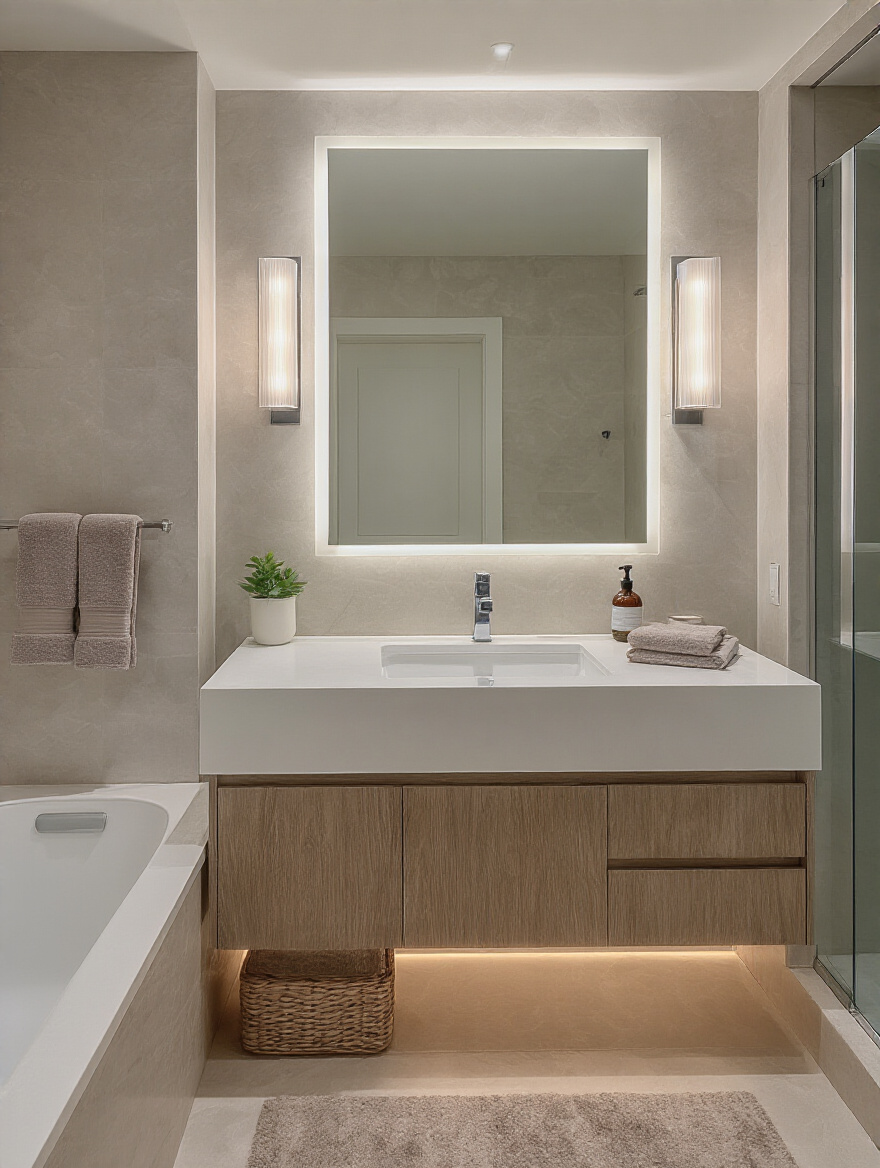
The best solution is layered lighting. You want cross-illumination. This means placing lights on either side of the mirror, usually in the form of sconces or vertical LED strips. This floods your face with even, shadow-free light. Aim for a height where the center of the light is roughly at eye level. A light source above the mirror is also good, but it should be paired with side lighting. And put everything on a dimmer. This lets you have bright, clear light when you need it for tasks, and a soft, gentle glow for a relaxing bath or a late-night trip to the bathroom.
Next, let’s make the faucet itself a little bit smarter.
17. Use a Smart Faucet for Touchless and Efficient Operation
Smart faucets used to feel like something out of a futuristic movie, but now they are an incredible, practical tool for any home. A touchless, sensor-activated faucet is a huge win for hygiene. Think about it: you can wash messy hands after cooking or gardening without ever touching the handle. It’s also amazing for kids, who can activate the water without having to reach a handle that’s too far back.
For anyone with limited hand strength or arthritis, a touchless or voice-activated faucet is a powerful tool for independence. I worked on a project for a family whose father had Parkinson’s, and the smart faucet we installed meant he could wash his hands safely and easily without having to struggle with a traditional lever. It was a small change that made a huge difference in his daily life and dignity.
This idea of designing for everyone is so important, which leads us to my favorite topic.
18. Design for Accessibility So Everyone Can Use it
When people hear “ADA compliance,” they often picture cold, institutional-looking grab bars and fixtures. But it doesn’t have to be that way. Good accessible design is just good design—it should be beautiful, integrated, and work for everyone, whether they use a wheelchair, a walker, or are just chasing a toddler. The goal of universal design is to make a space welcoming to all without screaming “this is an accessible bathroom.”
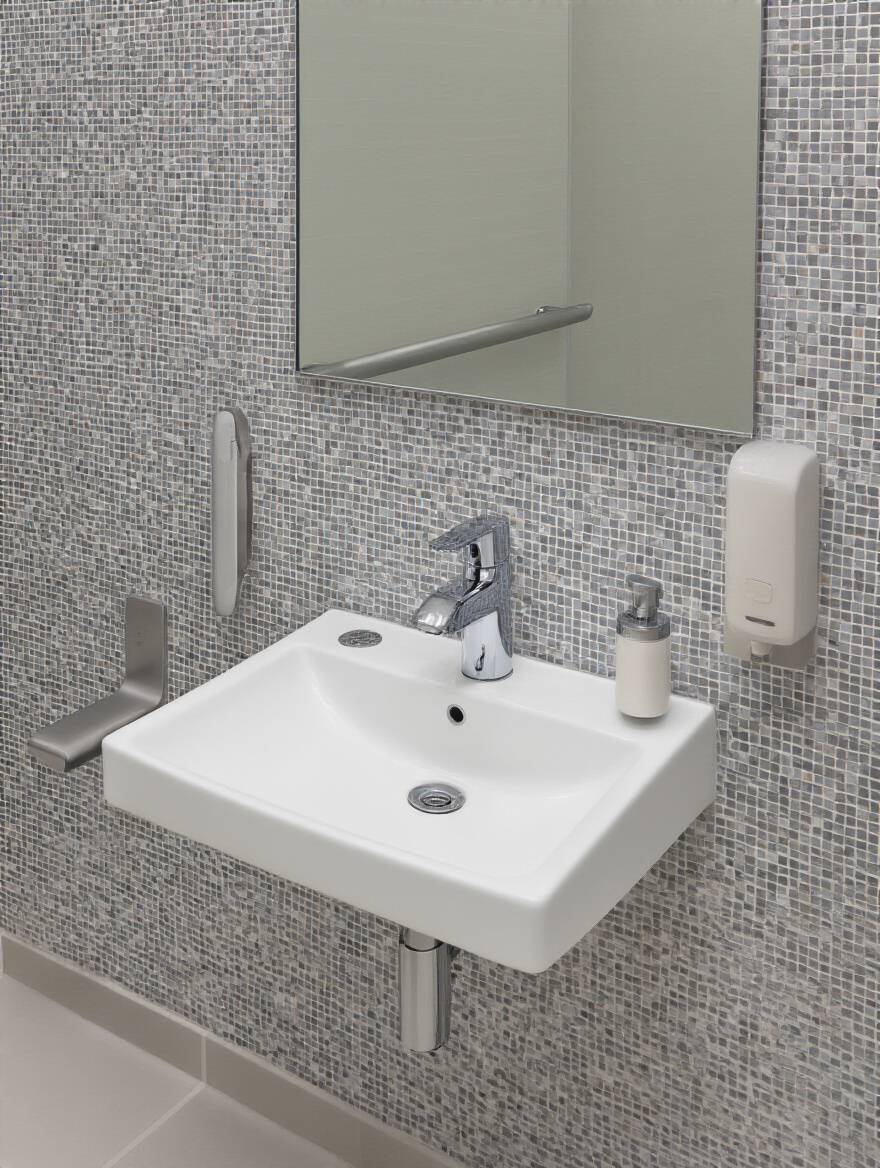
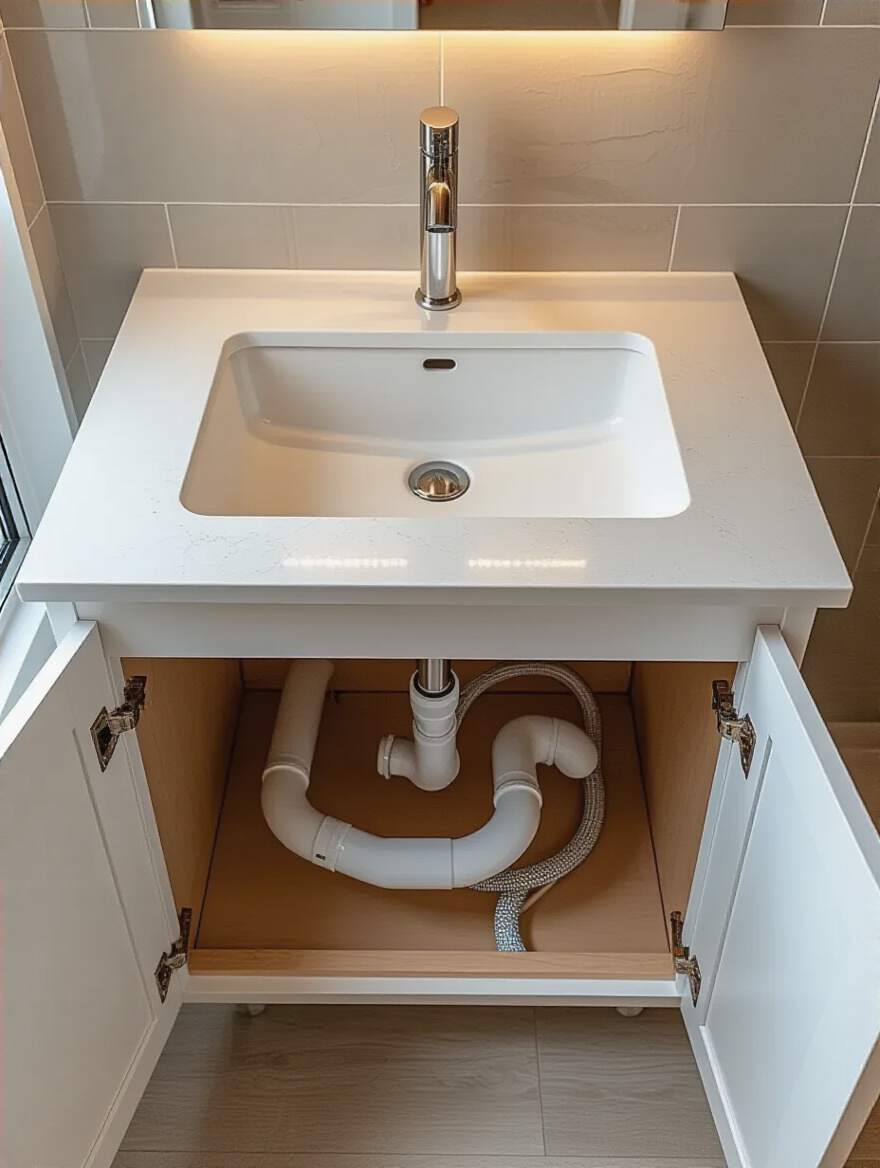
The key for a sink is knee clearance. A wall-mounted sink or a floating vanity is the best way to achieve this, allowing a wheelchair user to roll right up to the basin. If you do use a vanity, make sure the pipes underneath are insulated or covered to prevent burns on the user’s legs. A single-lever, offset faucet is easier to reach and operate. And make sure the bottom of your mirror is no higher than 40 inches from the floor so that someone who is seated can see themselves. These are thoughtful choices that make a space feel inclusive from the ground up.
Of course, if you have a floating vanity for knee clearance, where do you put all your stuff?
19. Be Clever with Integrated Storage to Keep Clutter Away
A beautiful, accessible sink area is great, but you still need a place to store your toilet paper, cleaning supplies, and toiletries. If a standard vanity is out because you need the open space underneath, you have to get creative. This is where integrated storage becomes your best friend.
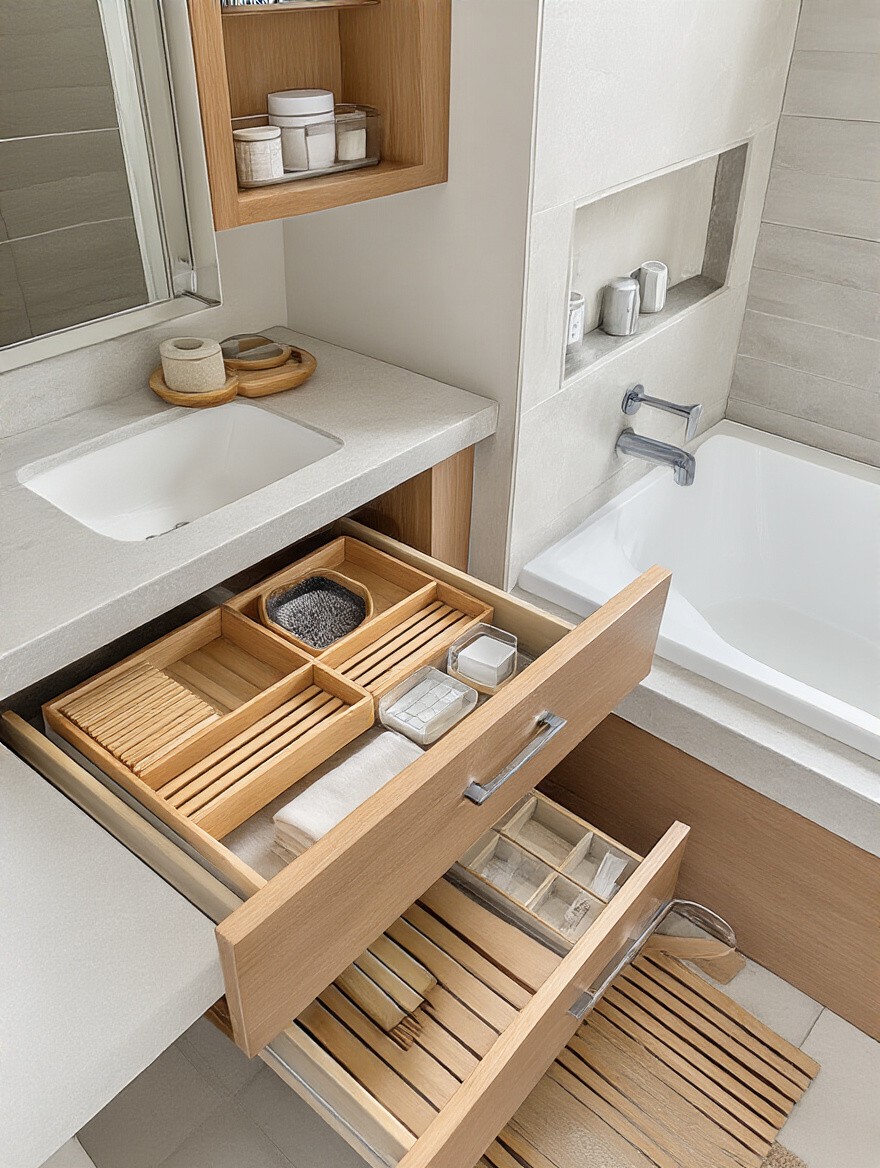
Think vertically. A tall, shallow cabinet or open shelving next to the sink can provide a ton of storage without taking up floor space. Recessed medicine cabinets are brilliant because they use the empty space inside the wall, giving you deep storage that doesn’t protrude into the room. I often design custom vanities with drawers on one or both sides of the open knee-space area, giving you the best of both worlds: accessibility and organization.
Sometimes, to get everything just right, you have to go beyond what’s available off the shelf.
20. Explore Custom Options for a Sink That’s Uniquely Yours
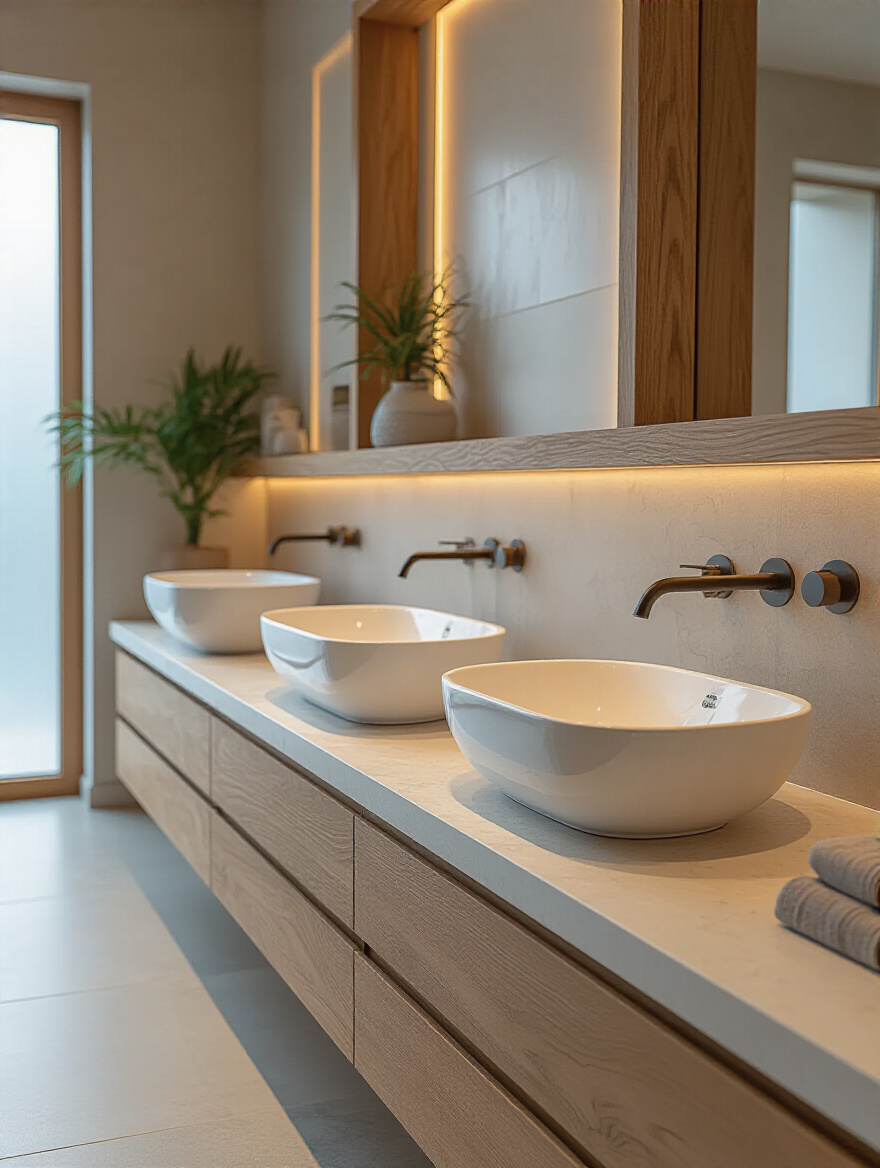
Customization isn’t just about getting a one-of-a-kind look; it’s often the best way to solve a tricky design problem. Maybe you have a narrow, awkward space where no standard vanity will fit. A custom-built floating countertop with an integrated sink can be made to the exact dimensions, maximizing every inch. Maybe you want the counter height to be a bit lower for your kids, or a bit higher for a tall family. Custom is how you get it perfect.
I once designed a trough sink for a family with three young kids. It was long and relatively shallow, with two faucets, so they could all brush their teeth at the same time without fighting for space. It was a functional solution born out of a specific family’s needs, and it became the beautiful centerpiece of their bathroom. Customization allows you to stop trying to fit your life into a standard-sized box and instead design the box to fit your life.
Once you have that perfect sink, you have to make sure it stays that way.
Longevity & Maintenance: Preserving Your Sink’s Beauty and Function
You’ve done all the hard work. You’ve planned, you’ve selected, you’ve installed. The final piece of the puzzle is taking care of your investment. A little bit of routine maintenance is all it takes to keep your sink looking and performing beautifully for years and years. This isn’t about heavy-duty scrubbing; it’s about gentle, consistent care.
21. Use a Simple, Routine Cleaning Method to Keep the Finish Looking Great
The best way to clean your sink is to not let it get very dirty in the first place. The single most effective habit you can adopt is to give the basin a quick rinse and a wipe-down with a soft cloth after you use it. This takes about five seconds, and it prevents soap scum and mineral deposits (especially if you have hard water) from building up. It keeps that factory shine from getting dull over time.
For a weekly clean, a gentle, pH-neutral cleaner is all you need for most surfaces. This could be as simple as a little bit of dish soap and warm water. The key is to avoid harsh, abrasive cleaners or scrubby pads. They can create tiny scratches on the surface that, over time, will trap dirt and make the sink look permanently dull. Think of it like washing a car—you use soft cloths and gentle soap, not a scouring pad.
It’s also crucial to know that “gentle” means different things for different materials.
22. Understand How to Care for Your Specific Material to Avoid Damage
That all-purpose bathroom cleaner you have under your sink? It might be great for the toilet, but it could be death to your new marble countertop. Using the wrong chemical is the fastest way to ruin a beautiful finish. Acidic cleaners (even natural ones like vinegar or lemon juice) can etch the surface of marble, travertine, or concrete in seconds, leaving a dull, permanent mark.
The best advice I can give is to read the care instructions from the manufacturer. They know what their product is made of and how to care for it. And my go-to tip is this: always test a new cleaning product in a small, inconspicuous spot first—maybe on the underside of the counter’s edge or the back of the sink. Let it sit for a few minutes, wipe it off, and see if there’s any reaction before you go to town on the whole surface.
Finally, none of this matters if the sink isn’t installed correctly from the start.
23. Make Sure a Pro Installs it for Durability and Performance
I cannot stress this enough: unless you are a very experienced and confident DIYer, hire a licensed and insured professional to install your sink and faucet. It might seem like a straightforward job, but so many things can go wrong. An improperly sealed drain can lead to a slow leak that you don’t discover until it has rotted out your entire vanity cabinet and created a mold problem. An undermount sink that isn’t supported correctly can detach and come crashing down.
Paying a professional for a few hours of their time is cheap insurance against a multi-thousand-dollar disaster down the road. They have the right tools, the right sealants, and the experience to know how to handle your specific materials and plumbing situation. A professional installation ensures that all the thoughtful choices you made in your design process result in a finished product that is not only beautiful but also safe, secure, and built to last.
Conclusion: Crafting Your Ideal Bathroom Sanctuary
So, there you have it. The humble bathroom sink is so much more than a simple basin. It’s a testament to how thoughtful design can support us through every stage of life. When you choose the right proportions, select materials that are both beautiful and resilient, and integrate fixtures that prioritize ease of use for everyone, you’re not just renovating a bathroom. You’re creating a space that feels generous, safe, and welcoming.
The real beauty of a well-designed space is that it makes life feel a little bit easier. It anticipates your needs and meets them with grace. Your bathroom sink can be a powerful example of this principle in action. It’s an investment in your home, yes, but more importantly, it’s an investment in your family’s daily comfort and well-being. So take these ideas, think about your own life, and go create a space that will serve you beautifully for many, many years to come.
Meta Description: Design a stylish, accessible bathroom sink that works for everyone. Sam’s 23 expert tips on universal design will help you create a home that is both beautiful and future-proof.


