You know the one question people always ask me about their dining rooms? It’s never about the table or the chairs. They’ll have beautiful furniture, great art, and then they’ll say, “Taylor, why does this room feel so… stiff? Why does no one ever want to hang out in here after dinner?” Nine times out of ten, the answer is the light. They’ve lit the room so you can see, but they haven’t lit it so you can feel.
Most guides just give you a bunch of rules and measurements. And yes, those can be helpful starting points. But they miss the entire point. Lighting is psychology. It’s about creating a space where people’s shoulders drop, where conversations flow, and where the food somehow even tastes better. It’s a tool for connection. So, forget the corporate-speak. Here’s what actually matters.
Foundational Planning & Core Concepts
Okay, before you even think about buying a fixture, you have to get your head around a few big ideas. This is the stuff that makes the difference between a room that just has lights in it and a room that feels intentionally and beautifully lit. This is the “why” behind all the decisions we’ll make later.
1. Master the Three Essential Lighting Layers for Versatility
You know how some restaurants feel amazing and others feel like a cafeteria, even if the food is good? It’s layers. A single light in the center of your ceiling—what I call the “Big Flat Light”—is the number one reason dining rooms feel sterile. It casts weird, harsh shadows on faces and makes the whole room feel one-dimensional. Our brains interpret that as a public, un-intimate space. Not exactly what you want for a dinner party.
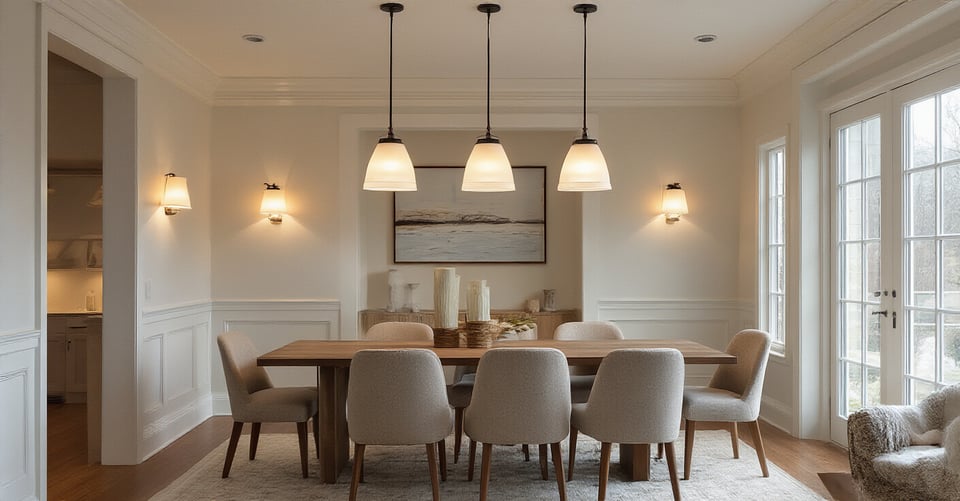
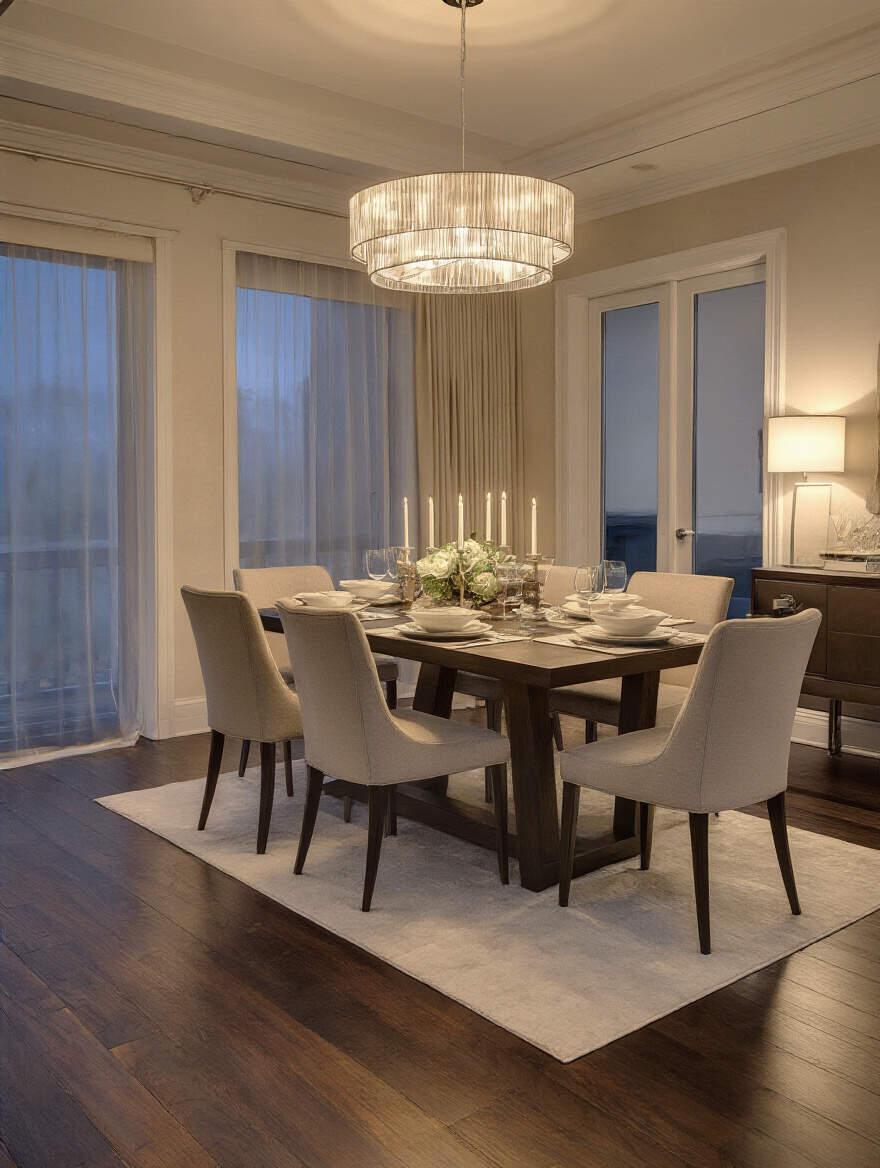
So, you need three layers. First is Ambient, your general, “I can see my way to the table” light. Think recessed lights or a chandelier turned down low. Then there’s Task light, which is the light right over the table so you can actually see your food. This should be a warm, focused pool of light. Finally, the magic layer: Accent lighting. This is the light that makes the room feel alive. Think little lamps on a buffet or a light pointed at a piece of art. It creates depth, intrigue, and a sense of coziness.
Getting those layers right is what separates a space you use from a space you love. The next step is making sure your main light—the star of the show—is working with you, not against you.
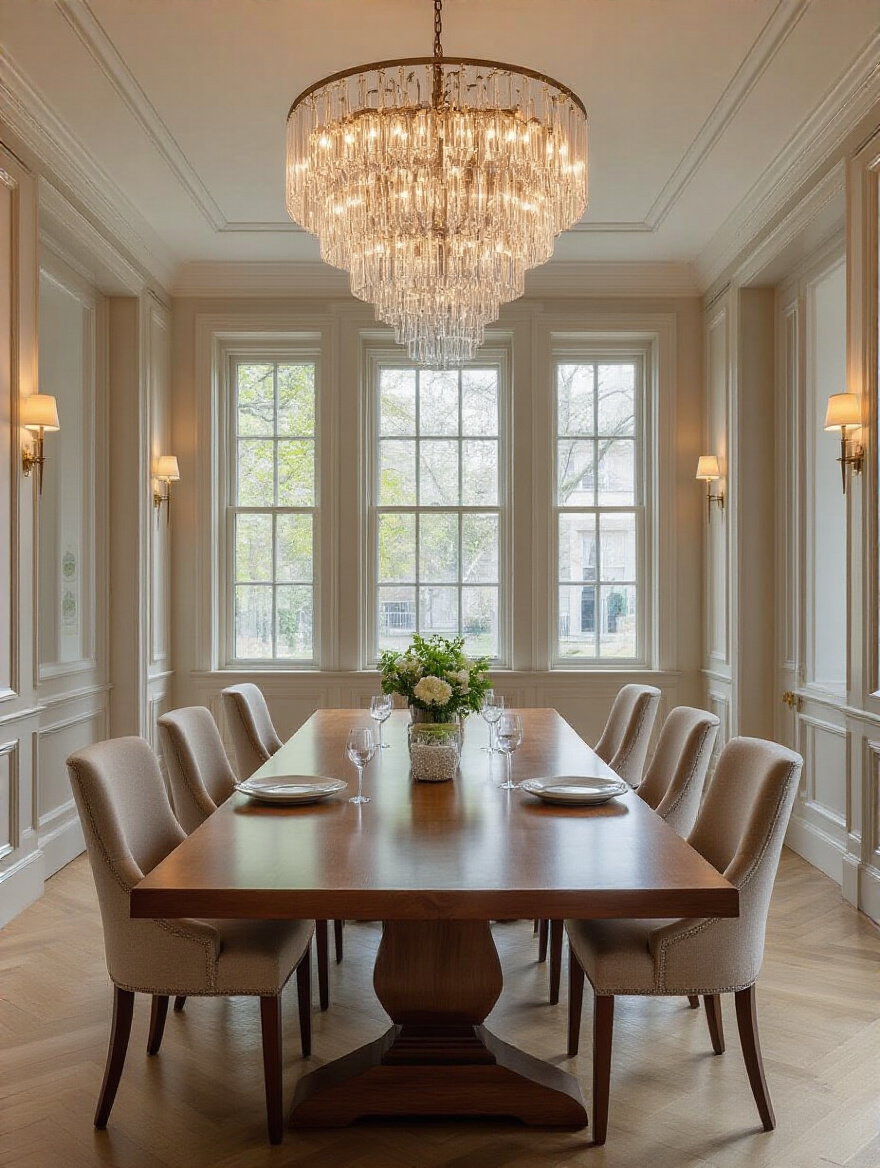
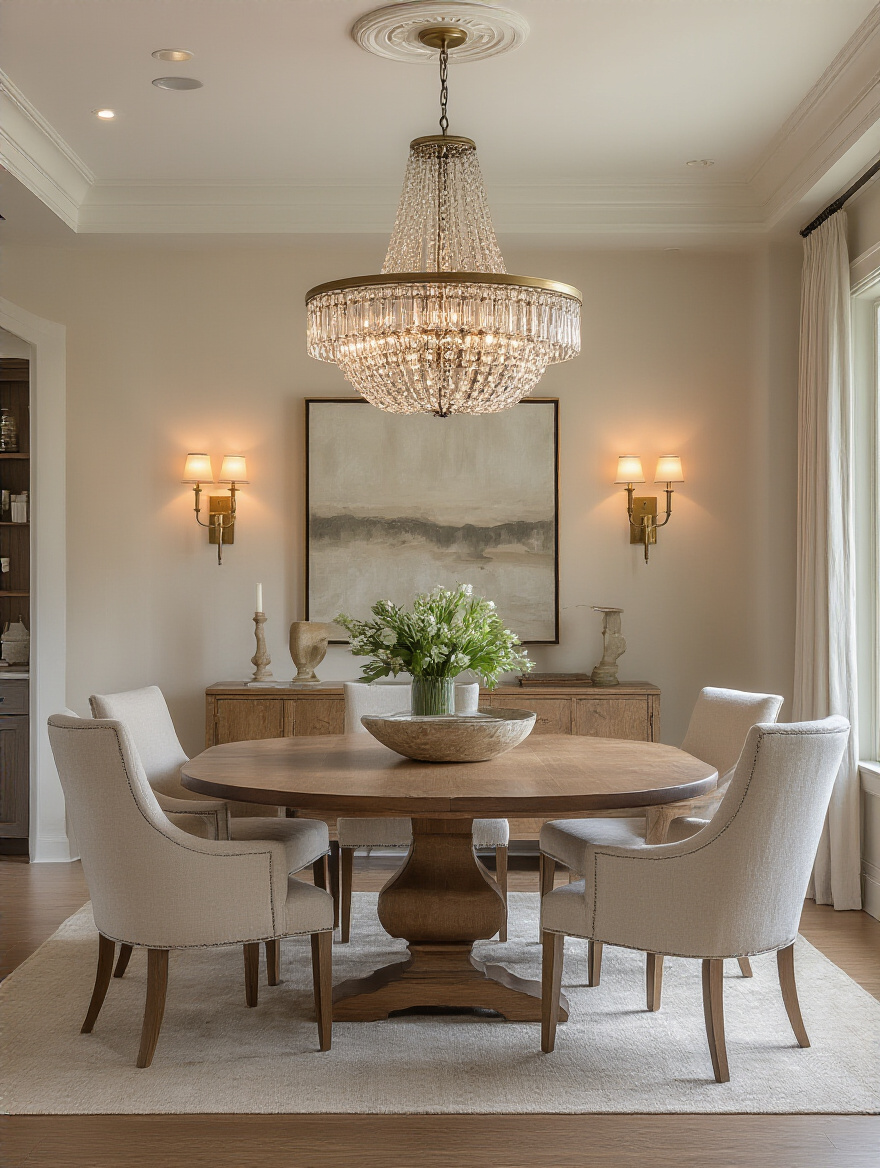
2. Precisely Size Your Chandelier for Ideal Table Proportion
Here’s some BS you’ll read online: add the room’s length and width in feet to get your chandelier’s diameter in inches. Please, for the love of good design, ignore this. That rule is for general ambient light in a big, empty room. Your dining room is not an empty room. It has a huge visual anchor right in the middle: the table. The chandelier’s job is to have a relationship with the table, not the walls.
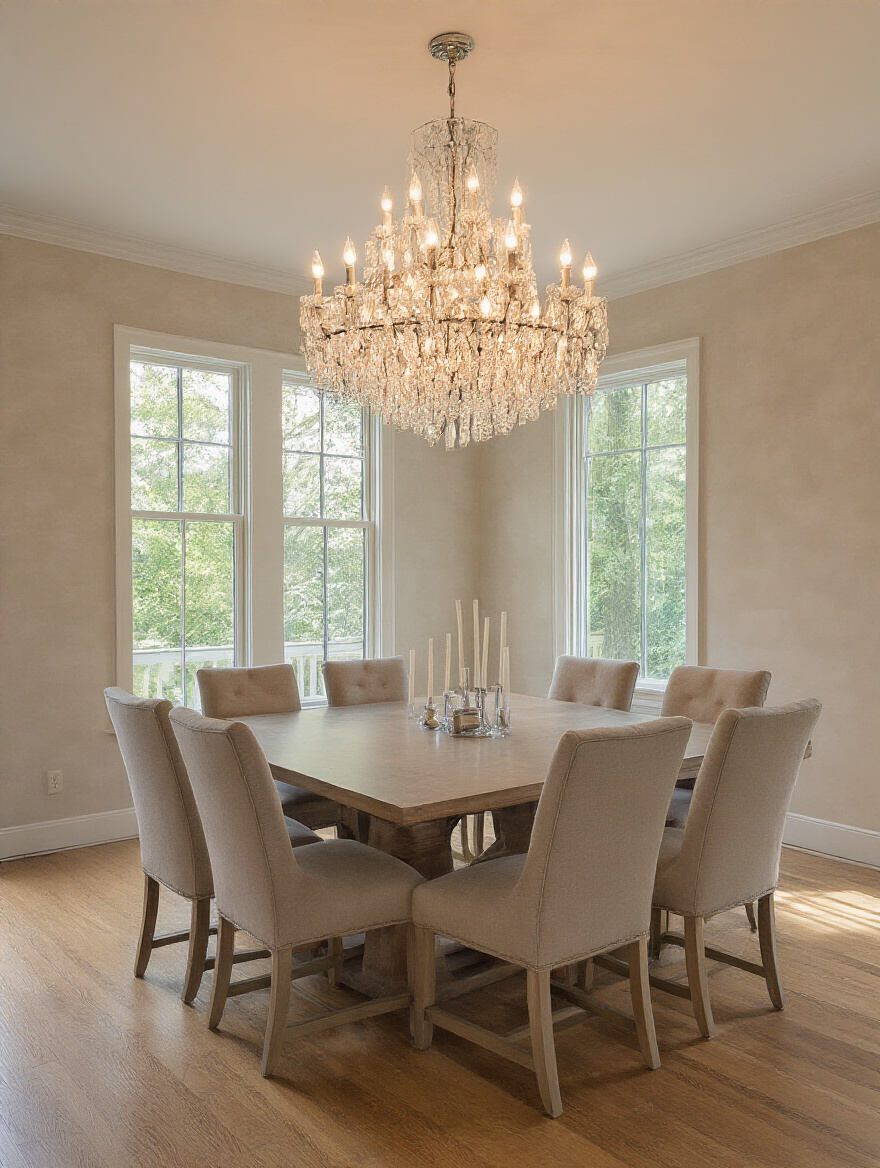
A chandelier that’s too big for the table feels oppressive and loud. Too small, and it looks like a timid little speck, completely lost. The shortcut that actually works is this: your chandelier’s diameter should be between half and two-thirds the width of your table. That’s it. It creates a visual connection. It says, “These two things belong together. This is the spot where we gather.” It defines the intimate zone of the room.
Once you’ve got the right size, you have to nail the height, because that’s where the real psychology of connection comes in.
3. Determine Optimal Pendant Height for Glare-Free Dining
I used to think this was just about aesthetics until a client pointed out, “When the light is too high, it feels like we’re on stage. When it’s too low, we can’t see each other.” She was 100% right. The standard rule is 30-36 inches from the tabletop. And that’s a decent starting point. But here’s the shortcut I wish I knew earlier: the Seated Eye-Level Test.
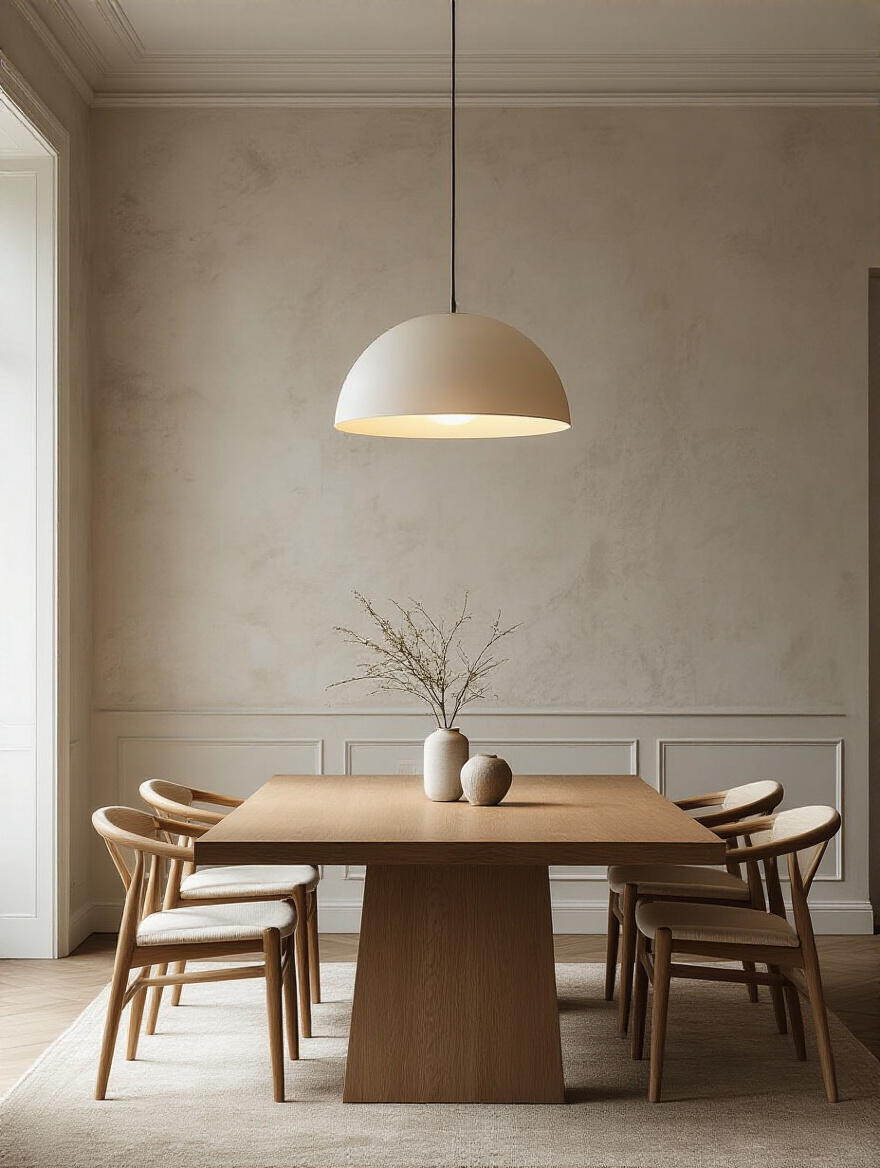
Before you install anything permanently, have someone hold the fixture while you sit down at every single chair. Your line of sight to the person across from you should be completely clear. And you should never, ever be looking directly up into a bare bulb. A well-hung light creates a private “bubble” of warm light around the table. It subconsciously tells your brain, “This space right here is safe, intimate, and separate from the rest of the world.” That’s what makes people lean in, lower their voices, and really connect.
Creating that bubble of light is half the battle. The other half is making sure the color of that light is making you feel cozy, not like you’re in a lab.
4. Choose the Right Kelvin Temperature for Desired Mood
This is maybe the single most impactful, and most often overlooked, element of lighting. “Kelvin” is just a fancy word for the color of the light itself, from warm to cool. And it taps right into our caveman brains. Cool, blue-toned light (3500K and up) mimics bright, midday sun. It’s great for focus, for tasks, for a home office. But in a dining room, it’s a disaster. It makes skin tones look sickly, wood look sterile, and food look… suspicious. It triggers the “alert and active” part of our brain, not the “relax and socialize” part.
For a dining room, you want the light to feel like firelight or candlelight. That’s what our brains are hardwired to recognize as safe, social, and relaxing. That means you should always look for bulbs between 2200K and 3000K. I had a client once, a fantastic cook, who couldn’t figure out why her dinner parties felt so “cold.” She had 4000K bulbs in her chandelier. We swapped them for 2700K “warm dim” bulbs, and the change was instantaneous. The very next week she called me and said, “Everyone stayed for hours. The food looked incredible. You saved my dinner parties.”
Once you’ve nailed the feeling, you just need to make sure you have the right amount of light to be functional.
5. Calculate Required Lumens for Balanced Brightness
Okay, don’t let the word “calculate” scare you. This is simple. Lumens are just a measure of brightness. Watts measure energy use, so ignore those for now. You just need a rough target so your room isn’t a cave or a stadium. The noise is all the complicated formulas. What actually matters is getting enough light for the room’s brightest function, and then having a dimmer to dial it back.
Here’s the shortcut: for a dining room, aim for a total of 30-40 lumens per square foot. So if your room is 10×12 feet (120 sq ft), you’ll want around 3,600-4,800 total lumens at full brightness. You can get that by adding up the lumens of all the bulbs you plan to use. But—and this is critical—you absolutely must put everything on a dimmer. That way you can have it bright for cleaning or a kid’s homework, and then dial it way down to create that warm, 10-lumen-per-square-foot glow for an intimate dinner. It’s not about one perfect number; it’s about having the full range of brightness at your fingertips.
Strategic Fixture Selection & Layering
Now for the fun part: picking the actual hardware. Think of your fixtures as the instruments in your orchestra. They need to look good, sure, but they also have to play their part in creating the overall mood you’re aiming for.
6. Install Dimmers for Instantly Adjustable Ambiance
If you only do one thing from this entire list, do this. A light switch without a dimmer is a missed opportunity. It’s like having a speaker with only one volume: LOUD. Dimmers are not a luxury; they are the single most important tool for controlling the emotional tenor of a room.
Putting your lights on a dimmer allows you to change the feeling of the room in seconds. Bright and energetic for a family board game night. Low and intimate for a date night in. A soft, gentle glow for lingering over dessert and coffee with friends. Without a dimmer, you have one look. One feeling. One option. It’s the cheapest, easiest way to make your lighting design ten times more effective. This is non-negotiable.
Dimmers give you control. Matching your fixtures to your decor gives the room a sense of peace and coherence.
7. Match Fixture Styles with Your Dining Decor Scheme
This sounds obvious, but it’s about more than just picking a “modern” fixture for a “modern” room. It’s about creating a cohesive visual story. When all the elements in a room—the furniture, the finishes, the lighting—feel like they belong together, our brains can relax. There’s no underlying visual conflict to process. It’s what designers call harmony, and it creates a genuine sense of calm.
Look at the lines of your table and chairs. Are they curved and traditional? Straight and modern? Look at the finishes. Are they warm brass? Cool chrome? Matte black? Your light fixture should echo those same lines and finishes. A big mistake is falling in love with a fixture as a standalone object without considering how it will speak to everything else in the room. A beautiful light in the wrong context just creates noise. When it’s the right light, it feels like the room’s finishing piece of jewelry.
Part of that jewelry’s job is making everything—and everyone—in the room look its best. That’s where CRI comes in.
8. Select High CRI Bulbs for True Food Color Rendition
Okay, another bit of technical jargon that has a huge psychological impact. CRI stands for Color Rendering Index. In simple terms, it’s a measure of how “true” colors look under a light source compared to natural sunlight. A low-CRI bulb is like putting a cheap photo filter over your entire life. It can make a beautiful, perfectly-cooked steak look vaguely grey and unappetizing. It drains the vibrant red from a tomato and the fresh green from a salad.
You want bulbs with a CRI of 90 or higher. This is a non-negotiable for dining rooms. Food is a huge part of the experience, and we feast with our eyes first. High-CRI lighting makes food look fresh, vibrant, and delicious. It also renders skin tones in a much more flattering way, so your guests will look and feel their best. This is one of those invisible details that makes a massive difference in how high-quality and inviting your space feels. Always check the box for “CRI 90+.”
While your chandelier is the star and your CRI is making the food look great, you need a supporting cast to fill in the gaps.
9. Strategically Place Recessed Lights for Seamless Ambient Fill
Recessed lights get a bad rap because people use them incorrectly. You’re not trying to create a “runway” or a “Swiss cheese” ceiling. The job of recessed lighting in a dining room is to be the quiet, invisible foundation. They provide a soft, even wash of light that says, “This room is safe and comfortable.” They eliminate scary dark corners without drawing any attention to themselves.

The key is placement and control. Place them about 2-3 feet off the walls to give the walls a gentle wash, which makes the room feel bigger. Don’t put them in a rigid grid in the middle of the room. And for the hundredth time, put them on a separate dimmer from your main chandelier. Most of the time, they should be dimmed way down to about 20% brightness, just providing a hint of a glow while the chandelier and accent lights do the real work.
To add that final layer of elegance and human-scale light, you need to bring the light source down from the ceiling.
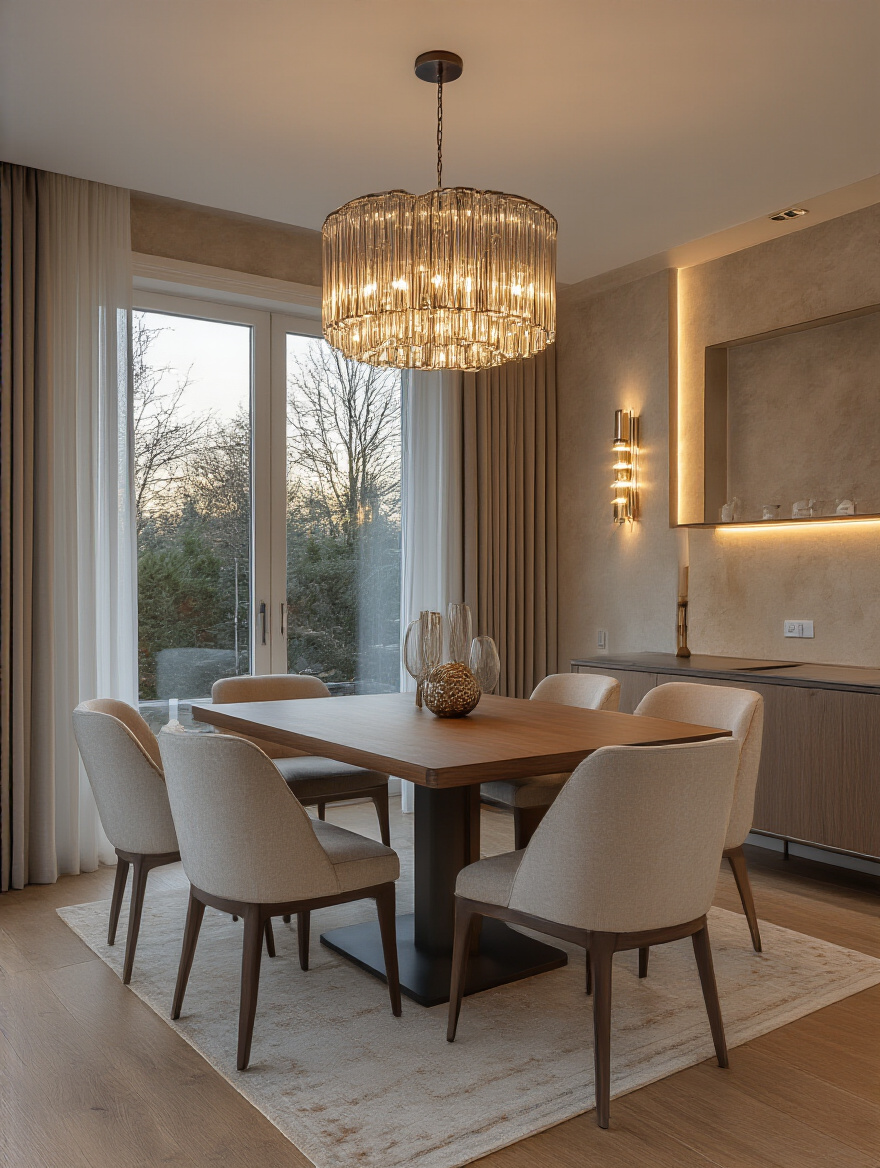
10. Incorporate Wall Sconces for Elegant Accent Lighting
Here’s a little secret from the psychology of design: light sources at human height feel more approachable and intimate than light sources high above our heads. Overhead light is authoritarian; eye-level light is friendly. That’s why wall sconces are so powerful. They bring the light down to our level, creating a soft, flattering glow that’s perfect for lighting faces.
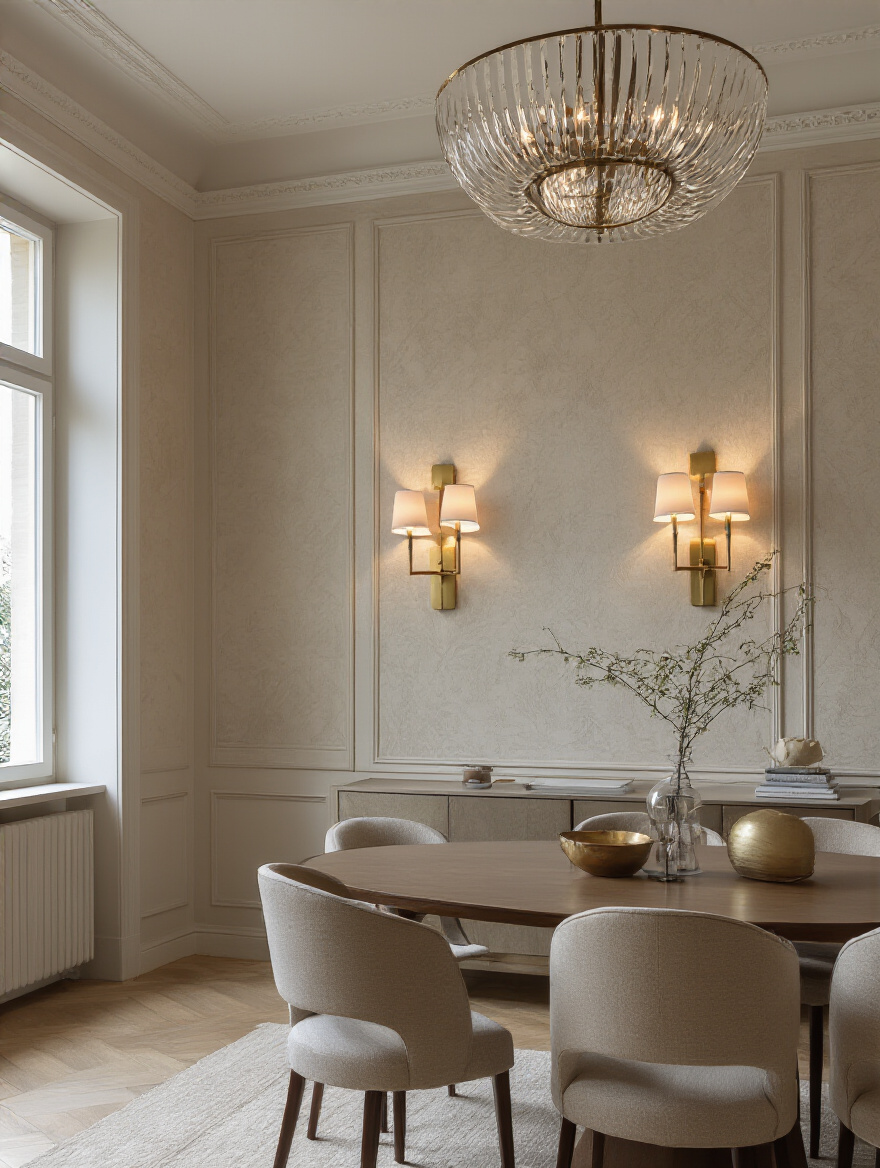
Placing a pair of sconces on either side of a buffet, a mirror, or a piece of art adds instant elegance and depth. They create a secondary focal point away from the table, making the whole room feel more considered and complete. They provide that crucial accent layer that fills the middle-ground of the room with a warm, inviting light, making the space feel more like a living room and less like a sterile eating chamber.
Now, let’s talk about making all these different players work together in perfect harmony.
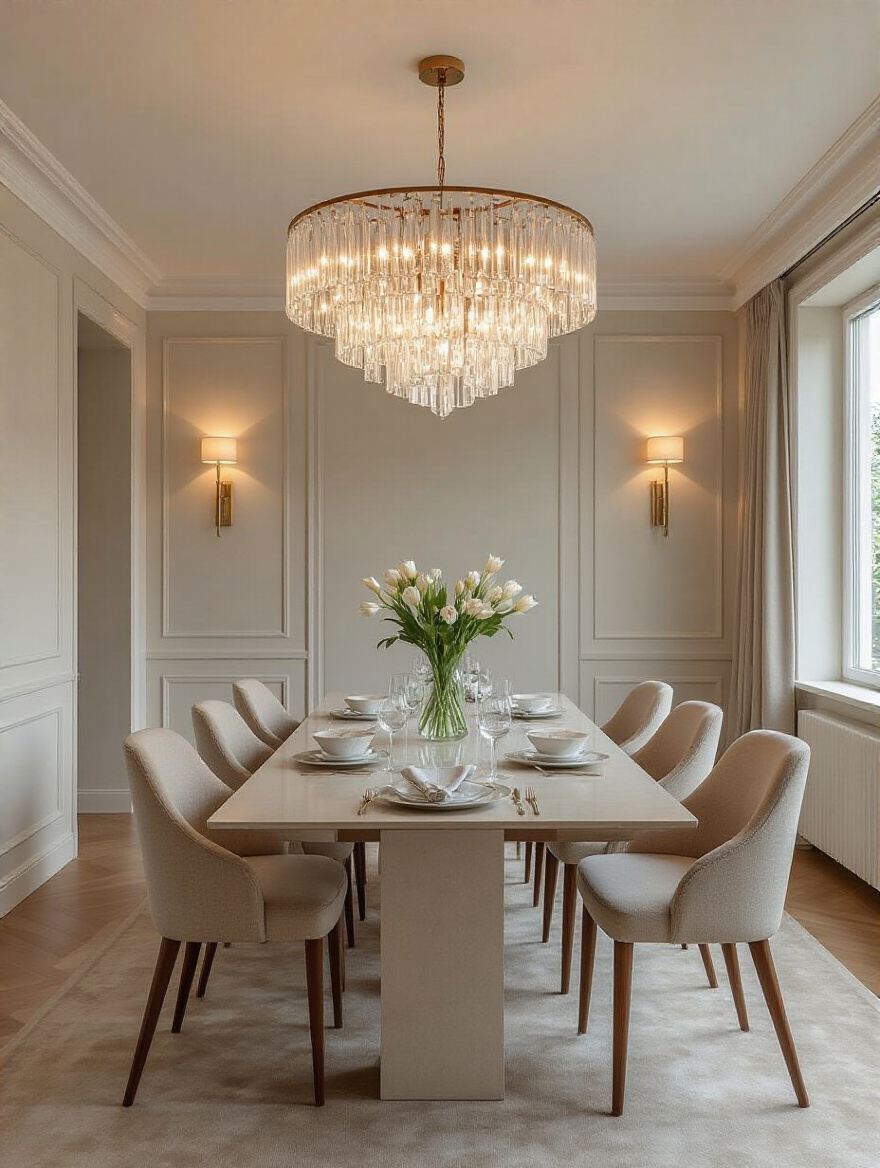
11. Balance Multiple Fixture Types for Visual Harmony
Think of your lighting plan as a musical composition. You have the lead vocalist (the chandelier), the rhythm section (the recessed lights), and the beautiful harmony singers (the sconces and buffet lamps). When you only have a chandelier, you’ve just got a soloist singing in an empty hall. It can sound good, but it’s not a rich, full experience.
The trick is to make sure that while your fixtures are all different, they share a common thread. This could be a consistent finish (like all having brass elements), a similar shape (maybe a recurring curve or angle), or the same color temperature (all glowing at 2700K). When you mix metals and styles with intention, you create a layered, sophisticated look. The goal isn’t to be “matchy-matchy,” but to create a sense of cohesion so the overall effect feels like a curated, harmonious whole.
Advanced Optimization & Future-Proofing
Okay, if you’ve nailed the foundations, you’re already in the top 10%. But if you want to create a space that’s truly exceptional and will serve you well for years to come, here are a few more pro-level moves to consider.
12. Avoid Common Lighting Placement Mistakes for Better Flow
I once visited a client who had a stunning rectangular dining table, but they had centered the chandelier to the room, not the table. The result was that half the table was brightly lit, and the other half was in shadow. People would instinctively huddle on the lit end. The room felt unbalanced, and they were subconsciously telling their guests where the “good” seats were.
Your dining zone is defined by your table, period. Center your main light over the table. This anchors the space and creates a clear, intentional focal point. Another common mistake is forgetting about traffic flow. Don’t hang a huge fixture so low that it encroaches on a major walkway. Light should guide you and make you feel comfortable, not create physical or psychological obstacles.
The best light source of all is free, and making the most of it is one of the smartest things you can do.
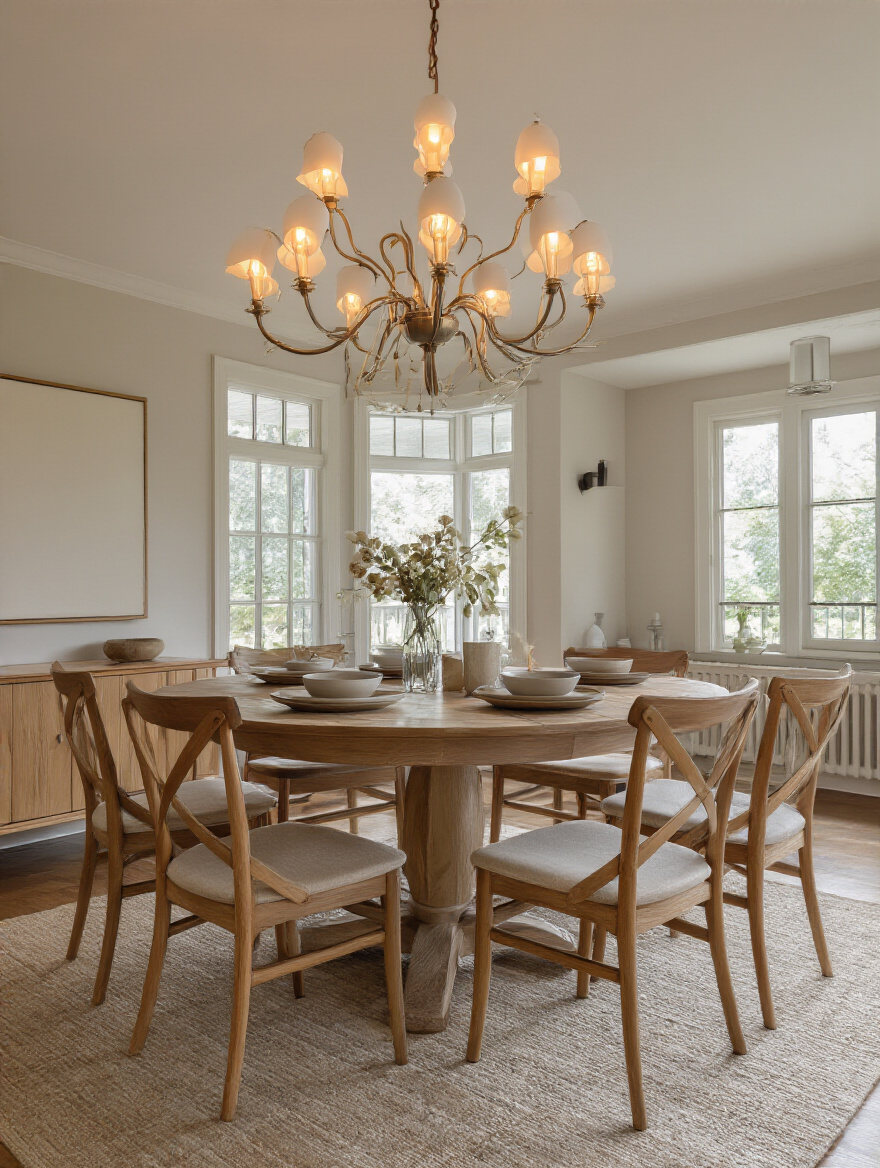
13. Maximize Natural Light Integration for Daytime Brightness
We are biological creatures, and our bodies are designed to sync with the sun. A dining room that is flooded with natural light during the day feels more alive, more vibrant, and just plain happier. It’s also the ultimate high-CRI light source, making everything look its absolute best. Too often, we kill all that beautiful free light with heavy, dark window treatments.
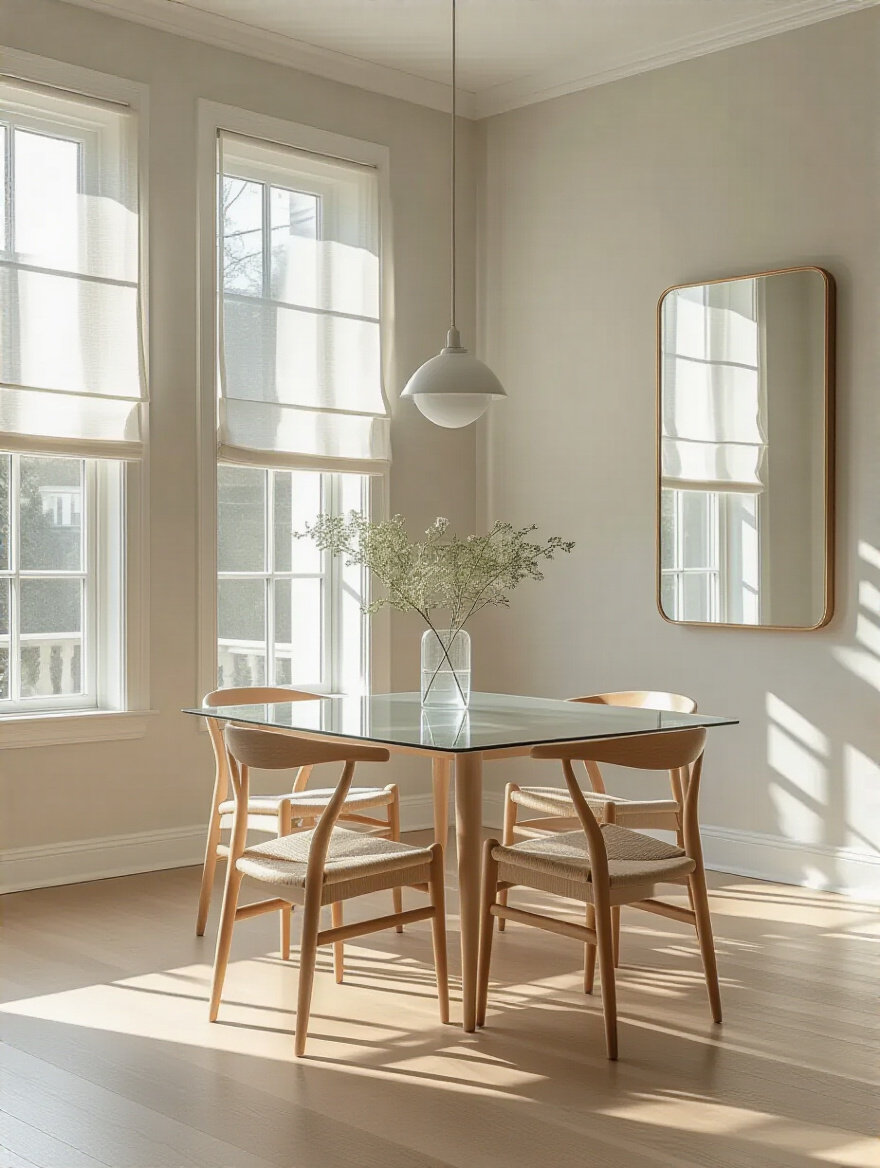
The goal is to enhance, not block. Opt for sheer, light-filtering blinds or linen curtains that provide privacy while still letting that gorgeous, diffused daylight pour in. A big, statement mirror placed opposite a window can literally double the amount of light in the room and make the space feel much larger. Designing with natural light in mind means you have a room that feels just as good for a weekend brunch as it does for a late-night dinner.
When the sun goes down, you want your artificial light to be as smart and efficient as possible.
14. Future-Proof with Energy-Efficient LED Solutions
Forget whatever you think you know about LEDs from ten years ago. The early ones were terrible—cold, clinical, and buzzy. Today’s high-quality LEDs are a different beast entirely. They are the single smartest choice for future-proofing your home. Not just because they save a ton of energy, but because the technology allows for incredible control and quality.
Look for LEDs that are “warm dim” (meaning they get warmer in color as you dim them, just like an old-school incandescent bulb) and have a high CRI (90+). The longevity is a huge bonus—you might not have to change a bulb for a decade. By investing in quality LEDs now, you’re getting the best of all worlds: superior light quality, incredible energy efficiency, and a system that will be relevant for years to come.
Speaking of the future, let’s talk about controlling those amazing new lights.
15. Implement Smart Controls for Effortless Scene Setting
This is where it gets really fun. Smart controls are less about the technology and more about choreographing experiences. Instead of fiddling with three different dimmer switches to get the mood right, you can program “scenes” and call them up with one touch or a voice command.
Think about it. You could have a “Family Dinner” scene that sets the table light to 75% and the recessed lights to 40%. A “Dinner Party” scene that dims the main light to 30%, brings up the accent lights on the buffet and art, and turns the recessed lights down to just 10%. A “Cleaning” scene that puts everything at 100%. This is the ultimate shortcut. It lets you instantly change the entire emotional landscape of the room, making it incredibly versatile and easy to live in.
Now for a subtle trick that adds a huge amount of perceived value and sophistication.
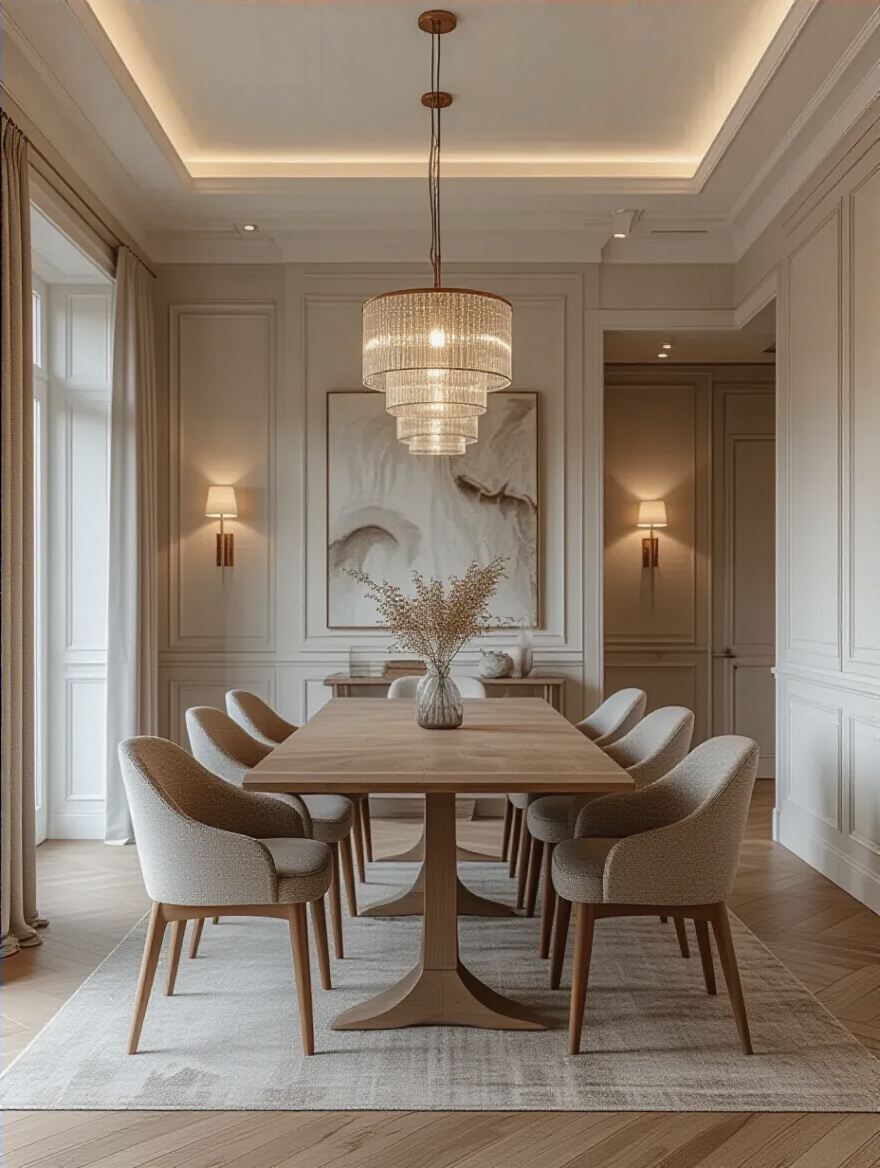
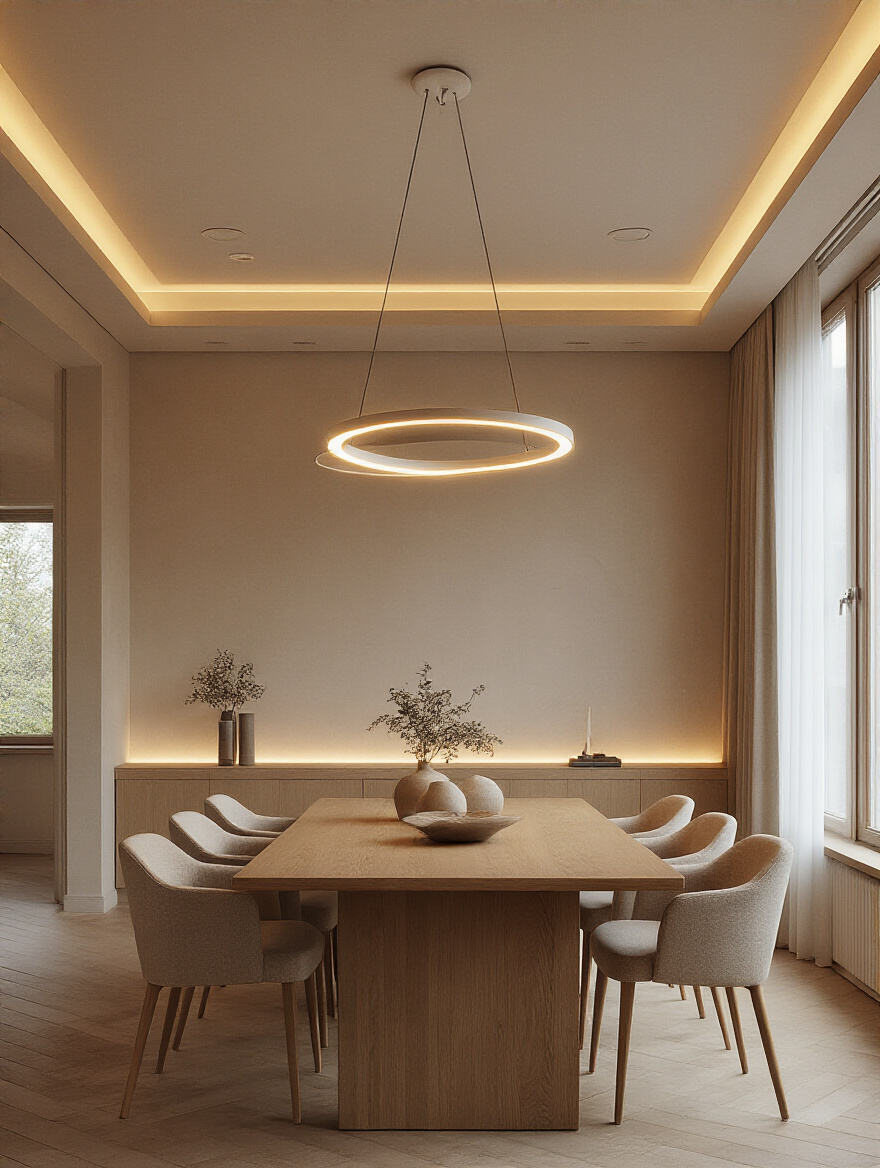
16. Utilize Subtle Uplighting to Enhance Ceiling Features
We spend so much time thinking about lighting our tables and our walls that we completely forget about the “fifth wall”—the ceiling. Uplighting, which is simply directing light upward from a hidden source, is a technique used in high-end hospitality to make spaces feel grander and more luxurious. It draws the eye upward, which psychologically makes a room feel more spacious and less oppressive.
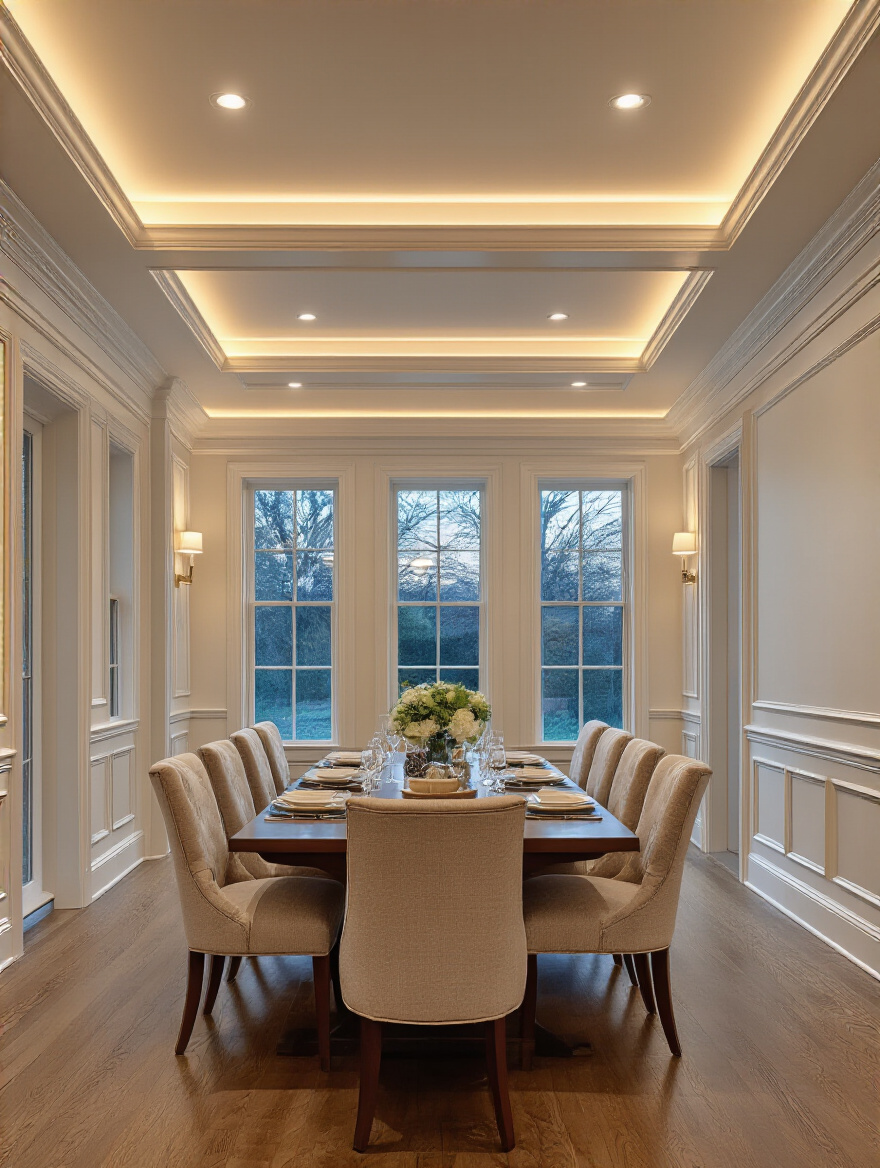
You can achieve this by hiding LED tape lighting in a tray ceiling, on top of a tall cabinet, or behind a piece of crown molding. It washes the ceiling in a soft, indirect glow that eliminates the “lid” effect that can sometimes make a room feel closed-in. It adds a layer of ethereal, ambient light that feels incredibly sophisticated and custom.
This next one is for anyone doing a remodel or building new—it will save you so much heartache later.
17. Plan Flexible Electrical Outlets for Future Layout Changes
Can we talk about the tyranny of the single, perfectly centered junction box? You wire your chandelier for the round table you have now, and five years later you buy a long, rectangular table and the light is suddenly in the wrong spot. Or you want to add a beautiful buffet with a pair of lamps, but the only outlet is on the other side of the room. It’s a classic case of not planning for your future self.
When you have the walls or floors open, think about where you might want light someday. The easiest shortcut is to have your electrician install a floor outlet underneath the table—this gives you ultimate flexibility. Another pro tip is to put outlets in unexpected places, like higher up on the wall where you might want a sconce or a picture light later. It’s a small, inexpensive thing to do during a remodel that feels like an absolute stroke of genius years down the line.
Finally, let’s talk about playing editor and getting rid of those last few distracting imperfections.
18. Address Shadow Hotspots with Supplementary Spotlighting
Even in a well-layered room, you might notice weird shadow spots—a dark corner that feels ominous, or a beautiful piece of art that just disappears at night. These are the details that separate a “good” lighting plan from a “great” one. The solution is to act like a museum curator and use targeted spotlights to solve the problem.
This could be a small, adjustable recessed light (called a gimbal), a single head on a track, or a picture light. The goal is to wash that dark corner with a soft light or to precisely highlight that piece of art, turning a problem area into an intentional feature. This is the final touch, the editing process that cleans up all the visual noise and makes the entire composition feel polished, balanced, and complete.
Conclusion
So, you see? Dining room lighting is so much more than just a chandelier. It’s a conversation between light and shadow, intimacy and openness, psychology and design. It’s about building an environment that doesn’t just let you see your food, but helps you connect with the people you’re sharing it with. By layering ambient, task, and accent light, by paying attention to the color and quality of your bulbs, and by using dimmers to put yourself in complete control, you can transform your dining room from a stiff, formal space into the true heart of your home. A place where people want to linger, long after the plates have been cleared. Now you have the secrets. Go create some magic.


