Can we just talk for a second about why everyone gets their kitchen island so wrong? It’s my biggest pet peeve. People spend weeks agonizing over Pinterest boards, picking the most beautiful, dramatic, veiny marble or the sleekest, most industrial concrete. They fall in love with a picture. But they completely forget they have to live with the thing. They forget it’s not just a slab of rock in a magazine; it’s where their kids will spill grape juice, where they’ll dump their keys, and, for so many of my clients, where they’ll end up working for eight hours a day.
Your kitchen island countertop isn’t just a design choice; it’s a productivity tool. It’s an investment in your home’s functionality and your own well-being. Choosing the wrong one can lead to constant stress, cleaning nightmares, and a five-figure regret sitting in the middle of your most-used room. But choosing the right one? That can make your entire day smoother, more productive, and more enjoyable. I’m going to walk you through what actually matters, so you can get it right the first time.
Essential Planning for Your Perfect Island Countertop (Part 1)
Before you even think about looking at samples, we need to talk strategy. This is the foundation. Getting this part wrong is like building a house on sand—the whole thing will eventually sink, no matter how pretty it looks. This is where we make decisions that prevent headaches and expensive do-overs later.
1. Evaluate Your Kitchen’s Layout for Optimal Island Placement
The first thing people always want to do is maximize the size of their island. Bigger is better, right? Wrong. The most important thing isn’t the island itself, but the space around it. This is about workflow and ergonomics. Your island needs to enhance the natural triangle between your fridge, sink, and stove, not become an obstacle course you have to navigate every time you need to grab the milk.
You absolutely need at least 42 inches of clearance around the island. If you have multiple people cooking at once or it’s a major traffic hub, push that to 48 inches. I once had a client who insisted on an oversized island that left only 36 inches on one side. It looked great until the first time they tried to open the oven door while someone else needed to get by. It became a constant source of friction and inefficiency. Get out some painter’s tape and mark the footprint on your floor. Live with it for a day. See how it feels. It’s a simple trick that has saved my clients thousands.
This initial layout check isn’t just a suggestion; it’s the critical first step that dictates the actual, usable dimensions of your island, ensuring it serves your space instead of suffocating it.
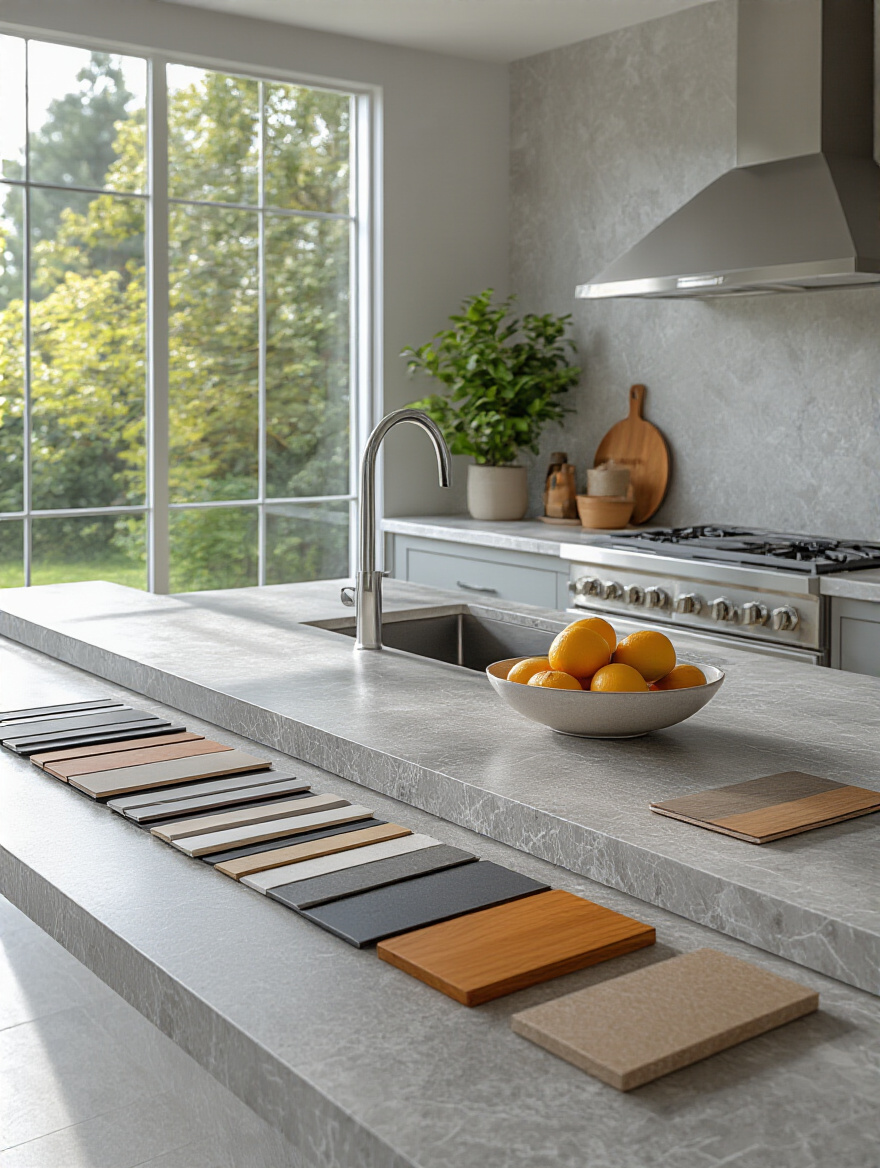
2. Define Primary Uses to Guide Countertop Material Choices
You have to get brutally honest about what this island will really be used for. Is it a pristine baking station for a meticulous pastry chef? Or is it a chaotic hub for kids’ art projects, family dinners, and your daily work-from-home setup, complete with coffee spills and laptop scratches? The BS everyone believes is that one material can do it all perfectly. It can’t. Every material has a trade-off.
I learned this the hard way on an early project. We installed a stunning honed marble countertop for a client who loved the look. But they also had two young kids and worked from home. Within six months, it was covered in faint water rings, a slight etch from a lemon wedge, and a permanent ghost of a coffee stain. They were so stressed about ruining it, they stopped using it freely. The heart of their kitchen became a source of anxiety. We should have gone with a durable, non-porous quartz that could handle their real life. Make a list: meal prep, WFH desk, homework station, party central. Be honest, and let that guide your material choice, not the other way around.
Prioritizing function over fantasy at this stage is the shortcut to long-term happiness with your investment, setting you up to choose a material that supports your life, not one that you have to constantly protect from it.
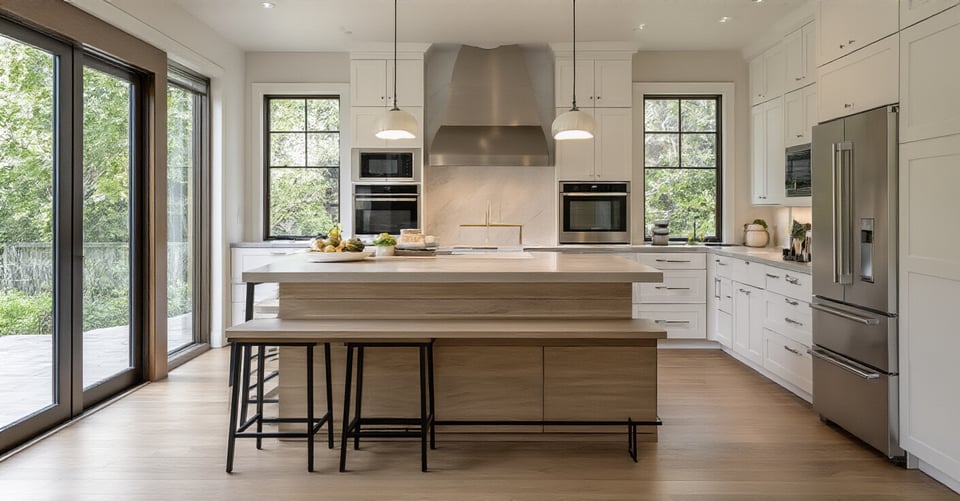
3. Calculate Accurate Dimensions for Ergonomic Flow and Seating
Now let’s talk about ergonomics, especially for seating. If you plan to sit and work at this island, the dimensions are not negotiable. The standard counter height is 36 inches. For you to sit there comfortably without hunching over your laptop, you need a minimum overhang of 12 to 15 inches for your knees. Anything less, and you’ll be perching uncomfortably on the edge of your stool.
Beyond the overhang depth, you also need to plan for width. You need at least 24 inches of linear space per person. Squeezing in three stools where there’s only room for two creates a space no one will want to use. This isn’t just about dining; it’s about creating a viable workspace. An uncomfortable workspace is a productivity killer. And don’t forget, that overhang needs support. For heavy materials like stone, any overhang greater than about 10 inches needs hidden steel supports. Don’t let a fabricator tell you it’s fine without them; insist on it to protect your countertop from cracking under its own weight.
Thinking through these ergonomic details ensures your island isn’t just a place to perch, but a comfortable and functional station for work, meals, and conversation.
4. Establish a realistic budget to Narrow Down Material Options
Let’s talk money. It’s easy to get sticker shock when you look at countertop prices, but the number you see per square foot is just the beginning. That’s the noise. What actually matters is the all-in cost. That includes the material, fabrication (cutting it to size), sink and cooktop cutouts, your chosen edge profile, delivery, and installation. These “extras” can add 30-50% to the initial material cost.
My advice is to get at least three detailed quotes from reputable fabricators, and make sure they are itemized. This lets you see exactly where your money is going and compare apples to apples. Then, add another 10-15% to your total for a contingency fund. Always. Something unexpected will come up—maybe your cabinets need extra reinforcement for a heavy stone, or a tricky installation takes more time. Having that buffer prevents a financial panic mid-project. A clear budget isn’t restrictive; it’s freeing. It immediately narrows your options so you can focus on the best materials within your reach, rather than falling in love with something you can’t afford.
With a realistic, all-in budget in hand, you can confidently move forward into the material selection phase without fear of financial surprises.
Essential Planning for Your Perfect Island Countertop (Part 2)
Okay, you’ve got the foundational plan. Now we need to make sure this new centerpiece actually plays nice with the rest of your kitchen. A stunning island that clashes with its surroundings just looks like a mistake. This is about creating a cohesive space that feels intentional and professionally designed, not piecemeal.
5. Consider Existing Cabinetry and Appliance Integration for Cohesion
Your new island countertop doesn’t exist in a vacuum. It has to harmonize with your existing cabinets, flooring, and appliances. The shortcut here is to not try to match everything perfectly. Instead, aim for coordination. Pull a secondary color from your main countertops or a tone from your cabinet hardware. Or, make the island a statement piece with a contrasting material or color—but make it a deliberate contrast. For example, if you have dark perimeter cabinets with a light countertop, a dark island base with a matching light countertop ties everything together.
Functionally, if you’re integrating a sink or cooktop into the island, you need to think like a professional chef. Does the placement make sense? A prep sink is most useful near the refrigerator so you can move produce directly from storage to washing and chopping. If you’re putting a cooktop in the island, you absolutely need to plan for ventilation. This might mean a downdraft system or a more visually intrusive overhead hood. Forgetting to plan for plumbing, electrical, and ventilation from the start is an amateur mistake that leads to major, budget-busting revisions.
Thinking through this integration ensures your island is not just a standalone object, but a thoughtfully woven piece of your kitchen’s functional and aesthetic fabric.
Selecting and Installing Your Ideal Island Surface (Part 1)
This is the fun part—choosing the material. But it’s also where the biggest mistakes are made. Everyone has an opinion, but most of them are based on outdated information or pure marketing hype. We’re going to cut through the noise and talk about what it’s really like to live with these different surfaces day in and day out.
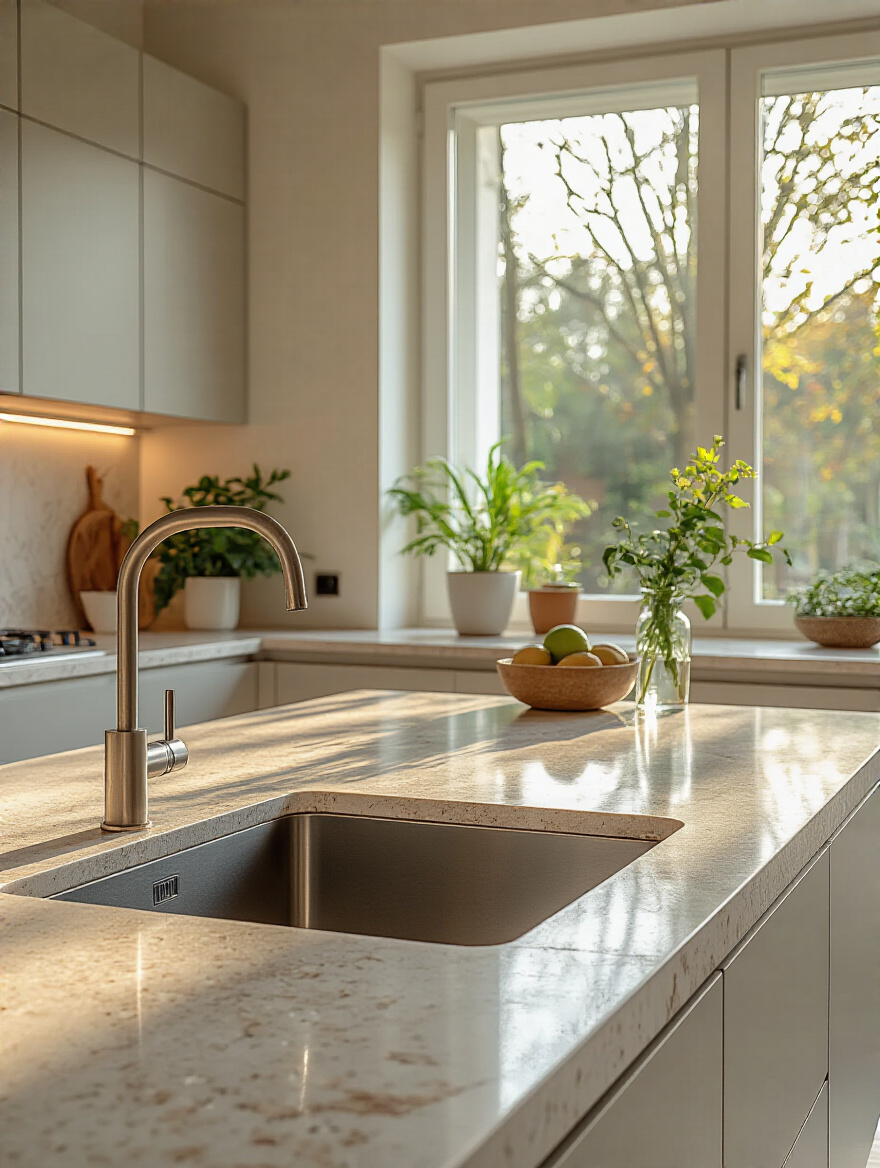
6. Compare Granite vs. Quartz for Durability and Aesthetics
This is the classic showdown, and here’s the real story. Granite is a natural stone, meaning every single slab is unique. It’s got beautiful, chaotic patterns that you just can’t replicate. Its superpower is heat resistance; you can usually put a hot pan on it without a problem (though I still recommend a trivet). The catch? It’s porous. That means it can stain if you don’t seal it, typically once a year. It’s not a big deal—it takes 15 minutes—but you have to remember to do it.

Quartz, on the other hand, is an engineered product. It’s about 90% crushed quartz mixed with resins. This makes it non-porous, so it’s practically stain-proof and never needs sealing. It’s a workhorse, which is why I recommend it for busy families or anyone who doesn’t want to think about maintenance. The trade-off is that the patterns can look a bit more uniform and you have to be more careful with extreme heat, as it can damage the resins. The BS here is that one is “better” than the other. They’re just different.
“Your choice isn’t about granite vs. quartz; it’s about your tolerance for maintenance vs. your desire for a truly one-of-a-kind natural surface. Be honest about who you are.”
Understanding this fundamental trade-off is the first step in picking the right surface for how you actually live, not how you think you should live.
7. Explore Solid Surface Options for Seamless Design Integration
Solid surface, like Corian, is the unsung hero of countertops, especially for a clean, modern aesthetic. Its biggest selling point is that the seams are virtually invisible. This allows you to create huge, continuous islands or even integrate a sink made of the same material for a completely seamless look. It’s a designer’s dream for achieving that minimalist, monolithic vibe.
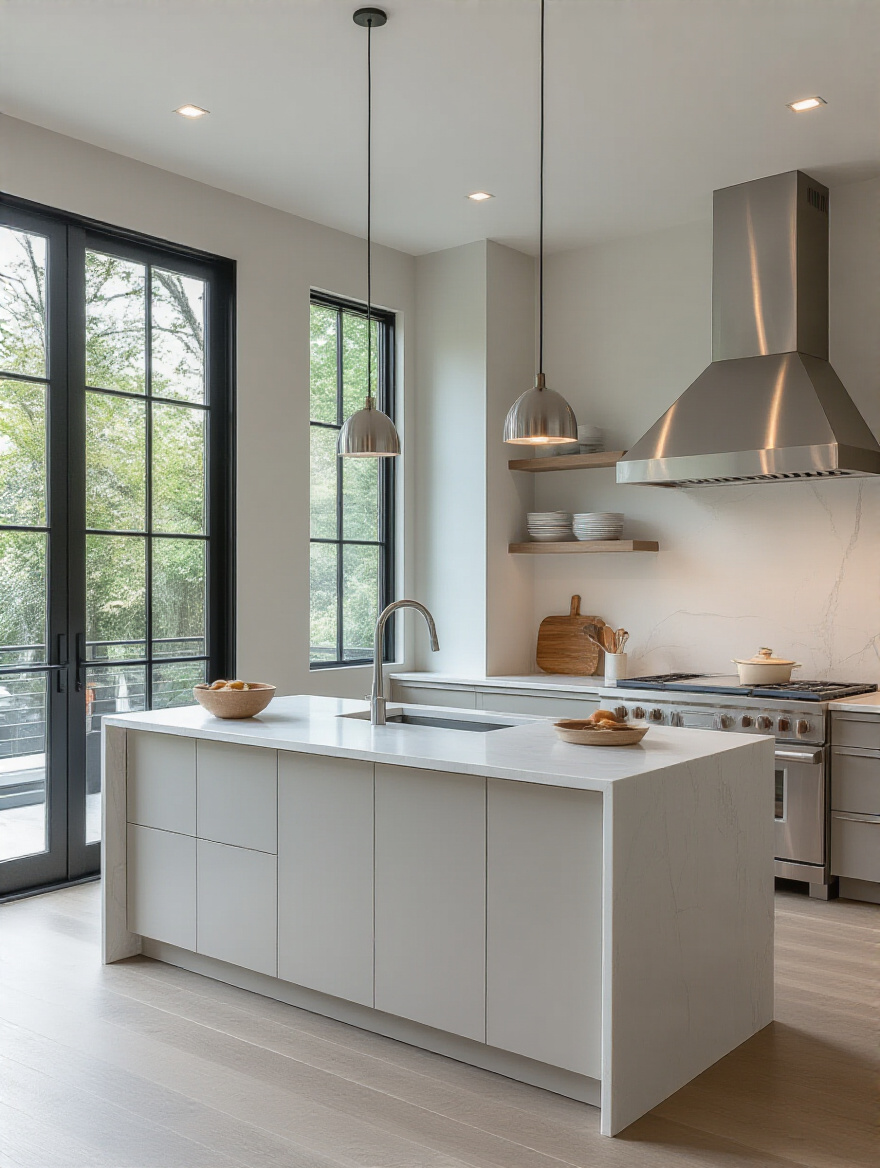
The other huge advantage is that it’s repairable. Because the material is the same color and pattern all the way through, minor scratches or even a small burn can often be buffed out by a professional, making the surface look brand new again. It’s not as heat-resistant as stone, and it can scratch more easily, so you definitely need to be diligent with trivets and cutting boards. But for someone who wants that flawless, unbroken surface and the peace of mind that comes with repairability, it’s an incredible option that’s often overlooked.
This material opens up a world of design possibilities beyond what traditional stone can offer, especially for those prioritizing a unified, sculptural look for their island.
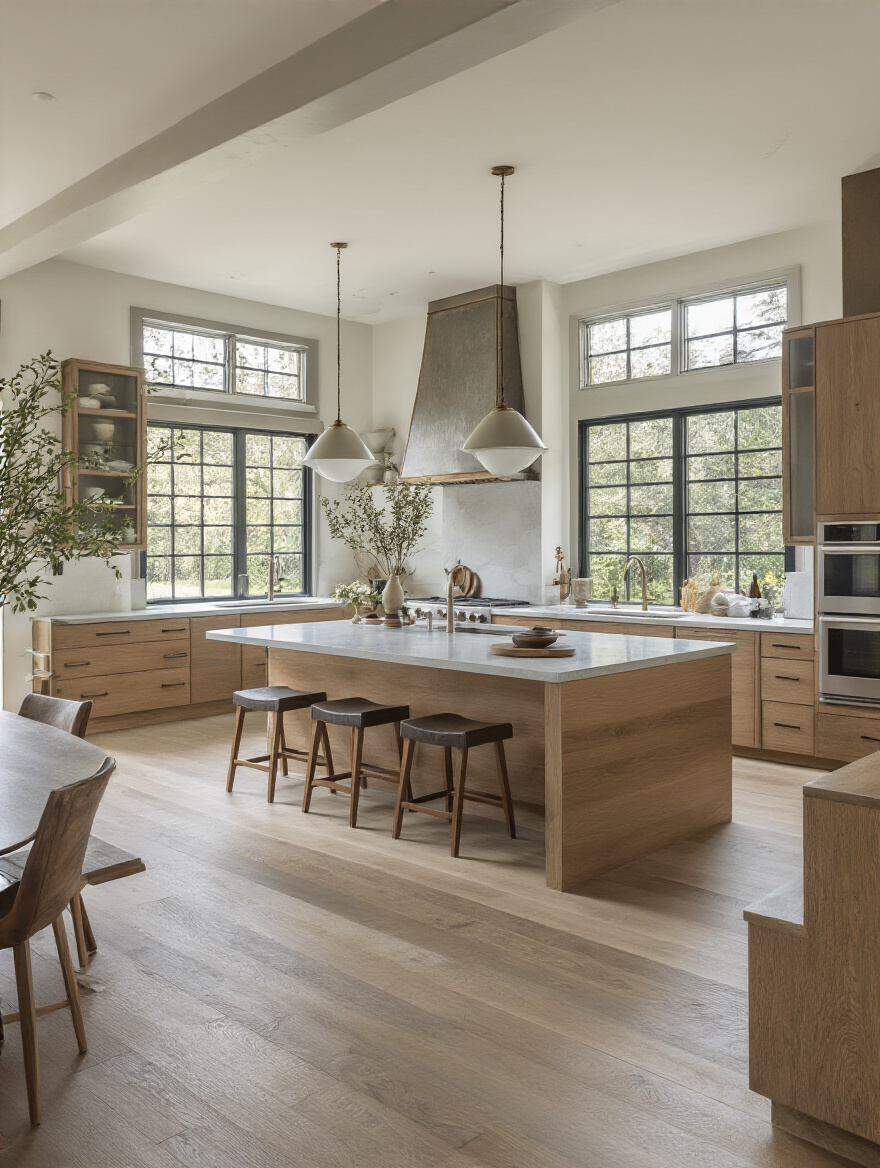
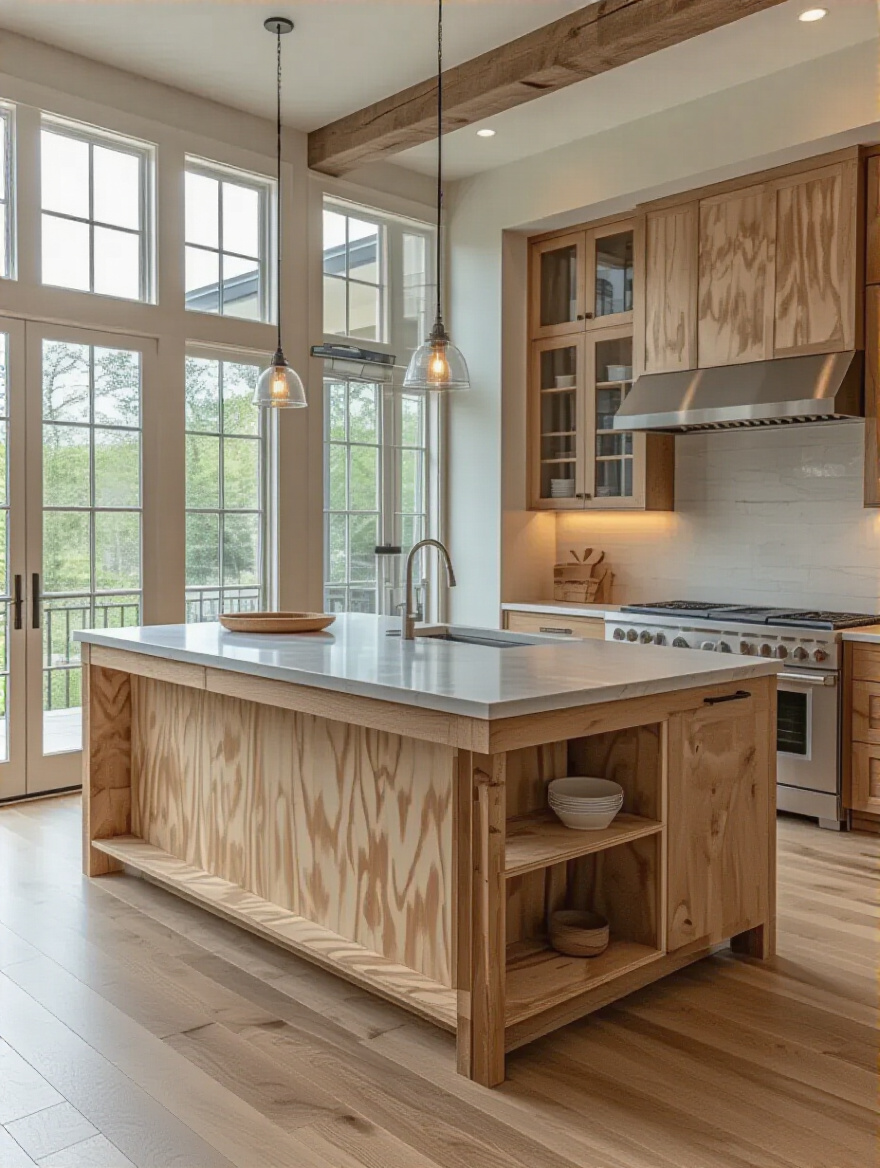
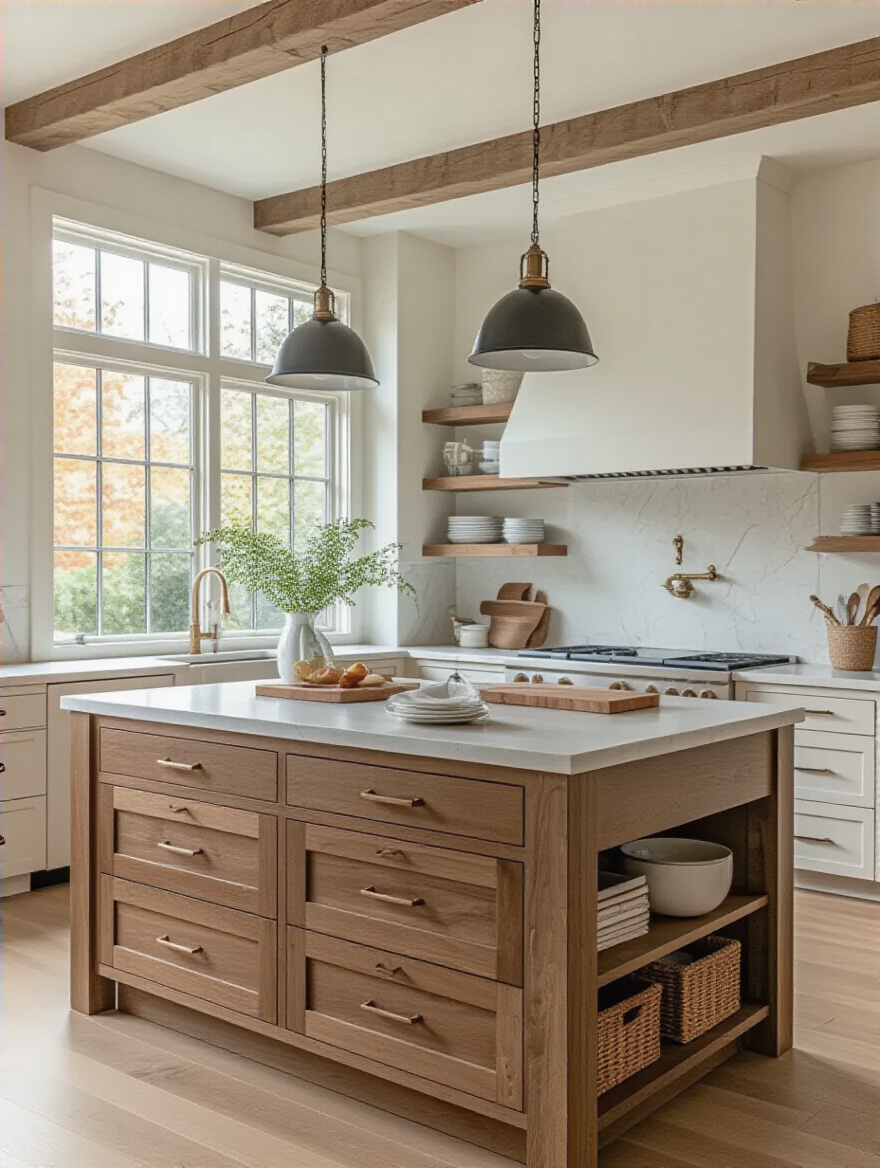
8. Investigate Wood or Butcher Block for Warmth and Natural Appeal
There is nothing that brings warmth and character to a kitchen like a wood countertop. It’s naturally antibacterial, it’s soft and forgiving on dropped glassware, and it develops a beautiful patina over time. It makes a kitchen feel less like a sterile laboratory and more like the heart of the home. I especially love using it to define a specific zone on an island—maybe the seating area is warm wood while the prep area is a durable quartz.
But you have to be ready for the commitment. Wood requires maintenance. It needs to be oiled regularly with food-grade mineral oil to keep it from drying out, staining, and warping. Water is its enemy, so you can’t let spills sit. I have a butcher block island myself, and I love it, but I’m diligent about wiping it down and I oil it every month. If you’re the type of person who leaves dishes in the sink overnight, wood is not for you. It’s a relationship, not just a surface.
Choosing wood is a lifestyle decision that pays off in aesthetic richness, but only if you’re prepared to provide the consistent care it requires.
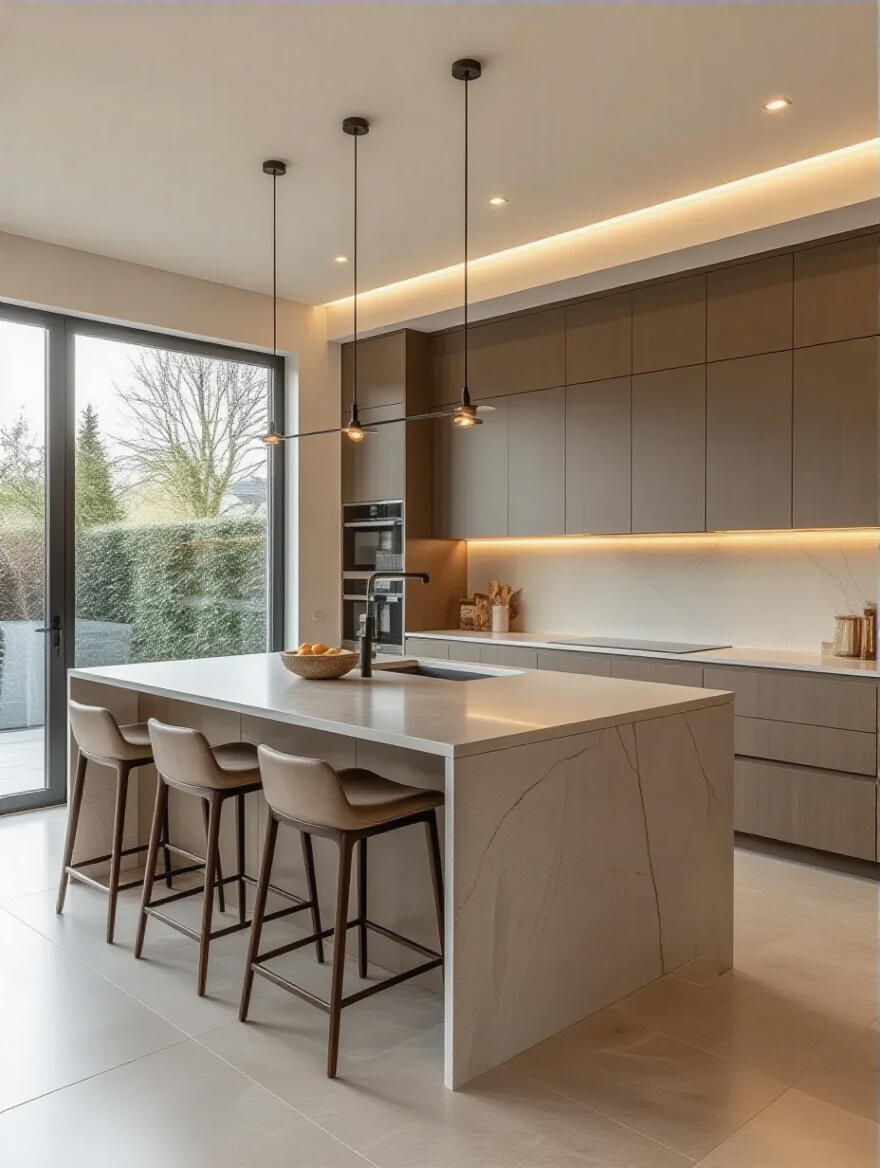
9. Assess Concrete Countertops for Industrial or Modern Aesthetics
Concrete offers a raw, industrial vibe that is incredibly versatile. It can be tinted any color, and you can embed things in it, like recycled glass or stones, for a completely custom look. It’s super durable and heat-resistant. Plus, it develops a unique patina over time—tiny hairline fissures and changes in color that many people find beautiful.
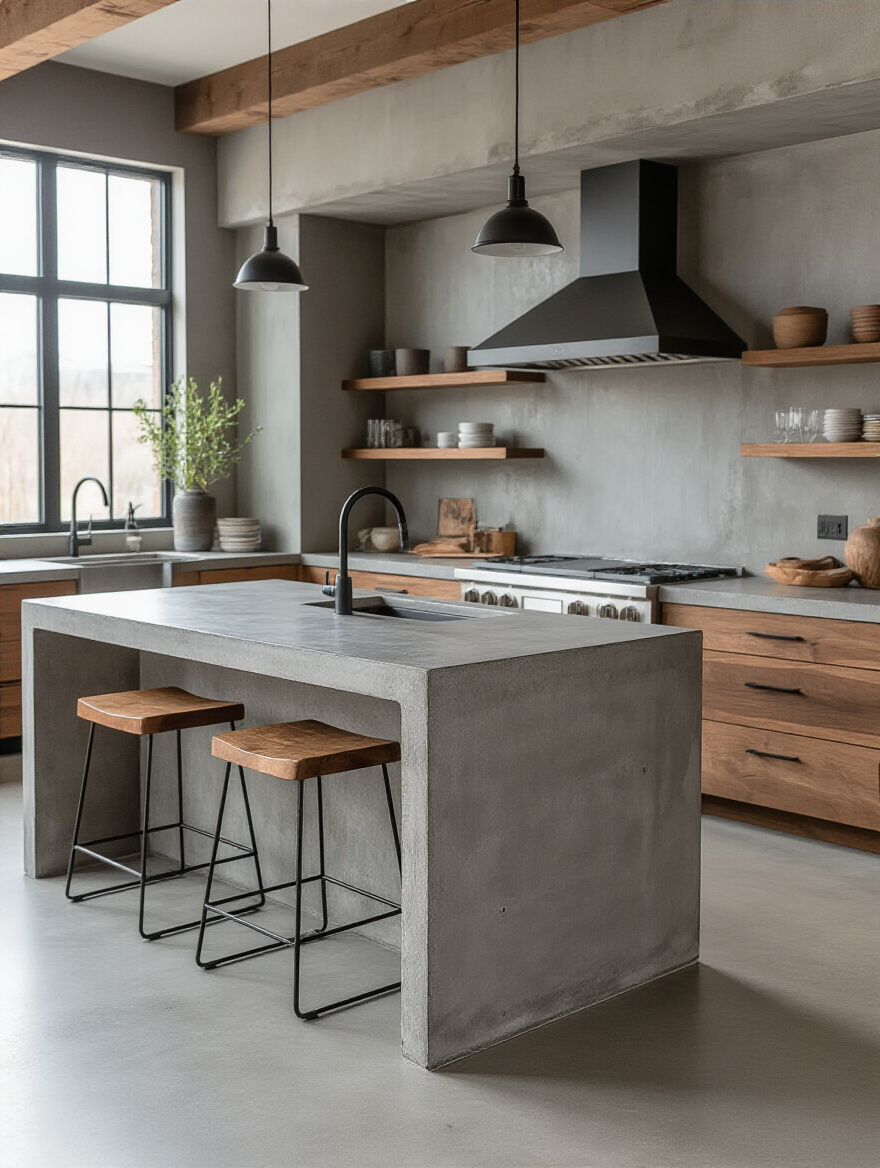
Here’s the part they don’t always tell you: concrete is incredibly heavy, so your cabinets and potentially your floor need to be reinforced to support it. And like granite, it’s porous. The quality of the sealer is everything. A poorly sealed concrete countertop will suck up oil and wine like a sponge, leaving permanent stains. You also need an expert artisan to fabricate it; this is not a job for a general contractor. The potential for cracking is also higher than with other materials, especially if not fabricated and installed perfectly. It’s a high-impact look, but it comes with higher risks and requires a true specialist.
When considering concrete, you’re not just choosing a material but also commissioning a piece of functional art, which requires careful planning and expert execution.
Selecting and Installing Your Ideal Island Surface (Part 2)
You’ve picked your material. Great. But the job is far from over. The details of fabrication and installation are what separate a good-looking island from a great, long-lasting one. Skipping over these details is like buying a beautiful suit but forgetting to have it tailored—it just won’t look or feel right.
10. Prioritize Edge Profiles for Safety and Design Continuity
The edge profile—the shape of the countertop’s edge—is a small detail with a big impact. From a design perspective, it should match the style of your kitchen. A complex, ornate ogee edge looks out of place in a modern, minimalist kitchen, where a simple eased or mitered edge would be perfect.
But more importantly, this is an ergonomic and safety decision. If you have kids running around, a sharp, squared-off edge is a hazard waiting to happen. A rounded profile like a bullnose or a simple eased edge is much safer and more comfortable to lean against. I can’t tell you how many times I’ve seen clients with bruises on their hips from sharp island corners. Think about how you move through your space. The island edge is a high-traffic area. Prioritizing a comfortable, safe profile over a purely decorative one is always a smart move.
This choice is a perfect example of how thoughtful design directly impacts daily comfort and well-being, proving that the smallest details often matter most.
11. Secure Professional Fabrication and Installation Services
This is not a place to save money. I’ve seen DIY countertop installations go horribly wrong, resulting in cracked slabs and crooked seams that end up costing more to fix than the professional installation would have cost in the first place. A professional fabricator uses laser templating for a perfect fit, knows how to handle and transport heavy, fragile slabs, and has the expertise to create nearly invisible seams.

Vet your installer thoroughly. Get multiple quotes, check their references, look at photos of their recent work (especially their seam work), and make sure they are licensed and insured. Ask them how they support their seams and how they plan to reinforce any overhangs. A good installer will welcome these questions. Their skill is the final, crucial step that turns an expensive slab of material into a finished, functional masterpiece. Skimp on this, and you risk ruining your entire investment.
Ultimately, the quality of your installation is just as important as the quality of your countertop material, making the choice of your fabricator a decision of the highest consequence.
12. Ensure Proper Substrate Support for Heavy Countertop Materials
Let’s get technical for a minute, because this is critical. A heavy countertop made of stone or concrete can’t just sit on top of standard cabinet boxes. It needs a robust, continuous support system underneath it, called a substrate. This is typically a 3/4-inch layer of plywood that distributes the massive weight evenly and prevents stress fractures, especially over areas like a dishwasher opening or at a seam between two cabinets.
For any overhang intended for seating, the support is even more critical. I mentioned this before, but it bears repeating: you need steel. This can be flat steel bars routed into the underside of the plywood or custom L-brackets. Your fabricator should have a clear plan for this. Without it, the force of someone leaning on the overhang—or a child climbing on it—can cause the stone to crack or even break off completely. Don’t just assume this will be done correctly. Confirm the support plan before you sign the contract.
This unseen structural element is the true foundation of your island’s longevity and safety, a non-negotiable component for any heavy material.
Elevating Your Island Countertop with Smart Enhancements (Part 1)
Your island is installed, and it looks great. Now, how do we make it work even harder for you? These are the enhancements that transform a standard island into a high-performance workspace that supports modern life and boosts your daily productivity.
13. Integrate Built-In Outlets for Convenient Appliance Access
In today’s world, an island without power is almost useless. It’s a non-negotiable. You need outlets for your mixer, your blender, and most importantly, your laptop and phone chargers. Scrambling for an extension cord that snakes across the floor is not just ugly; it’s a tripping hazard and an efficiency killer. Plan your outlets from the beginning.
There are so many great options now. You can get pop-up outlets that sit flush with the countertop when not in use, or power strips that are color-matched to the side of your island cabinet. You can even have outlets installed inside a drawer for a hidden charging station. Talk to your electrician and cabinet maker early in the process to ensure proper placement and compliance with electrical codes. Strategically placed outlets are one of the best investments you can make in your island’s functionality.
Integrating power is the key to unlocking your island’s potential as a true multi-functional hub for cooking, working, and living.
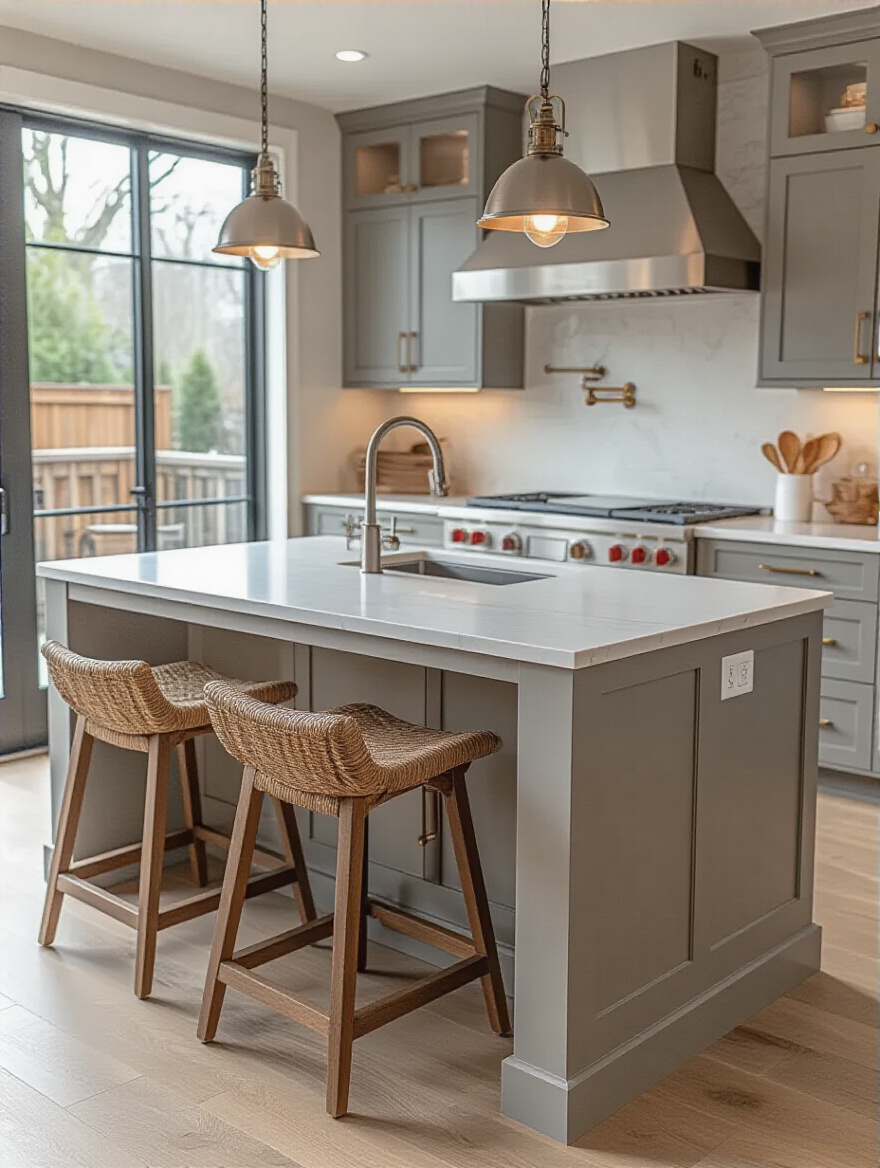
14. Optimize Seating Arrangements with Appropriate Overhangs
We touched on the ergonomics of seating, but let’s re-emphasize it. A comfortable seating area can transform your island into the primary spot for casual meals, homework, and impromptu meetings. An uncomfortable one will gather dust. That 12-15 inch overhang for counter-height seating is the golden rule for legroom.
Think about the flow around the seating as well. Will the stools block a major walkway when they’re pulled out? Is there enough clearance behind them for someone to walk by? A well-designed seating area feels generous and inviting, not like an afterthought squeezed into a tight space. Use chairs or stools with a low profile or ones that can tuck completely under the overhang to maximize clearance when not in use.
The comfort and usability of your seating area will directly determine how much your island is used as a social and productive hub.
15. Select Complementary Backsplashes for Visual Harmony
The backsplash behind your main counter is a critical supporting actor to your island countertop. If your island has a bold, busy pattern, the last thing you want is a competing backsplash. It creates visual chaos and makes the space feel cluttered and stressful—the opposite of a productive environment.
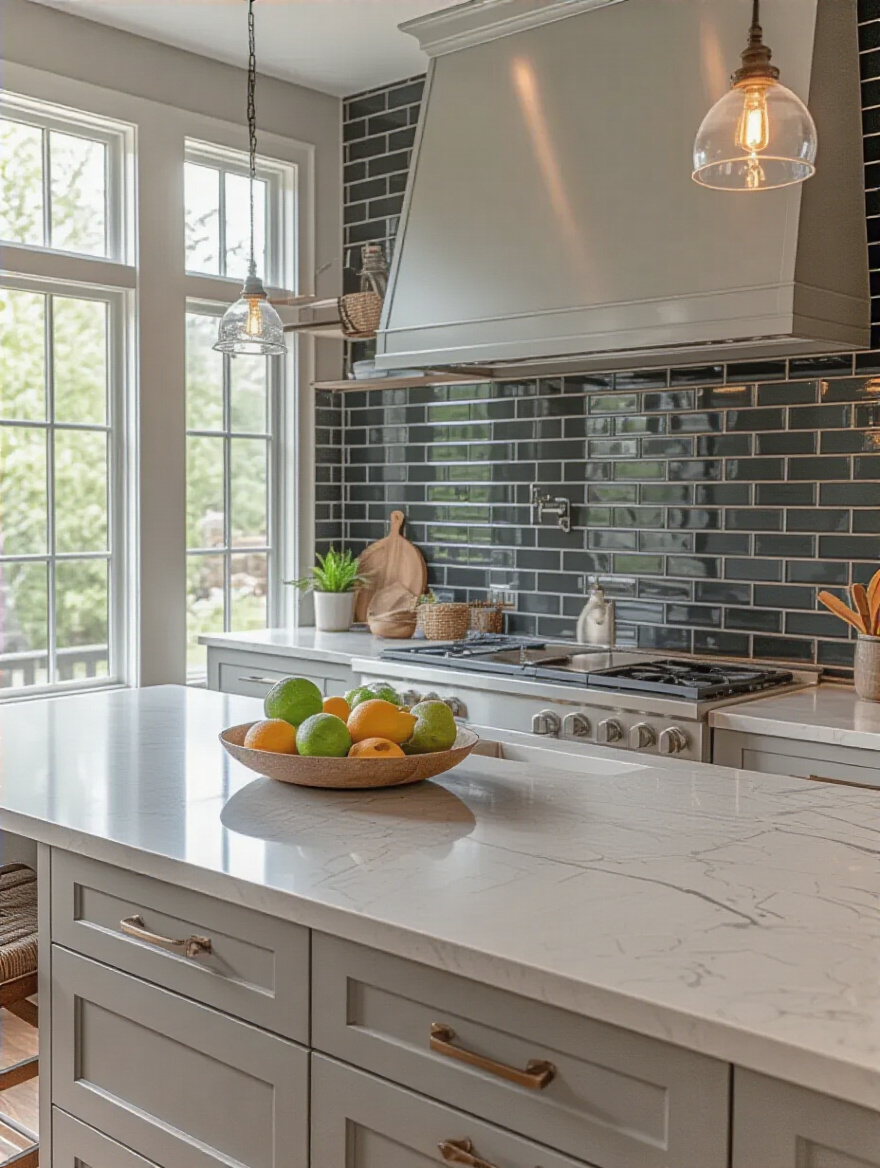
The pro move is to let one be the star. If your island is the focal point, choose a simple, neutral backsplash, perhaps a solid-colored tile in a classic shape. You could even pull a subtle, secondary color from the veining in your island stone for the backsplash. Conversely, if your island is a simple, solid color, you have more freedom to do a statement backsplash. The key is balance. They need to be in conversation with each other, not shouting over one another.
This visual synergy creates a calm, cohesive environment that is more conducive to focus and relaxation.
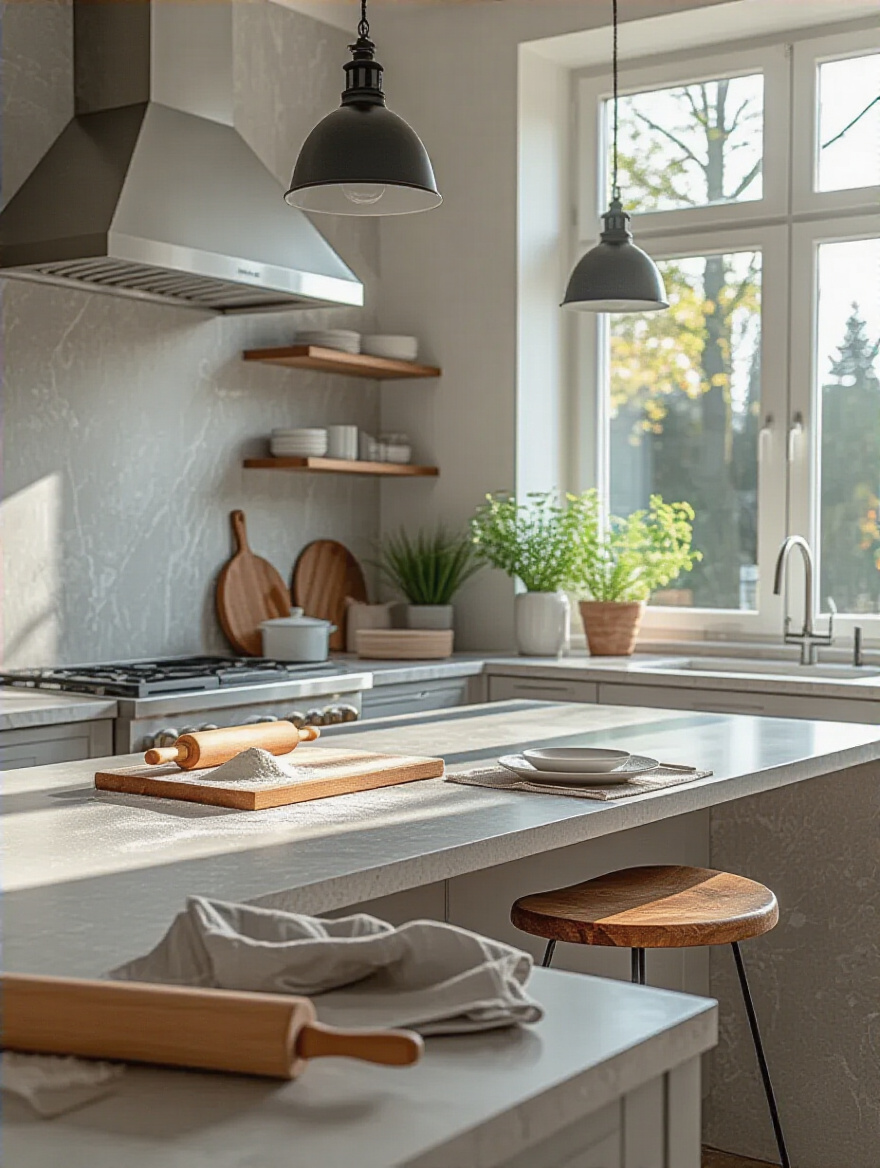
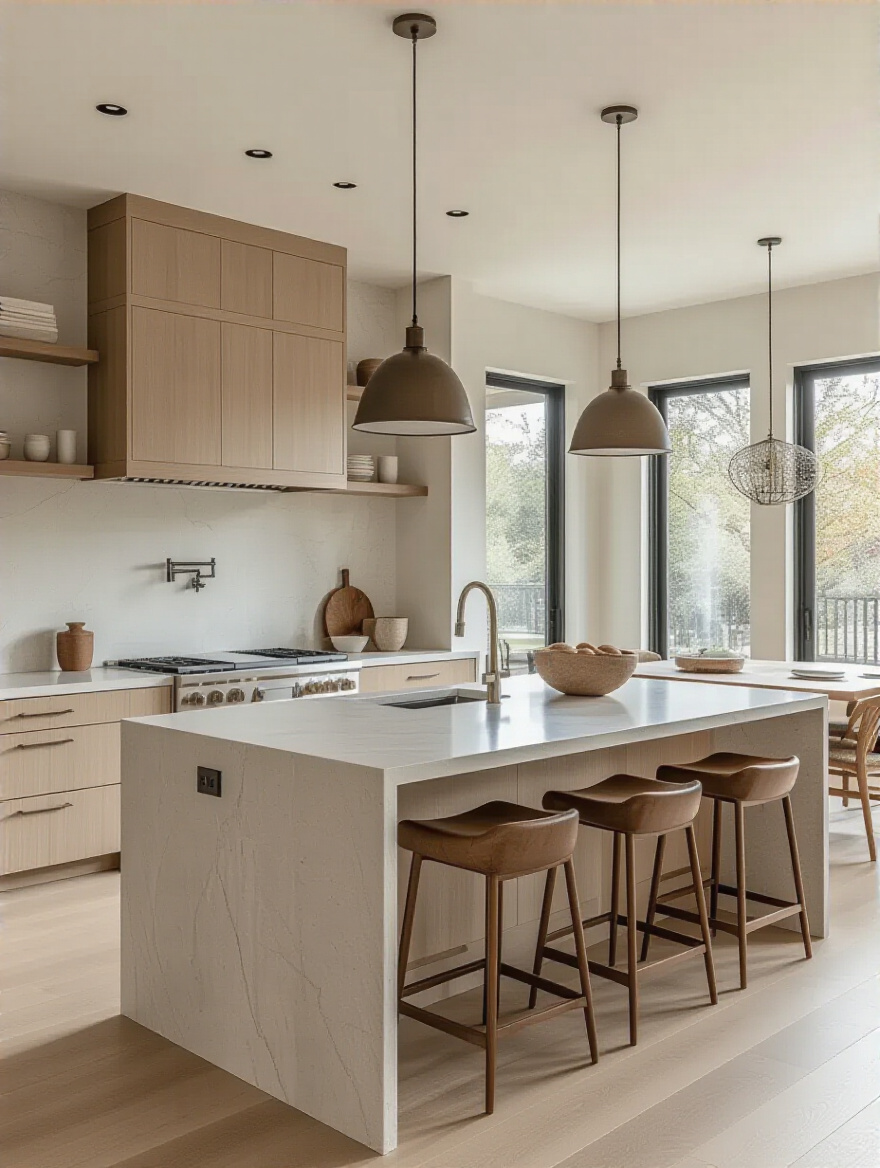
16. Implement Task Lighting to Illuminate Workspace Effectively
Bad lighting is a productivity killer. It causes eye strain and makes detailed work, whether it’s chopping onions or reading a report, frustrating. Your island needs dedicated task lighting. A single overhead light in the center of the kitchen won’t cut it; it will just cast shadows of your own body onto your workspace.
A row of pendant lights is a popular and effective solution. They provide direct, focused light right where you need it. As a rule of thumb, the bottom of the pendants should hang 30-36 inches above the countertop. And always, always put them on a dimmer switch. This allows you to crank up the brightness for intense prep work and then dim them down for a more relaxed ambiance during dinner or after hours. This one change can make your island infinitely more functional and versatile.
Proper task lighting is an ergonomic essential that directly impacts your comfort, safety, and efficiency at the island.
Elevating Your Island Countertop with Smart Enhancements (Part 2)
We’ve covered the individual components, but the real magic happens when you think about how they all work together. An advanced island design isn’t about adding more features; it’s about making those features work in a smart, integrated way. This is how you create a true command center for your home.
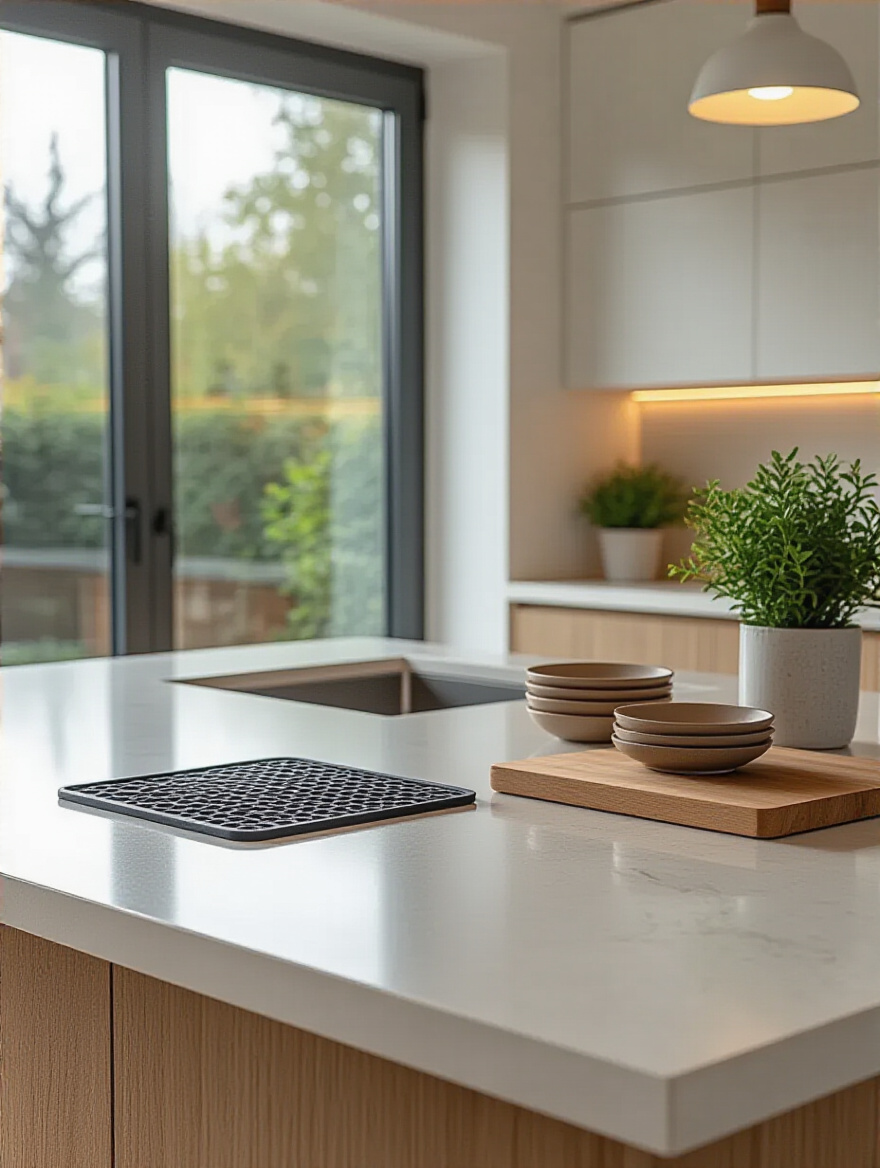
17. Designate Specific Zones for Prep, Dining, and Storage
Think of your island like an open-plan office. The most effective ones have designated zones for different types of work. Your island should be the same. Create a clear “prep zone,” a “dining/work zone,” and a “storage zone.” This is where you can get creative with materials. As I mentioned, maybe the prep zone is a durable butcher block section, while the rest is easy-to-clean quartz.
The storage underneath should also be zoned. Put drawers for knives, cutting boards, and mixing bowls directly under the prep zone. Utensils and placemats should be near the seating area. This intentional organization saves you countless steps and creates an incredibly efficient workflow. You’re not just creating storage; you’re creating a system. This level of functional design is what separates a good kitchen from a truly great one, making every task smoother and faster.
Zoning your island turns it from a simple surface into a high-performance workstation, streamlining every activity from cooking to working from home.
Maintaining & Future-Proofing Your Island Countertop Investment
You’ve made a huge investment in your kitchen island. Now, let’s make sure it lasts. This isn’t about stressful, constant upkeep. It’s about setting up simple, smart routines to protect your countertop so it looks as good in ten years as it does today. This is the final step in ensuring you made a wise, long-term decision.
18. Understand Specific Cleaning Routines for Different Materials
You cannot use the same cleaner on every surface. This is a critical mistake that can cause irreversible damage. Using an acidic cleaner like vinegar on marble or granite will etch the surface, leaving dull spots. Using an abrasive cleaner on quartz can dull its finish. The rule is simple: read the manufacturer’s care guide.
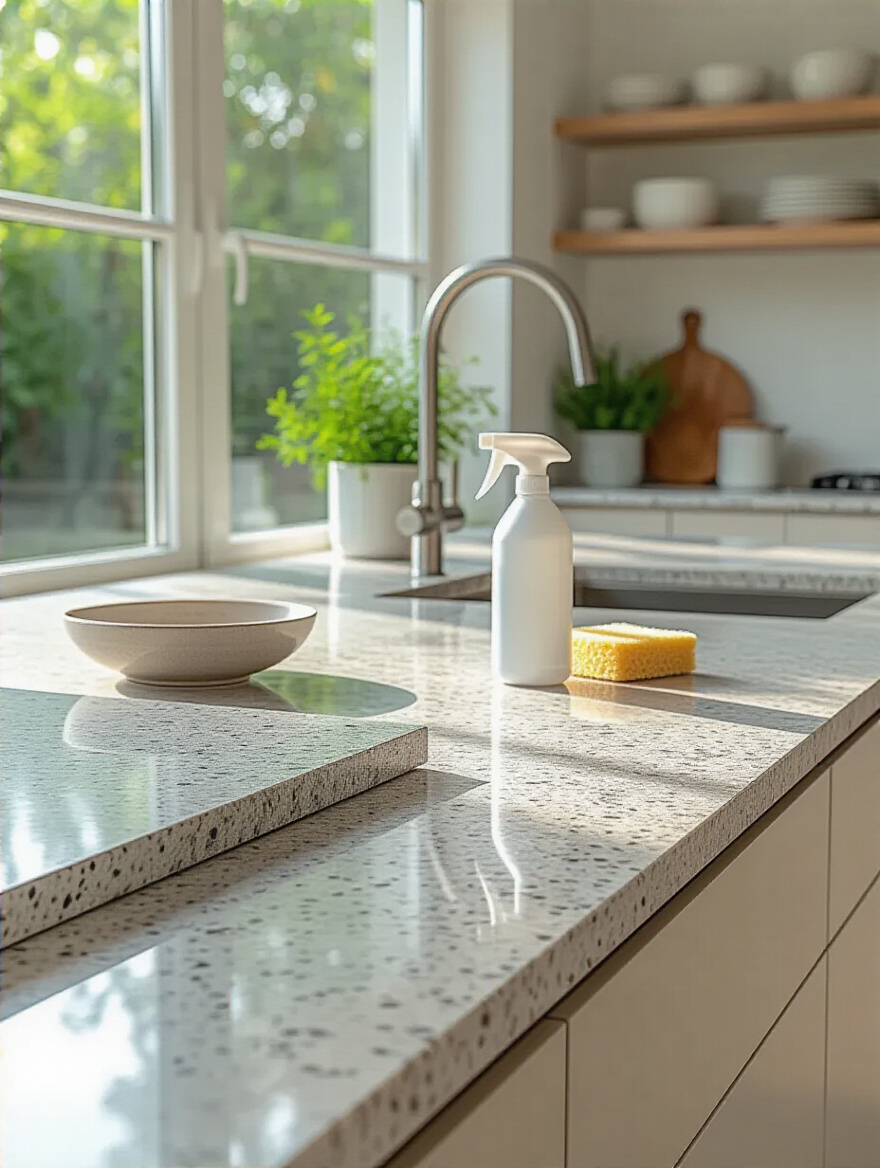
For most stone and quartz, a simple solution of mild dish soap and warm water with a microfiber cloth is all you need for daily cleaning. For anything porous like marble, granite, or concrete, you’ll want a dedicated pH-neutral stone cleaner. For wood, you’ll use a special wood cleaner or just soap and water, making sure to dry it thoroughly. Knowing what not to use is just as important as knowing what to use. Keep the right cleaner handy under the sink to make the right choice the easy choice.
Tailoring your cleaning routine to your material is the most fundamental act of preservation, ensuring you don’t inadvertently damage the surface you’re trying to care for.
19. Apply Regular Sealing for Porous Surfaces to Prevent Stains
If you chose a porous material like granite, marble, or concrete, sealing it is non-negotiable. The sealer is an invisible shield that buys you time. It keeps a spill from immediately soaking into the stone, giving you a chance to wipe it up before it stains. When the sealer wears off, that protection is gone.
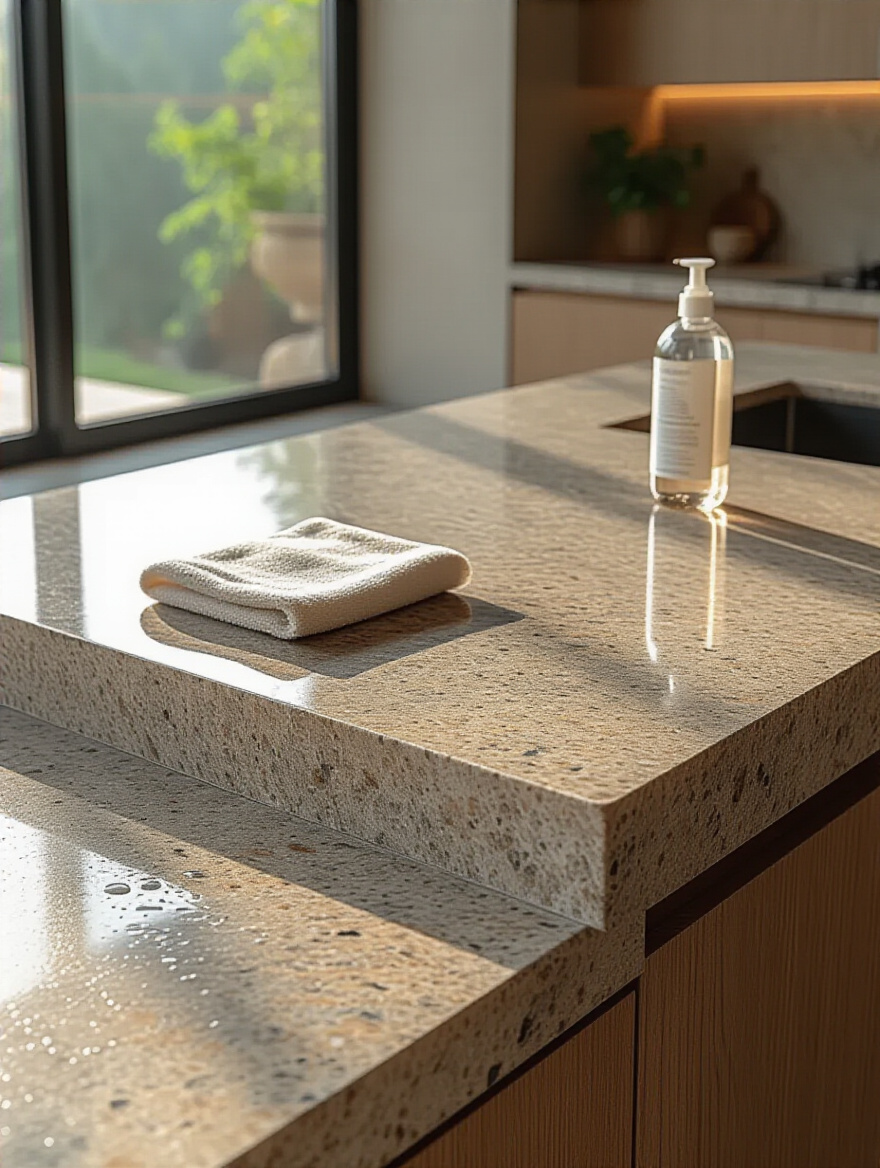
How do you know when to reseal? The water test. Sprinkle a few drops of water on your counter. If they bead up tightly, your sealer is working. If the water starts to spread out or soak in, leaving a dark spot, it’s time to reseal. For most kitchens, this is an annual or bi-annual job. It’s an easy, 30-minute task that is the single most important thing you can do to prevent permanent stains on natural stone.
Think of sealing not as a chore, but as essential, preventative maintenance that protects the core value and beauty of your natural stone investment.
20. Prevent Heat and Scratch Damage with Protective Measures
No countertop is indestructible, despite what the marketing says. You can crack granite with thermal shock. You can scorch quartz with a hot pan. You can scratch any surface with a knife. This is all about forming simple habits. Trivets and hot pads are your best friends. Always use them for anything coming off the stove or out of the oven.
And a cutting board is not optional. I don’t care how tough you think your countertop is, never cut directly on it. It’s bad for the counter and it’s terrible for your knives. Keep a few trivets in a drawer right next to the stove and a cutting board within easy reach of your prep zone. Making these tools readily accessible makes using them a mindless, automatic habit. This simple discipline will keep your countertop looking new for years.
These everyday protective measures are the easiest and most effective way to prevent the most common and costly forms of countertop damage.
21. Plan for Future Resurfacing or Repair for Extended Lifespan
Finally, think long-term. No matter how careful you are, accidents happen. A chip, a deep scratch, a stubborn stain. Before you even buy your countertop, ask the supplier about repair options. Materials like solid surface and wood are easily refinished. Scratches on granite can sometimes be professionally polished out. A chip on quartz can be filled with a color-matched epoxy.
Knowing the repair potential of your chosen material gives you peace of mind. I also recommend saving a remnant piece from your installation if possible. It can be invaluable for future repairs or for testing cleaning products. Thinking about the end of the countertop’s life at the beginning of its life is a pro-level move. It allows you to choose a material not just for how it looks now, but for its resilience and ability to be renewed over time.
Conclusion
So there you have it. Choosing a kitchen island countertop isn’t about picking the prettiest stone in the showroom. It’s a strategic decision that impacts your daily efficiency, your comfort, and your home’s overall function. By focusing on layout, defining its real-world use, and prioritizing ergonomics and proper installation, you’re not just buying a countertop; you’re designing a high-performance centerpiece for your life.
You now have the framework to make an informed choice—one that balances beauty with the practical demands of your household and work life. Forget the trends and the marketing hype. Focus on what will make your day-to-day life easier and more enjoyable. Your dream kitchen island countertop is the one that you don’t have to worry about—the one that works so well you almost forget it’s there. You’re ready. Go make it happen.


