Picture this: You just spent a fortune on your dream kitchen. The cabinets are perfect, the stone countertops are gleaming, and the appliances are top-of-the-line. The very first night, you go to cook a simple dinner and realize you can’t see what you’re chopping because your own head is casting a giant shadow on the cutting board. Or maybe you have friends over, and the only lighting option makes the room feel like a sterile operating theater. All that money, and the feel of the room is a total failure.
This happens all the time. Great lighting isn’t about one big, bright fixture in the middle of the ceiling. It’s about building layers of light that work together, making your kitchen functional for Tuesday night homework and beautiful for a Saturday night dinner party. Forget the technical jargon and the confusing charts. Let’s talk about what actually matters for creating a kitchen you’ll love to be in, day or night.
Foundations & strategic planning for Kitchen Illumination (Part 1)
Before you even think about a single light bulb or a pretty pendant, you have to do the groundwork. This is the part everyone wants to skip, and it’s the single biggest reason lighting plans fail. It’s like trying to cook a gourmet meal without reading the recipe first. A little bit of planning here saves you so much headache and money down the road.
1. Map Out Your Kitchen’s Functional Zones
You don’t use your kitchen for just one thing, so you can’t light it with just one kind of light. Think about your kitchen like a little workshop. You’ve got the “prep station” on the island, the “cooking zone” by the stove, the “cleanup area” at the sink, and the “social spot” where people grab a glass of wine and lean against the counter. Each one of those spots needs its own kind of light.
The biggest mistake people make is thinking a bunch of recessed lights on the ceiling will cover everything. They won’t. They’ll just create shadows and a flat, uninviting glare. By mapping out your zones, you can put the right light exactly where you need it, which means you’ll actually be able to see the recipe book and your guests won’t feel like they’re under interrogation. It’s the difference between a kitchen that works with you and one you have to fight against every day.
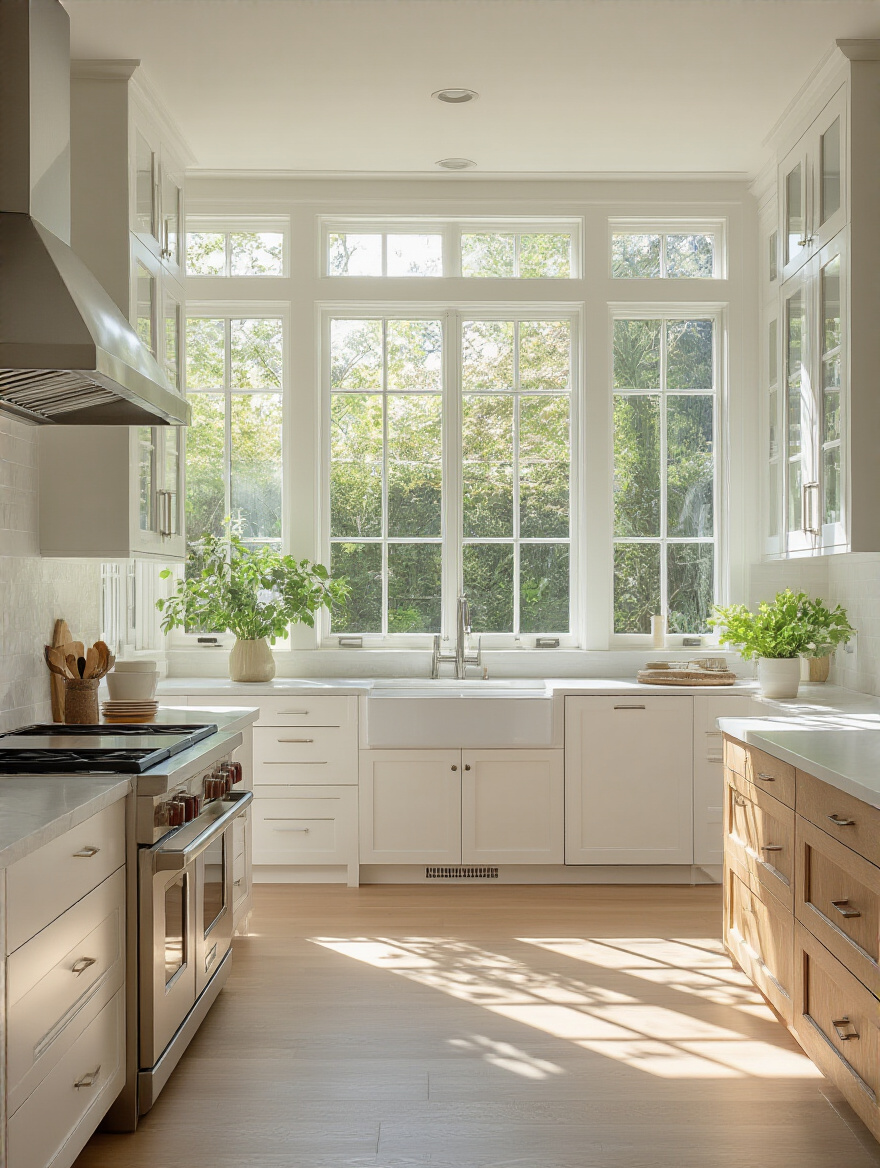
2. Assess Natural Light Contributions
Before you add a single watt of artificial light, you need to understand the light you’re getting for free. Where are your windows? Do you get blinding sun in the afternoon or just a soft glow in the morning? Spend a full day just observing your kitchen. Notice the dark corners that never seem to get any sun. Those are the spots you’ll need to pay special attention to.
I once worked with a client who picked out gorgeous, dark navy cabinets. They looked incredible in the showroom and even on the sample door in her kitchen at 2 p.m. But her kitchen faced north and was naturally dim. Once all the cabinets were installed, her kitchen felt like a cave by 9 a.m. We had to double the under-cabinet and interior cabinet lighting just to make the space feel alive. If we’d planned for the lack of natural light from the start, we would have saved time and money.
3. Embrace Layered Lighting for Versatility
If you remember only one thing, let it be this: you need layers of light. It’s the secret sauce of every beautifully designed room. I think of it in three simple parts: the big picture, the workhorses, and the jewelry. Your first layer, ambient light, is the big picture—the general, overall glow that lets you walk into the room without tripping over the dog. This usually comes from recessed ceiling lights or a central fixture.
Then you have task lighting, which are the real workhorses. This is the bright, focused light you need right over your countertops, your sink, and your stove. It’s what eliminates those annoying shadows and keeps you from slicing a finger. And finally, you have accent lighting, which is the jewelry. This is the fun stuff—a soft light inside a glass cabinet to show off your pretty dishes, or a small spotlight on a piece of art. When you have all three layers on different switches and dimmers, you have total control to create any mood you want.
4. Master Color Temperature (Kelvin) to Set the Right Mood
This sounds super technical, but it’s actually simple. “Color temperature” just means whether the light feels warm and cozy like candlelight, or cool and energizing like bright daylight. You’ll see this measured in Kelvin (K) on the light bulb box. Lower numbers (around 2700K) give off that warm, yellow-ish glow perfect for dining areas. Higher numbers (3500K-4000K) produce a crisper, whiter light that’s fantastic for task areas where you need to see clearly.
The BS everyone seems to believe is that you have to pick one and use it everywhere. Don’t do that! A kitchen lit entirely with warm 2700K light can feel dim and dingy for cooking, while one lit entirely with cool 4000K light can feel like a hospital cafeteria. The trick is to use different color temperatures in your different layers. Use that cooler, brighter light for your under-cabinet task lighting and a warmer, more inviting light in the pendants over your seating area. It creates balance and makes the room feel so much more comfortable.
Okay, so you’ve got the basic strategy down. Now we need to get into the nitty-gritty of planning the actual power and placement. This part feels a bit like homework, but getting it right means your electrician can do their job once, perfectly, without you having to call them back to move things around.
Foundations & Strategic Planning for Kitchen Illumination (Part 2)
5. Determine Required Lumens and Wattage for Sufficient Brightness
Forget about wattage for a second; what you really care about is lumens, which is just a measure of actual brightness. The shortcut I wish I’d known earlier is to stop thinking about lighting the whole room and start thinking about lighting the surfaces. Your countertops and island, where all the work happens, need a lot of focused light. Your walkways just need enough to see where you’re going.
A quick rule of thumb is to aim for about 70-100 lumens per square foot on your task surfaces (like countertops) and a much softer 20-40 lumens per square foot for the overall ambient light in the room. Don’t get bogged down in the math, though. The real takeaway is: more, brighter light for work zones, and less, softer light everywhere else. And put everything on a dimmer, so you can always dial it down.
6. Plan Wiring and Switch Placement for Intuitive Control
Can we talk about why everyone treats switch placement as an afterthought? Last Tuesday, I watched a client lose thousands of dollars because they realized—after the drywall was up and painted—that the switch for the island lights was in a completely illogical place across the room. They had to pay to have the wall opened up, re-wired, and re-patched. It’s a costly and frustrating mistake.
Think about how you move through your kitchen. When you walk in from the garage with groceries, where does your hand naturally reach for a light switch? That’s where the switch for the main ambient lights should be. The switch for the under-cabinet task lights should be right there in the main prep zone. Planning this from the start costs nothing extra and makes your kitchen a hundred times more intuitive to use. Don’t let your builder just slap a four-gang switch panel on the wall by the door—it’s lazy and confusing.
Now for the fun part: picking out the actual lights! This is where your kitchen’s personality really starts to shine through. Just remember that every fixture has a job to do, so we’re choosing for both function and beauty.
Core Fixture Selection & Practical Implementation Techniques (Part 1)
7. Select Focused Task Lighting for Productive Prep and Cooking Areas
Task lighting is the most important light in your entire kitchen, period. This is the light that lets you see if the chicken is cooked, if the herbs are fresh, or if you’ve gotten all the batter mixed in. Without good task lighting, you’re just making your life harder and your cooking less precise.
The absolute champion of task lighting is under-cabinet lighting. It shines light directly down onto your countertops, right where you’re working, completely eliminating shadows. Another key spot is over your island or sink. A beautiful pendant or a focused recessed light here ensures your main work hub is bright and functional. This isn’t a place to skimp; it’s the bedrock of a usable kitchen.
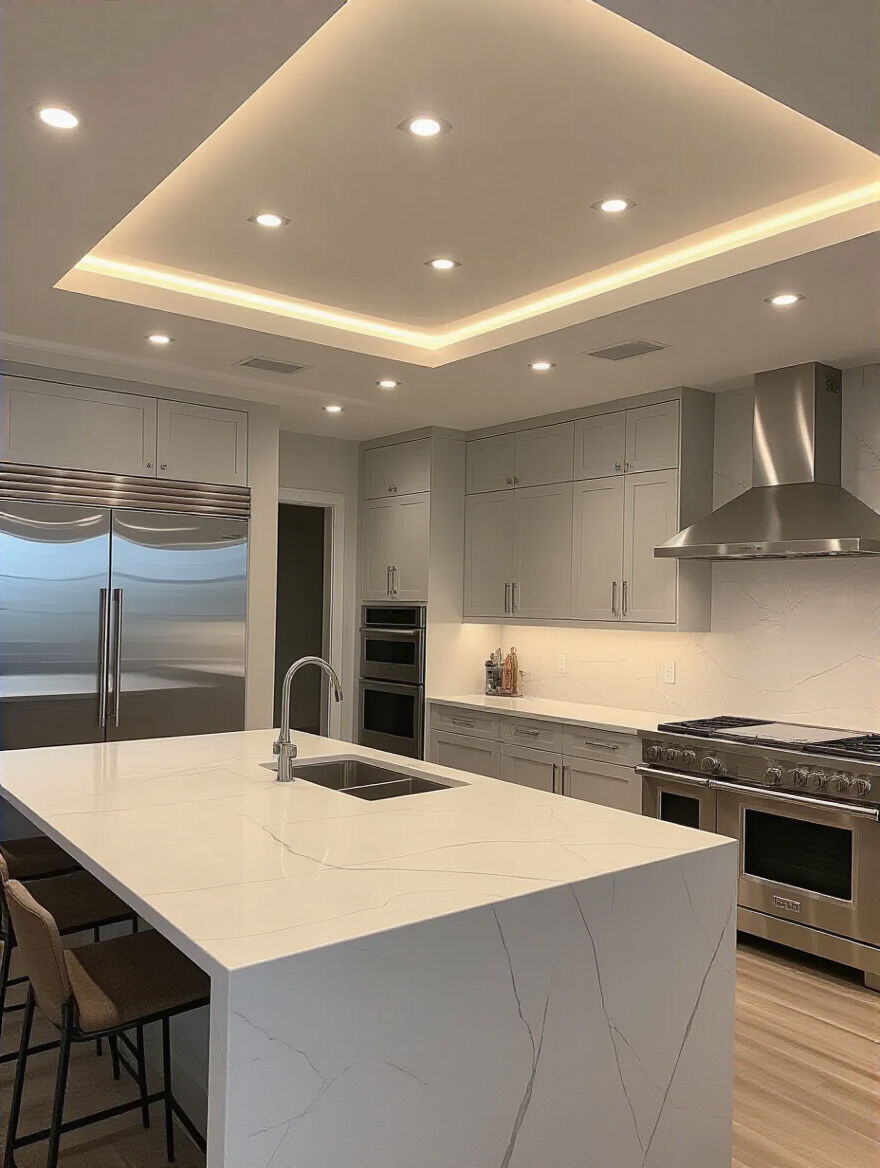
8. Choose Appropriate Ambient Fixtures for General Illumination
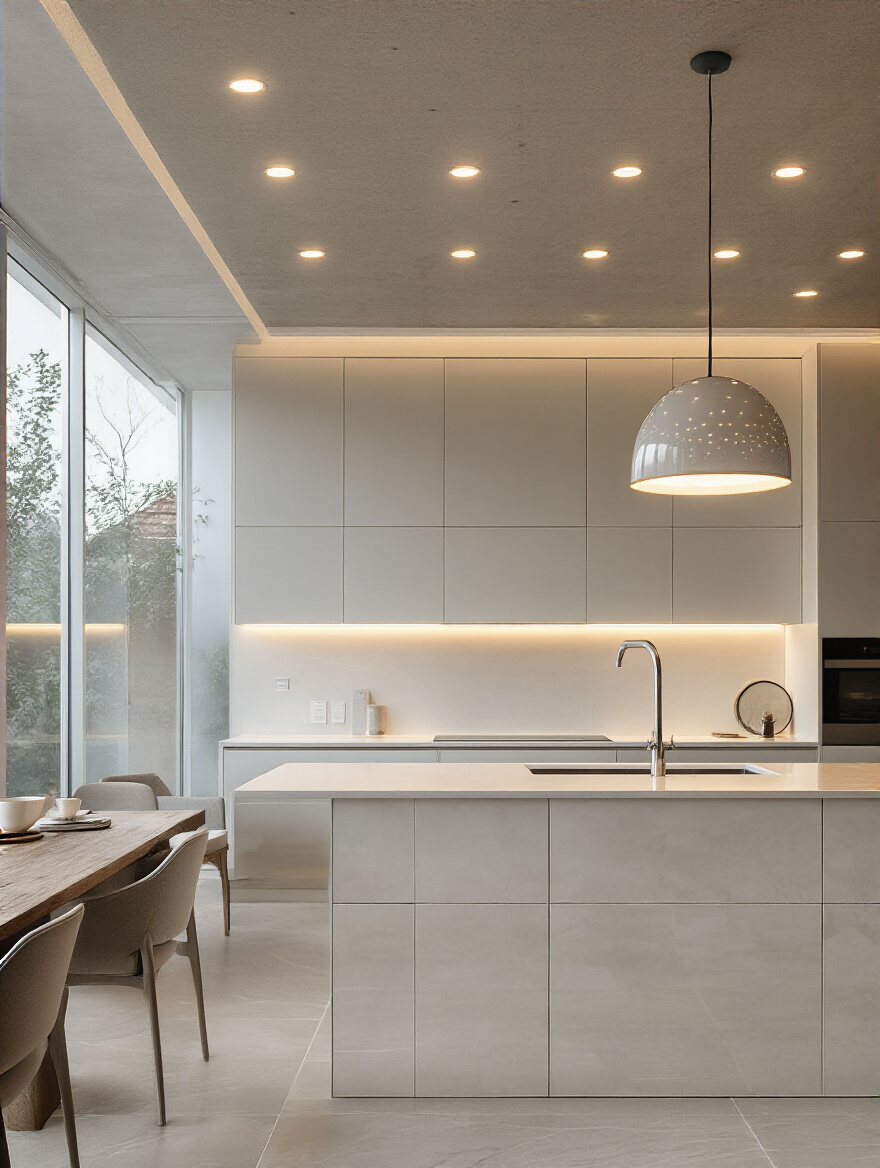
Ambient light is your foundational layer—it’s the friendly, general glow that fills the room and makes it feel welcoming. It’s the replacement for that one awful fluorescent box or “boob light” that used to be stuck in the middle of so many kitchen ceilings. Today, this job is best handled by recessed lights, often called “can lights.”
The key is to space them thoughtfully so they provide an even wash of light without feeling like a grid of airport runway lights. They should illuminate the walkways and the faces of your cabinets, not just create pools of light on the floor. I usually place them about 18-24 inches away from the cabinets so the light can wash down the fronts, making the whole room feel brighter.
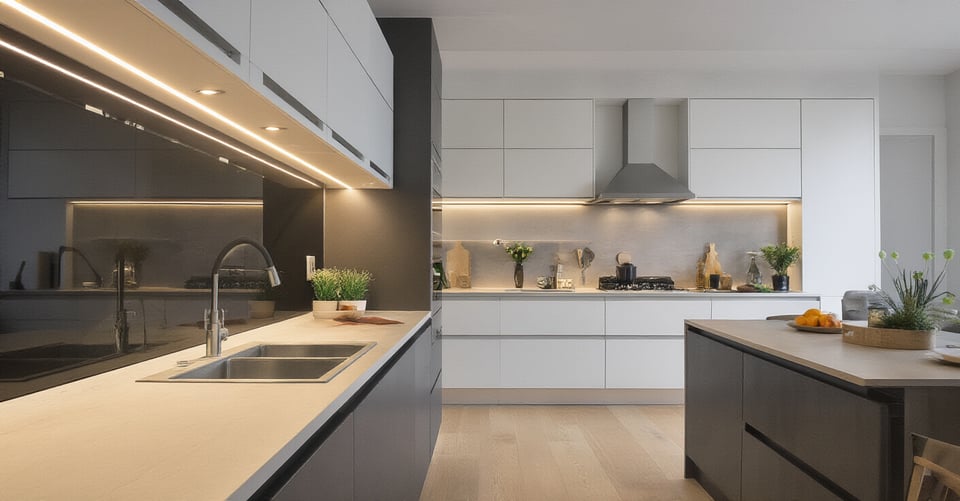
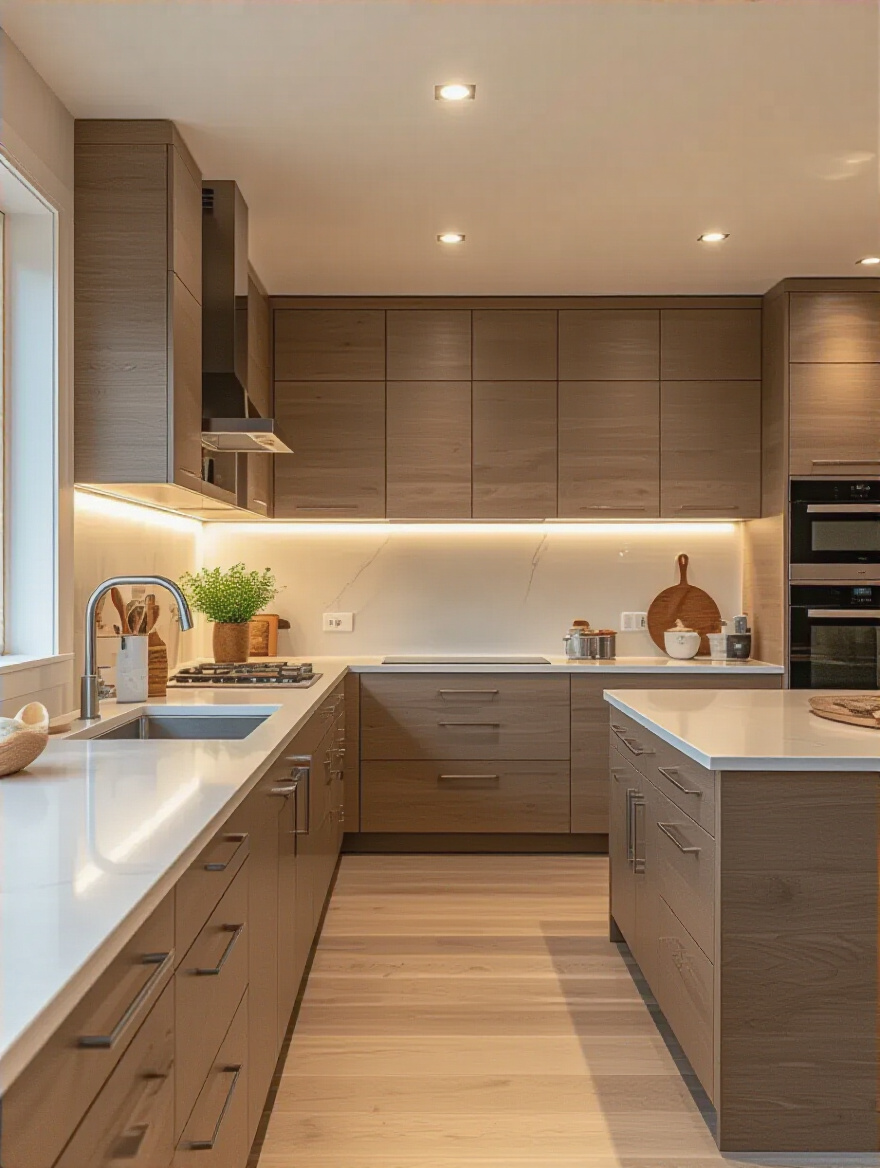
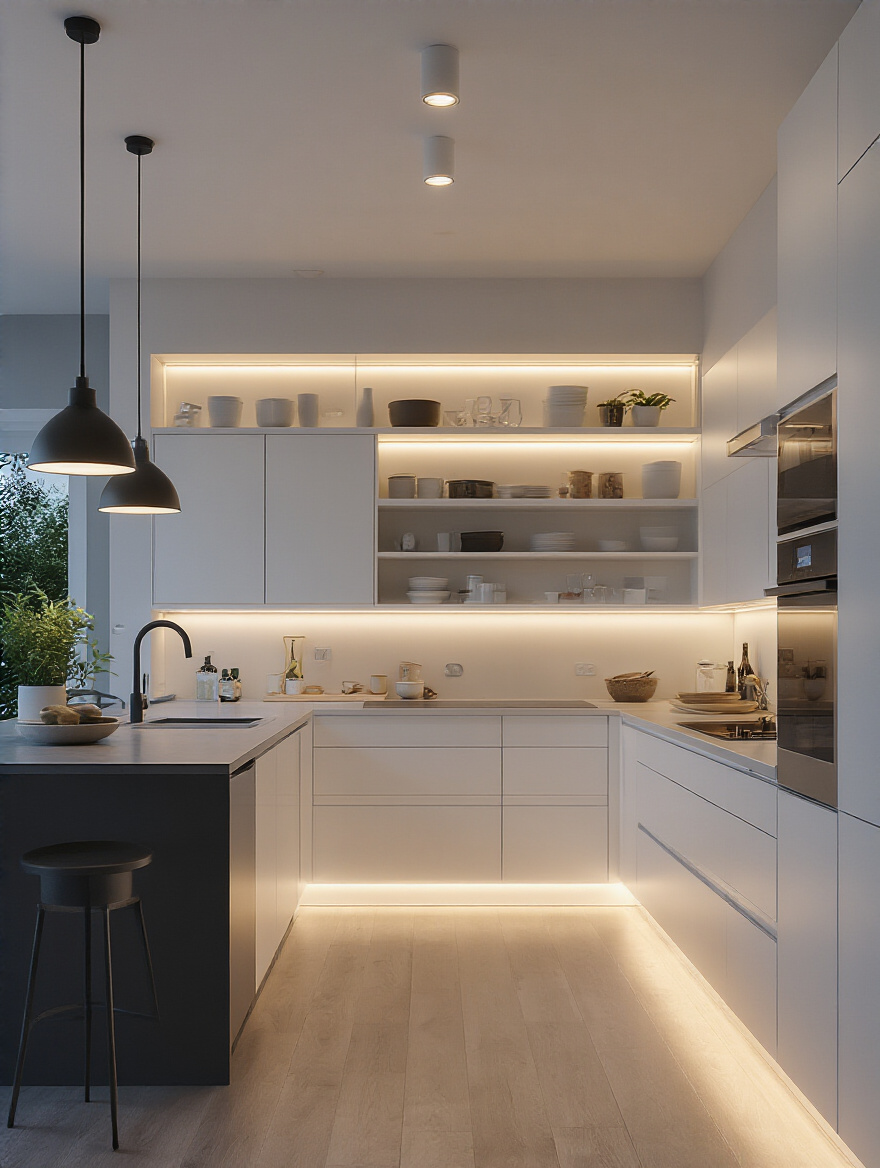
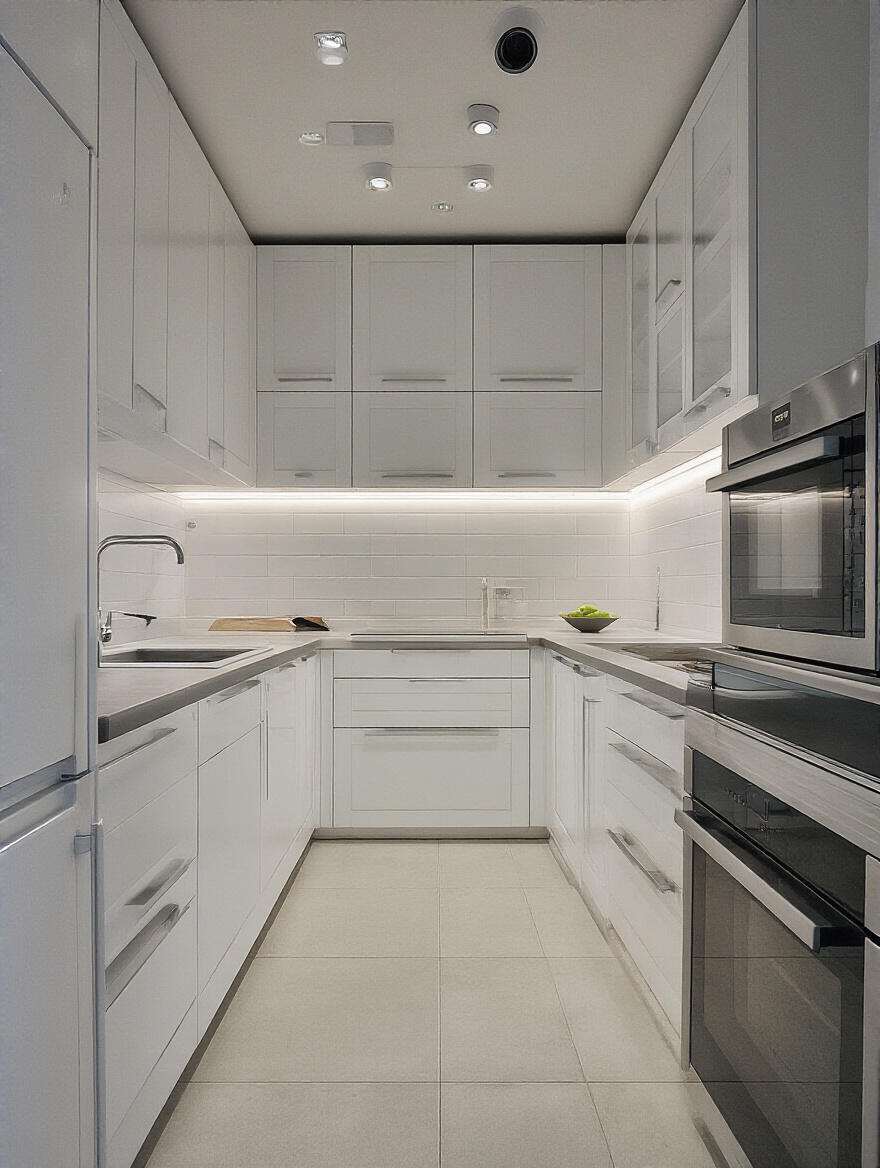
9. Integrate Under-Cabinet Lighting for Shadow-Free Countertops
I know I mentioned this under task lighting, but it’s so critical it deserves its own point. Under-cabinet lighting is a non-negotiable for me. It is the single most effective way to make your kitchen feel more functional and look more expensive. It puts the light exactly where you need it for chopping, mixing, and cleaning.
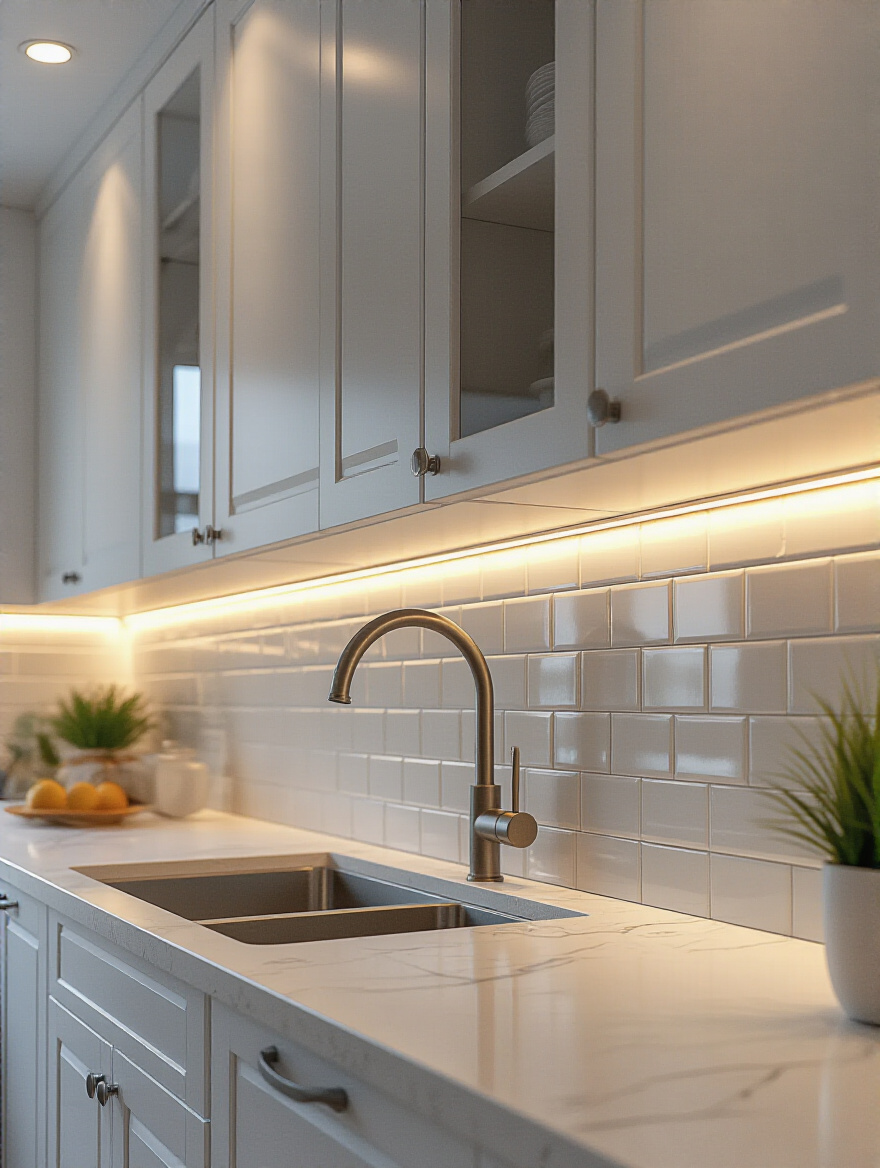
But here’s the other secret: it doubles as gorgeous accent lighting in the evenings. When you’ve finished cooking and just want a soft, ambient glow in the kitchen, turning on only the under-cabinet lights creates a beautiful, warm atmosphere. They highlight your backsplash and countertop without the harsh glare of overhead lights. It’s a two-for-one powerhouse.
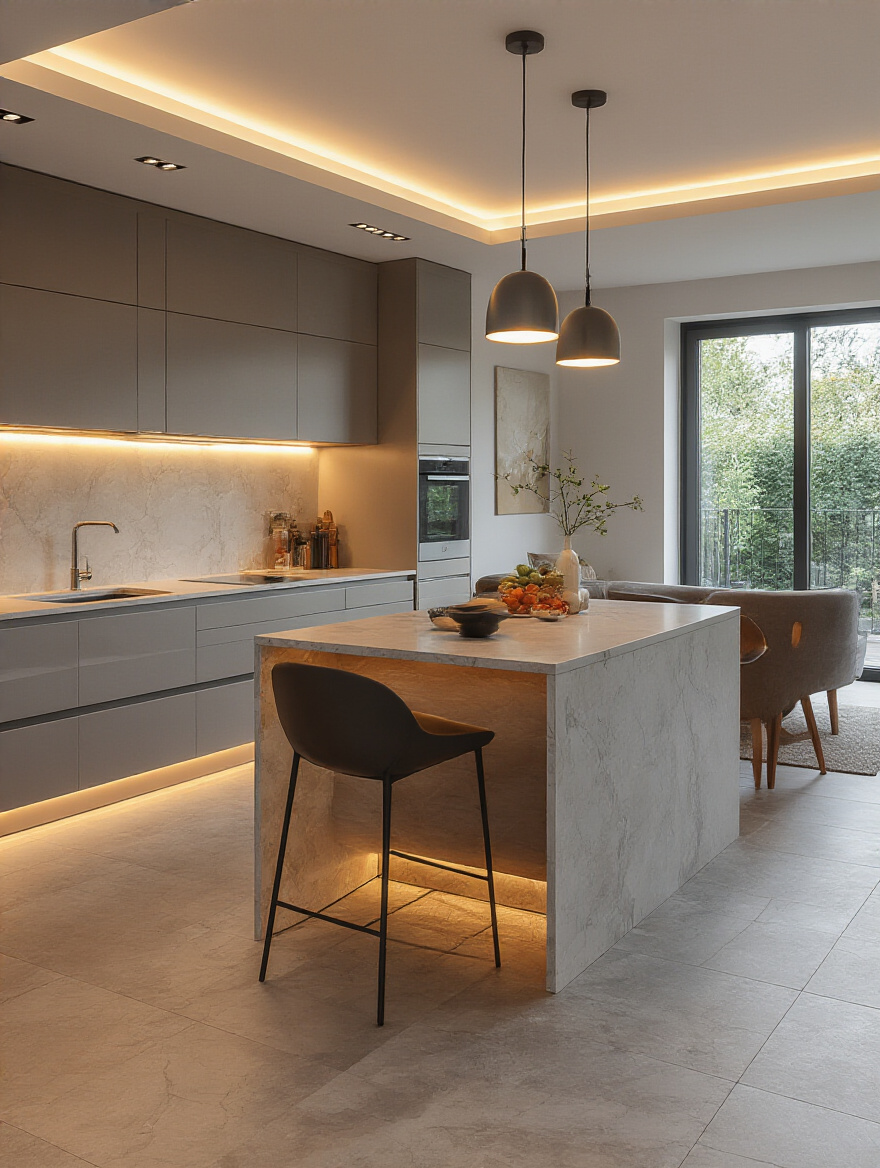
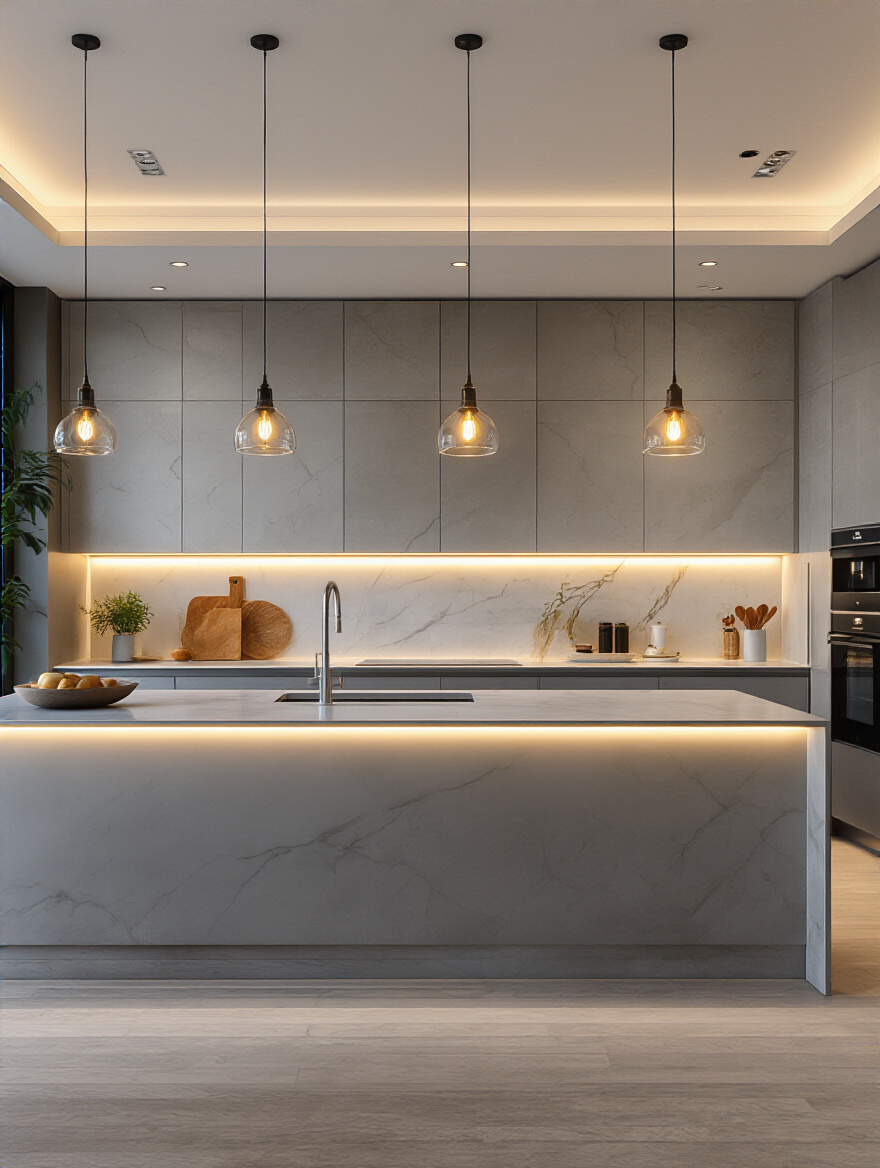
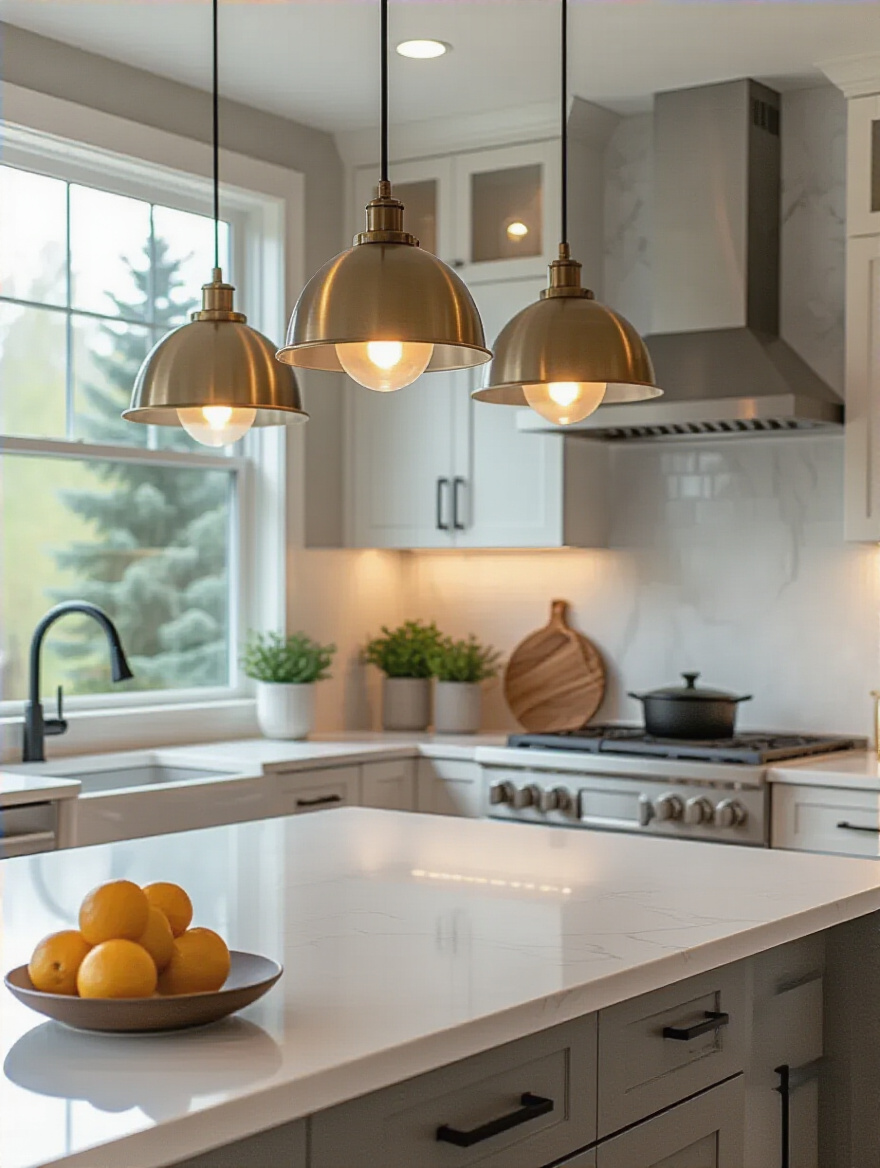
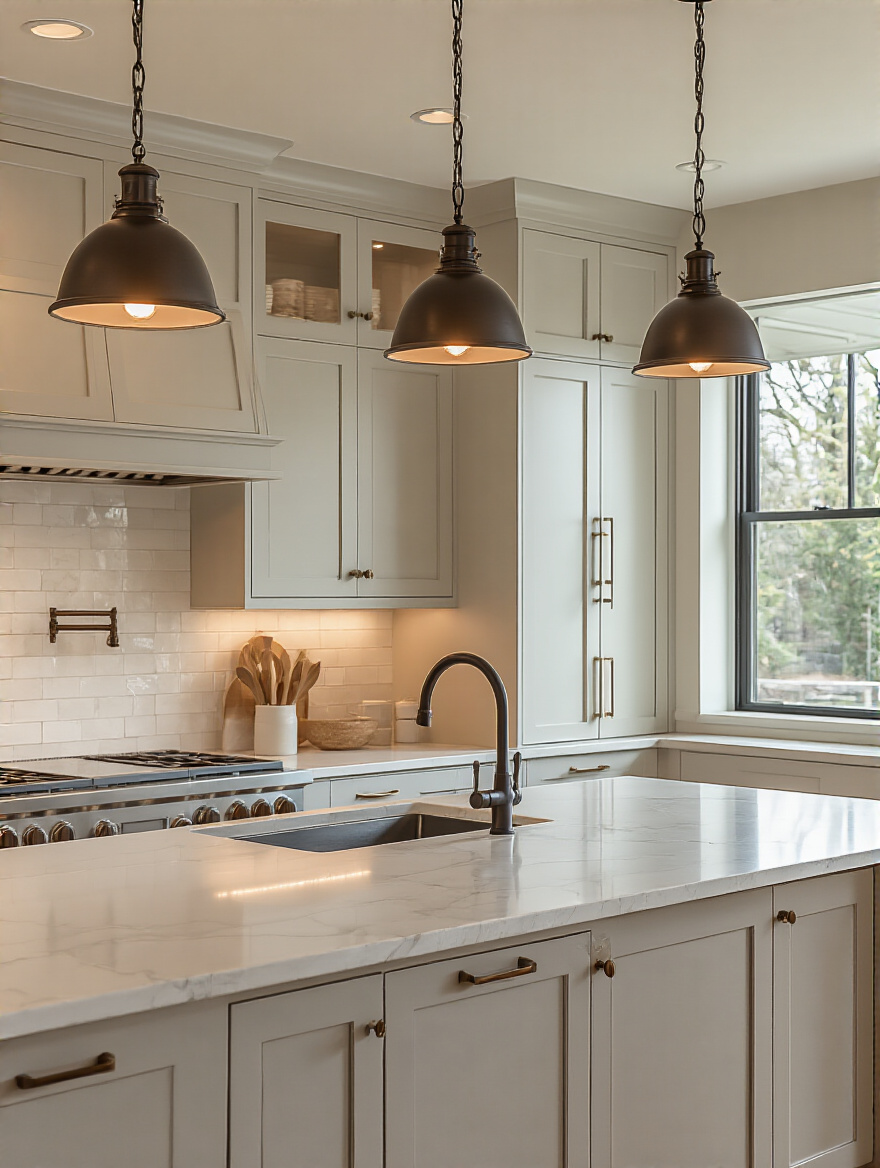
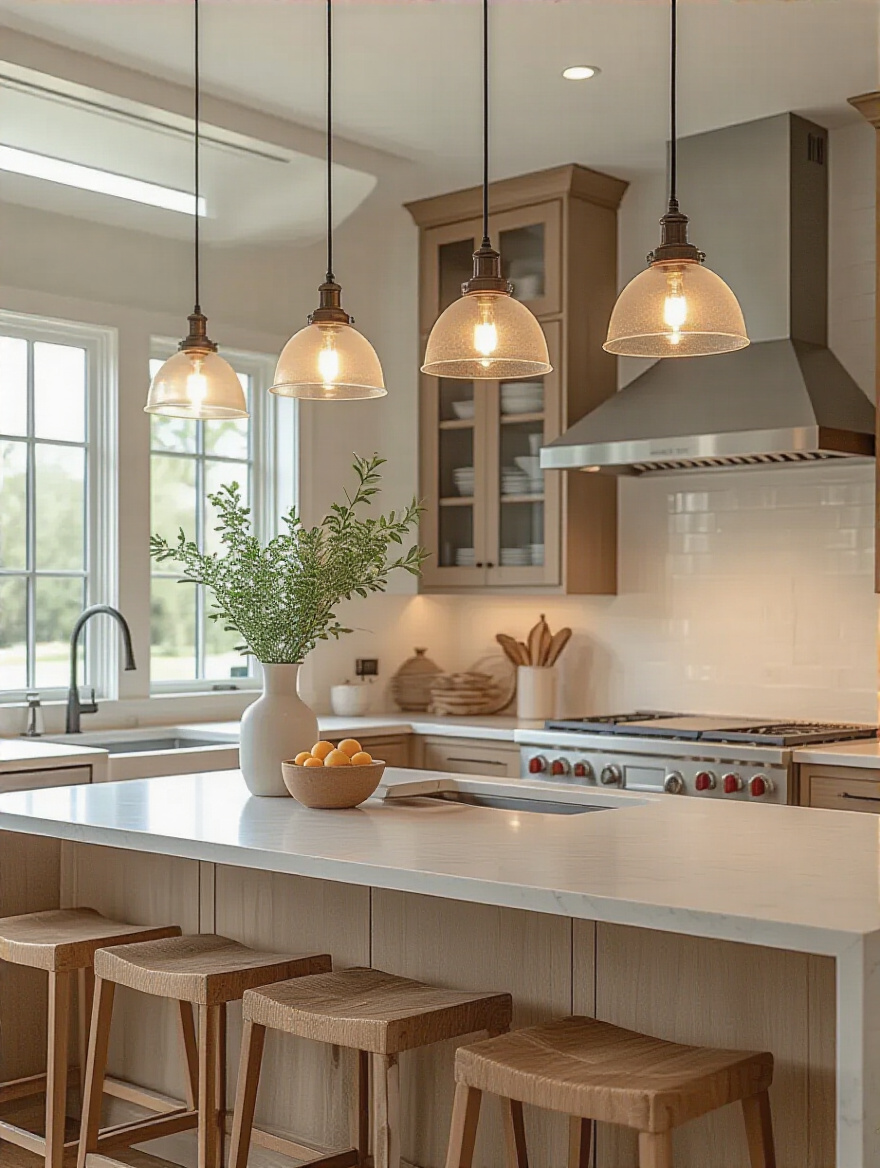
10. Strategically Place Pendants Over Islands or Peninsulas
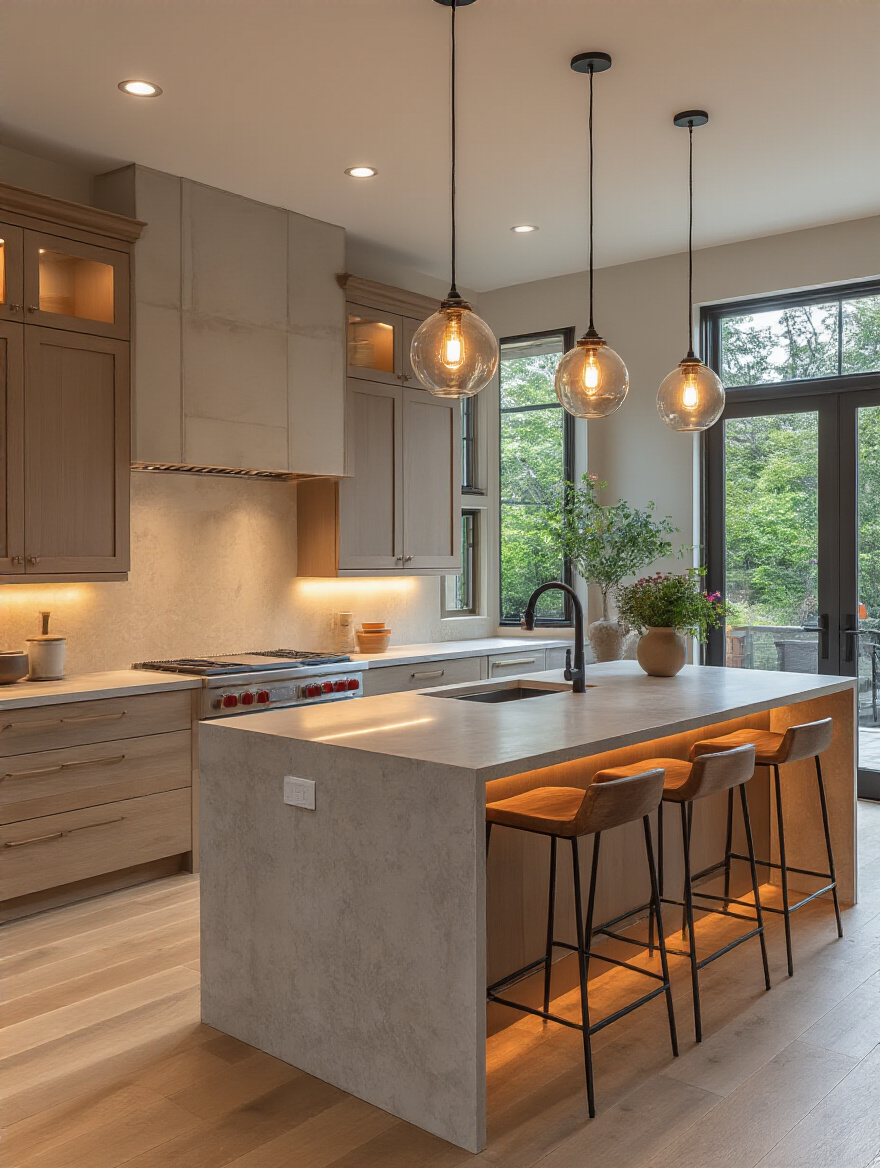
Pendants are the jewelry of the kitchen. They are your chance to add personality and style, but they also have to work hard. They provide critical task lighting for your island or peninsula, which is often the primary prep space in modern kitchens. Choosing the right size and hanging them at the right height is everything.
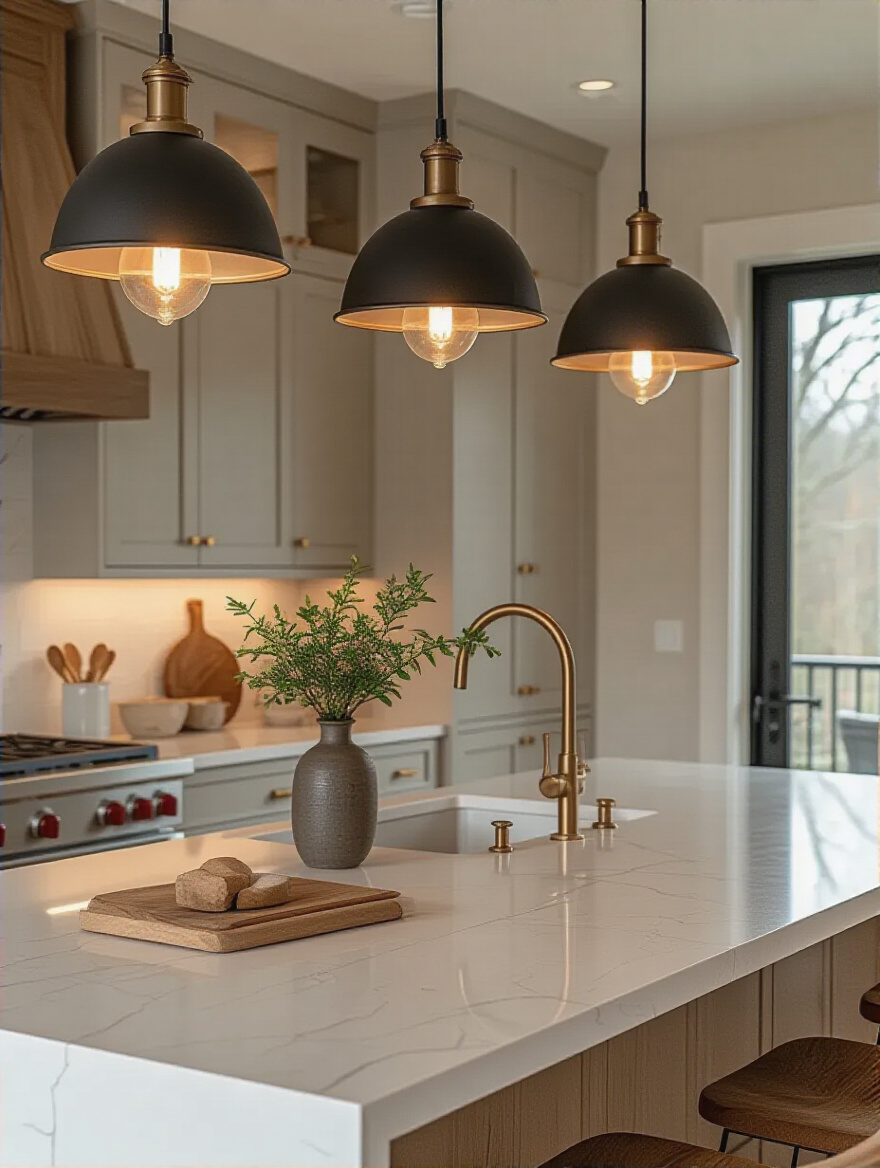
Here’s the shortcut you need: the bottom of your pendants should hang about 30 to 36 inches above the countertop. This is low enough to light your workspace but high enough that it doesn’t block your line of sight when you’re talking to someone across the island. And a little design trick? For a long island, use an odd number of pendants, like three. It’s almost always more visually pleasing than an even number.
With our workhorse fixtures in place, we can round out the plan with a few more key players. These lights help fill in the gaps and add that final layer of polish that makes a kitchen feel truly complete and professionally designed.
Core Fixture Selection & Practical Implementation Techniques (Part 2)
11. Implement Recessed Lighting for Seamless General Illumination
Let’s talk a little more about those recessed lights. They are the quiet, hardworking background singers of your kitchen lighting plan. Their job is to provide smooth, even light without drawing any attention to themselves. They keep the space feeling open and uncluttered, especially in kitchens with lower ceilings.
The big mistake I see is people laying them out in a rigid, perfect grid across the entire ceiling, like you’d see in a commercial office. Don’t do that. Your kitchen isn’t an empty square. Place recessed lights where you actually need them: over main walkways, in front of the refrigerator, and in front of tall pantry cabinets so you can see what’s inside. Function should always dictate placement.
12. Explore Decorative Fixtures to Complement Your Kitchen’s Aesthetic
Beyond the hardworking pendants over the island, you might have other opportunities for decorative lighting. This is your chance to really make a statement. Do you have a breakfast nook? A beautiful chandelier can define that space and make it feel special. Have a blank wall between two windows? A pair of stylish sconces can add a touch of elegance and a soft, flattering glow.
Just remember that the main job of these fixtures is to be beautiful. Don’t rely on a decorative chandelier to provide all the functional light for your dining table. It’s there to create ambiance and serve as a focal point. It should be supported by other layers, like recessed lights on a separate dimmer, to do the heavy lifting when you need more brightness.
Now that we’ve chosen the lights, it’s time to talk about controlling them and adding those extra touches that take a design from good to great. This is where we fine-tune the aesthetics and add a layer of intelligence to make your kitchen lighting effortless to use.
Aesthetic Enhancement & Advanced Controls for Dynamic Kitchens (Part 1)
13. Coordinate Fixture Finishes and Styles
This seems obvious, but it’s easy to get wrong. A kitchen with too many competing metal finishes can look cluttered and chaotic. The simplest rule is to choose one dominant metal finish and stick with it for most of your fixtures. For instance, if your cabinet hardware and faucet are brushed brass, choose pendants and sconces in a similar brushed brass finish.
This doesn’t mean everything has to match perfectly! You can introduce a secondary accent finish in a subtle way. For example, in a kitchen with mostly matte black hardware, you might have a chandelier over the table with both black and antique brass elements. Just don’t go for black, brass, chrome, and bronze all in the same small space. It’s the visual equivalent of too many people talking at once.
14. Optimize Pendant Heights to Prevent Glare
We talked about the 30-36 inch rule for hanging pendants, but here’s why it’s so important: glare. If a pendant is hung too low, you’ll be staring right into a bare bulb while you’re trying to have a conversation. If it’s hung too high, the light will spill out everywhere and you’ll get a distracting glare off your countertops.
I once had a very tall client who insisted on hanging his island pendants higher than I recommended. The first time he had friends over, everyone was complaining about the glare because the light source wasn’t properly shielded from their line of sight. We ended up lowering them two weeks later. The shortcut: Before the electrician makes the final cut, have someone hold the light at the proposed height while you sit and stand at the island to make sure it’s comfortable for everyone.
15. Use Accent Lighting to Highlight Architectural Features or Artwork
Accent lighting is all about creating mood and highlighting the things you love. It’s the secret weapon for making a kitchen feel custom and high-end. The easiest and most effective way to do this is with simple LED tape light. You can run it inside glass-front cabinets to make your glassware sparkle, or place it on top of your upper cabinets for a soft, uplighting glow.
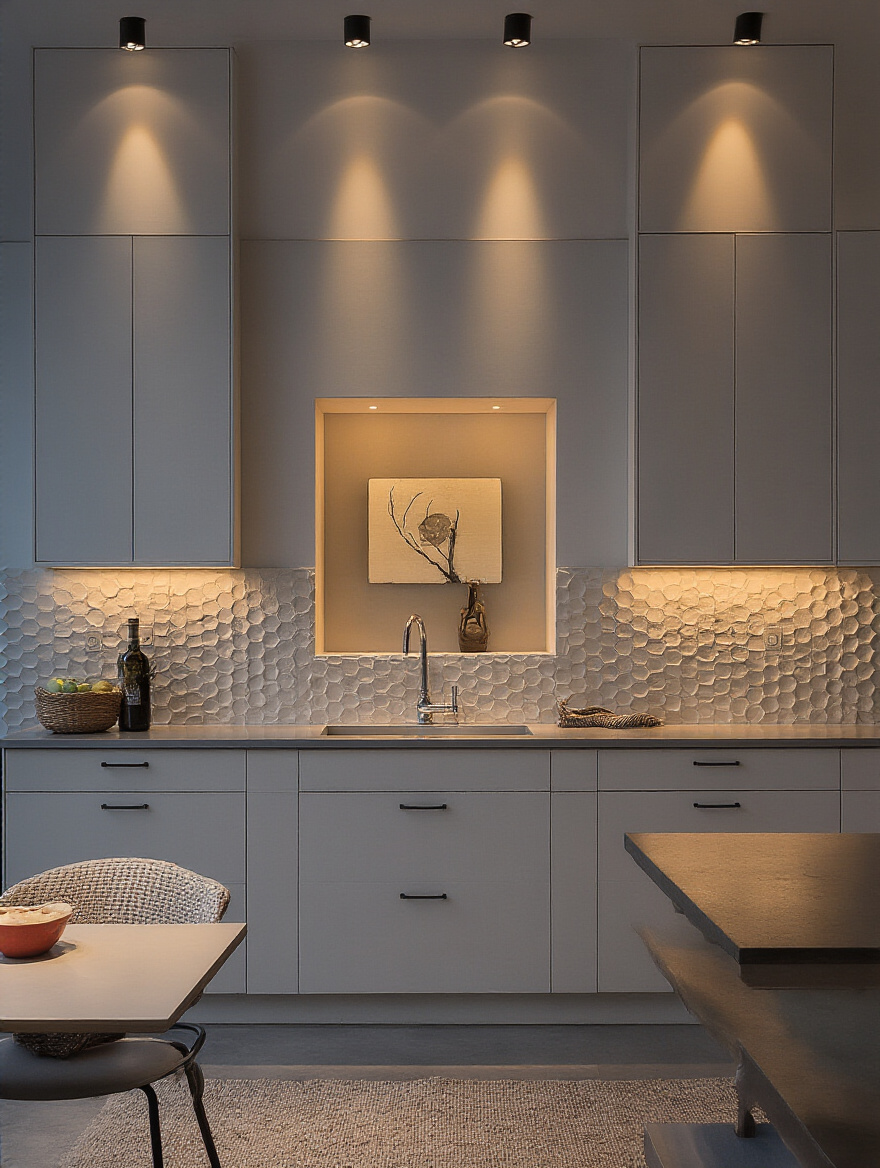
Another great spot is a toe-kick light. A hidden LED strip running along the base of your island or cabinets creates a beautiful floating effect at night. It’s also the perfect nightlight—just enough to see your way to the fridge for a midnight snack without having to turn on the blinding overheads. It’s a small detail that makes a huge impact.
16. Integrate Smart Lighting Systems for Personalized Control
I used to think smart lighting was just a gimmick. Then I designed a kitchen for a busy family with young kids and it was a total game-changer. Instead of fumbling with four different dimmer switches, they could just say, “Hey Google, set the kitchen to cooking mode,” and instantly, the under-cabinet lights and island pendants would go to full brightness while the rest of the lights stayed soft.
You can create “scenes” for everything: “homework time,” “dinner party,” or “relax.” It makes using your beautiful, layered lighting system completely effortless. You don’t need to be a tech wizard, either. Systems like Lutron Caséta are incredibly user-friendly and can be controlled from a simple switch on the wall, an app on your phone, or your voice. It’s the ultimate in convenience.
Let’s lock in that control and ensure your lighting not only looks good on day one, but continues to work beautifully for years to come. These final points are about maximizing the flexibility and longevity of your investment.
Aesthetic Enhancement & Advanced Controls for Dynamic Kitchens (Part 2)
17. Install Dimmers on All Circuits
This is my other non-negotiable rule, right alongside under-cabinet lighting. Every single light in your kitchen should be on a dimmer. Every. Single. One. There is absolutely no reason not to do it. Dimmers give you the power to completely change the feel of your room in a split second.
Your kitchen needs to be a bright, functional workspace for cooking, but it also needs to be a relaxing place for a quiet glass of wine at the end of the day. Without dimmers, you’re stuck with one setting: ON. With dimmers, you can fine-tune the intensity of each layer of light to create the perfect ambiance for any occasion. It’s the single most cost-effective way to add versatility and a touch of luxury to your kitchen.
18. Account for Open-Concept Layouts to Ensure Cohesive Lighting Flow
So many of us have open-concept homes where the kitchen flows right into the dining and living areas. If that’s your setup, you can’t just stop your lighting plan at the edge of the kitchen. You have to think about how all the spaces will work together. Nothing is more jarring than having bright, cool-white task lights in the kitchen spilling into a living room with a warm, cozy lamp.
The key is to create a cohesive feeling across the entire space. Use a consistent color temperature for the ambient (recessed) lighting throughout the kitchen, dining, and living zones. Then you can use fixtures to define each area—pendants over the island, a chandelier over the dining table, and floor lamps in the living room. Everything should be on separate dimmers so you can adjust the zones independently, but the overall quality of the light should feel connected and harmonious.
Finally, let’s talk about making smart choices that will save you money and headaches in the long run. A great lighting plan isn’t just about how it looks today, but how it performs and adapts over the next twenty years.
Efficiency, Longevity & Future-Proofing Your Kitchen Lighting (Part 1)
19. Prioritize LED Bulbs for Energy Efficiency and Extended Lifespan
At this point, using anything other than LED bulbs is like choosing a flip phone over a smartphone. The technology is just better in every way. LEDs use a tiny fraction of the energy of old incandescent bulbs, which saves you a surprising amount on your electricity bill over time. Plus, they last for years—sometimes decades—meaning you won’t be climbing up on a ladder to change a burnt-out bulb over your island every six months.
But here’s the thing everyone gets wrong: not all LEDs are created equal. Pay attention to two things. First, make sure they are “dimmable” and compatible with your dimmer switch to avoid flickering. Second, look for a high “CRI” (Color Rendering Index) of 90 or more. This just means the light will make colors look true and vibrant. A low CRI can make your beautiful steak look dull and grey, and nobody wants that.
20. Regularly Clean Light Fixtures and Bulbs
This is the most boring tip on the list, but it might also be the most practical. Kitchens are greasy, dusty places. A fine layer of grime inevitably builds up on your light fixtures, especially those near the stove. That film can block a surprising amount of light—sometimes as much as 30%!—making your kitchen feel dim and forcing you to crank up the brightness.
Once or twice a year, take a few minutes to wipe down your bulbs and fixtures (with the power off, of course!). You will be shocked at how much brighter the room feels afterward. It’s a free, easy way to maintain the quality of your lighting and ensure you’re getting every lumen you paid for.
21. Understand Lamp Base Types and Wattage Limits
This is a critical safety tip. Always check the sticker inside your light fixture for the maximum wattage allowed. While an LED bulb might only use 9 watts of power, it will be marketed as a “60-watt equivalent.” You need to pay attention to the actual wattage (the 9 watts), not the equivalent. Overloading a fixture with a bulb that draws too much power is a serious fire hazard.

Also, get familiar with the different bulb base types. The standard screw-in base is an “E26,” but you might also have smaller “E12” candelabra bases or two-pin “GU10” bases in your track or recessed lighting. Taking a quick photo of the bulb and the info on it before you go to the store will save you from making a frustrating second trip.
22. Future-Proof Your Design by Including Sufficient Circuits
This is my big “I wish I’d known” tip for anyone doing a major renovation. Last year, I had a client who had just finished a beautiful remodel. Six months later, they wanted to add lighted cabinets and toe-kick lighting. But the electrician had only run one circuit for all the kitchen lights, and it was already at its maximum load. Adding the new lights required tearing open the ceiling to run a new wire from the electrical panel. It cost them over $2,000 to do something that would have cost less than $200 if it had been planned from the start.

When your walls are open, adding an extra circuit or two is incredibly cheap. Always plan for more electrical capacity than you think you need. Technology changes, and you might want to add more in the future. Give yourself the option to expand without having to call in the drywall crew again.
Finally, knowing how to handle little hiccups and when to call in the cavalry is key to living happily with your new lighting for years to come. Let’s wrap up with the last few pieces of practical advice.
Efficiency, Longevity & Future-Proofing Your Kitchen Lighting (Part 2)
23. Troubleshoot Common Lighting Issues: Flickering, Dimming Problems, or Outages
If a light starts acting up, don’t panic. There are a few simple things you can check before calling an electrician. First, the old classic: is the bulb screwed in tightly? Second, if a light is flickering, it’s almost always an issue of an incompatible dimmer switch. An older dimmer designed for incandescent bulbs will often cause modern LEDs to flicker or hum. Swapping it for a new LED-compatible dimmer usually solves the problem instantly.
If an entire bank of lights goes out, check your circuit breaker first. If it keeps tripping, that’s a sign that the circuit is overloaded, and that’s when you absolutely need to call a professional. Don’t just keep resetting it. That’s your home’s safety system telling you something is wrong.
24. Consider Professional Lighting Design Consultation for Complex Projects
I know it might seem self-serving, but for a big, complex project, hiring a lighting designer can actually save you money. We know which fixtures give the best light for the best price, how to solve tricky architectural challenges (like vaulted ceilings or strange layouts), and how to plan an electrical layout that will prevent those costly mistakes down the road.
A good designer doesn’t just pick pretty lights; they create a cohesive, technical plan that ensures your kitchen is both beautiful and perfectly functional. It takes the guesswork out of the process and is often the final puzzle piece that pulls an entire kitchen renovation together, ensuring the end result is as wonderful in reality as it was in your imagination.
Conclusion
See? It’s not so complicated when you break it down. Great kitchen lighting is about thoughtful layers that serve the many ways you live in your space. It’s the silent partner that makes your daily tasks easier and your special occasions more memorable. It transforms a collection of cabinets and appliances into the true heart of your home. So don’t let it be an afterthought. Give your lighting the attention it deserves, and I promise, your kitchen will thank you for it every single day.


