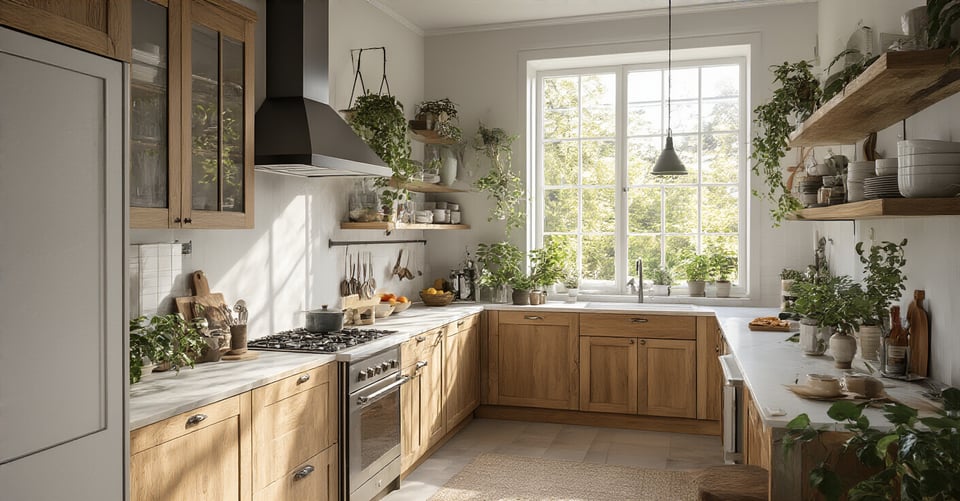
Can we talk about the biggest lie in home renovation? It’s the idea that for your kitchen to be the heart of the party, you need to bulldoze it to the studs and spend a fortune. That a dated kitchen is a vibe-killer. That’s absolute nonsense. Your kitchen is already the social hub. It’s where everyone gathers, leans against the counter, and tells their best stories. The goal isn’t to build a new room; it’s to make the room you have the absolute best backdrop for those moments.
As someone who designs entertainment spaces for a living, I’ve learned that the best parties happen in spaces that feel personal, comfortable, and inviting—not necessarily the ones with the most expensive Italian marble. You don’t need a $60,000 gut job. You need smart, high-impact changes that make your space look amazing, function brilliantly for a crowd, and feel like you. Forget the corporate speak and the soul-crushing price tags. Here are the real-world shortcuts to getting a kitchen that’s ready for any party you throw at it.
Phase 1: Foundational Planning for Style & Savings
Look, I know this is the “eat your vegetables” part of the project, but I promise you, getting this right saves you from so much pain and suffering later. This is where you outsmart the project, set your financial guardrails, and make a plan that turns your vision into a reality without any of those awful mid-project “uh-oh” moments.
1. Pinpoint Your Dream kitchen style (Without Paying a Designer)
Before you touch a single thing, you need to know what you’re aiming for. This isn’t about being a professional designer; it’s about defining the vibe. What’s the mood you want for your gatherings? Cozy and rustic? Sleek and modern? Spend a few weeks on Pinterest or Houzz, but don’t just pin pretty pictures. That’s rookie stuff. You’re a detective now. Look for the patterns. Are you consistently pinning white Shaker cabinets? Dark hardware? Warm wood tones? That’s your roadmap.
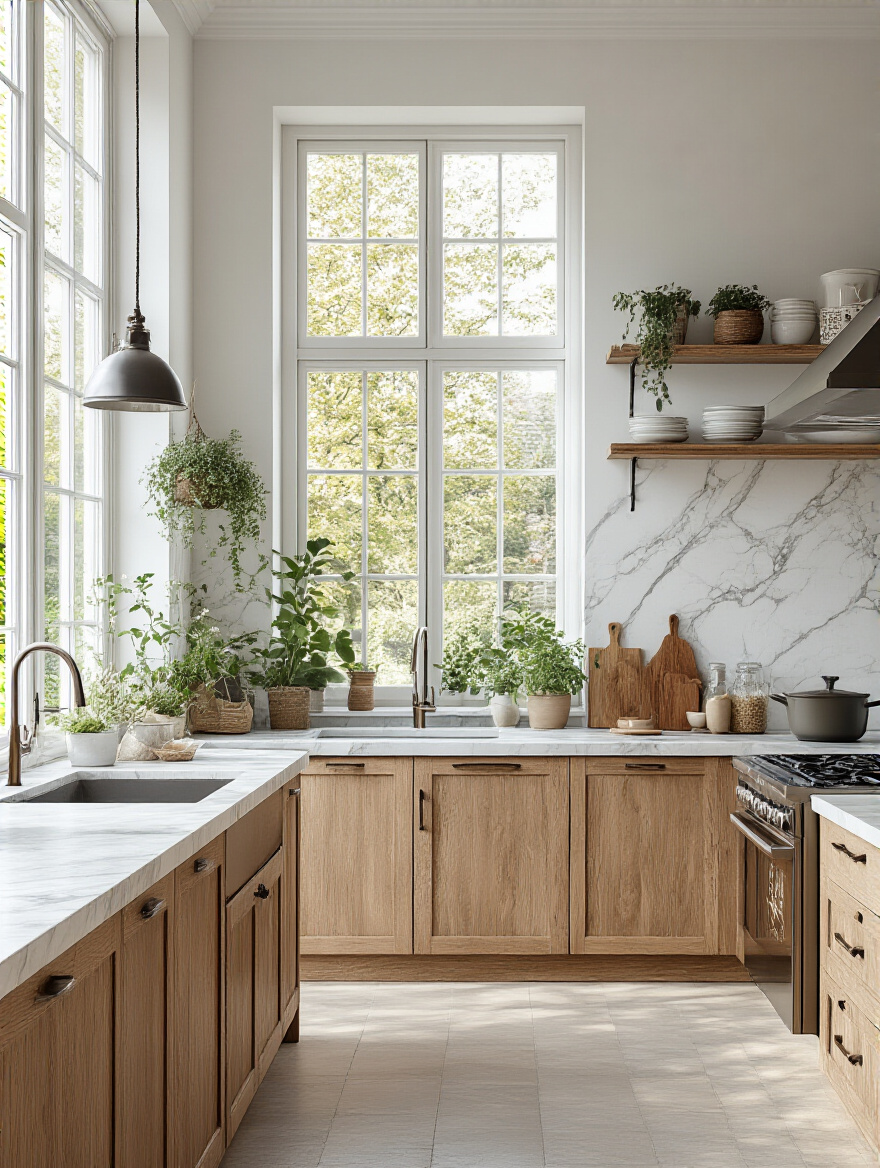
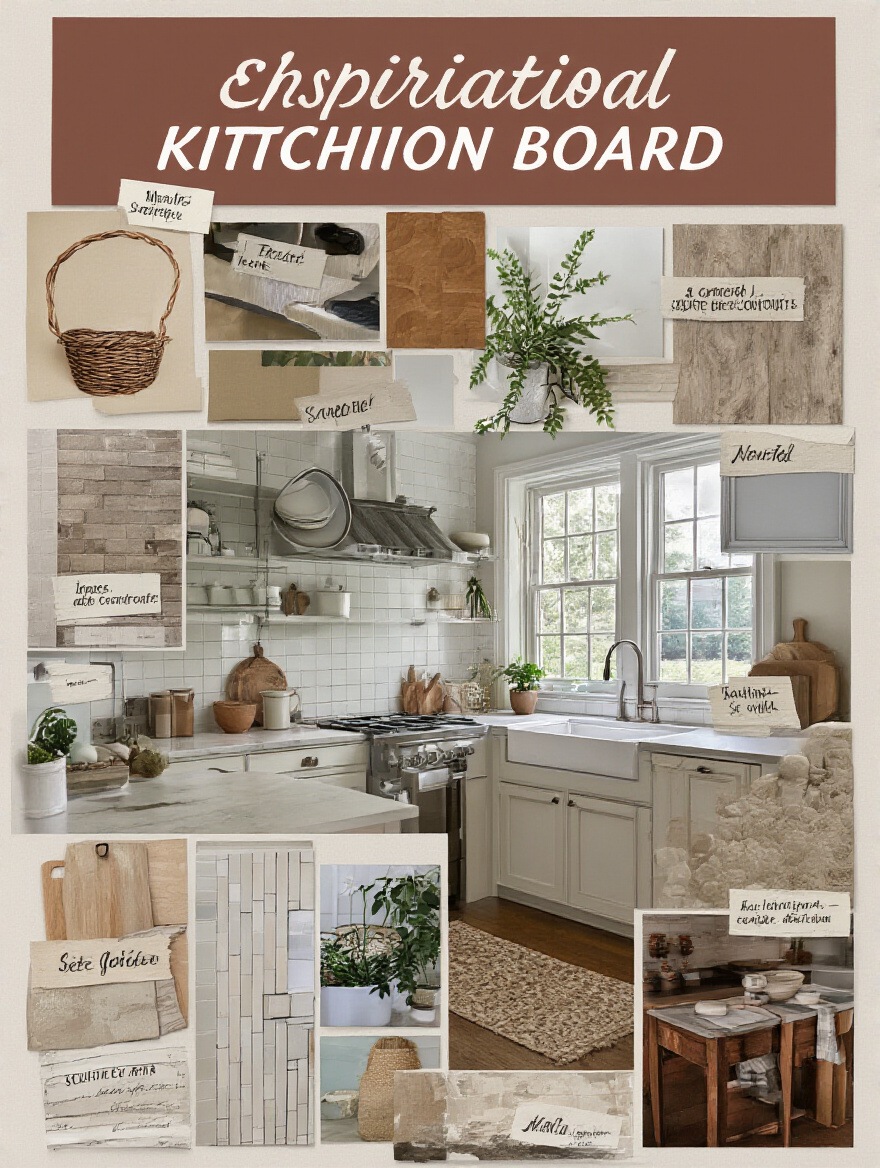
I once had a client who skipped this step. They just started buying things they liked. The result was a weird Frankenstein’s monster of a kitchen—part industrial, part farmhouse, part disco ball. It was a mess, and they ended up re-buying half of it. Don’t be that person. Make a mood board—digital or physical—with your recurring themes. Name your style, like “Cozy Industrial” or “Minimalist Modern.” This is your North Star. It makes every other decision a thousand times easier and cheaper.
Time for the cold, hard cash conversation.
2. Create a Realistic Budget for a Smart Overhaul
Everyone will tell you to make a budget. What they don’t tell you is how to make one that doesn’t immediately implode. First, list everything you want to change, from paint to appliances. Then, research real costs for each item, ruthlessly dividing them into “Must-Haves” and “Nice-to-Haves.” This gives you focus and flexibility. The real secret weapon, though? The contingency fund.
And please, don’t just add 10%. That’s a myth. Your contingency fund should be a non-negotiable 15-20% of your total budget. This isn’t “if something goes wrong” money; it’s “when something goes wrong” money. Because you will open a wall and find weird plumbing. You will discover a layer of hideous linoleum nobody knew existed. That fund is what keeps your project from grinding to a halt and turning into a source of pure stress. A well-planned budget, with a beefy contingency, is the difference between a fun project and a financial nightmare.
Now that you know what you want and what you can spend, let’s figure out what you already have.
3. Inventory Your Existing Layout to Maximize Savings
This is the biggest shortcut in the book. Before you dream of moving walls, ask yourself: what can I keep? Your goal is to work with your kitchen’s current “bones” as much as possible. Are the cabinet boxes solid, even if the doors are hideous? Keep them. Is the layout basically functional? Don’t change it. The biggest budget-killer, the absolute black hole of renovation costs, is moving plumbing and electrical.

The moment you decide to move the sink across the room, you’ve just lit thousands of dollars on fire. Seriously. It involves plumbers, electricians, permits, and patching drywall. It’s a massive domino effect of expenses. Instead, map out where your utilities are and design around them. A friend saved nearly $5,000 on her remodel simply by deciding not to move her dishwasher two feet to the left. That money went into show-stopping countertops and lights—things people actually see and appreciate.
Let’s get all these ideas organized visually.
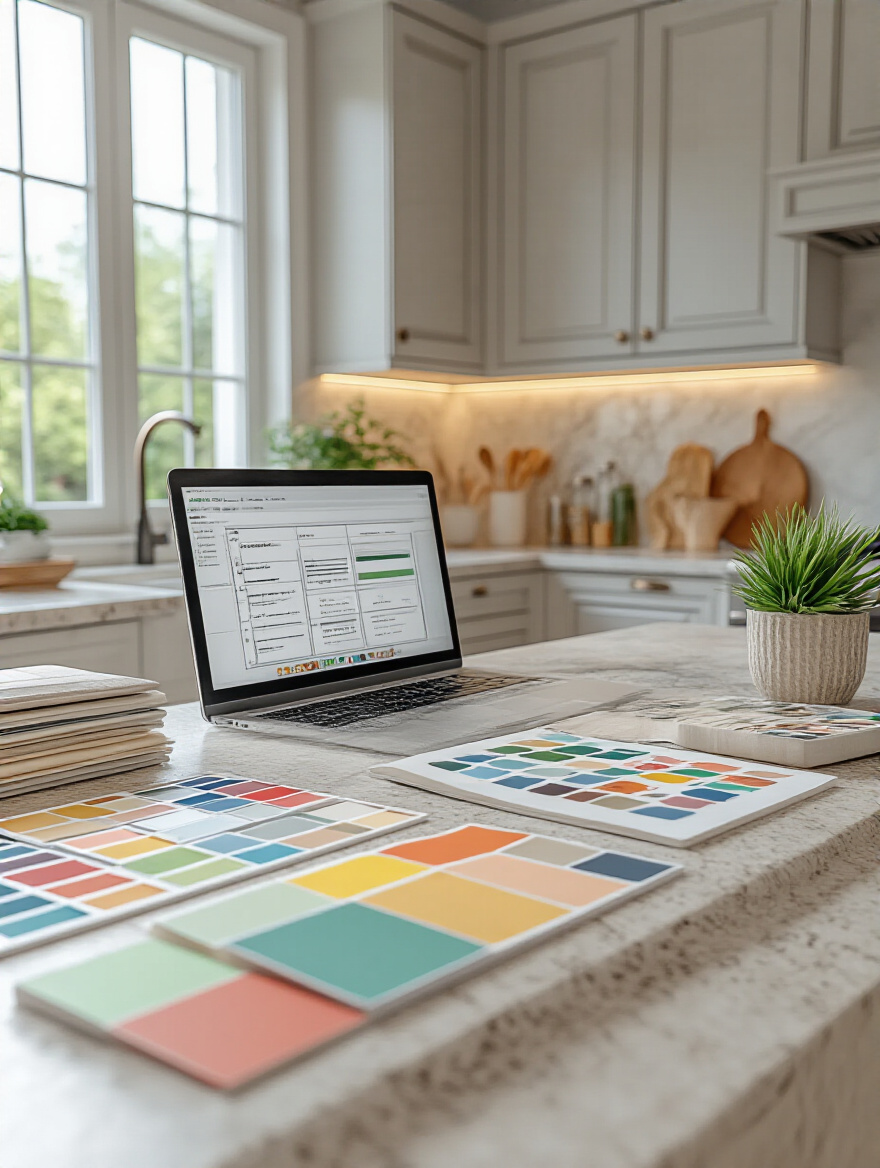
4. Master the Art of Thrifty Digital Inspiration Boards
Okay, you’ve got your style and you’ve done your inventory. Now, let’s make it real without spending a dime. Pinterest is great for collecting ideas, but it’s a chaotic mess for actual planning. Use a tool like Canva or Milanote to create a real, organized mood board. Create sections: “Cabinets,” “Backsplash,” “Lighting,” etc. This keeps you focused.
Here’s the pro-level trick that separates the amateurs from the pros: for every expensive, high-end item you love, find a budget-friendly alternative and put them side-by-side on your board. Love that $10,000 marble slab? Great. Now find the best-looking marble-effect laminate or epoxy kit and pin it right next to the real thing. This single habit trains your eye to see value and style, not just price tags, and it’s how you get that designer look for a fraction of the cost.
Phase 2: Strategic Surface & Material Transformations
This is the fun part. Phase 2 is all about getting the most visual bang for your buck. We’re talking about the big surfaces that define the look of your kitchen. With a little elbow grease and some smart material choices, you can make your kitchen look like it had a full-blown celebrity makeover.
5. Transform Cabinet Doors with a Pro-Level Paint Finish
Painting your cabinets is, without question, the single most transformative thing you can do on a budget. But there’s a huge difference between a DIY paint job and one that looks like it came from the factory. The secret isn’t the paint—it’s the prep. Seriously, it’s 90% preparation. You have to remove the doors, clean every surface with a degreaser (TSP is your friend), sand everything, fill any dings, and—this is non-negotiable—use a high-adhesion primer.
The biggest mistake people make is using regular wall paint. Don’t do it! It will chip and peel in months. You need a specialty cabinet paint, like a urethane-modified alkyd enamel. It levels out to a harder, more durable finish. And be patient. Let the paint cure for as long as the can says, sometimes up to a week, before you re-install everything. Rushing this step means you’ll have chipped, sad-looking cabinets before your first party.
Now that the cabinets look sharp, let’s tackle that backsplash.
6. Install a Peel-and-Stick Backsplash for an Instant Wow Factor
If you want instant gratification, this is your hack. Peel-and-stick backsplashes have gotten so good, they can easily pass for real tile from a distance. You can completely change the look of your kitchen in a single afternoon for under $200. The key to making it look good and last? Again, it’s all in the prep. The wall has to be spotlessly clean, smooth, and dry. Any grease or grit will cause the tiles to fail.
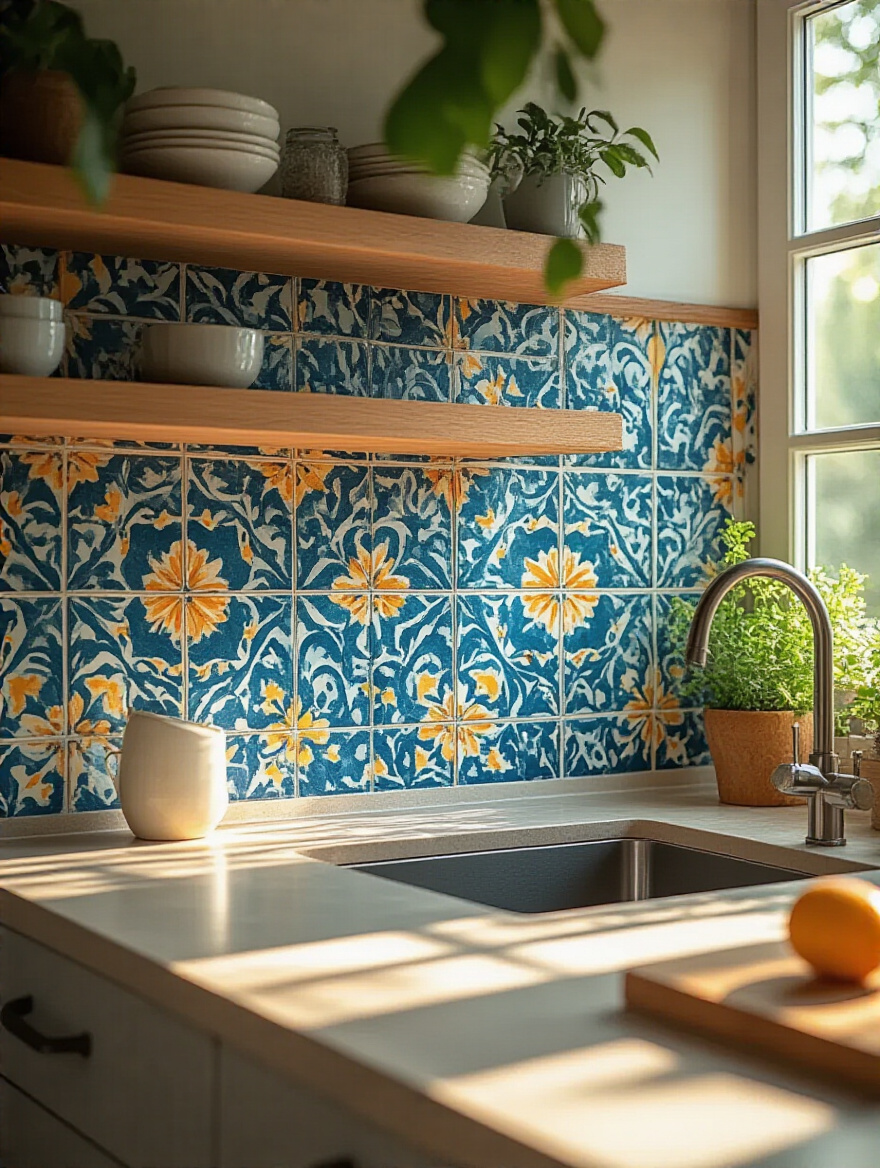
Here’s the tip you won’t see on the box: once everything is installed, run a thin bead of clear silicone caulk along the bottom edge where the backsplash meets the countertop, and around the sink area. This tiny step is your insurance policy. It seals out moisture, prevents the edges from curling up over time, and gives the whole thing a much more professional, finished look. It’s the difference between it looking like a temporary fix and looking like an intentional design choice.
With the walls looking fresh, let’s talk about the biggest workhorse in your kitchen.
7. Upgrade Countertops Affordably with a Clever Overlay Kit
Brand new countertops are amazing, but they can eat half your budget. Countertop overlay kits—like epoxy, concrete, or paint systems—are the answer. These let you resurface your existing laminate or tile for a few hundred bucks, giving you the look of stone or marble without the cost or the mess of demolition. But this is a project where you absolutely cannot cut corners.
I had a buddy try this. He eyeballed the epoxy mixture and didn’t prep the surface properly. The result was a sticky, bubbly mess that was worse than the 70s laminate he started with. You must follow the instructions to the letter. Clean, sand, and then clean again. Use a kitchen scale to measure the components exactly. When done right, it looks incredible. When done wrong, it’s a disaster. The reward is huge, but so is the risk if you’re lazy with the prep.
Let’s look down at the foundation of the room.
8. Resurface Your Flooring with a Budget-Friendly Style Shift
Tearing out old kitchen flooring is a dusty, miserable, and expensive job. The good news? You probably don’t have to. As long as your existing floor is level and in decent shape, you can often lay new flooring directly on top. The hero of this story is Luxury Vinyl Plank (LVP). It looks like wood, it’s 100% waterproof (perfect for kitchens), it’s super durable, and it clicks together right over many existing floors.
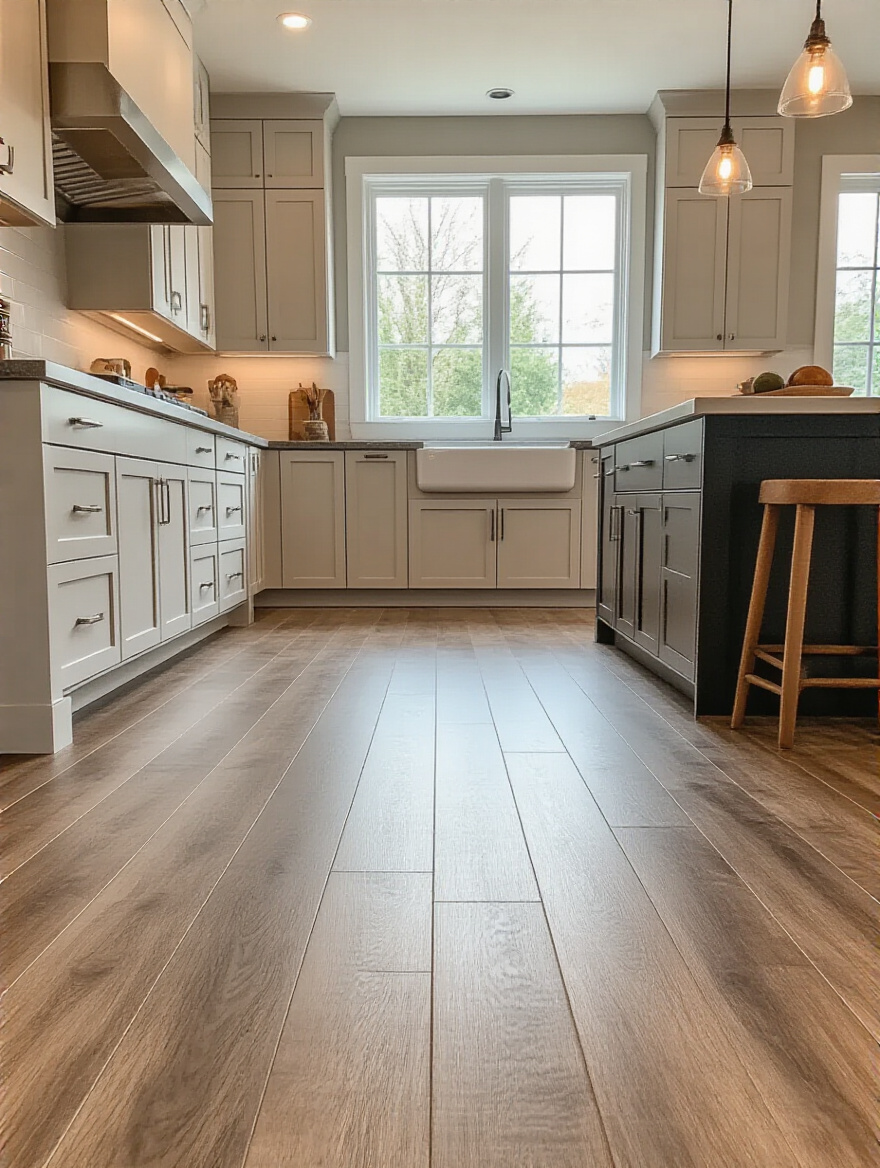
While super-cheap peel-and-stick vinyl tiles can be tempting, they often look, well, cheap. And they can telegraph any imperfections from the floor underneath. LVP is a step up in both quality and appearance, giving you a much more substantial and high-end feel for a fraction of the cost and hassle of a full tear-out. It’s one of those upgrades that completely changes the feel of the room from the ground up.
Time for the finishing touches on those cabinets.
9. Choose Affordable Hardware to Instantly Elevate the Cabinets
Think of cabinet hardware as the jewelry of your kitchen. You can have a simple outfit, but the right watch or necklace makes it look expensive. Same here. Swapping out dated, cheap hardware is the fastest, cheapest, and easiest upgrade on this entire list. You can do the whole kitchen in an afternoon for under $150 and it will look like a million bucks.
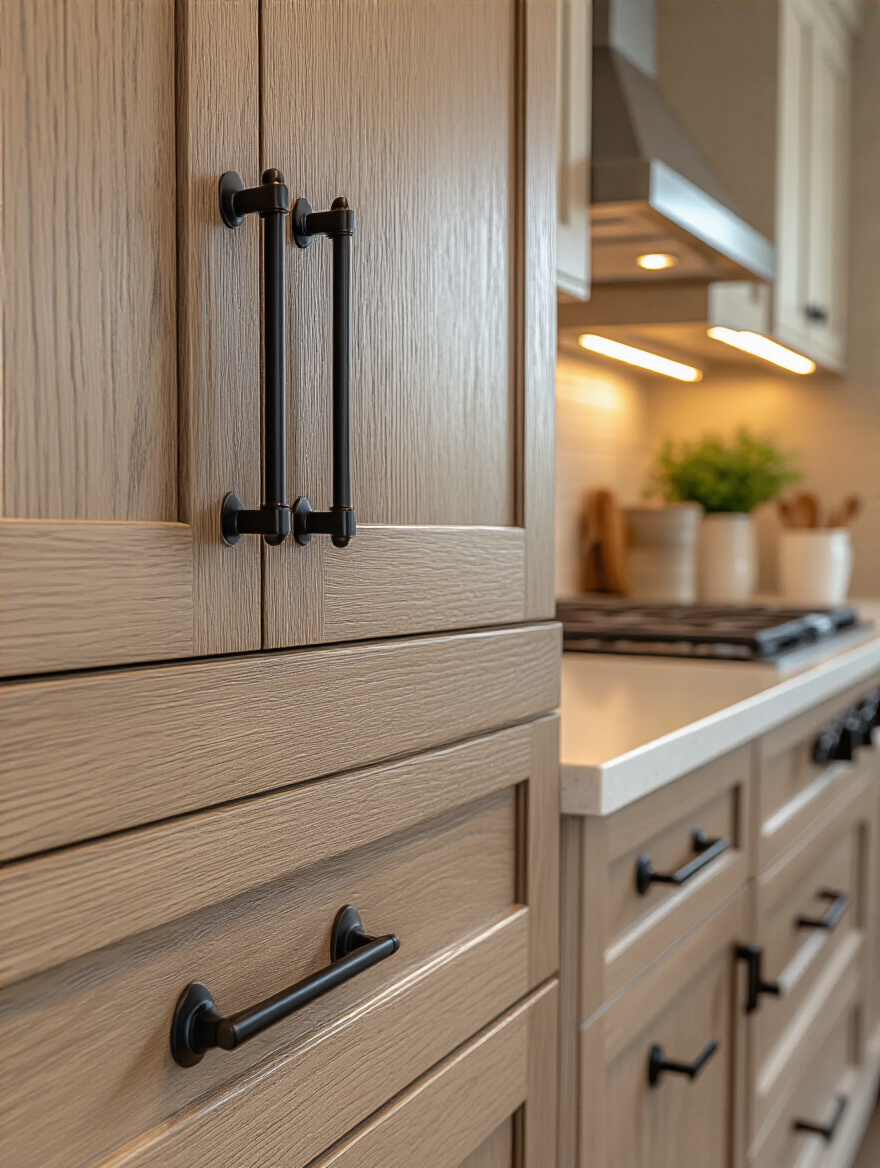
The single most important tip: measure the center-to-center screw hole distance on your existing pulls before you buy anything. This ensures your new hardware will fit the old holes, saving you from the nightmare of having to fill old holes and drill new ones. Go online and buy in bulk. Places like Amazon Basics or other hardware websites offer huge packs of stylish pulls for a fraction of what you’d pay per piece at a big-box store. This is maximum impact for minimum effort.
Phase 3: Creative Cabinetry & Storage Enhancements
Now that the surfaces look incredible, let’s get creative with how your kitchen actually functions and feels. These hacks are all about adding custom-looking features and smart storage solutions that make your kitchen work harder and look way more interesting.
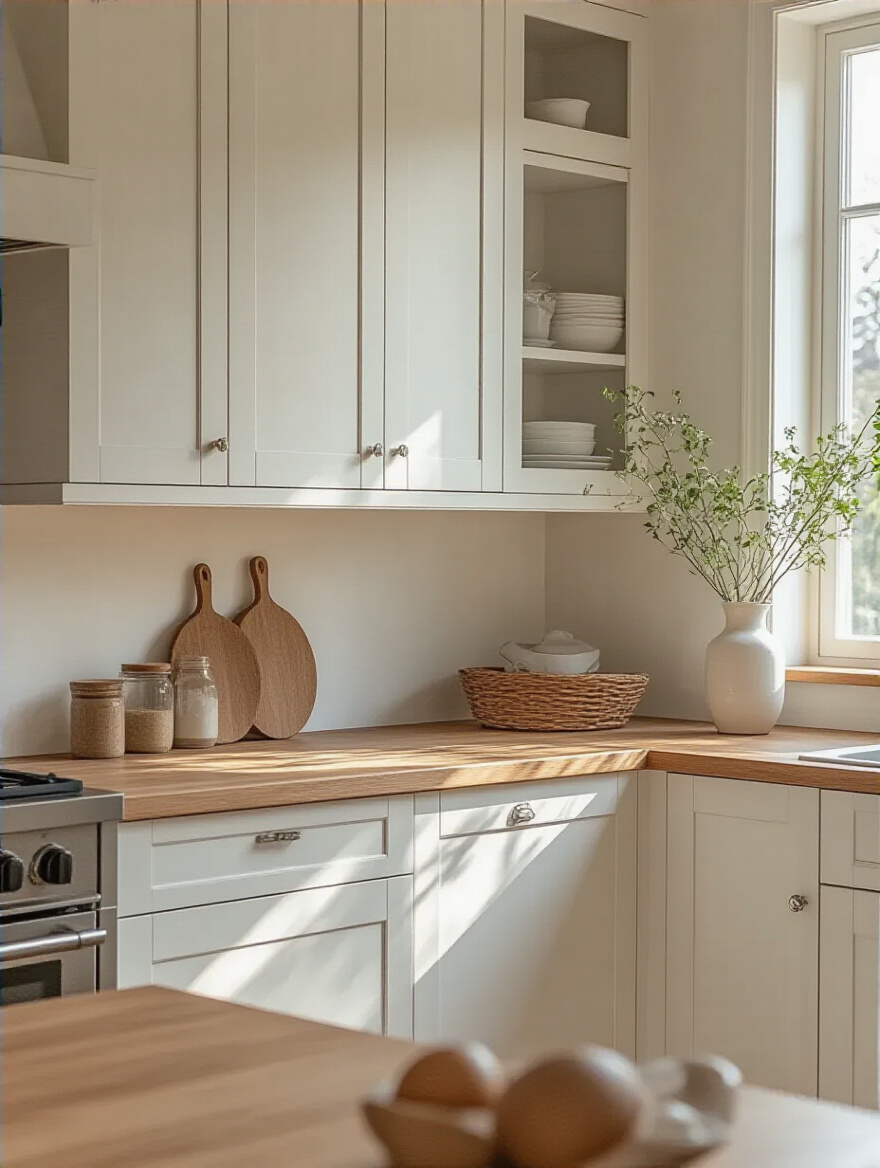
10. Convert Upper Cabinets to Chic open shelving
Bulky upper cabinets can make a kitchen feel dark and cramped, which is the last thing you want for a social space. A great hack is to pick a section of cabinets—maybe the ones flanking the stove or a window—and simply remove the doors. Voilà, instant open shelving! It immediately makes the space feel bigger, brighter, and more personal.
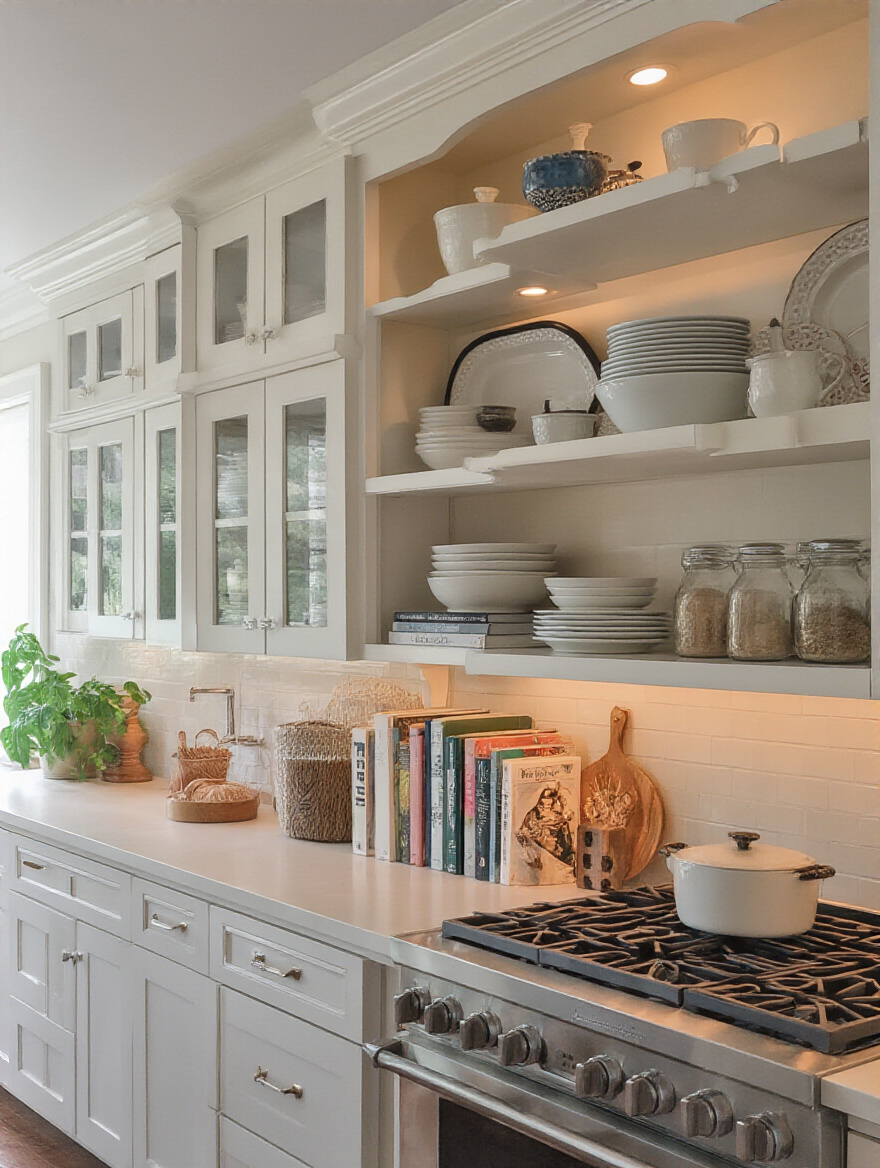
The secret to making this look intentional and not like you just broke your cabinet doors is to finish the interior. Fill and sand the hinge holes, then give the inside a fresh coat of paint. For a real pro move, line the back of the cabinet with a cool peel-and-stick wallpaper or a pop of contrasting color. This turns your everyday dishes into a curated display and makes the whole kitchen feel more dynamic and styled.
Let’s make sure the inside of your cabinets look just as good.
11. Refresh Old Cabinet Interiors with Stylish Liners
This is one of those details that people might not notice at first, but it screams “quality.” Opening a cabinet to find a clean, stylish liner instead of a scuffed, stained shelf just feels… luxe. It’s a tiny, inexpensive detail that has a huge psychological impact. It shows you care about the details, and it makes your kitchen feel truly finished.
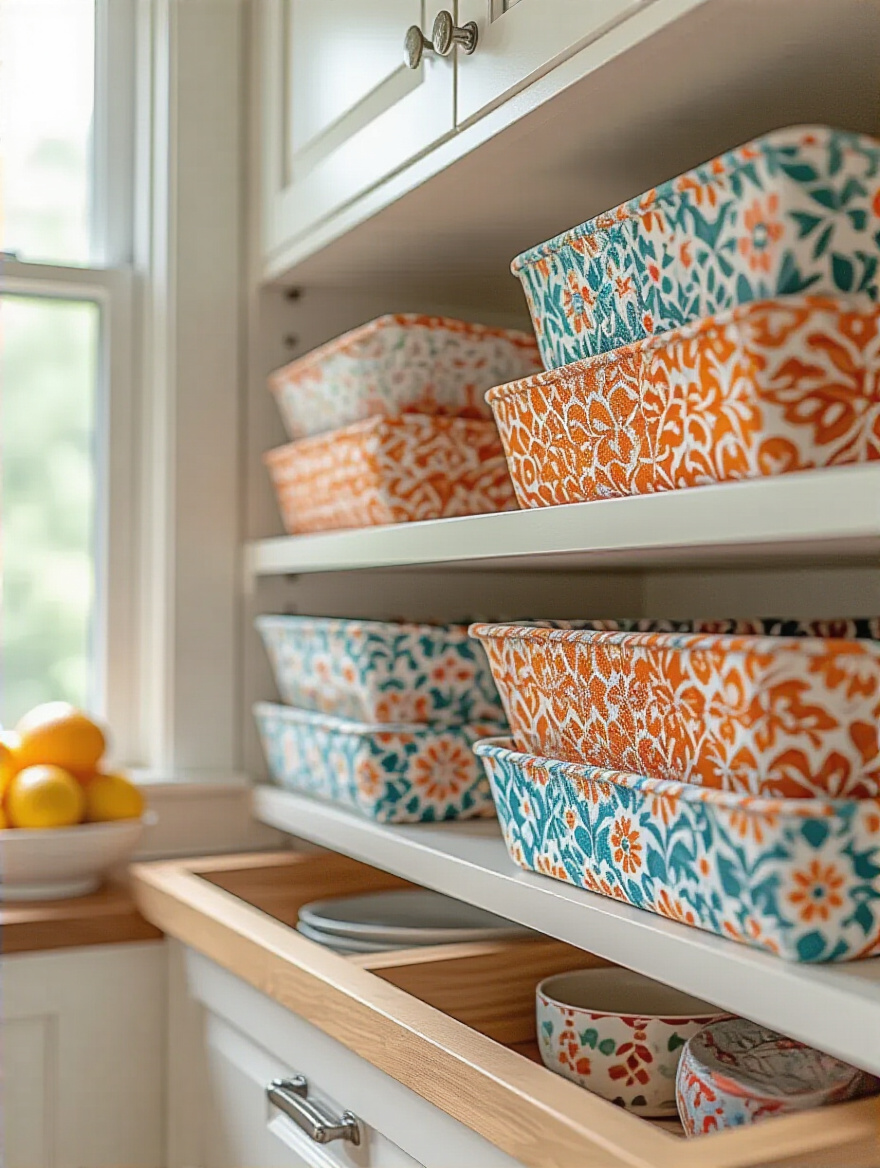
Plus, it’s practical. Liners protect your shelves from scratches and spills, and they make cleanup a breeze. Don’t just grab the boring white stuff. Find a cool pattern or a bold color that gives you a little burst of joy every time you reach for a glass. For non-adhesive liners, cut them just a tiny bit smaller than the shelf so they lay flat without buckling. It’s a 30-minute project that will make you smile for years.
Ready to add some more display space?
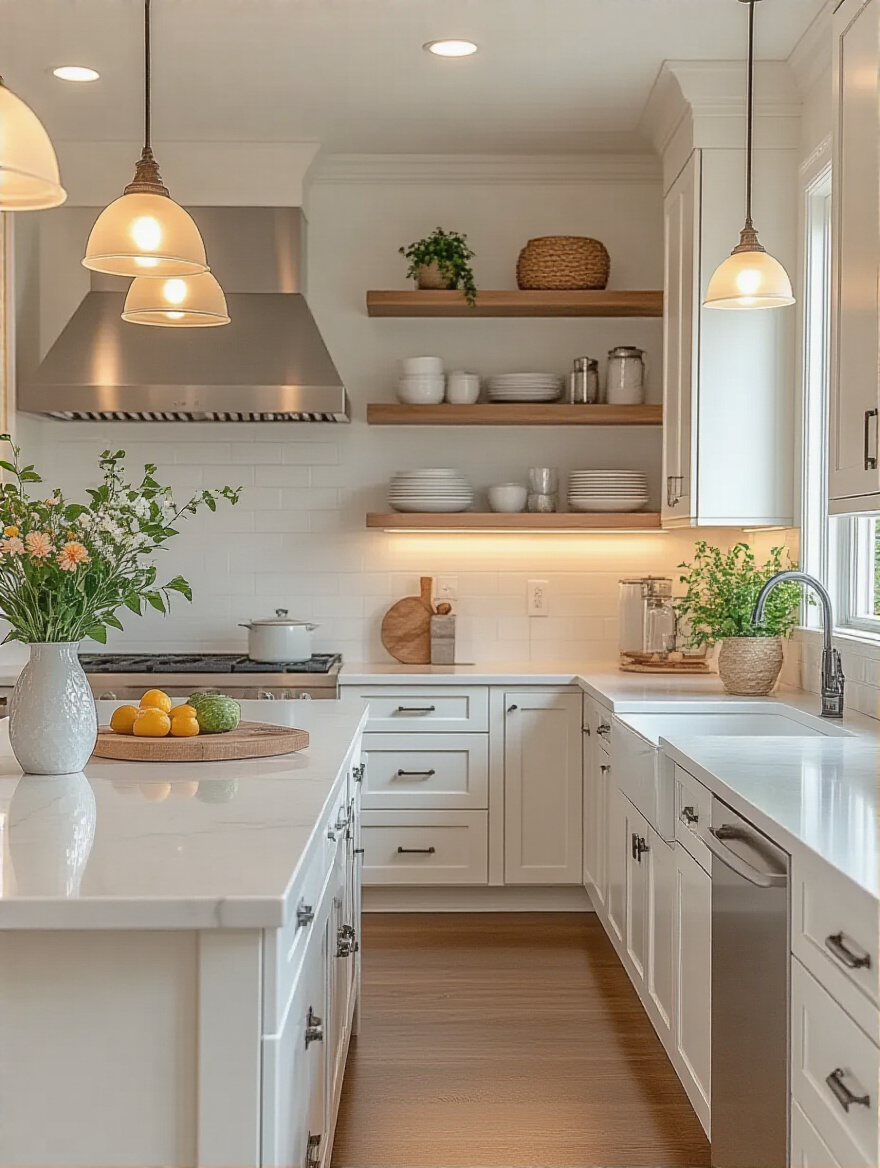
12. Build Budget-Friendly Floating Shelves for Added Storage
If you have a blank wall, you have an opportunity for storage and style. DIY floating shelves are a fantastic way to add display space for your favorite cookbooks, glassware, or plants. You can build them with basic pine boards from a hardware store and some simple brackets. The look is clean, modern, and keeps your most-used items within easy reach.
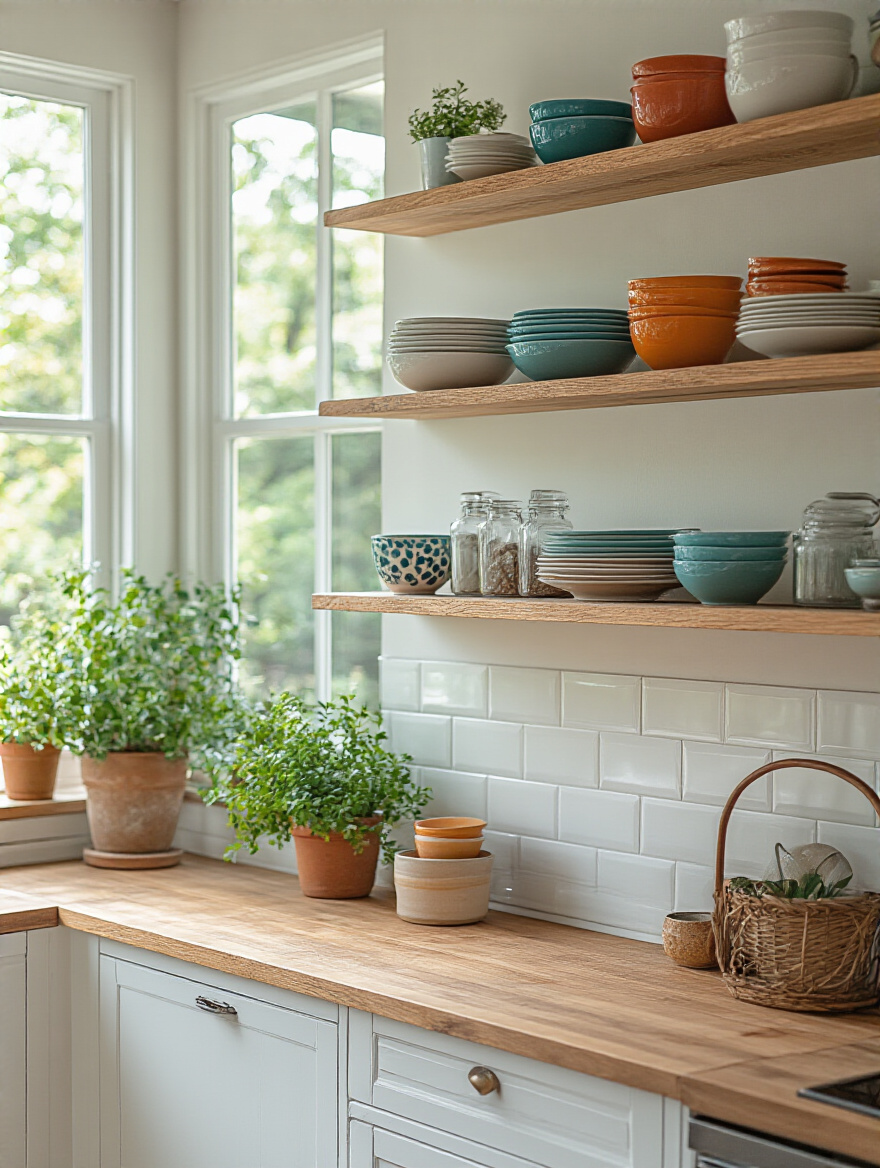
But please, for the love of all that is holy, use a stud finder. This is non-negotiable. Drywall alone will not hold a shelf loaded with heavy dishes. You must anchor your brackets directly into the wall studs. I’ve heard too many horror stories of shelves crashing down in the middle of the night. Do it right, and you’ll have beautiful, functional, and safe storage that adds character and utility.
Now for a piece with real soul.
13. Repurpose Vintage Furniture as a Unique Island
Stock kitchen islands can be expensive and a little… boring. Want a centerpiece with real character and a story? Go thrifting. An old dresser, a sturdy workbench, or a console table can be converted into an incredible, one-of-a-kind kitchen island. It adds instant personality and is often way cheaper and better-built than a new, flat-pack island.
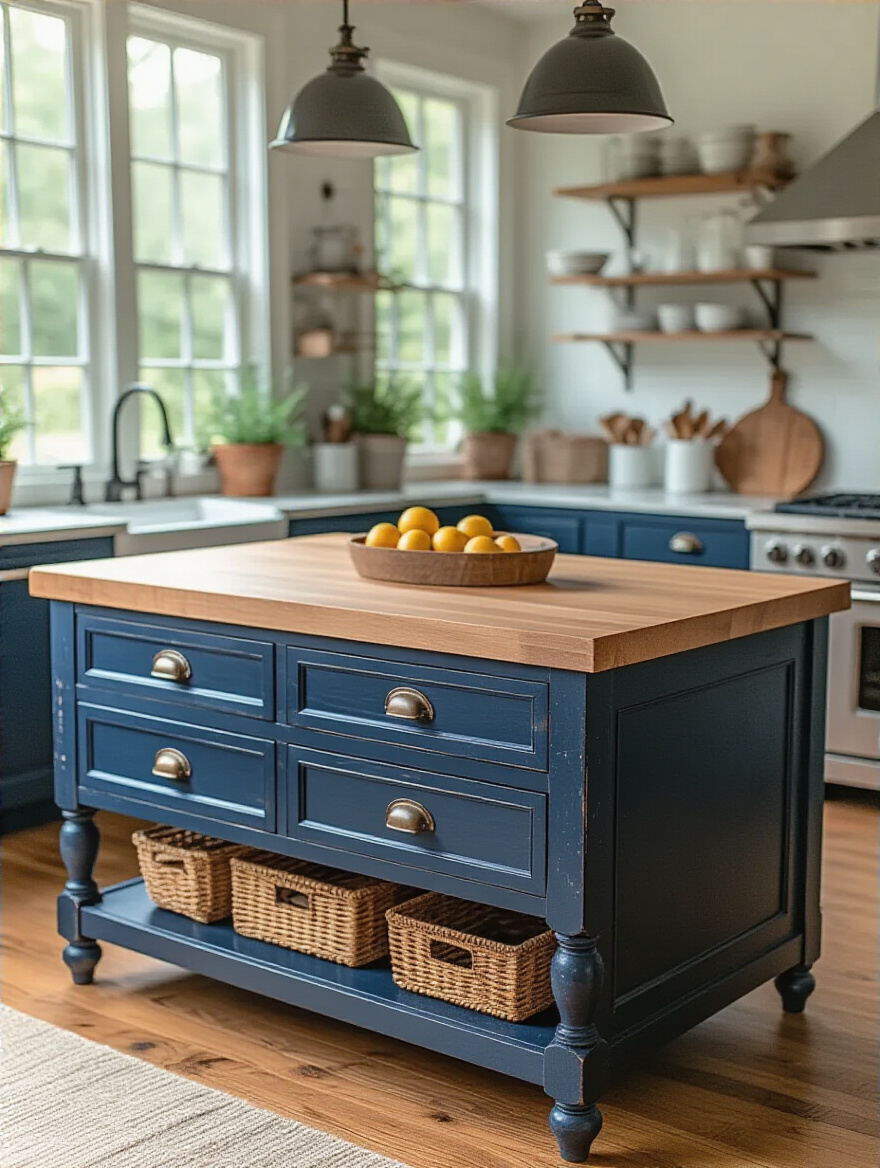
The key is getting the height and proportions right. You want it to be a comfortable working height (around 36 inches) and leave enough room for people to move around it—at least 36-42 inches of “dance space” on all sides is crucial for a party. Add a butcher block top, some fresh paint, new hardware, and maybe some locking casters for mobility, and you’ve got a functional work of art that will be a conversation starter at every gathering.
Phase 4: Impactful Lighting & Fixture Updates
If surfaces are the outfit, lighting and fixtures are the mood. This is where you can take a nice-looking kitchen and make it feel truly magical and high-end. Bad lighting can kill even the most beautifully designed room, so don’t skip this. These updates are relatively cheap but have an outsized impact on the vibe.
14. Replace Outdated Fixtures with Modern Budget Lighting
That sad, “builder-grade boob light” in the middle of your kitchen? It’s killing the mood. Lighting is everything. Good lighting makes a space feel warm, makes food look more appetizing, and makes your guests look and feel better. You can find gorgeous, modern flush mounts, pendants, or track lighting online for under $100. It’s a simple swap that can make your kitchen look 20 years younger.
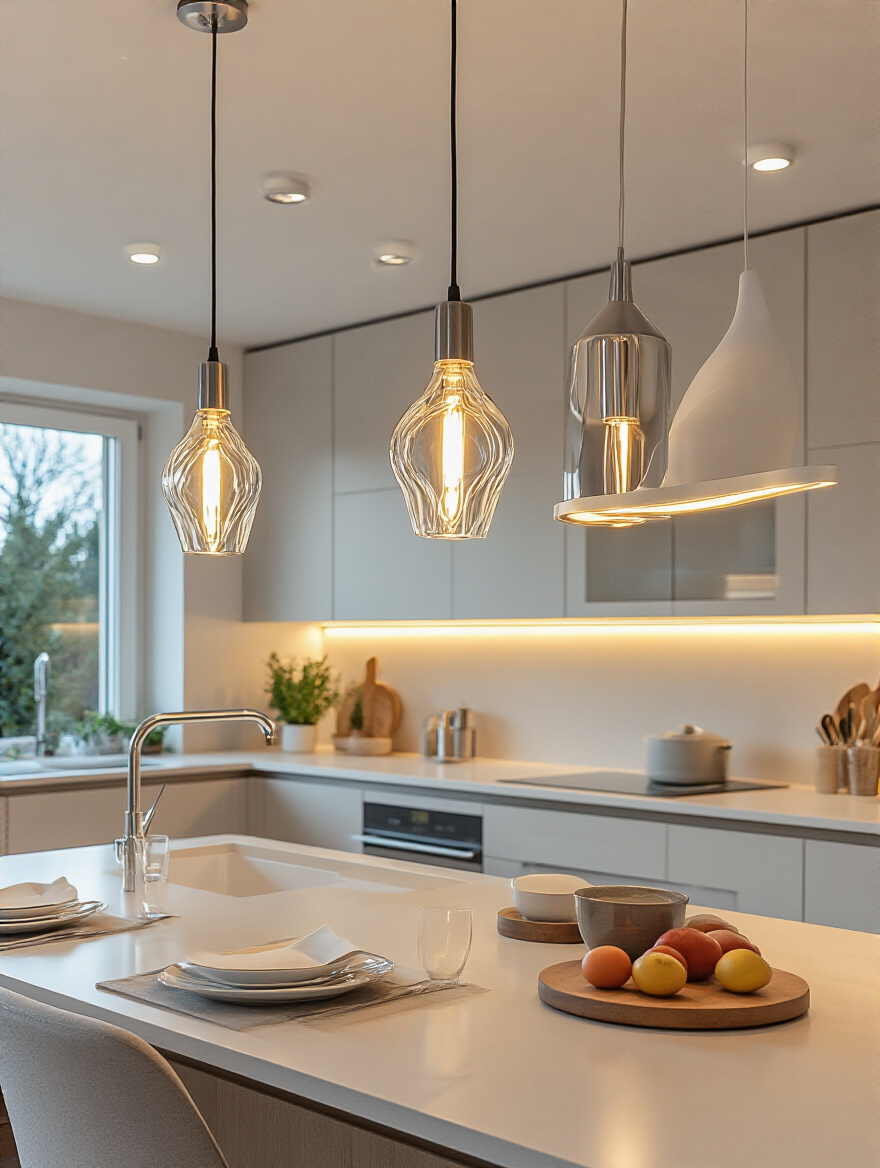
And whatever you do, install dimmers. This is the ultimate tool for a host. Bright light is for chopping vegetables. Warm, dim light is for late-night conversations over a glass of wine. The ability to control the ambiance is critical for an entertainment space. And switch everything to LED bulbs—they use a fraction of the energy and last forever, so you’ll save money in the long run.
Now, for the hardest-working fixture in the room.
15. Upgrade Your Sink Faucet for a Fresh Style Statement
The faucet is the workhorse of your kitchen, but it’s also a piece of functional sculpture. Swapping out a clunky, old faucet for a sleek, high-arc model with a pull-down sprayer is an upgrade you will appreciate every single day. It can instantly make your whole sink area look more modern and luxurious. A great-looking faucet in matte black or brushed gold can tie the whole room together.
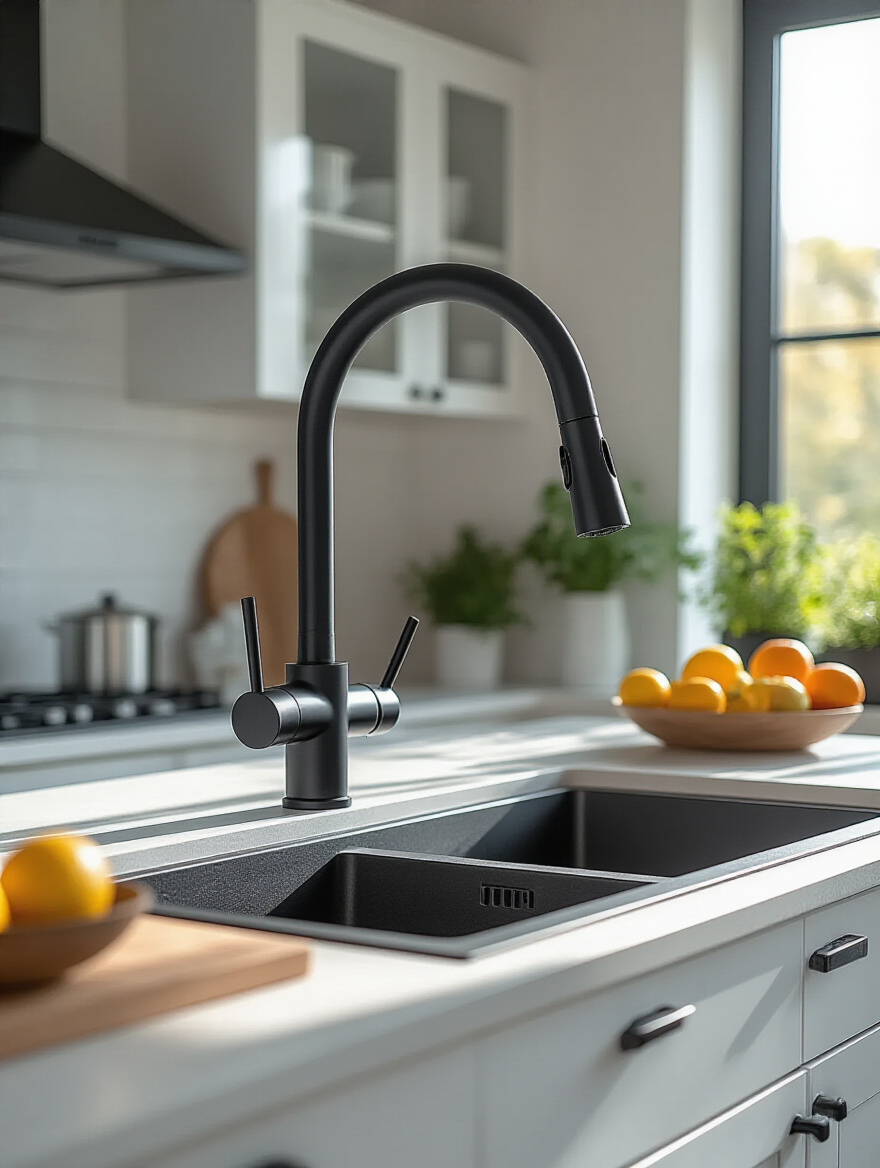
Before you fall in love with a faucet online, check your sink! You need to know how many holes you have in your countertop or sink deck (one, three, etc.) to ensure the new one will fit. This single piece of information will save you a world of hurt. Most faucet swaps are a pretty straightforward DIY project, and for a few hundred dollars, you get a massive upgrade in both style and daily function.
Let’s add a layer of sophistication.
16. Incorporate Under-Cabinet Lighting for a High-End Vibe
Want to know the secret to making any kitchen look expensive? Under-cabinet lighting. It’s the one thing luxury kitchens always have. It provides perfect task lighting for your countertops, so you’re not chopping in your own shadow, and it creates a beautiful, warm ambient glow in the evening. It highlights your backsplash and makes the whole space feel more polished and layered.
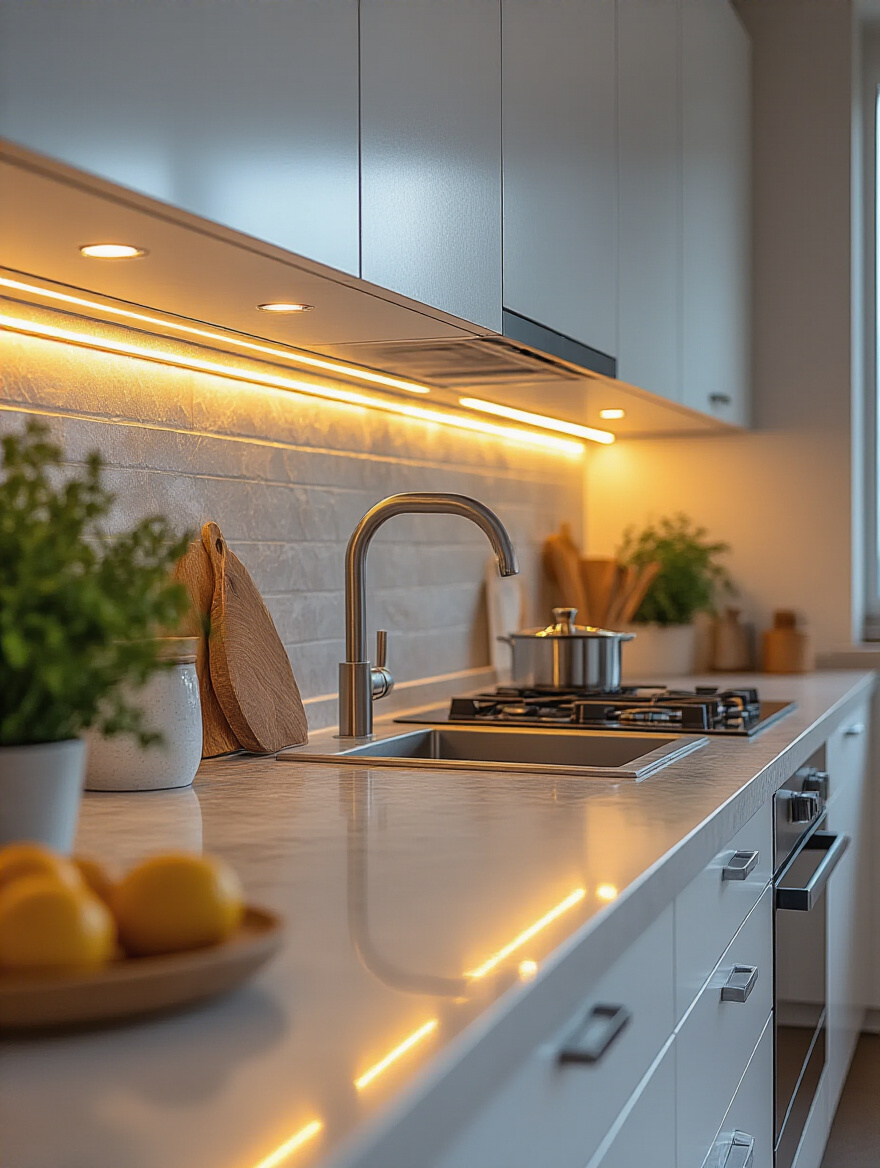
You don’t need an electrician to do this anymore. You can get amazing plug-in or even battery-powered LED strip lights that stick right to the bottom of your cabinets. Here’s the pro tip: buy a set that comes with a diffuser channel. This plastic cover hides the individual LED “dots” and creates a smooth, continuous line of light, which looks way more custom and high-end.
For a final bold move, let’s look at the biggest appliance in the room.
17. Paint Your Refrigerator for an Unexpected Style Pop
Got a perfectly functional but ugly, mismatched refrigerator? Don’t replace it—paint it! This is a bold move, but it has a huge payoff. You can turn that beige or white box into a striking matte black focal point or even a fun, bold color. It makes the appliance look intentional and integrated into your design, rather than just being a random leftover.
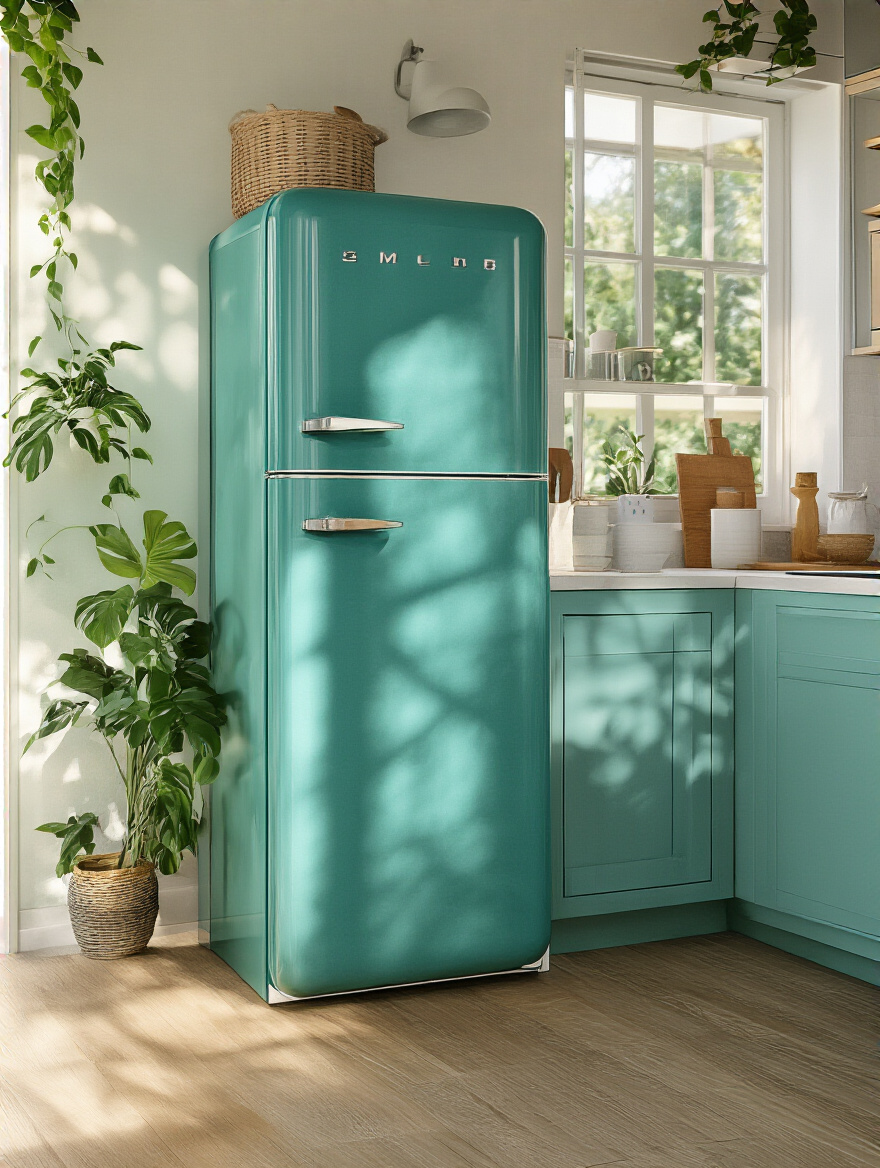
You can’t just use any paint. You need to use a paint specifically formulated for appliances, usually an epoxy paint. Like with the cabinets, the prep is everything. You have to clean, sand, and prime the surface for the paint to stick properly. When you’re done, you have a custom-looking appliance for less than $100, saving you thousands on buying a new one.
Phase 5: Accessorizing & DIY Finishes for Maximum Impact
You’ve done the heavy lifting. Now it’s time for the final layer—the details that inject your personality into the space and make it feel like a home. This is where you tie everything together and add the warmth and character that makes people want to hang out.
18. Integrate Thrifty Art & Decor for a Personal Flair
A kitchen without any personal touches feels like a showroom, not a home. This is your chance to bring in some soul. Hit up thrift stores, flea markets, and antique shops for unique art, vintage cutting boards, cool old crocks, or interesting vases. These are the pieces that tell a story and give your kitchen character that you can’t buy at a big-box store.
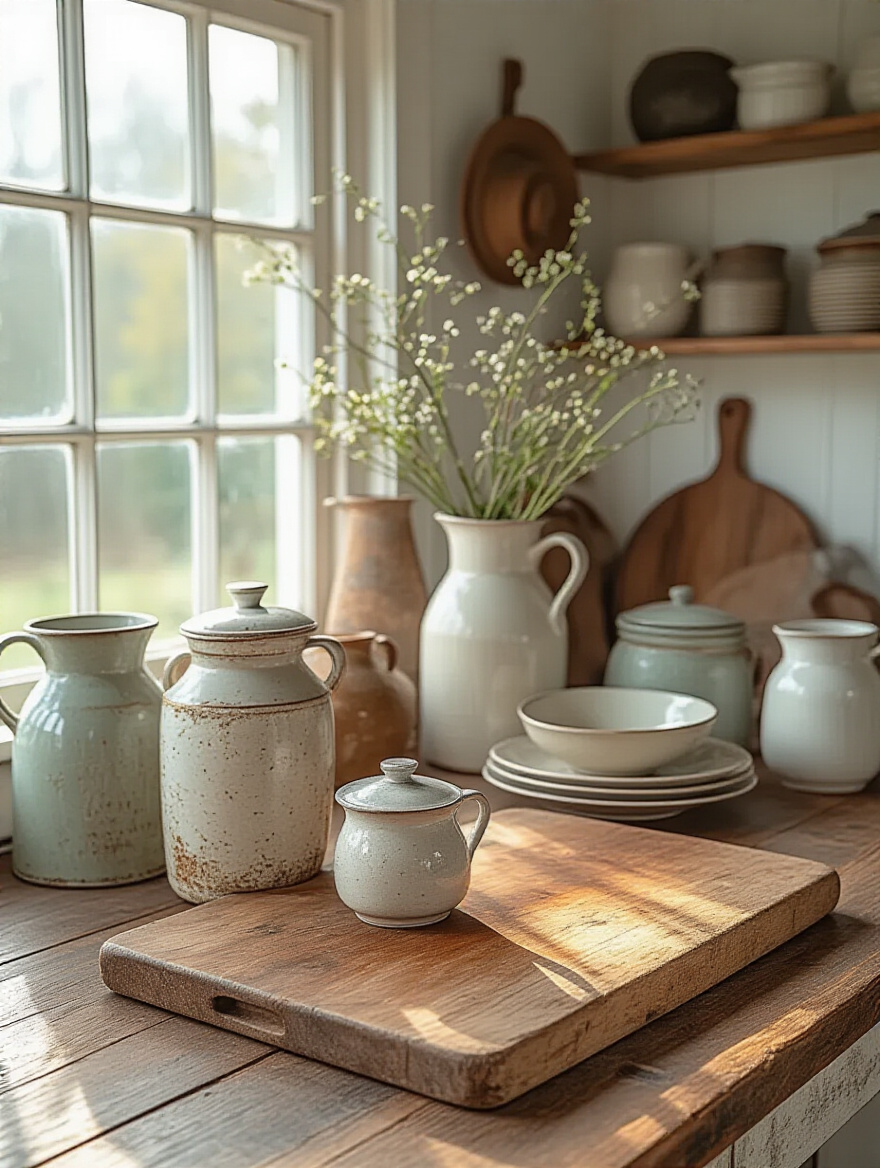
My guiding principle for this is: curate, don’t accumulate. Don’t just buy a bunch of old junk. Look for pieces that genuinely speak to you and fit the vibe you’ve created. A small, curated collection of vintage copper pans hanging on a wall is infinitely more stylish than a countertop cluttered with random knick-knacks. This is where your kitchen becomes uniquely yours.
Don’t forget the windows.
19. Style Your Kitchen Windows with Budget-Friendly Treatments
Bare windows can make a kitchen feel cold and unfinished. You don’t need fancy custom drapes. A simple, inexpensive solution can make a huge difference. A tension rod with a simple cafe curtain, a clean Roman shade, or even a decorative privacy film can soften the space, add a touch of color or pattern, and give you privacy without blocking all the precious natural light.
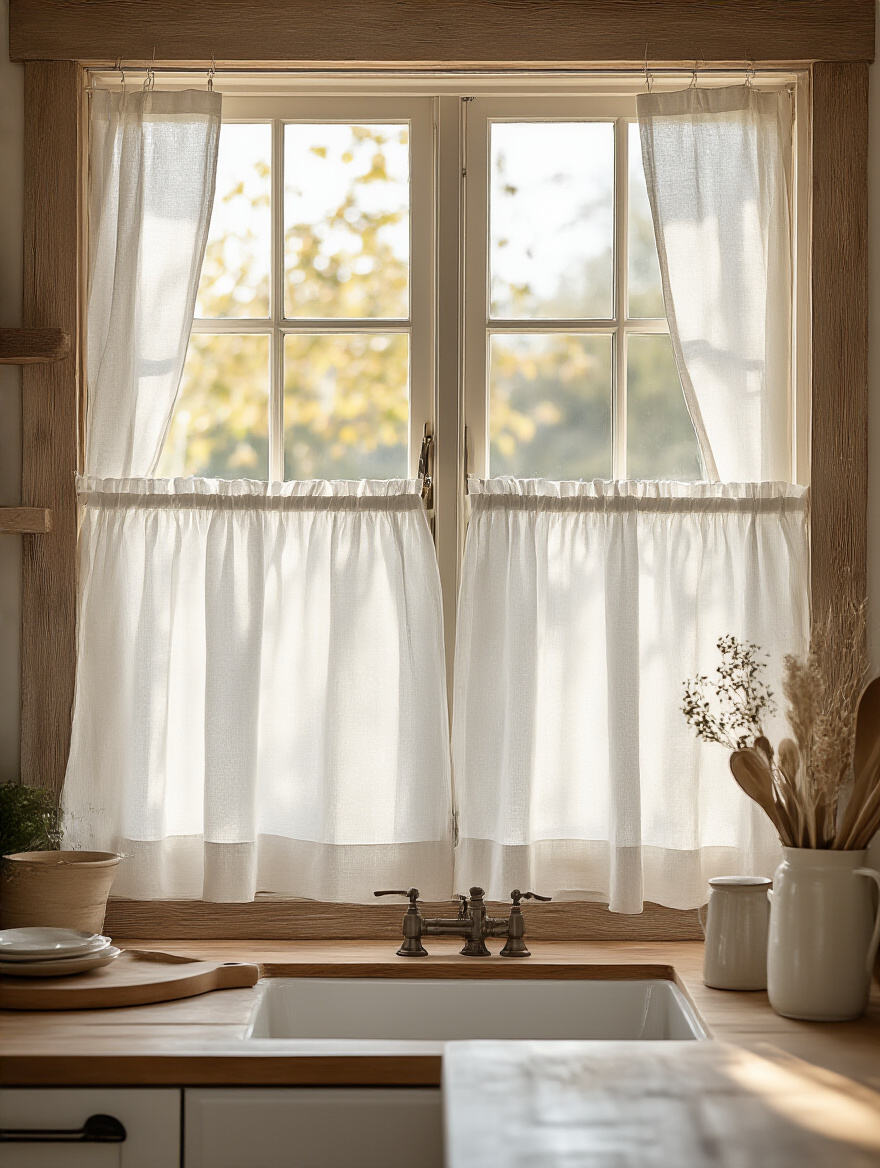
The key here is choosing a fabric or material that’s easy to clean. Kitchens can be greasy, steamy places, so delicate silks are out. A durable cotton blend or a vinyl shade that you can easily wipe down is a much smarter choice. It’s that final touch that makes the room feel complete and thoughtfully designed.
Add some functional charm to your walls.
20. Use a Pot Rack for Industrial or Farmhouse Charm
Pot racks are a brilliant two-for-one. They provide incredibly useful storage for bulky pots and pans, freeing up precious cabinet space, and they serve as a major style statement. A black iron rack can give you an industrial-loft vibe, while a wooden or copper one can scream modern farmhouse. They turn your functional cookware into a decorative display.
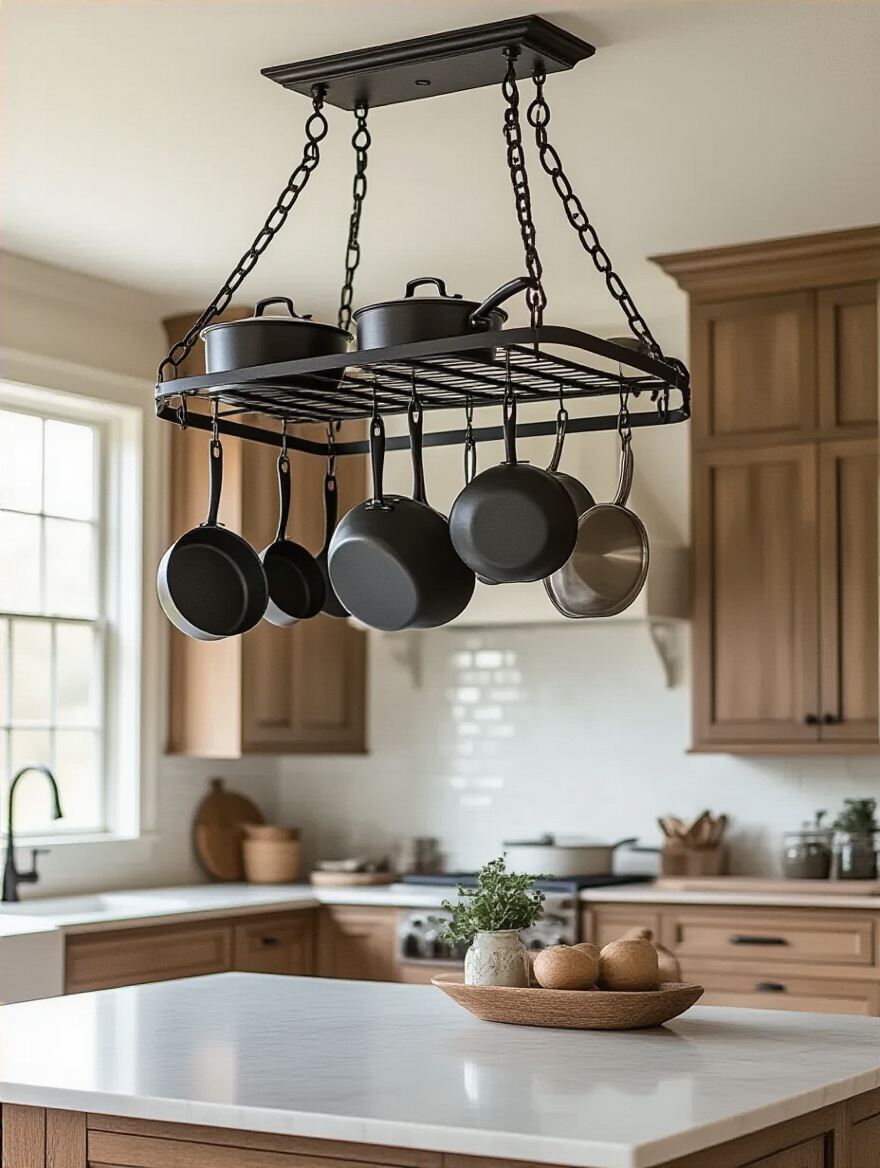
This is another project where your stud finder is your best friend. A rack loaded with cast iron pans is incredibly heavy, and you need to be 100% sure it’s securely anchored into your ceiling joists or wall studs. When installed safely, it’s a game-changer for both organization and character, making your kitchen feel like a real cook’s kitchen.
Finally, bring in some life.
21. Grow Edible Plants for Natural, Cost-Effective Decor
Nothing brings a kitchen to life like living plants. And in a kitchen, why not make them edible? A little windowsill herb garden with basil, mint, and rosemary is beautiful, smells amazing, and gives you fresh ingredients for your cooking and cocktails. It’s living decor that’s both beautiful and practical.
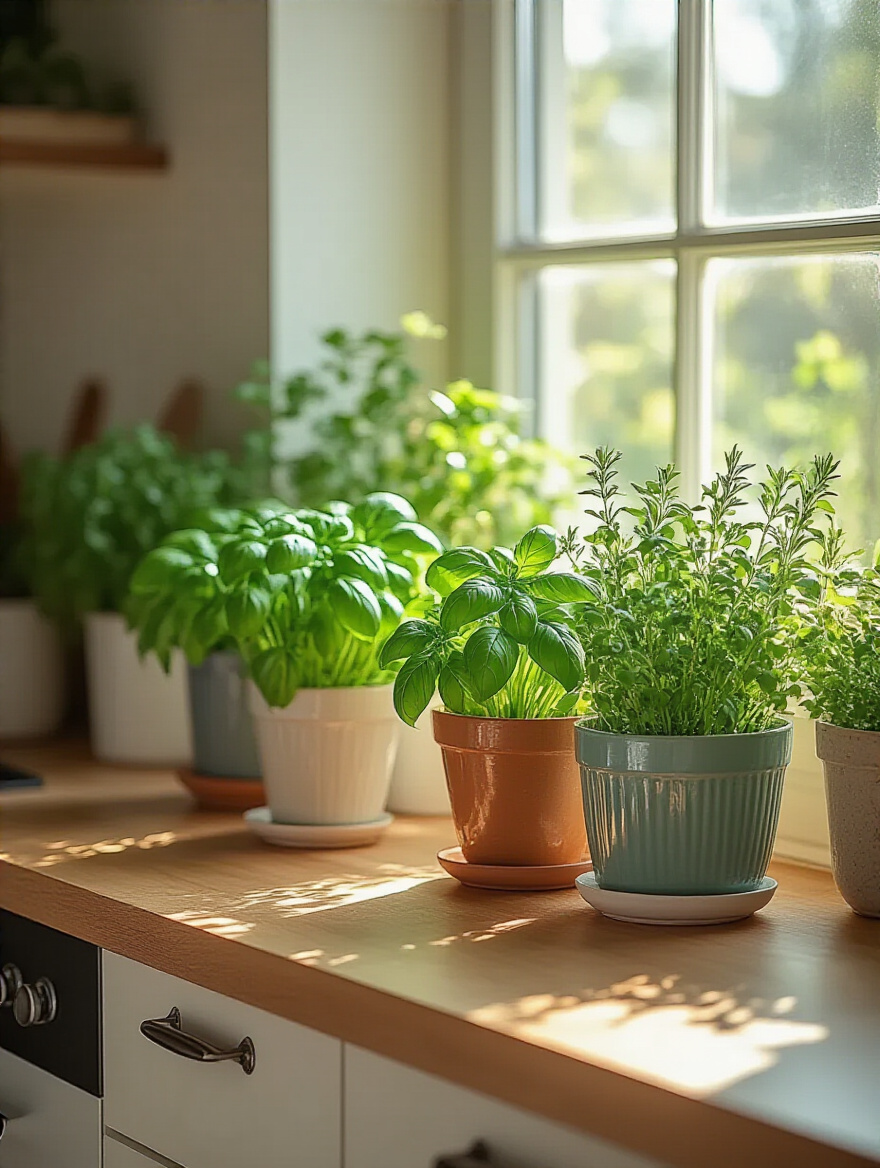
You don’t need a green thumb. Many herbs are incredibly easy to grow indoors. Grouping a few pots of different herbs on a shelf or windowsill adds a vibrant splash of green and a sense of freshness that no fake plant can replicate. It’s the perfect, final touch that connects your kitchen back to the food and life that happens there.
Conclusion: Your Dream Kitchen Awaits!
There you have it. You are now armed with 21 different ways to create a kitchen that not only looks incredible but is primed for making memories, all without draining your bank account. We’ve covered how to plan like a pro, transform your surfaces, get creative with storage, master your lighting, and add those final personal touches that make a space feel like home.
The big takeaway here is that a spectacular, party-ready kitchen is born from creativity, not cash. It’s about making smart choices, putting in a little elbow grease, and focusing on the changes that deliver the biggest impact. Your kitchen is the command center for your social life. Now you have the roadmap to make it a space you’re truly proud to gather in. So pick a hack, start small, and enjoy the process. Your dream kitchen is waiting.


