Can we talk about why so many home design projects go wrong? I see it all the time with my remote work clients. They spend months designing the perfect home office, dialing in their ergonomics, and optimizing for deep work. But they completely forget that the rest of their home has to support that productive mindset. Especially the bathroom.
You start and end your workday in that room. It’s where you gather your thoughts in the morning or decompress at night. If it’s a chaotic, visually jarring space with slippery floors and grungy grout, that low-grade stress seeps into your day. A well-designed bathroom, however, can be a private sanctuary that preps you for success. It’s not just about picking pretty tiles from a magazine; it’s about creating a functional, serene foundation for your day.
Laying the Foundation: Strategic Planning & Assessment (Part 1)
Before you even think about heading to a tile store, you need a plan. So many people fall in love with a trendy pattern on Pinterest, buy it, and then realize it makes their tiny bathroom feel like a closet. Strategy isn’t the sexy part, but it’s the part that saves you from expensive regrets.
1. Assess Your Bathroom’s Layout for Optimal Tile Use
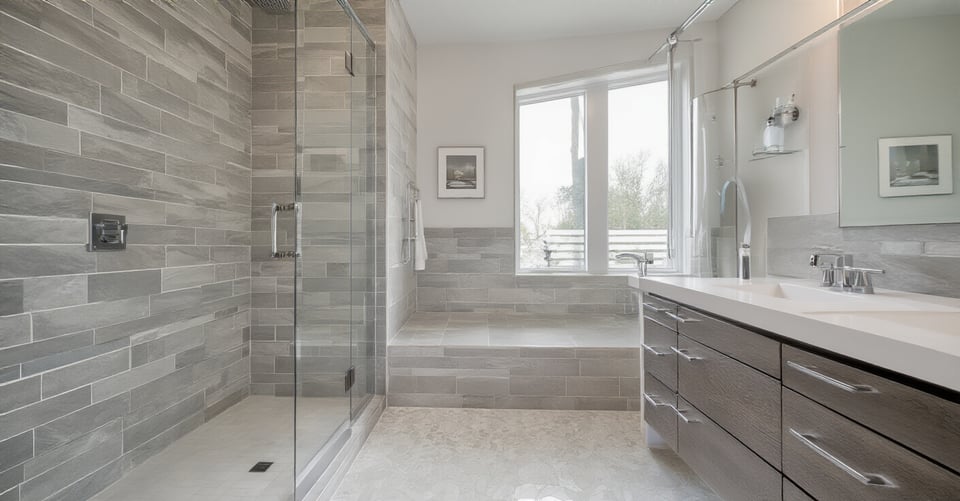
Your bathroom’s size and shape are non-negotiable, so you have to work with them, not against them. Measure everything: floor space, wall height, the distance between the toilet and the vanity. Note where the windows are. The goal here is to use tile to trick the eye.
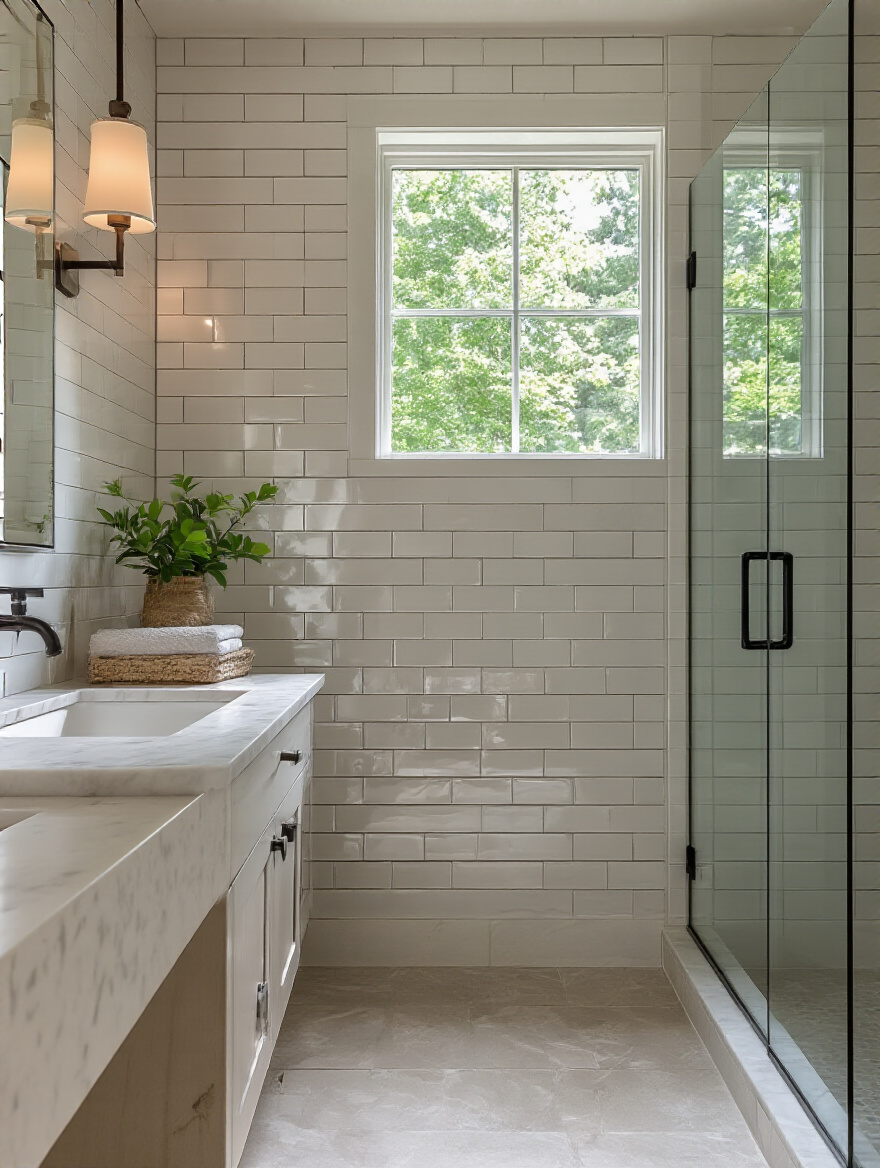
Big tiles with thin, matching grout lines can make a small floor feel more expansive because there are fewer lines breaking it up. Running long, rectangular tiles horizontally on a wall can make a narrow room feel wider. This isn’t just noise; it’s the difference between a room that feels spacious and one that feels claustrophobic. It all starts with a tape measure and a simple sketch.
2. Define Your Desired Bathroom Aesthetic and Ambiance
What’s the feeling you’re going for? This is the question you have to answer before you look at a single tile. Do you want a “serene spa” to unwind after a long day of Zoom calls? Or a “bright and energizing” space to wake you up in the morning? Write down three words that describe the vibe you want.
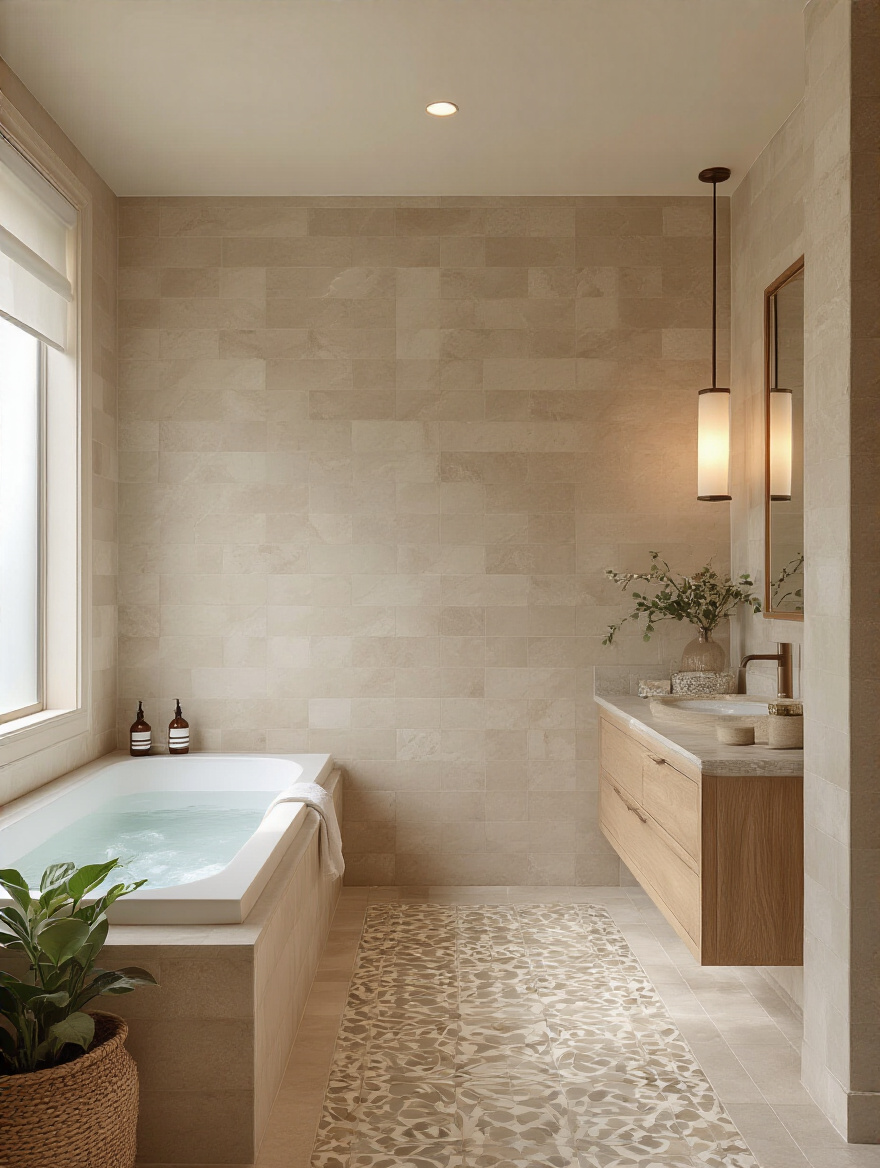
I once worked with a client who said they wanted a calm, minimalist bathroom but kept pinning pictures of busy, high-contrast patterned tiles. Those things are opposites. We had to go back to the feeling first. Your tile is the backdrop for everything else, so if the backdrop is wrong, the whole room will feel off. Use Pinterest or a mood board, but focus on the overall ambiance, not just individual tiles.
3. Establish a Realistic Budget and Timeline for Tile Procurement
Here’s the hard truth: the price of the tile is just the cover charge for the party. People get so focused on the cost per square foot that they forget about everything else. You need to budget for adhesive, grout, sealant, waterproofing membranes, demolition of the old stuff, and—most importantly—skilled labor.
And don’t forget the timeline. That beautiful, custom-ordered tile from Spain? It could have a 12-week lead time. I wish I’d known earlier in my career to always ask about stock levels and shipping times before I let a client fall in love with something. Factor in a 15% contingency for unexpected costs and a few extra weeks for delays. Planning for it now prevents panic later.
4. Research Tile Material Durability and Water Resistance for Longevity
Not all tiles are created equal, and nowhere is that more obvious than in a bathroom. This is where everyone who just picks for looks gets it wrong. In a high-moisture, high-traffic environment, function has to come first. You need to know two things: water absorption and slip resistance.
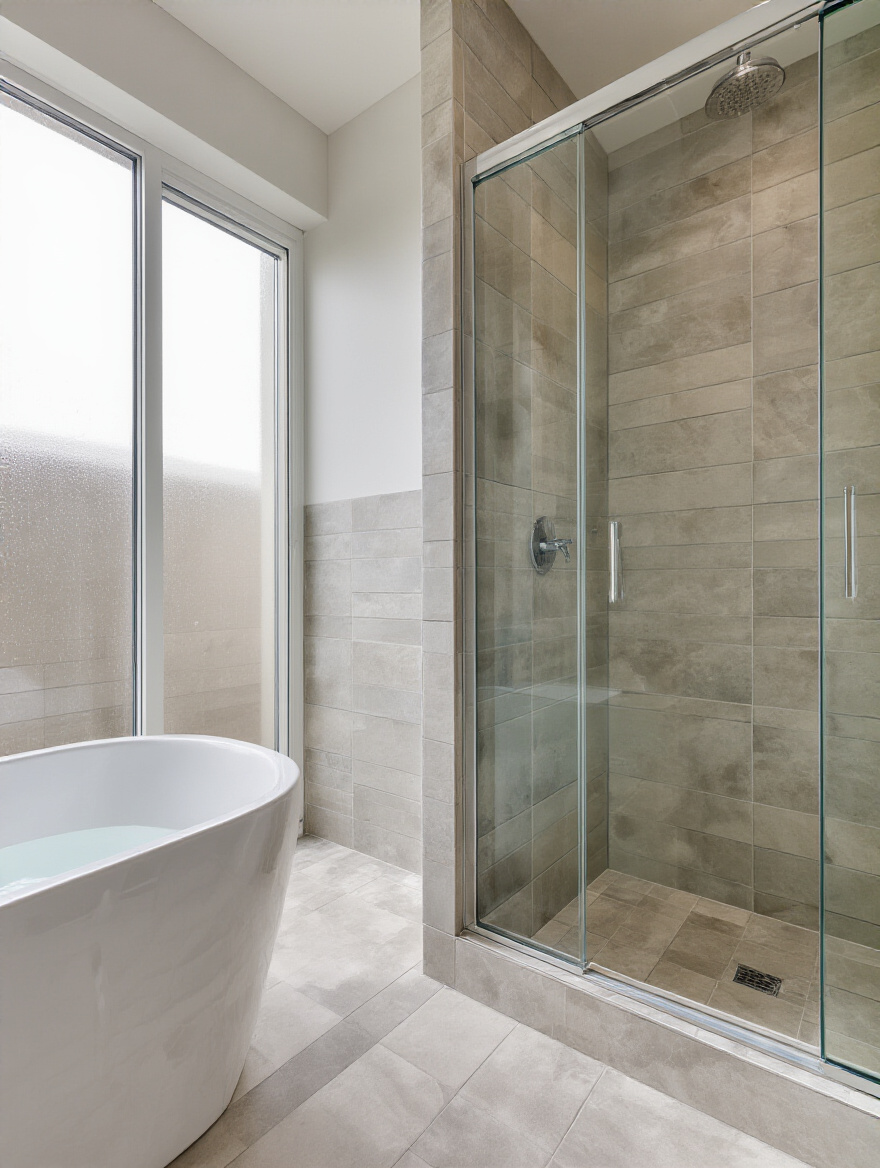
Porcelain is the king of bathrooms. Its water absorption rate is less than 0.5%, meaning it’s basically waterproof. It’s perfect for shower walls and floors. For floors specifically, you need a tile with some grip. Look for something with a matte or textured finish. Polished marble looks incredible, but it becomes a skating rink the second it gets wet. Choosing the right material from the start means you won’t be tearing it out in five years because of moldy grout or a dangerous slip.
Laying the Foundation: Strategic Planning & Assessment (Part 2)
Okay, you’ve done the mental work. Now it’s time to bring that vision into the real world before a single tile gets stuck to a wall. This part is all about testing your ideas so you can be 100% confident in your choices.
5. Visualize Tile Patterns with Floor Plans and Physical Samples
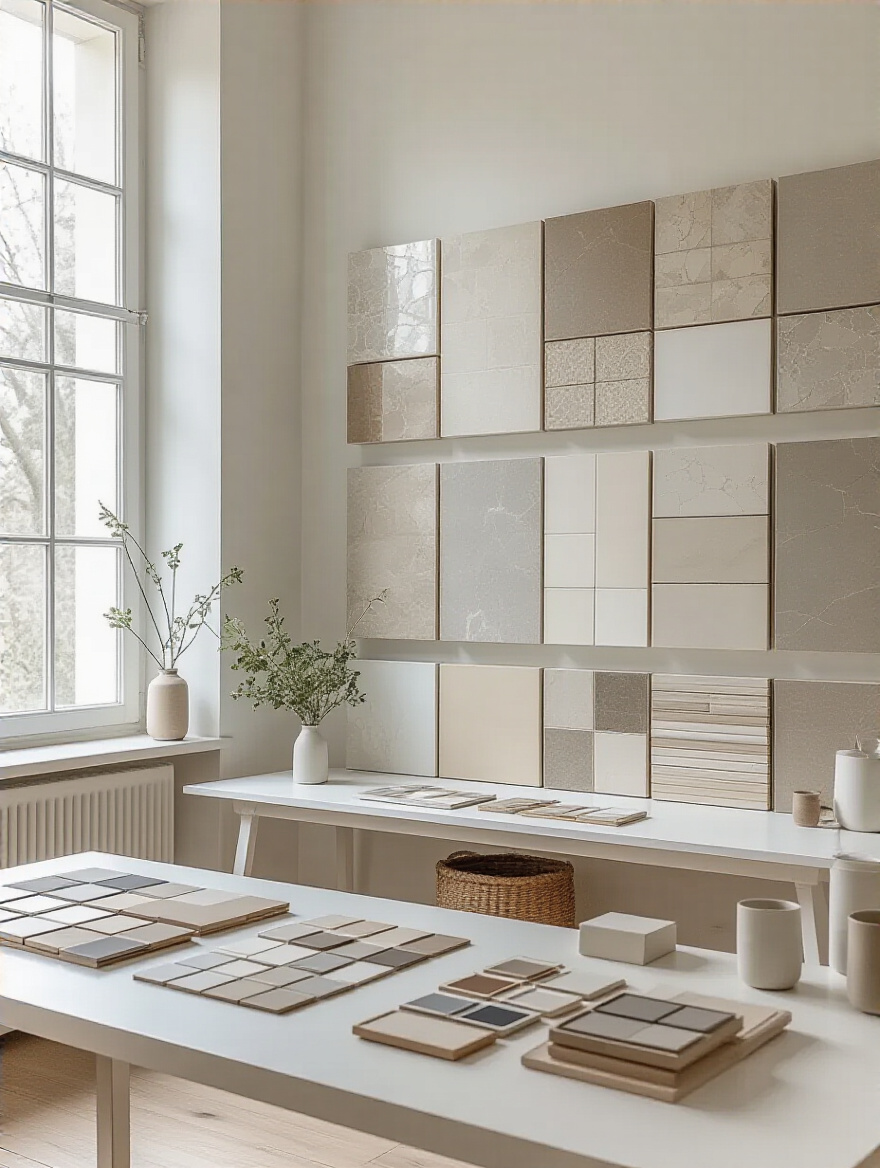
Never, ever choose a tile based on a 2×2-inch sample under fluorescent showroom lights. It’s the number one shortcut to disappointment. You need to order at least three or four full-sized tiles and bring them into your actual bathroom.
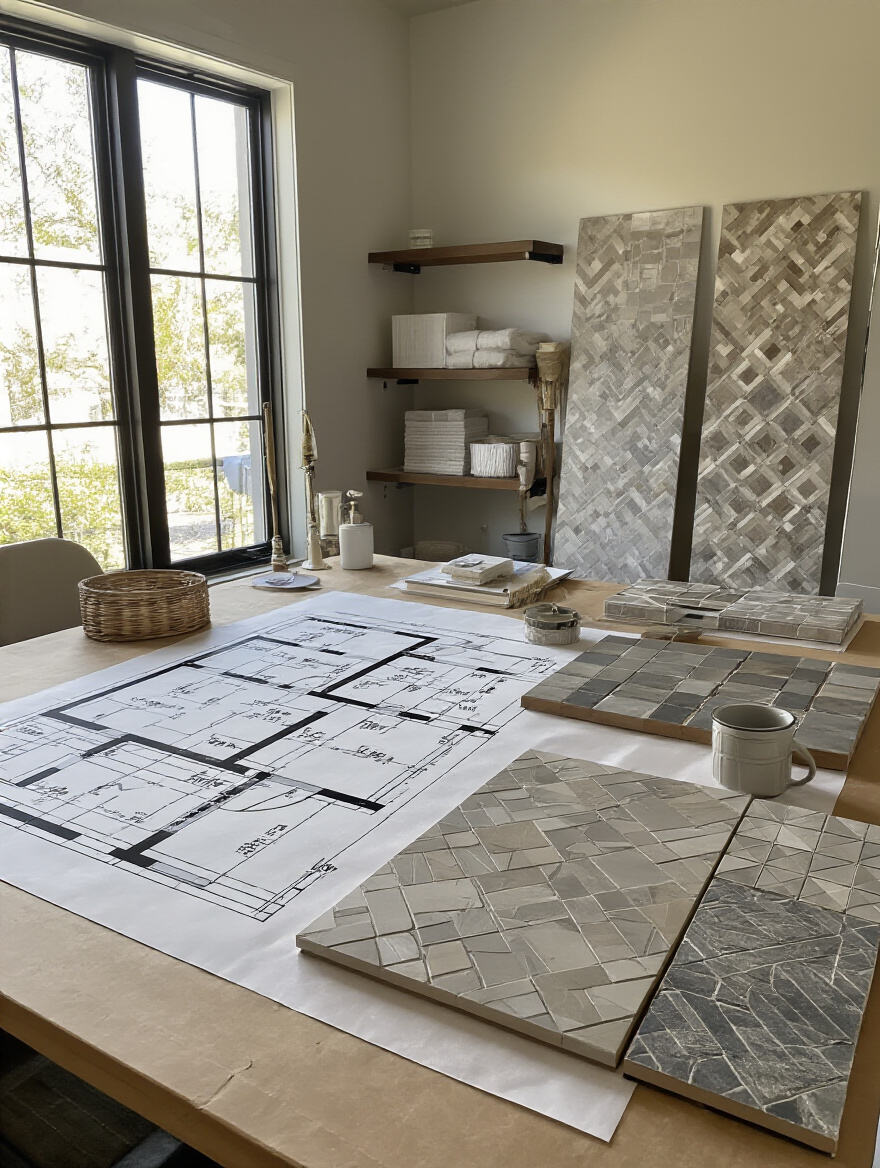
Lay them on the floor. Prop them against the wall. Look at them in the morning, at noon, and at night with the lights on. That beautiful gray tile might look purple in your home’s lighting. The pattern that looked so chic online might feel way too busy in a small space. Use blue painter’s tape on the floor to outline the pattern—a herringbone or a simple grid—to see how it feels at scale. This step feels extra, but it’s the only way to avoid the gut-sinking feeling of, “Oh no, what have I done?”
Mastering Tile Selection & Flawless Installation Techniques (Part 1)
Now we get to the good stuff—picking the materials and patterns. This is where your strategic plan pays off, allowing you to choose with confidence and create a design that’s both beautiful and built to last.
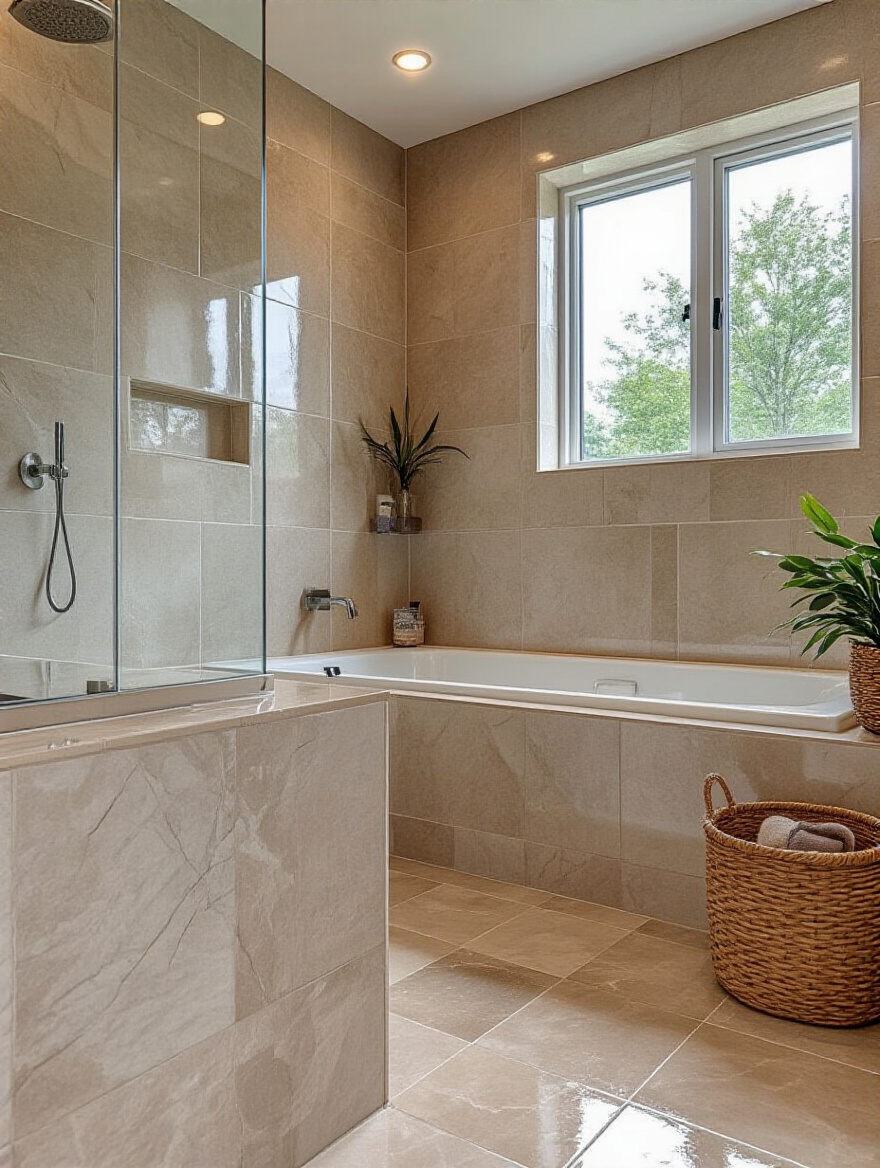
6. Select the Optimal Tile Type for Each Zone: Floors, Walls, and Showers
Think of your bathroom in zones, because each has a different job. The floor needs to be durable and slip-resistant. The walls can be a bit more decorative since they don’t get walked on. And the shower needs to be a fortress against water.
This means you might use three different—but coordinated—tiles. A grippy, matte porcelain for the floor, a simple ceramic tile for the main walls, and maybe a cool glass mosaic in the shower niche. I learned this the hard way on an early project where a client insisted on using the same beautiful-but-porous natural stone everywhere. The shower was a maintenance nightmare. Zone-based design just works better.
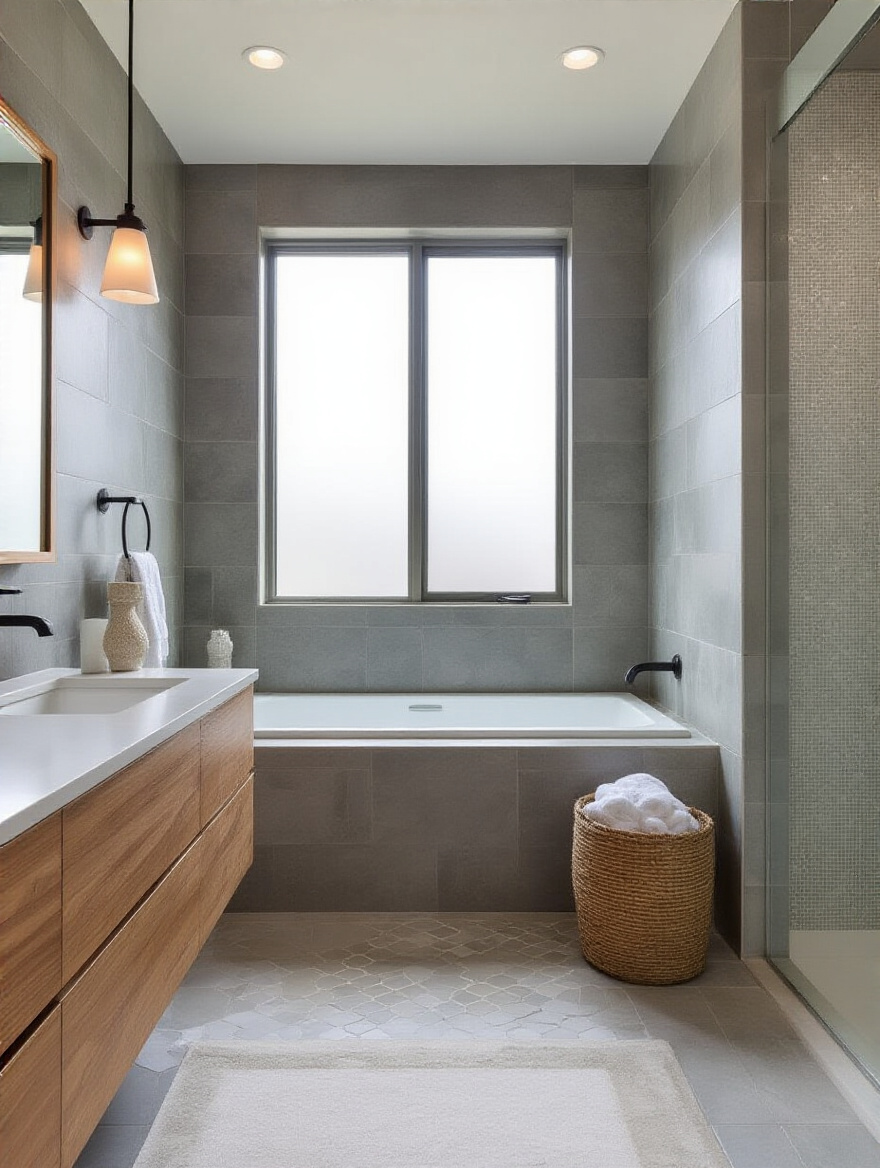
7. Harmonize Tile Colors, Finishes, and Sizes for Visual Cohesion
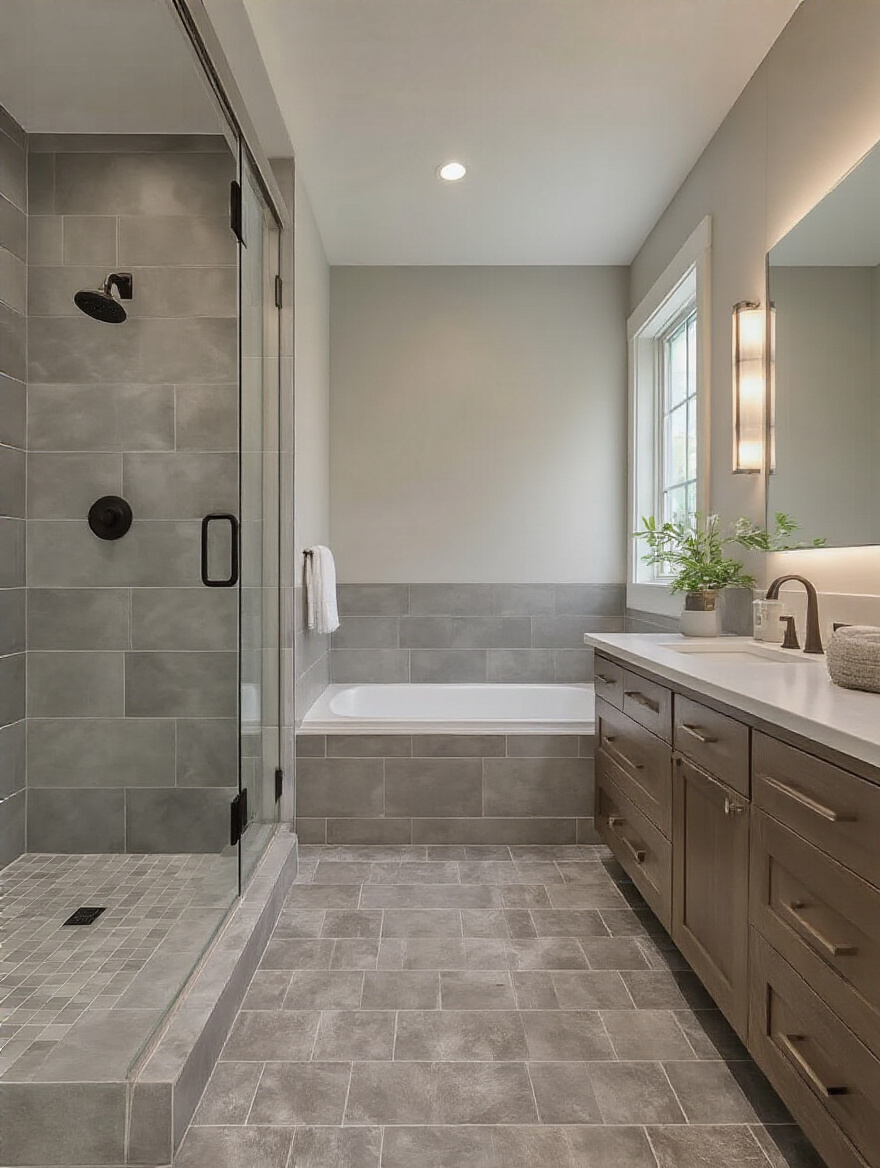
To keep your bathroom from looking like a chaotic tile showroom, stick to a simple rule: the “Rule of Three.” Pick one dominant tile for the largest area (like the floor), a second for another surface (like the shower walls), and a third as a small accent (like a niche or border).
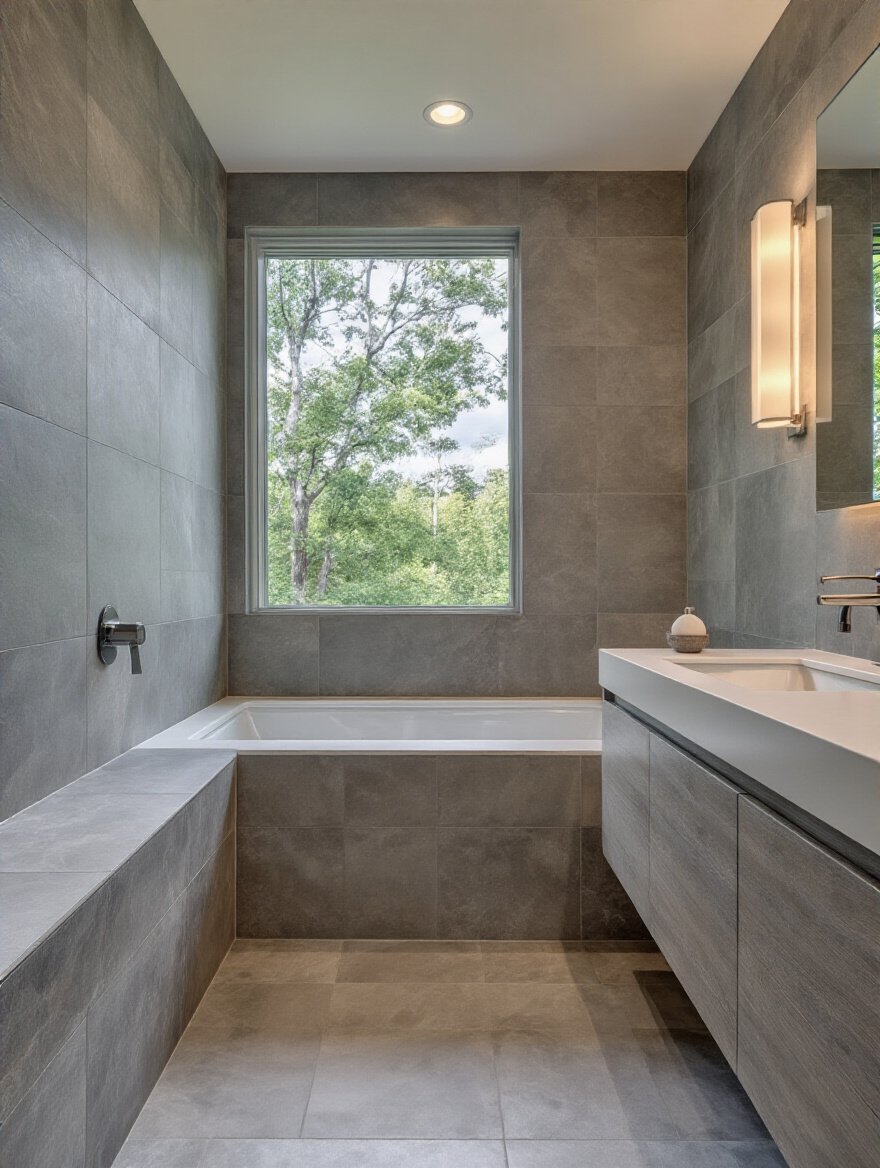
And make sure they talk to each other. They should share a color palette or a general style. For example, a large-format matte gray floor tile works beautifully with a glossy white subway tile on the walls and a tiny gray hex mosaic on the shower floor. It’s a classic combo that creates harmony, not clutter. This intentional limitation is what makes a space feel professionally designed instead of accidentally assembled.
8. Choose Grout Color and Type to Enhance or Subtly Blend with Tiles
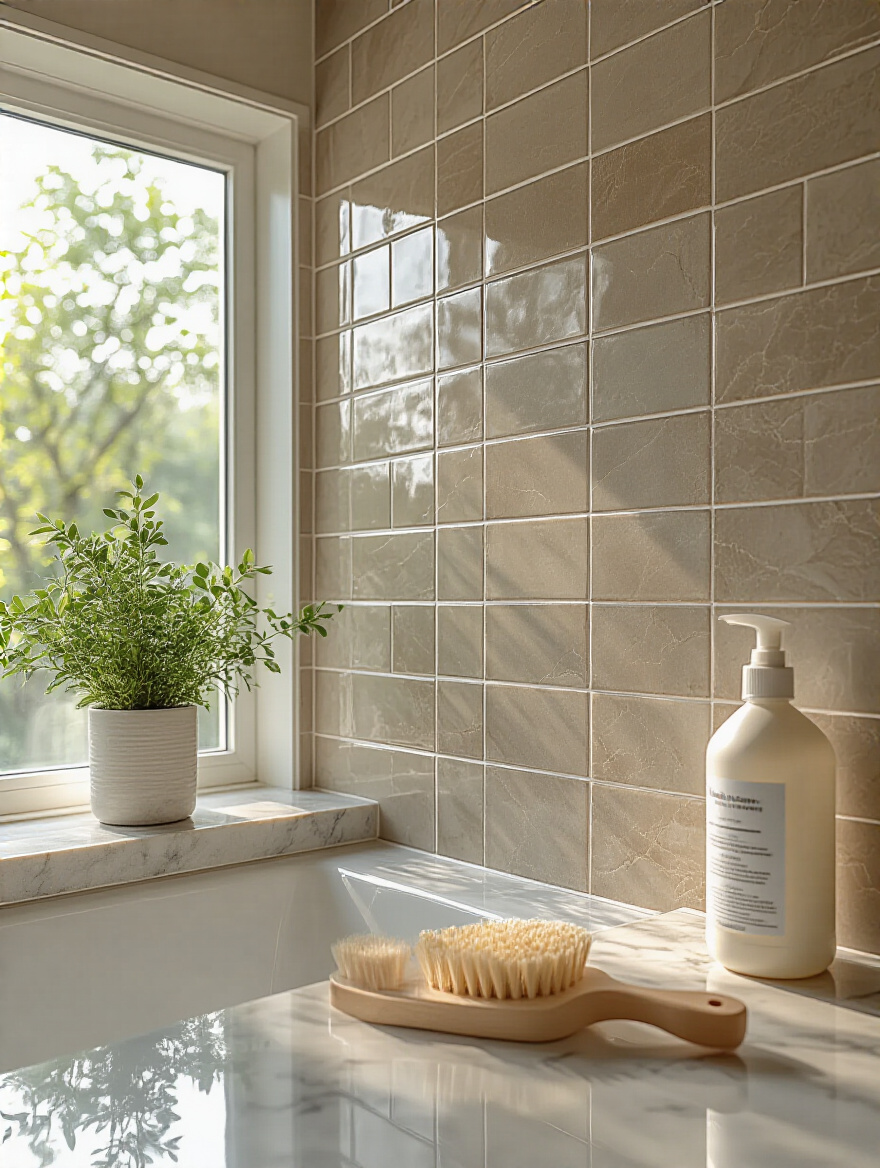
Can I get on my soapbox for a minute? Grout is not an afterthought. It’s at least 20% of the final look and 90% of your future cleaning headaches. You have two main aesthetic choices: blend or contrast. Matching the grout to the tile color makes the surface look like one seamless plane, which is great for making a small space feel bigger. A contrasting color (like dark gray grout with white subway tile) makes each tile shape pop, creating a graphic pattern.
But here’s the real shortcut I wish I’d known earlier: for showers, just use epoxy grout. It costs more upfront, but it’s non-porous. That means it’s waterproof, stain-proof, and doesn’t harbor mold. The amount of scrubbing you will save yourself over the next decade is worth every single penny.
9. Explore Creative Laying Patterns Beyond the Basic Grid (e.g., Herringbone, Chevron)
Laying a standard rectangular tile in a pattern like a herringbone, basketweave, or vertical stack can completely change the look of a room without changing the tile itself. A vertical stack feels modern and can make ceilings feel higher. A herringbone pattern adds a sense of classic luxury and movement.
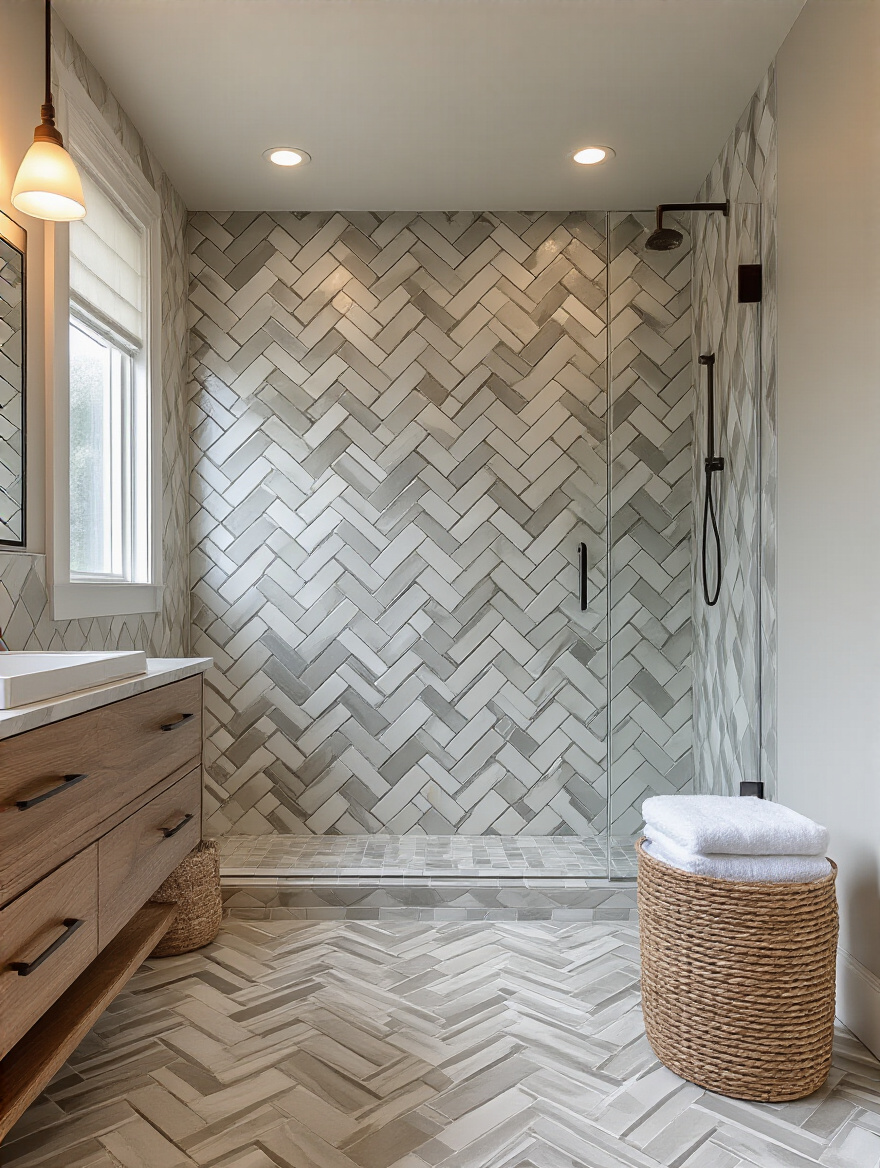
The BS no one tells you is that these fancy patterns create more waste. All those angled cuts mean you’ll need to order about 15-20% extra tile, not the standard 10%. They also take more time and skill to install, which means higher labor costs. It’s a fantastic way to add custom flair, but you have to budget for it in both materials and time.
Mastering Tile Selection & Flawless Installation Techniques (Part 2)
A great design can be completely ruined by a bad installation. These details are what separate a DIY-looking job from a professional, durable finish that you’ll be happy with for years to come.
10. Avoid Common Tiling Mistakes for a Professional and Durable Finish
The single biggest mistake people make is not preparing the surface correctly. Your walls and floors need to be clean, flat, and waterproof before a tile ever touches them. If the subfloor isn’t perfectly level, you’ll get lippage—where one tile edge is higher than its neighbor—and cracking.
“A beautiful tile on a bad foundation is just a beautiful failure waiting to happen.”
Another huge one is not using enough adhesive, especially on large tiles. You should “back-butter” the tile (put a thin layer of adhesive on the back) in addition to putting it on the wall or floor. This ensures full coverage so there are no hollow spots, which are weak points. Spacers aren’t optional; they ensure consistent grout lines. These small things make all the difference.
Elevating Aesthetics: Creative Styling & Design Elements (Part 1)
With a solid foundation, you can now add layers of personality. This is where you can be a bit more expressive and turn a functional room into something truly special.
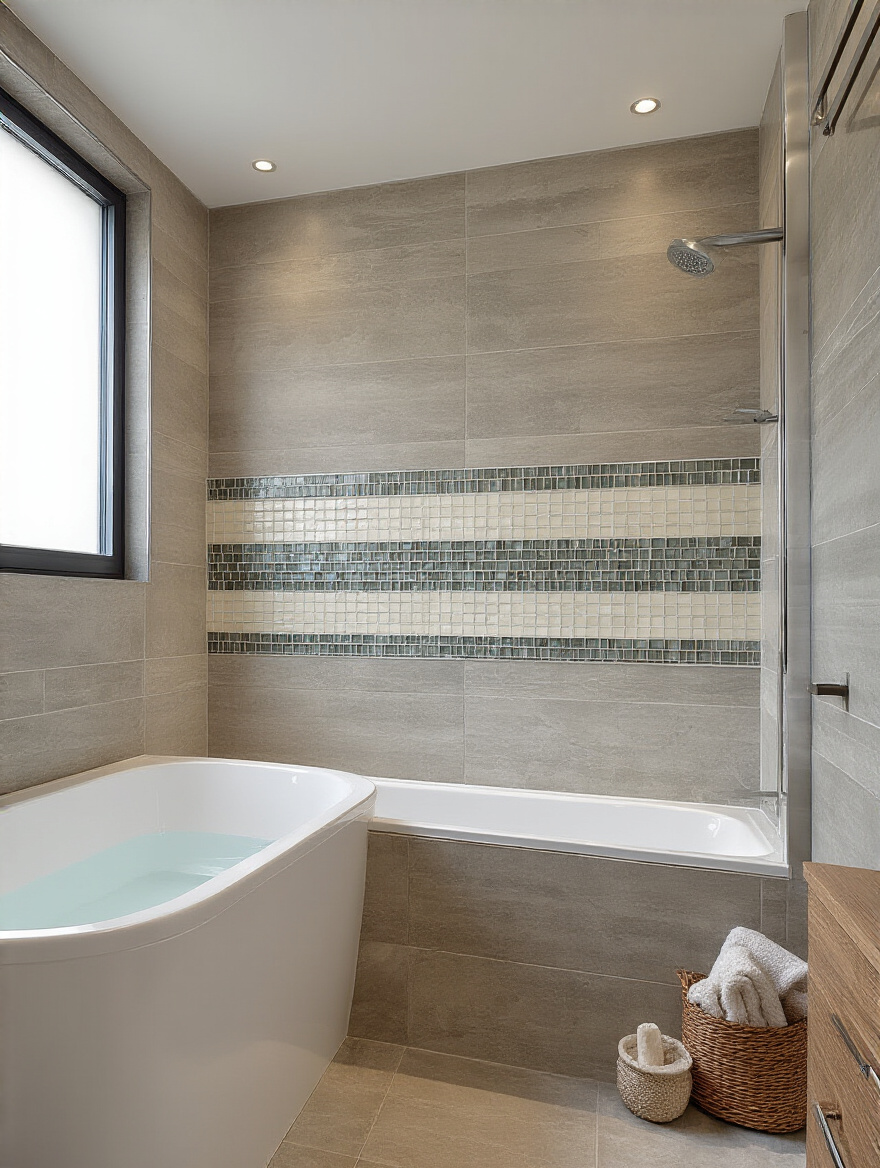
11. Design a Striking Tiled accent wall or Shower Niche for Impact
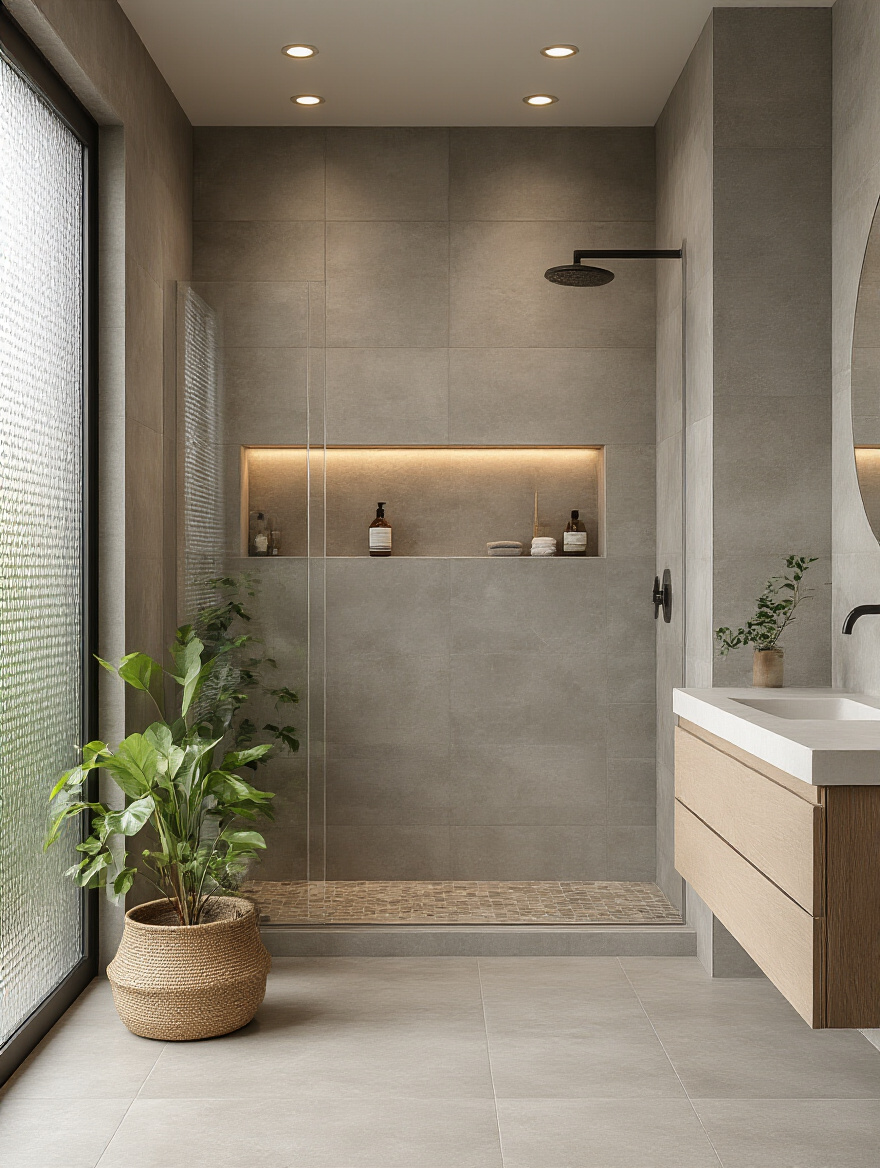
If you’ve fallen in love with an expensive, hand-painted, or wildly patterned tile, you don’t have to use it everywhere. The most effective way to use a “wow” tile is to concentrate it in one area, like the wall behind your vanity or the back wall of your shower.
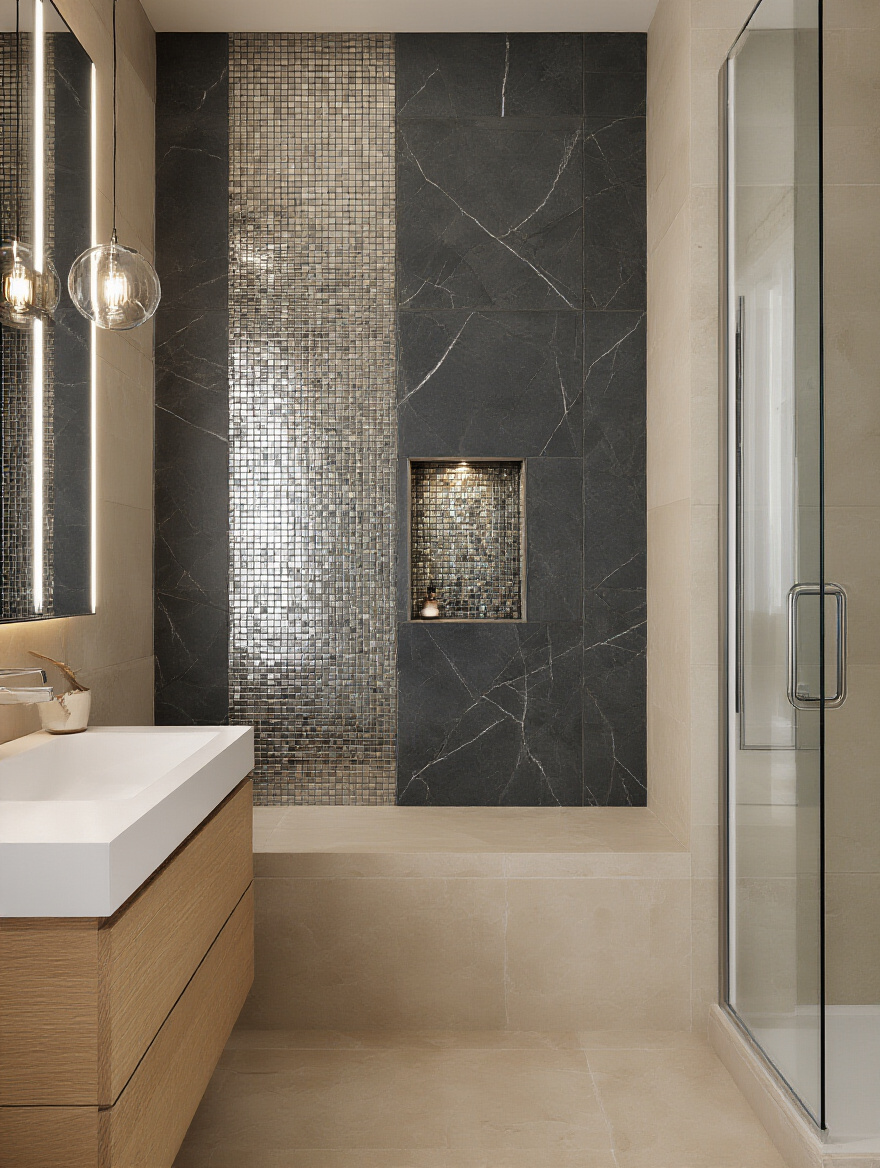
This does two things: it creates a powerful focal point that anchors the entire room, and it saves you a ton of money. A small, built-in shower niche is a perfect place for this. Tiling it with a vibrant mosaic or a unique pattern turns a simple storage spot into a jewel box. It’s a high-impact, low-square-footage strategy.
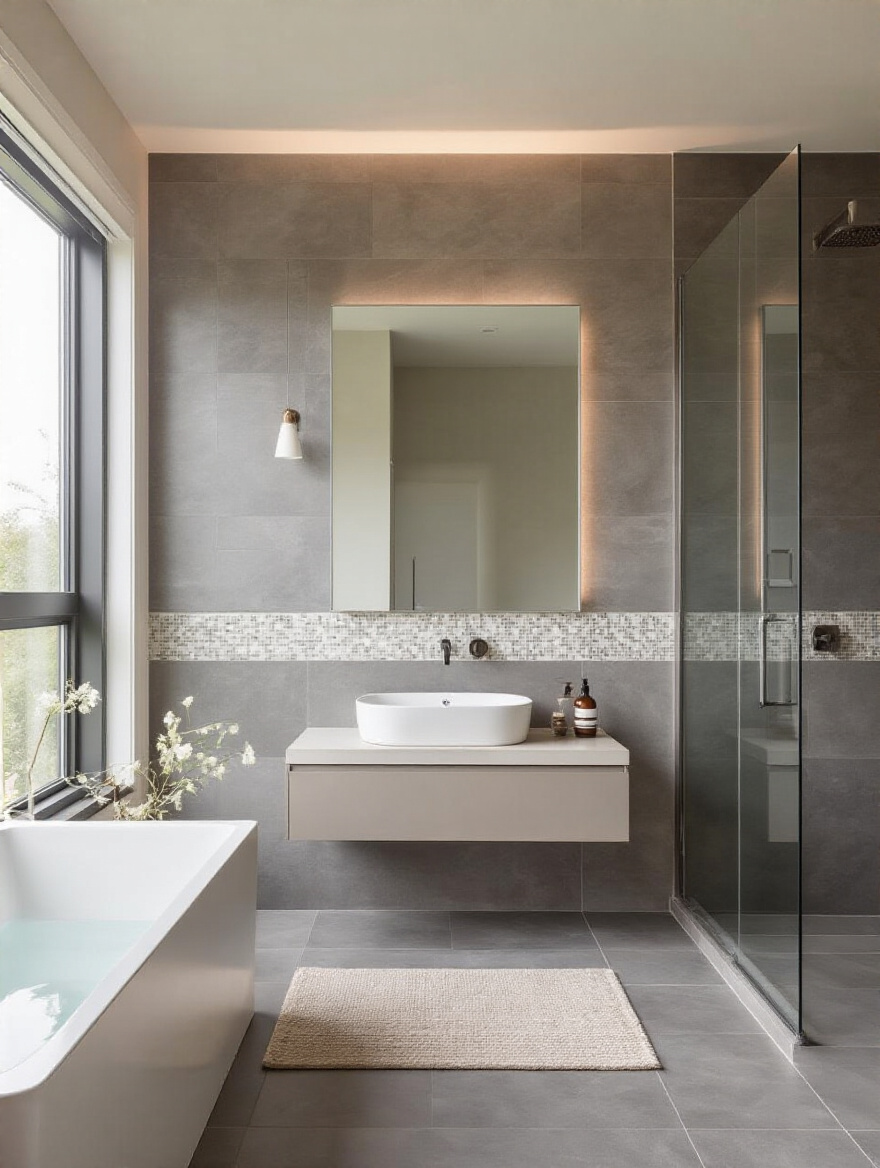
12. Incorporate Decorative Borders or Edging Details to Define Areas
Borders and trim are like the frame on a picture; they give the composition a finished, intentional look. A simple pencil liner or a thin row of mosaic tiles can be used to outline the shower, frame the area behind the mirror, or create a “rug” effect on the floor.
Metal edging, like a Schluter strip, is also a game-changer. It provides a clean, modern finish where tile meets another surface (like drywall or a wood floor) and protects the tile edges from chipping. This small detail elevates the entire installation, making it look sharp and considered rather than just stopping abruptly.
13. Experiment with Mixed Tile Sizes, Shapes, and Textures for Visual Interest
Mixing tiles can look amazing, but it can also go wrong fast if you don’t have a unifying element. The easiest way to do it right is to stick to one color family. For example, you could use a large-format matte white tile on the floor, a classic white subway tile on the walls, and a tiny white hexagon mosaic on the shower floor.
The variation in shape and scale creates texture and depth without looking chaotic because the color—white—ties everything together. The mix of finishes, like matte on the floor for grip and glossy on the walls for light reflection, adds another layer of subtle sophistication.
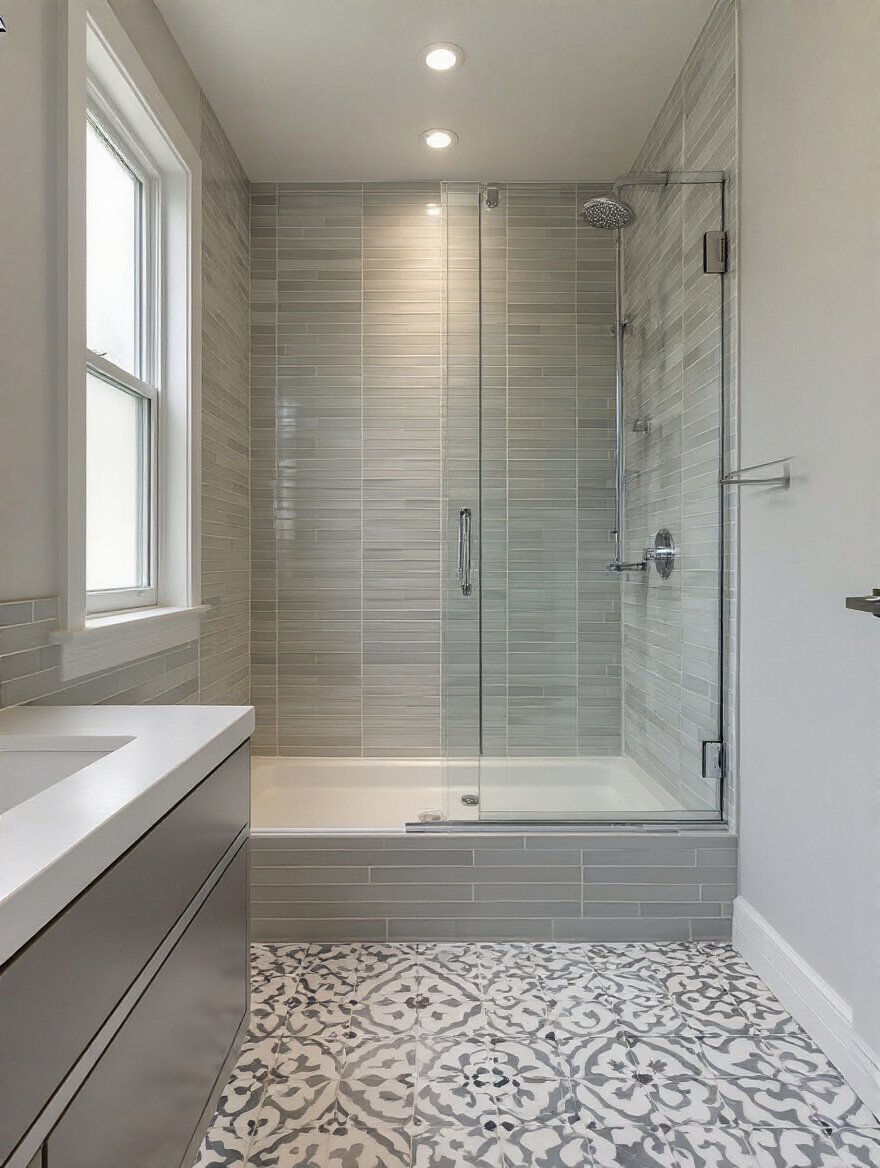
14. Curate Unique Shower Floor Tile Ideas for Both Style and Safety
The shower floor is the most important surface in your bathroom from a safety perspective. Small tiles are your best friend here. Think 1×1 or 2×2 mosaics, hexagons, or even penny rounds. Why? More tiles mean more grout lines, and more grout lines mean more grip for your feet.

This is also a great place to add personality. Natural-looking pebble tiles can give you a spa-like, foot-massaging feel, while a classic black-and-white basketweave pattern is timeless. Just remember, whatever you choose, it needs to be rated for shower floors and have a finish that isn’t slippery when wet. Aesthetics can’t compromise safety here.
Elevating Aesthetics: Creative Styling & Design Elements (Part 2)
This is about taking one final step from a “nice bathroom” to a “memorable space.” Think of your tile not just as a material, but as a medium.
15. Integrate Statement Feature Tiles as Artistic Elements
Sometimes, a tile isn’t just a tile; it’s art. I’m talking about large-scale murals, three-dimensional sculptural tiles, or tiles with such an intricate, beautiful pattern that they deserve to be the centerpiece of the room. This is for the wall you see the moment you walk in.
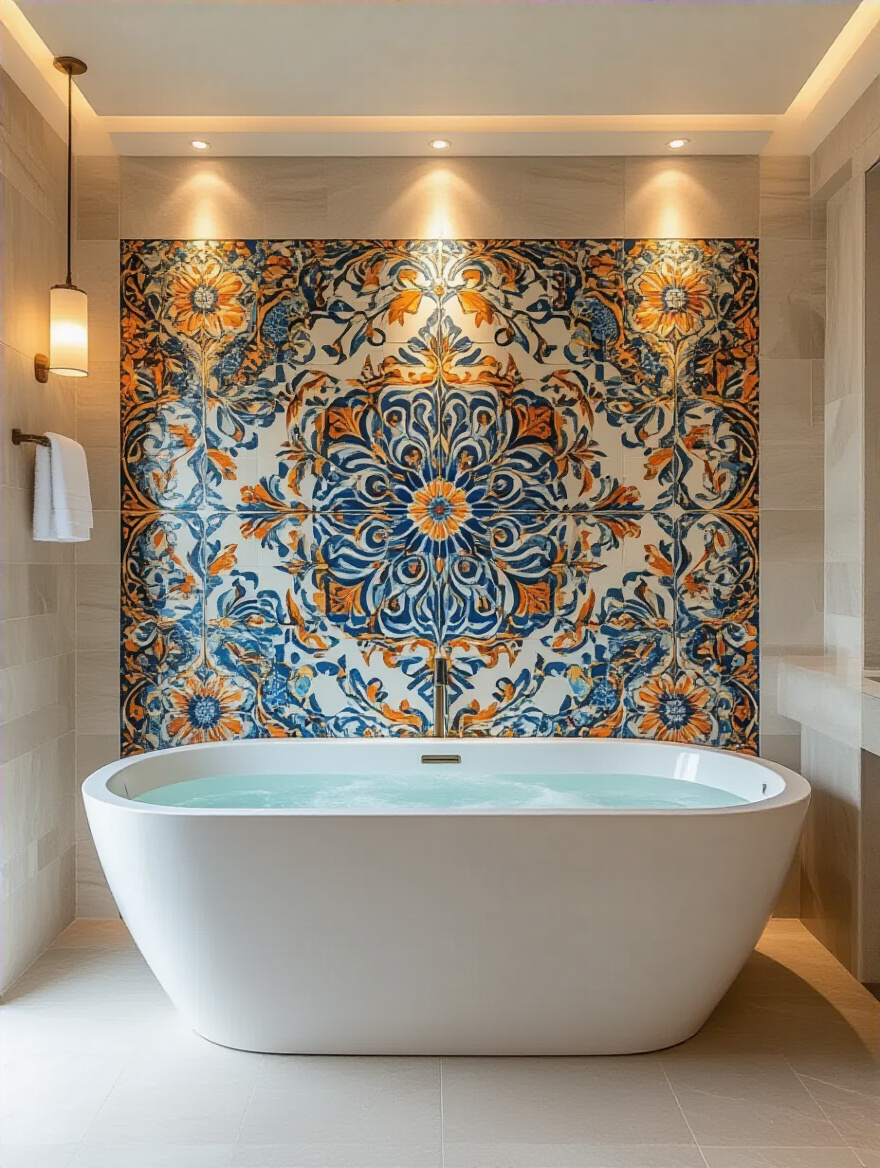
Treat it like you would a major piece of art. Light it properly with a dedicated sconce or a recessed spotlight. Keep the surrounding tiles simple and neutral so they don’t compete. This approach turns a functional wall into a permanent art installation that defines the entire character of your space.
Future-Proofing Your Tiles: Practicality & Long-Term Care
Your bathroom renovation is an investment of time and money. You don’t want it looking tired and grimy in a few years. These final steps are all about ensuring your beautiful new tile stays beautiful.
16. Implement Proper Tile Sealing and Protection Routines for Durability
While porcelain is largely non-porous, the grout between your tiles is like a tiny cement sponge. If you don’t seal it, it will soak up water, dirt, and soap scum, leading to discoloration and mold.
Get a good quality penetrating grout sealer and apply it after the grout has fully cured (your installer will tell you when). Then, re-seal it every year or so. You can test if it needs it by dripping a few drops of water on the grout line. If the water beads up, you’re good. If it soaks in and darkens the grout, it’s time to reseal. This five-minute task will save you hours of future scrubbing.
17. Consider Slip-Resistant and Accessible Tile Options for All Users
Good design is design that works for everyone—kids, grandparents, and you. Even if you don’t need accessible features now, designing with them in mind is smart for the future, both for your own use and for resale value.
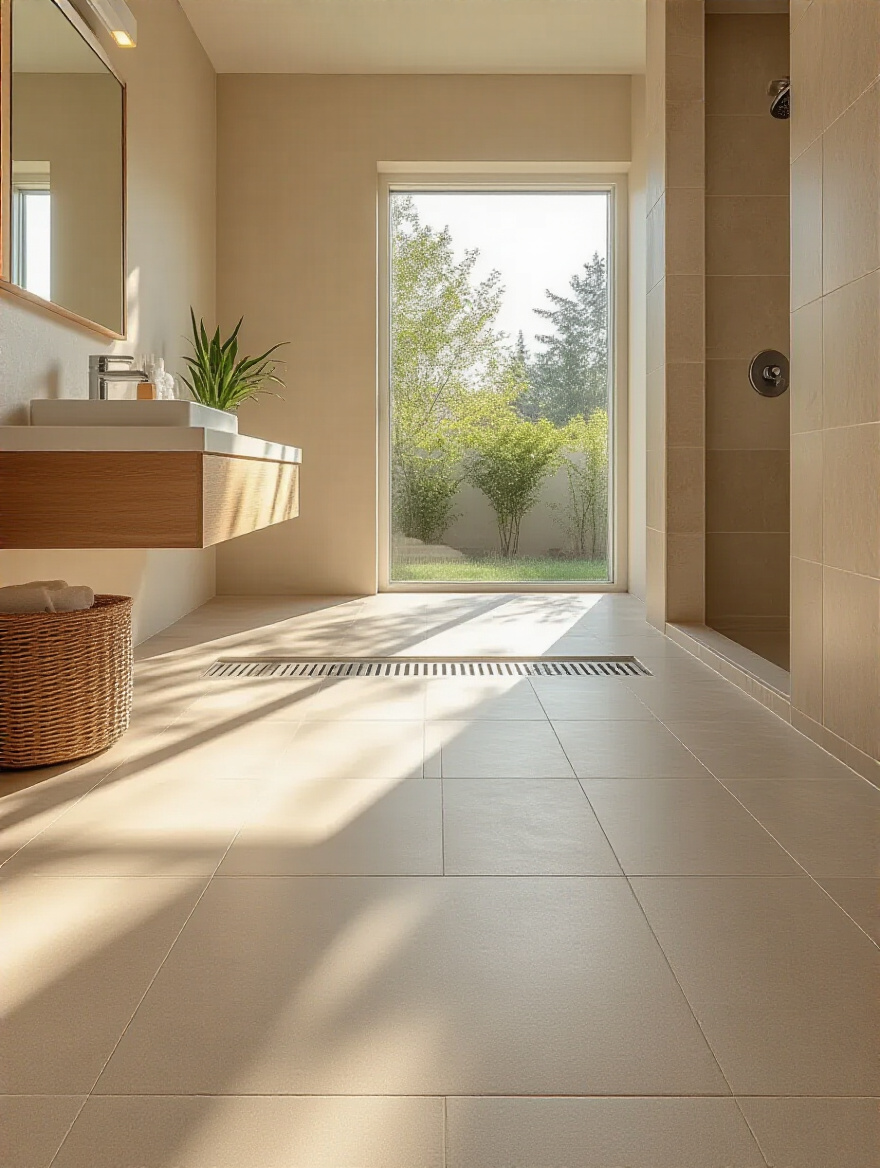
This means choosing a floor tile with a high “coefficient of friction” (ask your tile dealer, they’ll know what this is) to prevent slips. It also means considering a curbless shower. A seamless transition from the main bathroom floor into the shower is not only safer, but it also makes the whole room feel larger and more modern.
18. Embrace Sustainable and Eco-Friendly Tile Choices for Responsible Design
Feeling good in your space also comes from feeling good about your choices. Many tile manufacturers now offer products with high recycled content—like tiles made from old glass bottles or reclaimed industrial materials.
Look for certifications like Cradle to Cradle or Greenguard Gold, which ensure the products are made responsibly and won’t off-gas harmful chemicals into your home. This focus on healthy materials contributes to better indoor air quality, which is something I talk about constantly for home offices. It’s just as important in the room where you start your day.
19. Learn Professional Cleaning Techniques to Maintain Tile Shine and Hygiene
Forget harsh, abrasive cleaners. They can damage tile finishes and eat away at your grout. The best approach for routine cleaning is simple: a pH-neutral cleaner and a microfiber cloth or mop. For deeper cleans, a steam cleaner is your secret weapon.
Steam can sanitize surfaces and blast grime out of grout lines using just hot water vapor, no chemicals needed. It’s incredibly effective and won’t harm your tile. Making this part of your quarterly cleaning routine will keep your tile and grout looking brand new for years.
Conclusion
See? It’s more than just tile. It’s about building a system. By planning strategically, choosing materials that are both beautiful and durable, and committing to simple long-term care, you’re not just renovating a bathroom. You’re creating a calm, functional, and restorative space that will support your well-being and productivity for years to come. Stop just pinning and start planning. Grab a tape measure, order some samples, and build the sanctuary you deserve.


