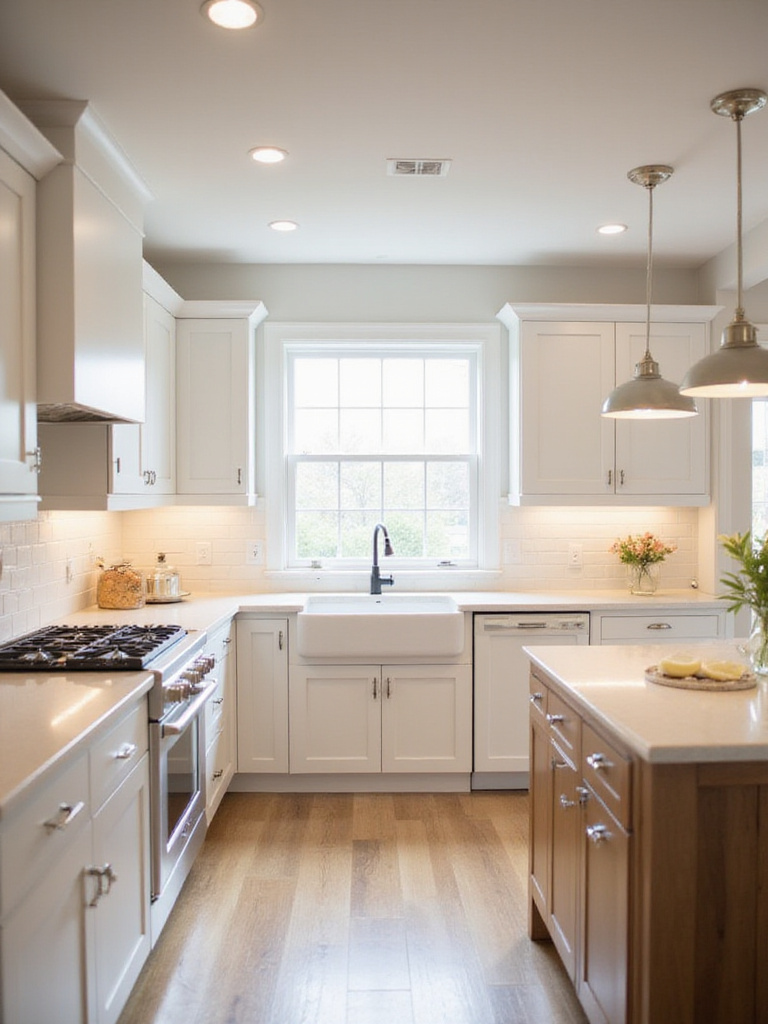
Is your kitchen feeling outdated, cramped, or just plain blah? You dream of a stylish, functional space, but the thought of a full-blown remodel sends shivers down your spine – and empties your wallet before you even start.
Fear not! Kitchen transformations don’t have to involve demolition crews and a five-figure budget. With a little creativity and elbow grease, you can achieve a stunning kitchen upgrade without emptying your bank account.
1. Give Your Cabinets a Facelift with Paint: The Most Transformative Budget Upgrade
Painting cabinets is truly the champion of budget-friendly kitchen transformations. Imagine instantly changing the entire mood of your kitchen simply by changing the color of your cabinets. It’s like giving your kitchen a brand new personality without the hefty price tag. Instead of tearing out perfectly functional cabinets, a fresh coat of paint can make them look modern, clean, and stylish.
When choosing paint, durability is key in a kitchen environment. Opt for high-quality acrylic or alkyd paints specifically designed for cabinets. Semi-gloss or satin finishes are your best bets as they’re easier to wipe clean and hold up better against moisture. Cost-wise, DIY cabinet painting runs about $300-$1,000 for materials, while professional painting costs $1,000-$4,000 – still far less than the $4,000-$20,000 for new cabinets!
Here’s where it gets interesting… Try experimenting with two-tone cabinets by painting uppers and lowers different colors for a modern, designer look that costs nothing extra but looks like you hired a professional.
2. Swap Out Cabinet Hardware for an Instant Style Boost: Small Change, Big Impact
Think of cabinet hardware as the jewelry of your kitchen. Swapping out outdated or builder-grade knobs and pulls is a remarkably inexpensive way to inject personality and style. This simple change can instantly modernize your cabinets, complement a fresh paint job, or simply add a touch of elegance to a neutral space.
When choosing new hardware, consider your kitchen’s overall style – modern, farmhouse, traditional? Choose finishes that coordinate with other metal accents like your faucet or light fixtures. Measure the center-to-center spacing of screw holes on existing hardware before shopping. You can find affordable options at home improvement stores, online retailers, and even discount stores like HomeGoods or TJ Maxx.
The surprising part is… mixing and matching different styles of knobs and pulls can create a more eclectic and personalized look. Try knobs on upper cabinets and pulls on lower cabinets for an unexpected designer touch that costs nothing extra.
3. Brighten Up Your Space with Affordable Lighting Fixtures: Illuminate Your Kitchen Without Overspending
Good lighting is crucial in a kitchen, both for functionality and ambiance. Recessed LED lighting, pendant lights above islands, track lighting, and under-cabinet LED strips are all affordable options that dramatically improve your kitchen’s look and usability. And don’t underestimate the power of dimmable LED bulbs; they allow you to adjust light levels while saving energy.
Natural light is free! Start by giving your windows a thorough cleaning inside and out. Remove heavy window treatments that block light, and consider lighter-colored options like sheer curtains. Strategically placing mirrors can reflect natural light and brighten darker corners. When selecting bulbs, consider color temperature – warmer temperatures (2700K-3000K) create a cozy atmosphere, while cooler temperatures (3500K-4000K) are better for task lighting.
Let me paint you a picture… Installing simple under-cabinet lighting with adhesive-backed LED strips takes just minutes but completely transforms how your kitchen looks and functions, especially at night. This $20-$50 upgrade makes a $500 impact.
4. Transform Walls with a Fresh Coat of Paint: Choose a New Color to Revitalize the Entire Room
Painting is undeniably one of the most impactful and affordable ways to refresh your kitchen. A single gallon of quality paint can cover a surprisingly large area, and if you’re willing to DIY, you’ll save significantly on labor costs. Compared to the expense of replacing cabinets or countertops, painting delivers immediate and noticeable results for minimal investment.
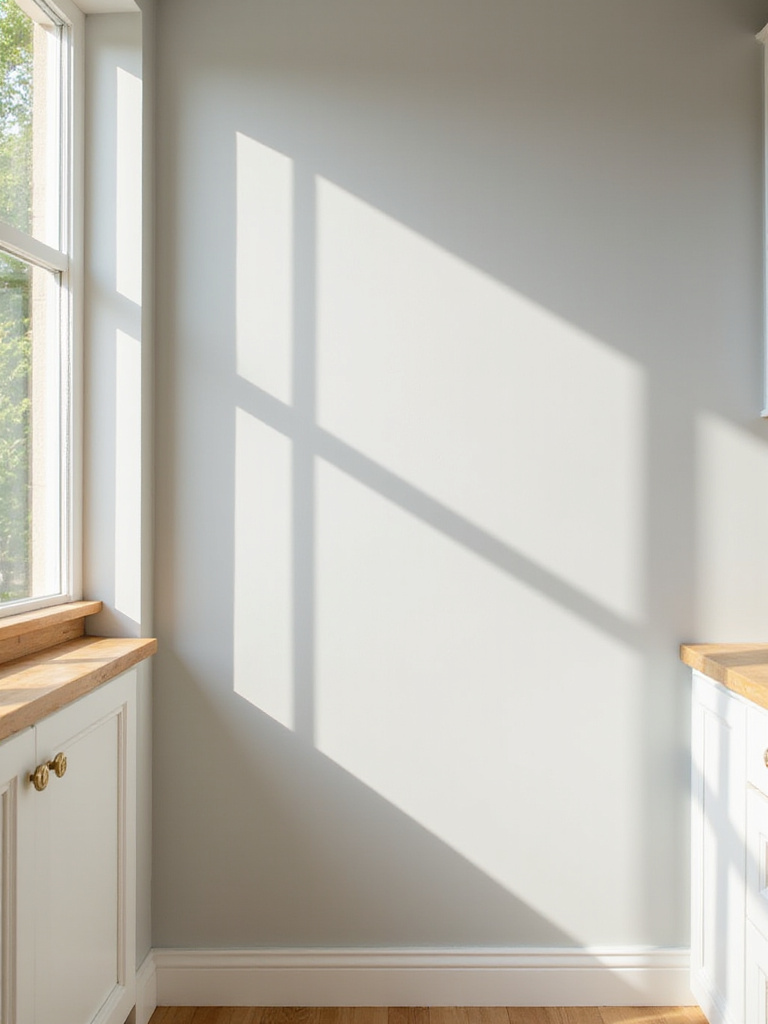
When choosing a color, consider your existing elements: cabinet color, countertop material, flooring, and appliance finishes. Think about both natural and artificial light, as lighting dramatically affects how paint appears. In kitchens, opt for a semi-gloss or satin finish that resists moisture, grease splatters, and stains, making cleaning easier. Look for paints specifically formulated for kitchens and bathrooms with mildew-resistant additives.
The key thing to understand is… creating an accent wall with a bold color adds visual interest without overwhelming the space. This technique lets you experiment with color while keeping most walls neutral – perfect for kitchen remodeling on a budget.
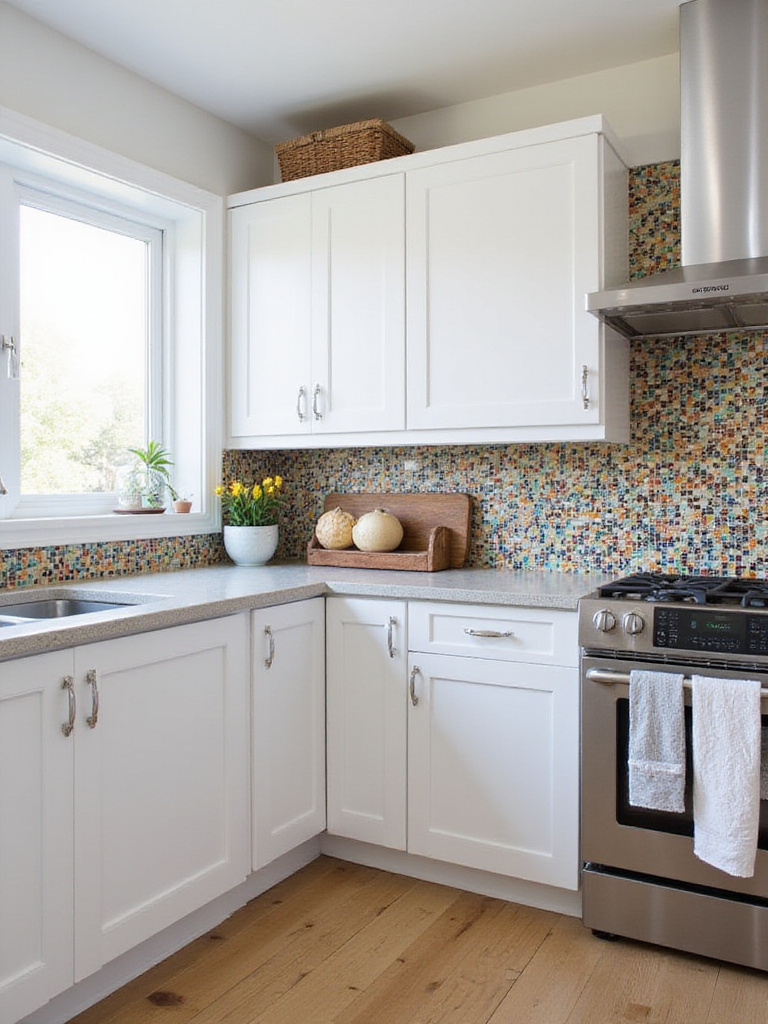
5. Install a Peel-and-Stick Backsplash for a Quick and Stylish Update: DIY-Friendly and Wallet-Friendly
Peel-and-stick backsplash is a game-changer for budget kitchen remodels! It offers significant advantages over traditional tile: it’s much cheaper (eliminating the cost of mortar, grout, and specialized tools), installation is incredibly fast and easy, there’s no messy cleanup, and you’ll find a vast array of styles and patterns to choose from.
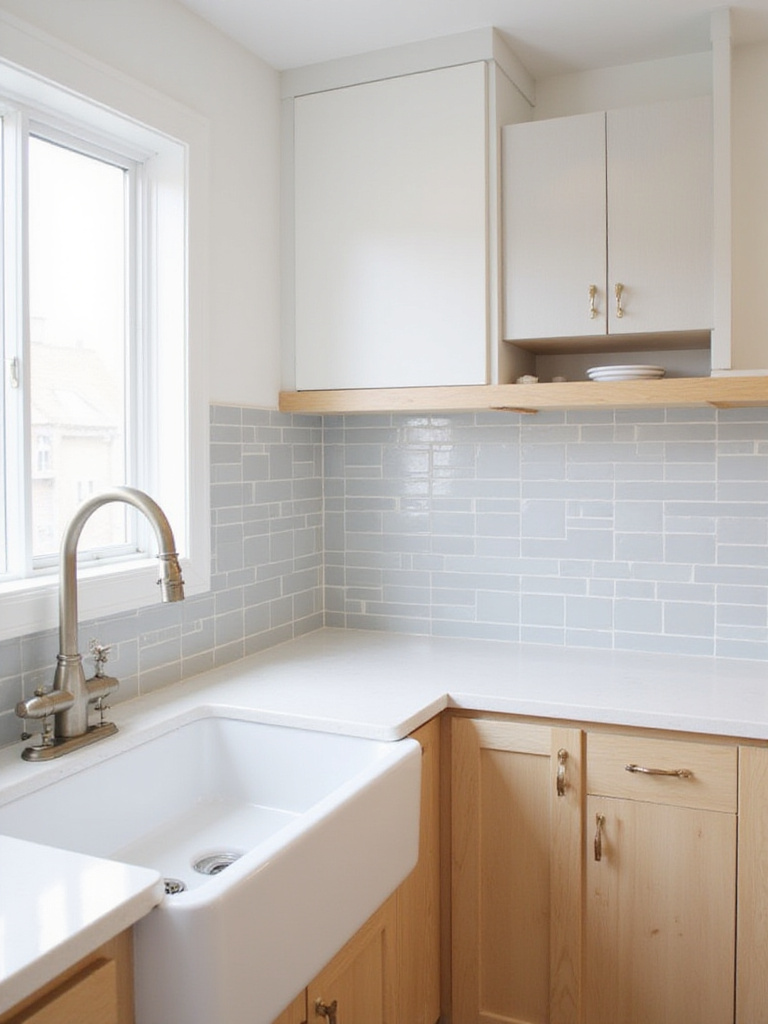
Cost-wise, peel-and-stick backsplash typically runs between $5-$20 per square foot – substantially less than traditional tile at $10-$50+ per square foot, not including installation. While most peel-and-stick products are water-resistant, choose options specifically designed for kitchen use, especially behind stoves or sinks where heat and moisture are prevalent. Materials like vinyl or PVC generally work best in these demanding areas.
What complicates this… is proper preparation. Thoroughly clean and degrease existing wall surfaces before applying peel-and-stick backsplash. A clean surface is essential for proper adhesion and will determine how long your budget-friendly backsplash lasts.
6. Create Open Shelving for a Modern Look (DIY Style!): Save on Cabinets and Showcase Your Dishes
Open shelving can save you at least 50% compared to standard cabinets – potentially much more if you get creative with reclaimed wood or repurpose existing materials. You’ll primarily invest in lumber, brackets, and finishing supplies rather than expensive cabinet boxes, doors, and hardware.
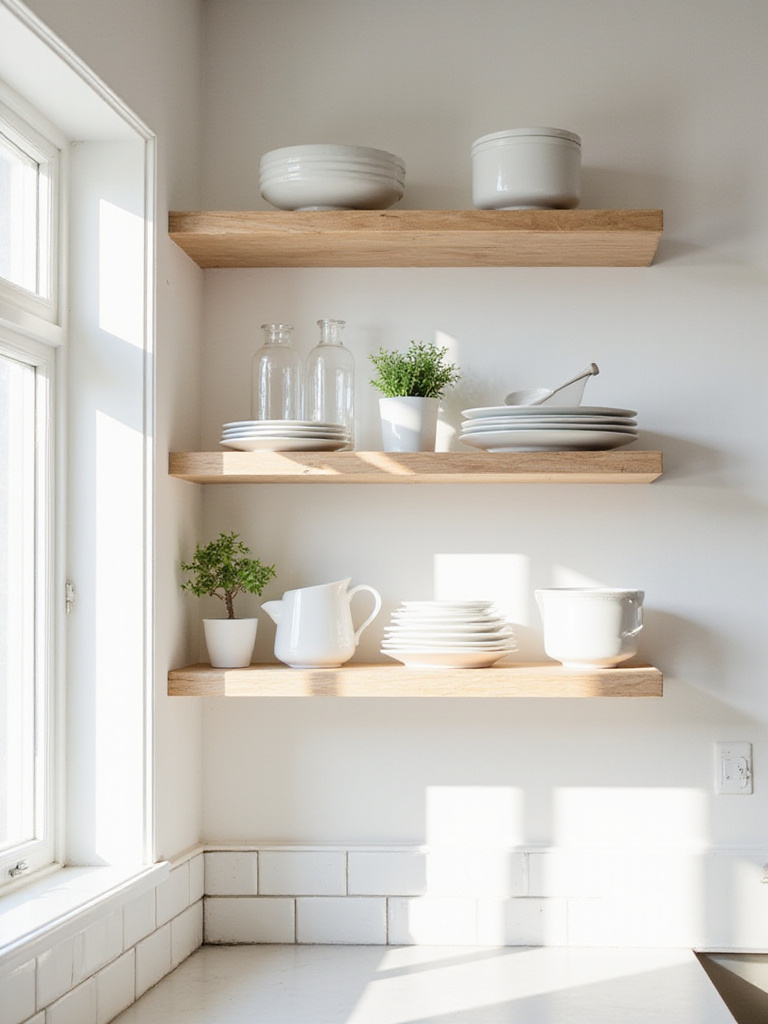
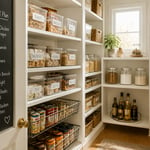
The two main concerns with open shelving – dust accumulation and organization – are easily managed. A quick weekly wipe-down keeps dust at bay, while strategic organization makes open shelving beautiful. Showcase your prettiest dishes and glassware, store less attractive items in lower cabinets, and use decorative containers for smaller items. For wood selection, budget-friendly pine works well when properly finished, while hardwoods like oak or maple offer more durability. Reclaimed wood adds character and eco-friendly appeal.
It works something like this… Floating shelves create a minimalist, modern appearance while maximizing visual space. Measure carefully before purchasing materials and choose appropriate brackets for the weight you’ll place on shelves – dishes and cookware can be surprisingly heavy!
7. Maximize Space with Smart Drawer and Cabinet Organizers: Improve Functionality Without Major Renovation
Drawer and cabinet organizers offer a tremendous boost in storage efficiency without the hefty price tag of structural changes. They provide targeted solutions for common kitchen storage woes, making your existing space more user-friendly and efficient. Far cheaper than new cabinets, organizers are often DIY-installable, saving you even more by avoiding professional labor costs.
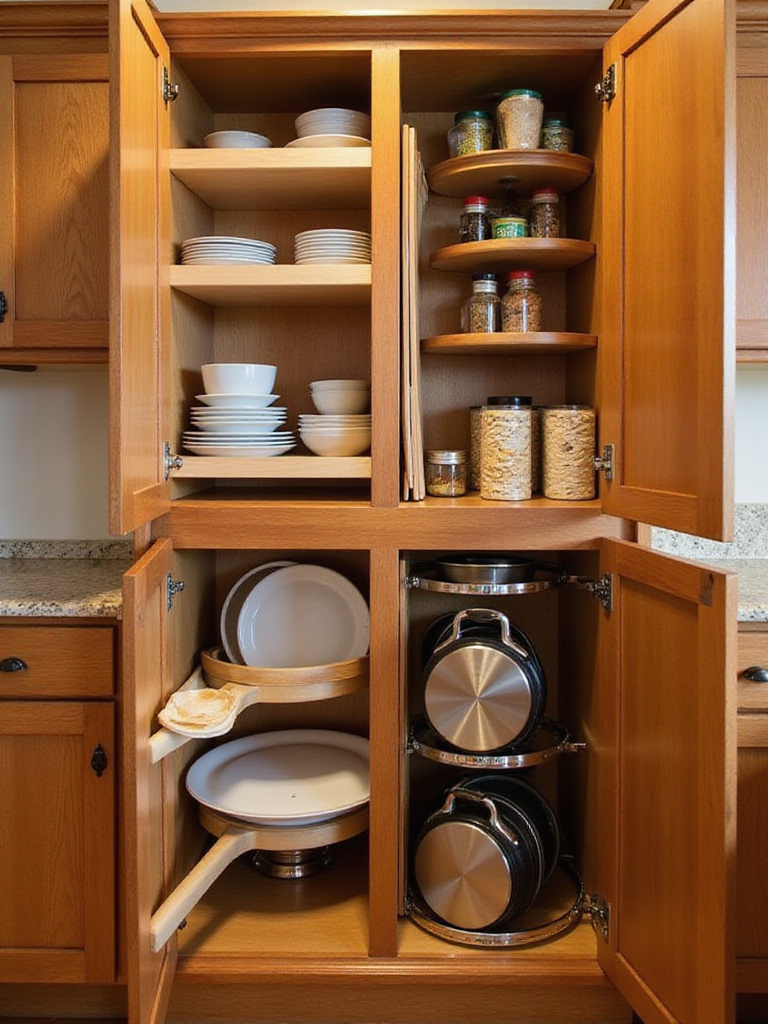
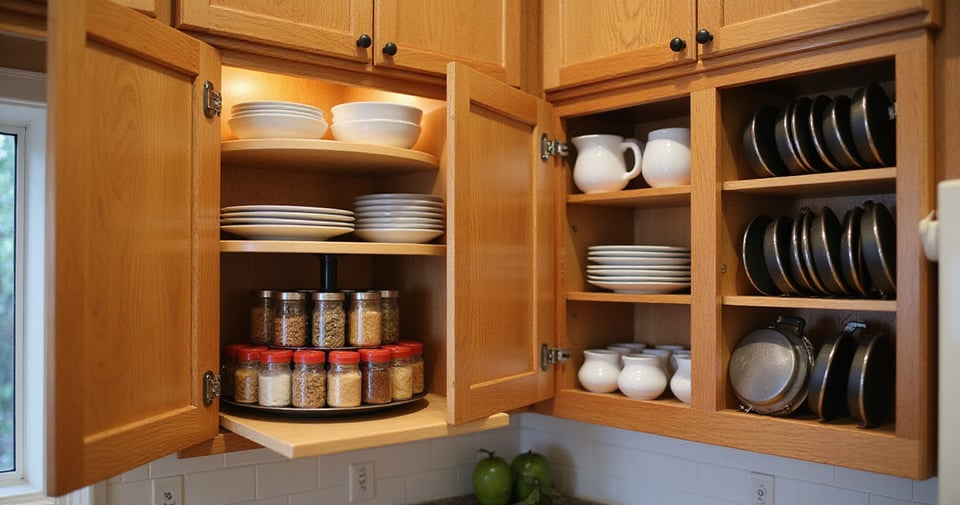
The world of organizers is vast: adjustable dividers customize compartments for utensils, tiered spice racks bring spices into view, drawer knife blocks store cutlery safely, and pull-out shelves maximize depth. For cabinets, consider pull-out baskets, Lazy Susans for corners, door-mounted racks for spices or lids, and adjustable shelving to customize heights. Start by identifying your storage pain points, measure carefully, and choose organizers designed for your specific needs.
My breakthrough came when… I used tension rods to create vertical dividers in cabinets for storing baking sheets and cutting boards. This $5 solution instantly organized the awkward space above my refrigerator that had been wasted for years.
8. Declutter Countertops for a Cleaner, More Spacious Kitchen: Free and Instantly Effective!
Decluttering is the ultimate budget-friendly “remodel” – it costs absolutely nothing and delivers instant, visible results! Simply removing excess items from your countertops immediately creates a sense of spaciousness and cleanliness, making your entire kitchen feel fresher and more inviting without spending a penny.
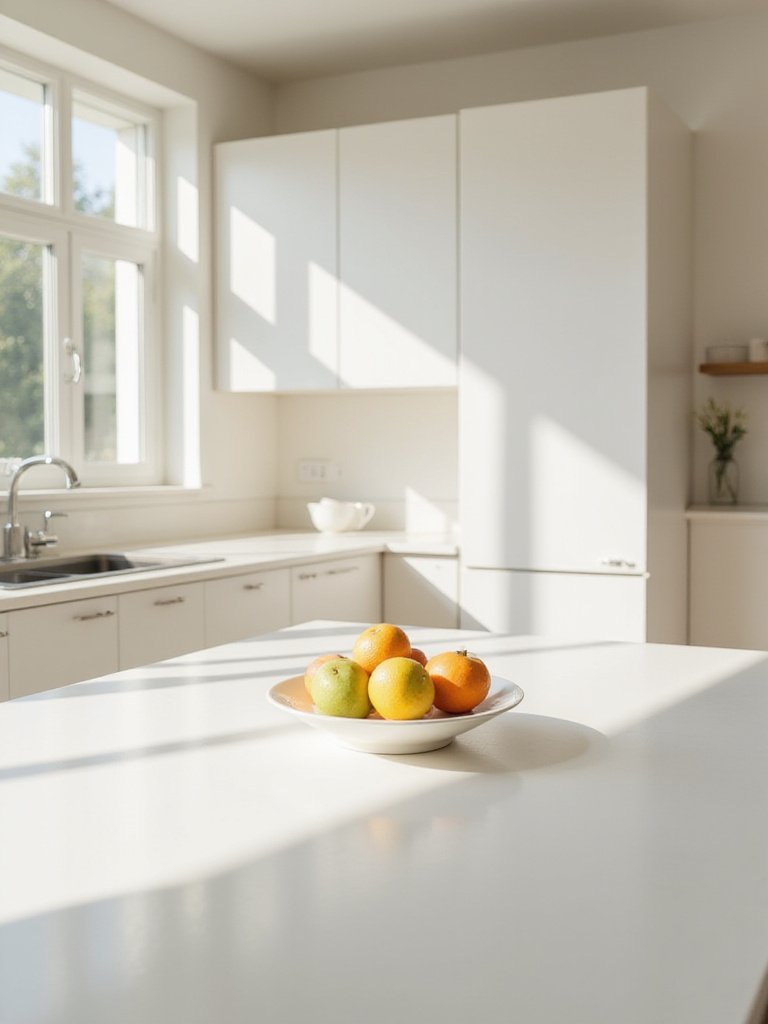
Common countertop clutter culprits include rarely-used small appliances, overflowing utensil jars, stacks of mail, purely decorative items, spice racks, and dish soap bottles. Decluttering helps establish sustainable kitchen organization by forcing you to evaluate what you actually use and need. This process helps identify what deserves prime countertop real estate, what can be stored elsewhere, what can be donated, and what should be discarded.
Do you see how huge that is? Studies show a decluttered environment reduces stress and improves well-being. Start small by focusing on one section at a time – perhaps the area around your sink – to avoid feeling overwhelmed by the process.
9. Bring Life to Your Kitchen with Budget-Friendly Plants and Herbs: Add Greenery and Freshness
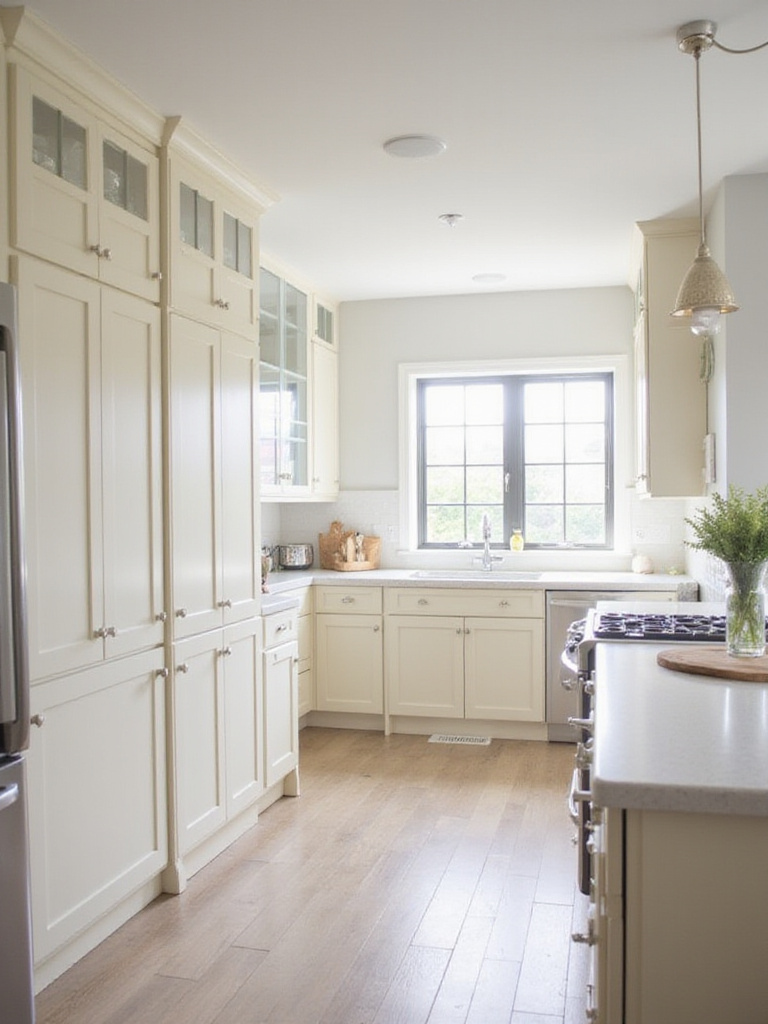
Plants and herbs infuse personality, color, and freshness into your kitchen without breaking the bank. They soften hard surfaces, improve indoor air quality, and in the case of herbs, provide fresh ingredients for cooking! Compared to major renovations, plants offer significant aesthetic impact for minimal investment, making them perfect for kitchen remodeling on a budget.
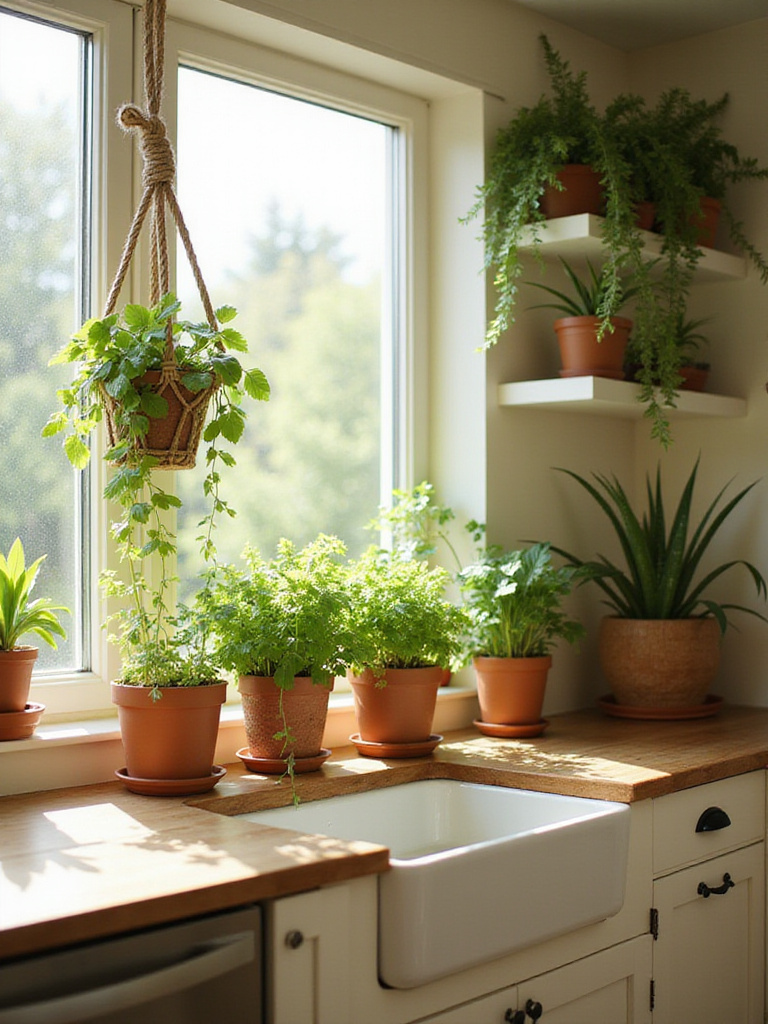
Many plants thrive in kitchen environments and are relatively inexpensive. For herbs, consider basil, mint, parsley, chives, and rosemary – all easy to grow from seeds or small starter plants. For low-maintenance greenery, pothos, snake plants, spider plants, aloe vera, ZZ plants, and succulents are excellent choices. Place them on windowsills, in hanging planters to maximize vertical space, or on shelves near windows. For containers, get creative! Repurpose mason jars, painted tin cans, teacups, or coffee mugs rather than buying expensive planters.
You could compare it to… creating a vertical herb garden using repurposed pallets or stacked planters to save counter space. Not only does this add life to your kitchen, but indoor plants actually improve air quality by filtering out common household toxins – beauty and function in one affordable package.
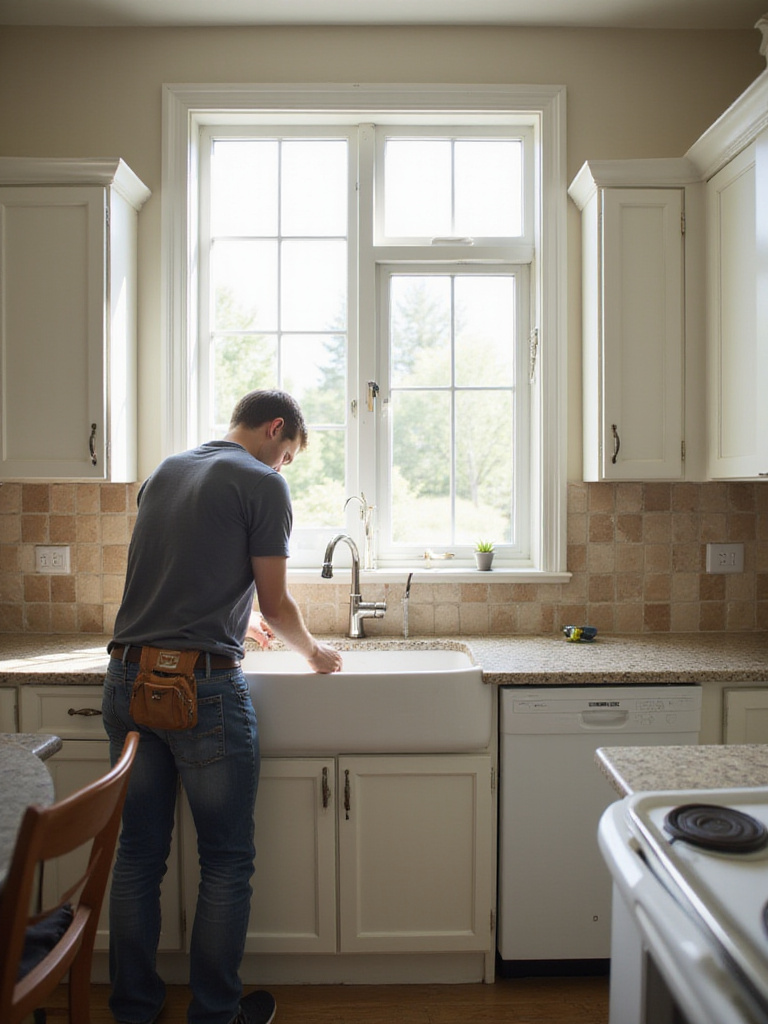
10. Upgrade Your Faucet for a Modern Touch: A Simple Swap for a Big Style Improvement
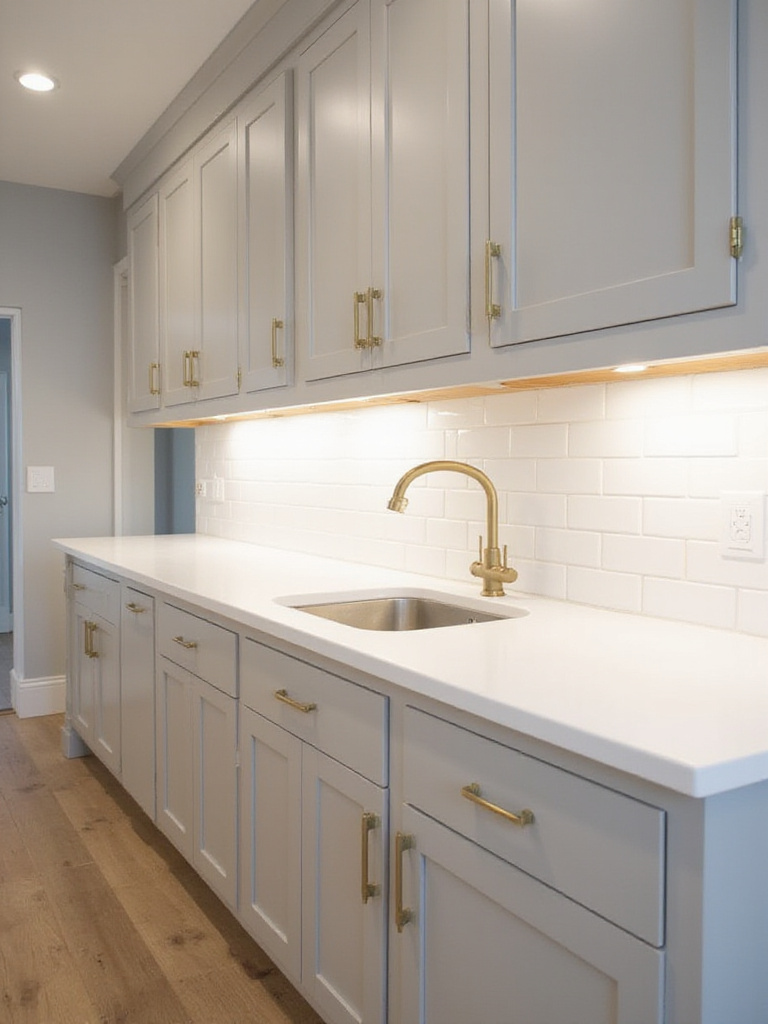
Upgrading your kitchen faucet is surprisingly cost-effective yet makes a high-impact visual change. Compared to larger renovations, a new faucet is relatively inexpensive, instantly updating the sink area – often a focal point in the kitchen. New faucets come in a wide range of styles and finishes, and installation is often straightforward enough for DIY, saving on professional labor costs.
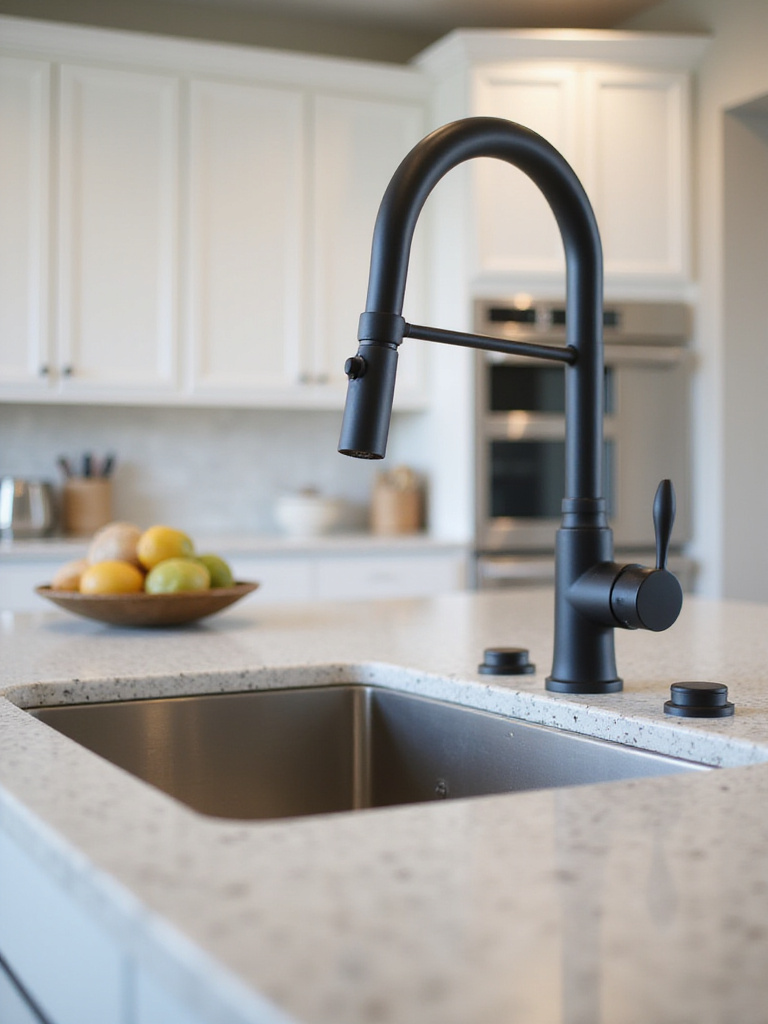
Several faucet styles are trending right now: pull-down faucets offer increased functionality, touchless faucets add modern hygiene, bridge faucets bring classic elegance, and pot fillers provide convenience. Popular finishes include matte black, brushed gold/brass, stainless steel, and oil-rubbed bronze. Before purchasing, check your sink configuration (how many holes?), consider spout height and reach, check water pressure compatibility, and think about desired features like pull-down sprayers or built-in water filtration.
The game-changer happened as I… installed a faucet with a built-in water filter, which not only updated my kitchen’s look but also saved hundreds on bottled water. This dual-purpose upgrade paid for itself within months – the perfect example of smart kitchen remodeling on a budget.
11. Refresh Your Windows with Simple, Affordable Treatments: New Curtains or Blinds Can Change Everything
New window treatments dramatically impact your kitchen’s overall feel by controlling natural light and introducing texture, color, and pattern. They can make a small kitchen feel larger or add warmth and sophistication to a bigger space. Even simply updating hardware like curtain rods can make a noticeable difference.
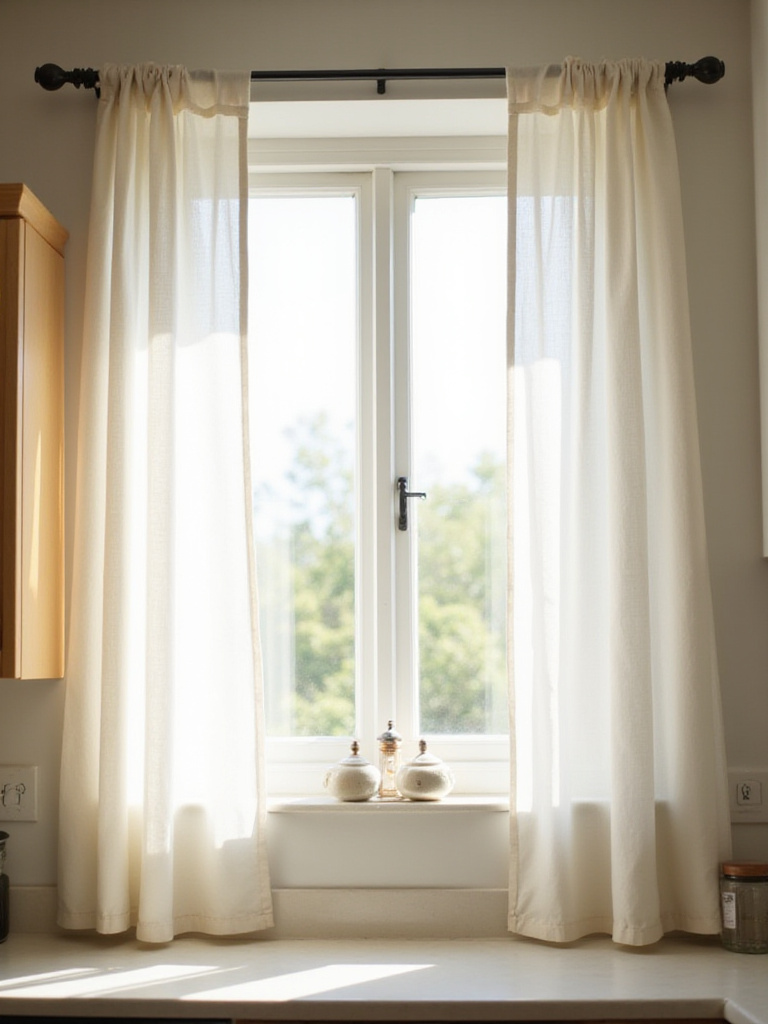
Affordable options abound: ready-made curtains come in countless colors and patterns, roller shades provide clean lines and privacy, mini blinds are durable and easy to clean, and bamboo shades add natural texture. Consider moisture resistance (crucial in kitchens), light control, privacy needs, ease of cleaning, and your kitchen’s overall style when making selections. Measure windows accurately before purchasing to ensure proper fit.
Here’s the unexpected twist… repurposing old linens or tablecloths into charming kitchen curtains costs nearly nothing but creates a custom, one-of-a-kind look that expensive designer treatments can’t match. This approach is perfect for vintage or farmhouse-style kitchens.
12. Opt for Budget-Friendly countertop materials like Laminate or butcher block: Stylish and Cost-Effective Alternatives
Laminate countertops offer incredible value for kitchen remodeling on a budget. They’re significantly less expensive than stone options while offering a wide variety of colors and patterns that realistically mimic natural materials. Modern laminates are more durable than older versions, being stain-resistant and easy to clean. While vulnerable to scratches and heat damage, their affordability makes them compelling.
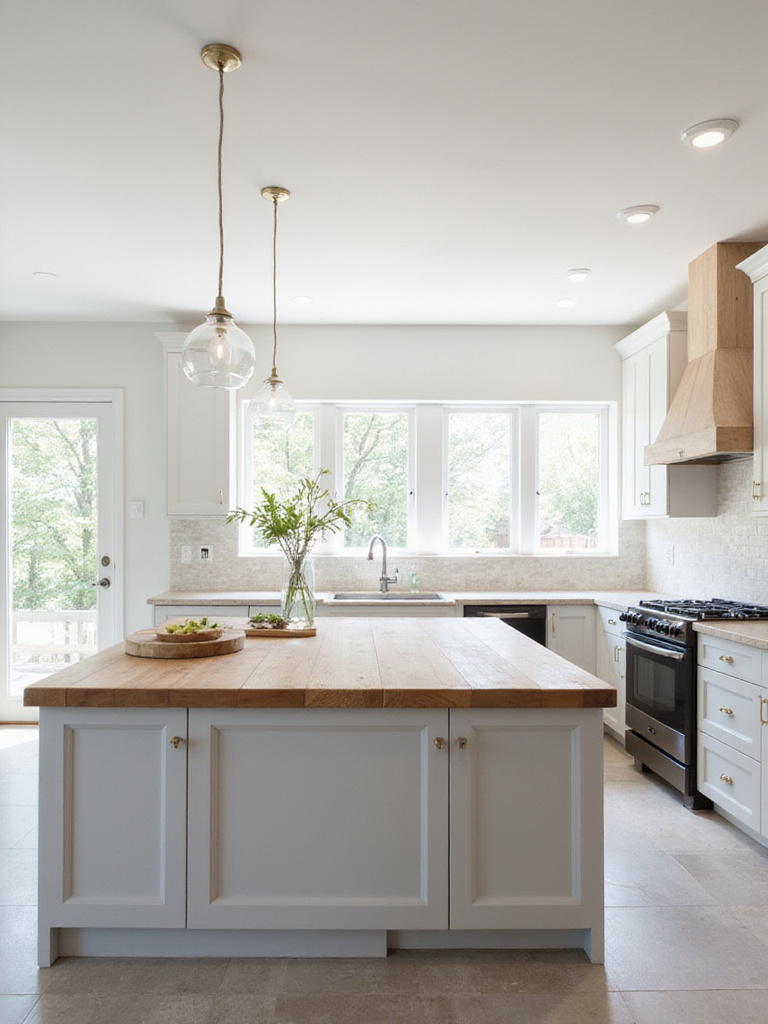
Butcher block countertops bring warm, natural aesthetics at moderate cost. Their unique advantage is being sandable and refinishable, allowing you to remove damage and extend lifespan. They’re food-safe and can be used for direct cutting, adding functionality. However, they require regular maintenance (oiling and sealing) to prevent water damage and bacterial growth. In comparing the two: laminate needs less daily maintenance but can’t be repaired if damaged, while butcher block requires more regular care but can be refinished multiple times for greater longevity.
It’s not unlike… mixing and matching countertop materials to maximize your budget – using butcher block on an island or prep area and laminate on perimeter counters creates visual interest while saving money. This designer trick delivers high-end looks on a modest budget.
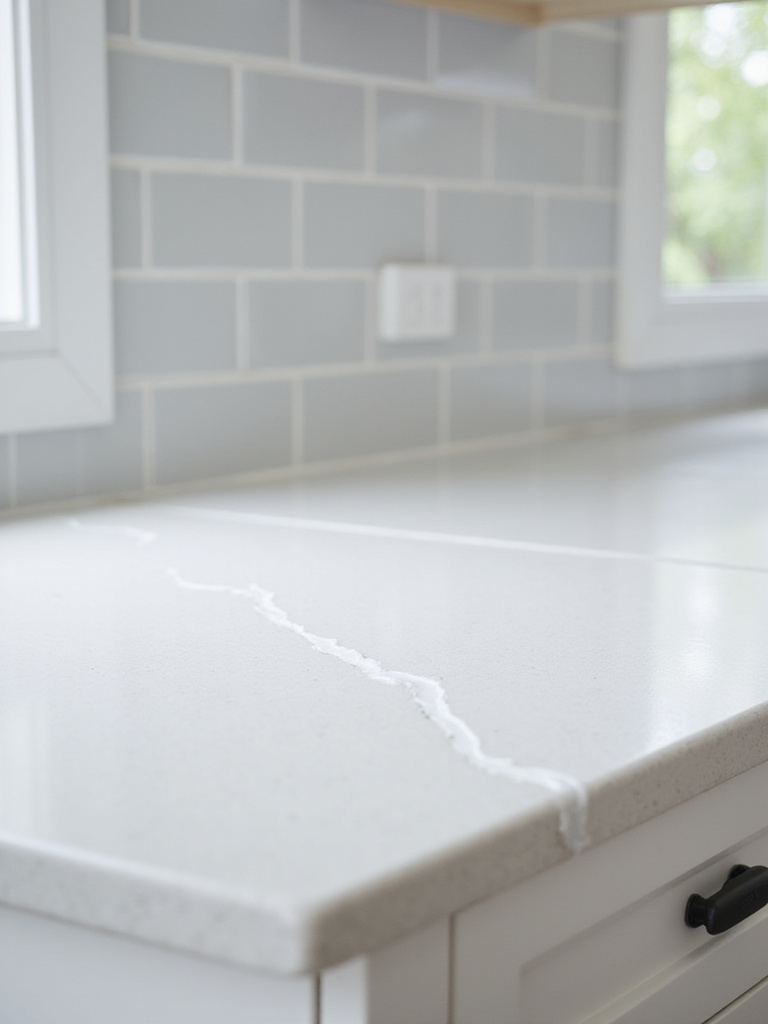
13. Give Old Countertops a New Lease on Life with Epoxy Resin: A DIY Refinishing Miracle
Epoxy resin can revitalize various countertop materials including laminate, tile, concrete, and wood. The preparation process varies by surface – laminate requires thorough cleaning and sanding, tile needs grout lines filled and leveled, and concrete surfaces should have cracks repaired before application. When properly applied, epoxy creates a remarkably durable surface resistant to scratches, stains, and heat.
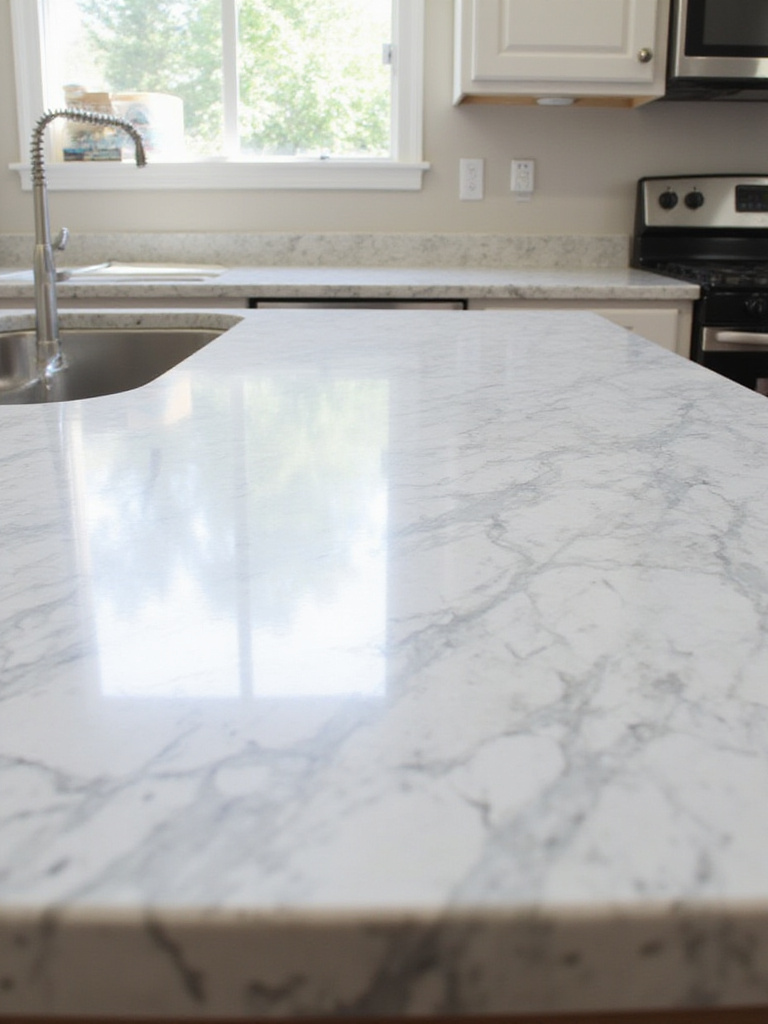
However, there are potential drawbacks. The application process requires precision for professional-looking results. Air bubbles and color inconsistencies can occur if materials aren’t mixed properly. Epoxy can yellow over time if exposed to prolonged direct sunlight (use a UV-resistant topcoat to prevent this), and removing it later can be difficult if you change your mind.
My experience went like this… incorporating metallic pigments into epoxy resin created a glamorous, unique countertop design that guests assumed was expensive stone. This $200 DIY project completely transformed my dated kitchen and became the room’s showstopper – proof that kitchen remodeling on a budget doesn’t mean sacrificing style.
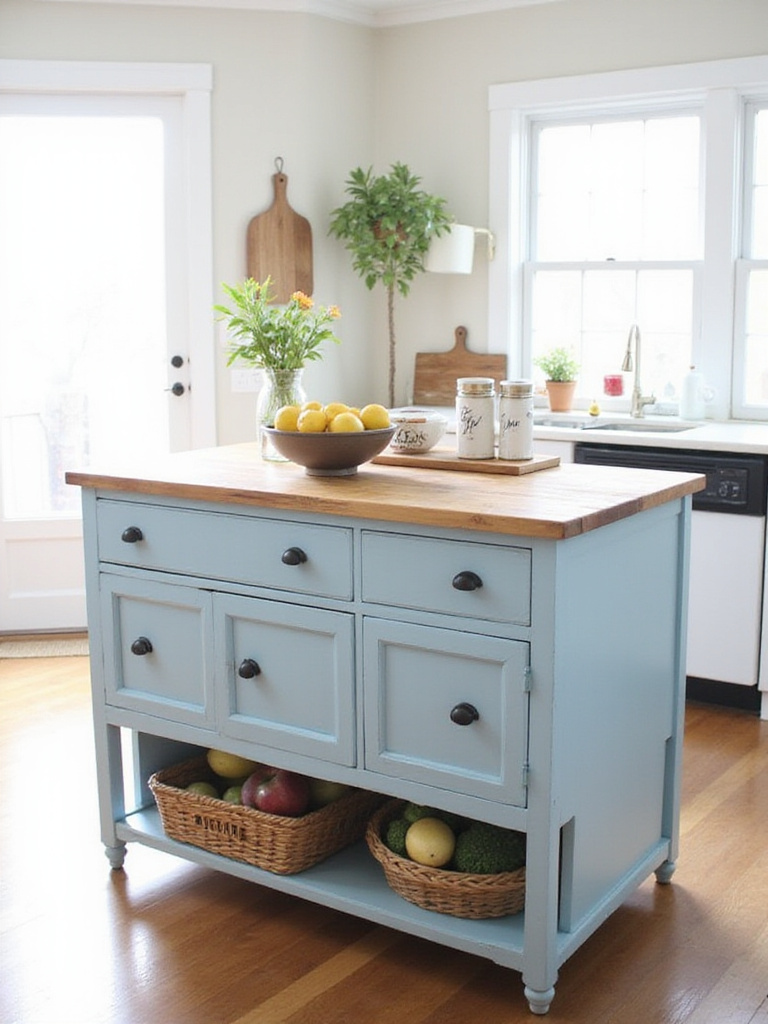
14. Build a Kitchen Island on a Dime with Repurposed Furniture: Get Creative and Save Big!
Solid wood dressers, sturdy desks, old bookshelves, and workbenches make excellent candidates for conversion to kitchen islands. Look for pieces around 36 inches high with solid construction. Storage features like drawers and shelves add functionality. For vintage pieces, check for lead paint before sanding or refinishing.
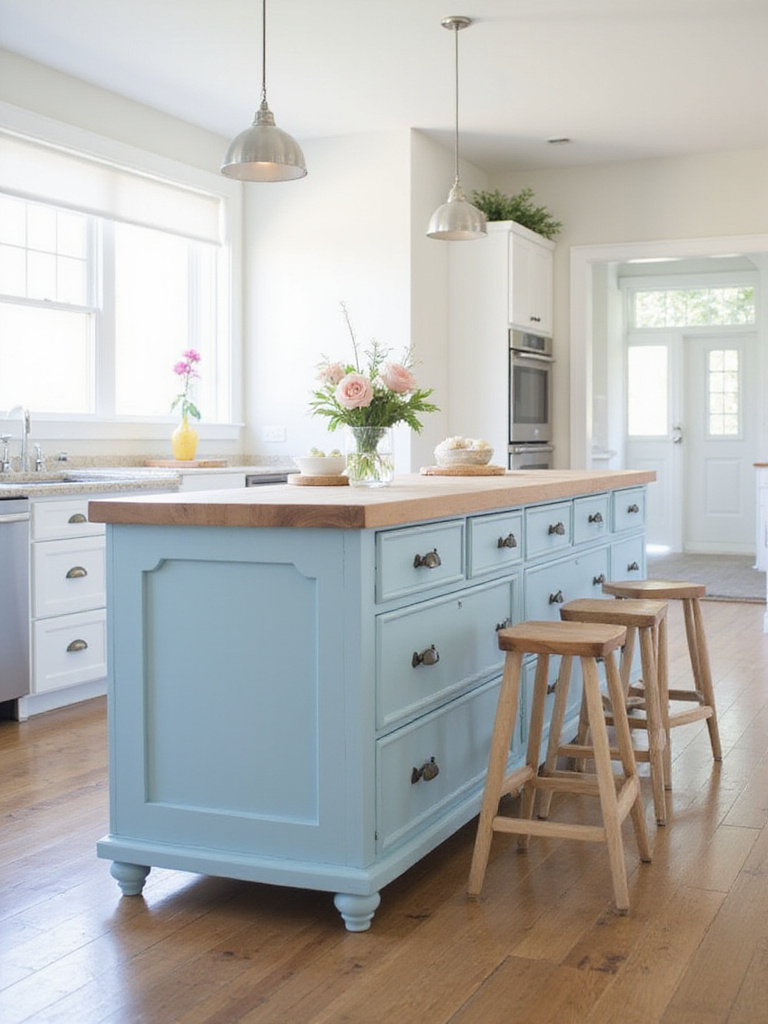
To ensure your repurposed island works with your kitchen, consider functionality first – what do you need it to do? Paint or stain it to complement existing cabinetry, replace hardware to match your kitchen’s style, and add a durable countertop like butcher block. Creative finishes like distressing or antiquing can tie everything together beautifully.
Things took an interesting turn when… I transformed an old dresser into a charming kitchen island by adding a butcher block top and painting it a vibrant color that coordinated with my backsplash. This $150 project would have cost $1,500+ for a comparable manufactured island – the ultimate win for kitchen remodeling on a budget.
15. Elevate Your Look with a Stylish, Affordable Rug or Runner: Add Warmth and Personality to the Floor
Adding a rug or runner instantly transforms your kitchen’s aesthetic without the expense of new flooring. It introduces color, texture, and pattern while creating a warmer, more inviting atmosphere. A rug can also define different zones within a larger kitchen, separating cooking areas from dining spaces.

For kitchen rugs, prioritize durability and easy cleaning. Synthetic materials like polypropylene, nylon, or olefin resist stains and moisture. Natural fibers like jute look stylish but can be harder to clean. Cotton works if washable. Size-wise, runners work well in galley kitchens, small area rugs define workspaces, and larger rugs anchor islands or dining areas. Leave 12-18 inches of exposed flooring around the perimeter to avoid a cramped look.
Picture it as… using a colorful geometric rug to add personality to a neutral kitchen. The rug becomes a focal point and conversation starter while also reducing noise by absorbing sound – form and function beautifully combined in one affordable element.
16. Seal the Deal with Fresh Caulk for a Polished, Like-New Finish: Make Imperfections Disappear
Caulking is often overlooked, but it’s crucial for both aesthetics and function. Focus on areas where seams exist: around the sink, along countertop edges where they meet walls, where backsplash meets countertop, around window frames, and where floors meet baseboards. Proper caulking creates a polished look while preventing water damage and mold growth.
For kitchen applications, choose high-quality silicone or acrylic latex caulk with mildew resistance. Silicone excels in wet areas like around sinks, while acrylic latex is paintable for seamless blending with walls or trim. Before applying new caulk, remove old material by softening it with a caulk remover, cutting along edges with a utility knife, scraping away residue, and cleaning thoroughly with mineral spirits.
The tricky part is… using colored caulk to match your grout or countertop creates a cohesive, custom look that elevates the entire kitchen. This $10 upgrade looks like professional work and addresses both aesthetics and function – a perfect example of how kitchen remodeling on a budget can focus on small details for big impact.
17. Repurpose Furniture for Smart Kitchen Storage Solutions: Think Outside the Box for Extra Space
Repurposing furniture for kitchen storage leverages items you may already own or can find inexpensively at thrift stores and flea markets. Instead of investing in pricey cabinetry, you’re giving existing pieces new life and function, dramatically reducing costs while adding unique character to your space.
Many furniture types work beautifully in kitchens: dressers store dishes and linens, bookshelves become open display areas, sideboards create coffee stations or bar areas, and workbenches transform into islands. Modifications might include adding countertops, reinforcing shelves, refinishing surfaces, or adding casters for mobility. Always consider the intended use and make adjustments to ensure the piece can withstand kitchen conditions.
Let me show you another perspective… transforming an old dresser into a kitchen island by adding a butcher block top creates both storage and workspace. This environmentally friendly practice reduces waste while giving you custom storage that perfectly fits your specific needs – often at less than 25% the cost of new cabinetry.
18. Score Deals on Appliances at Outlets and Scratch-and-Dent Sales: Big Savings on Big Ticket Items
Appliance outlets and scratch-and-dent sales offer dramatic savings on kitchen appliances. These retail locations sell discontinued models, overstock, returns, or items with minor cosmetic imperfections at substantial discounts. The key benefit: these imperfections typically don’t affect functionality or performance.

You can realistically save 10-50% off retail prices, with greater savings on major appliances like refrigerators and dishwashers. The main downsides: limited selection, cosmetic imperfections, potentially shorter warranties, and possibly not finding your exact desired model. When shopping, thoroughly inspect appliances for damage, ensure all components are present and functioning, ask about history, and verify full functionality before purchasing.
The breakthrough came when… I found a high-end refrigerator at 40% off retail because of a small dent on the side that would be hidden against my wall anyway. This single smart purchase freed up budget for other elements of my kitchen remodeling on a budget project, allowing me to splurge on a statement backsplash that became the room’s focal point.
19. Focus on One Key Upgrade for Maximum Impact: Prioritize a Focal Point for a Dramatic Change
Focusing on one key upgrade is smart for budget kitchen remodeling because it concentrates your resources on a single, high-impact element. Instead of spreading funds thinly across multiple minor changes, investing in one focal point creates a significant “wow” factor without overspending. It also simplifies the project, reducing the risk of cost overruns and delays.
To identify the best focal point, assess your kitchen’s layout and features. What area draws the eye when entering? What feels most outdated? Potential focal points include backsplash, countertops, lighting fixtures, range hood, or kitchen island. Choose something that aligns with your style preferences and fits your budget constraints.
What really matters here… is selecting a focal point that delivers maximum visual impact per dollar spent. Installing a stunning new backsplash using affordable materials like peel-and-stick tiles or creatively arranged subway tile can completely transform your kitchen’s look while costing far less than a full renovation – the essence of successful kitchen remodeling on a budget.
20. Embrace DIY Projects to Save Big on Labor Costs: Roll Up Your Sleeves and Get Hands-On!
Many kitchen remodeling tasks are perfect for DIYers: painting cabinets, installing backsplashes (especially peel-and-stick), replacing hardware, installing shelving, updating light fixtures, and even replacing faucets. More advanced projects like tiling floors or installing countertops are possible for experienced DIYers with proper tools.
The savings from DIY can be enormous since labor often comprises 30-50% of remodeling costs. By doing projects yourself, you eliminate these expenses entirely. However, be aware of potential risks: material damage, mistakes requiring professional correction, personal injury, or code violations. Mitigate these by researching thoroughly, watching tutorials, starting with simpler projects, using proper tools, seeking help when needed, and prioritizing safety with appropriate protective gear.
The heart of the matter is… repainting kitchen cabinets yourself can save $1,000-$3,000 in labor costs while delivering professional-looking results. This single DIY project epitomizes the potential of kitchen remodeling on a budget – dramatic transformation through sweat equity rather than excessive spending.
Conclusion: Your Dream Kitchen is Within Reach
Remodeling your kitchen on a budget is absolutely achievable with these 20 genius ideas. From simple updates like paint and hardware to creative repurposing and strategic DIY projects, you can transform your kitchen into a space you love without draining your finances.
Remember, successful kitchen remodeling on a budget isn’t about spending a fortune – it’s about making smart choices, prioritizing impactful upgrades, and infusing creativity into the process. The most beautiful kitchens often result from thoughtful planning rather than lavish spending.
So roll up your sleeves, get inspired, and start creating the kitchen of your dreams – your wallet will thank you, and you’ll gain the satisfaction of knowing you created something beautiful through ingenuity rather than extravagance.